From time to time in the kitchen there is a question about the repair and preventive cleaning of the hood. Although many do not notice the operation of the device, the air quality directly depends on it. The hood performs the function of an orderly: it disposes of unpleasant odors, smoke, and makes the room clean. This is a reliable household appliance that becomes heavily soiled during operation, which affects its performance. And like any mechanism, not often, but still breaks down. It is quite possible to get the job done, but for this you need to first figure out how the hood is removed in the kitchen.
Typical causes of malfunctions
Even the most careful attitude to it and the most promoted brand cannot guarantee the uninterrupted operation of equipment. With constant use, any high-quality device is capable of giving a functional failure. The appearance of problems requires repair, which can sometimes be done on your own, without the help of masters. Before starting repairs, you should familiarize yourself with the most frequent breakdowns of this technique.
Attention! Earned on our website kitchen designer. You can familiarize yourself with it and design your dream kitchen for free! May also come in handy wardrobes designer.
The hood does not cope with air purification
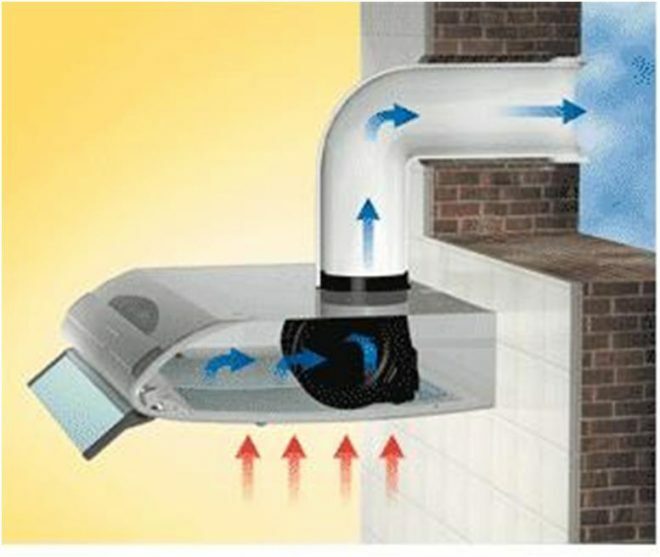
In this case, the device starts to make noise much louder than usual, the electric meter spins even faster. In the recirculation mechanism, the corrugation blades, through which the air escapes, practically cease to rise. There are several reasons: problems with the ventilation system in the house or a malfunction inside the mechanism. First of all, you should:
- Check the draft of the exhaust duct and the hood itself. To do this, you need a regular A4 sheet, which is brought to the ventilation hole. If everything is in order with the draft, then the sheet will be held by the air flow, but if it falls, then there is no draft. In this case, you need to contact the utilities, which are responsible for cleaning the ventilation in the house or do it yourself.
- See how dirty the air filters are inside, as well as aluminum or stainless steel grilles outside, through which air enters. If necessary, clean or replace them (if it is a charcoal filter).
- Another likely cause is a defective fan blade. The breakdown is eliminated by dismantling the hood, removing the plastic nut that secures the device and replacing the mechanism.
Fan is making too much noise
The fan in most cases makes noise due to dirty filters or the fan box itself. Also, owners of cheap Chinese devices often face this problem. In this case, the only correct decision is to buy a higher quality model. The following actions will help to reduce the noise level during operation:
- Check the attachments of the device to the kitchen unit and the wall. The appliance will make noise if there is even a slight gap. It is enough to tighten the fasteners and the problem is solved.
- Make sure that the air outlet is working properly.
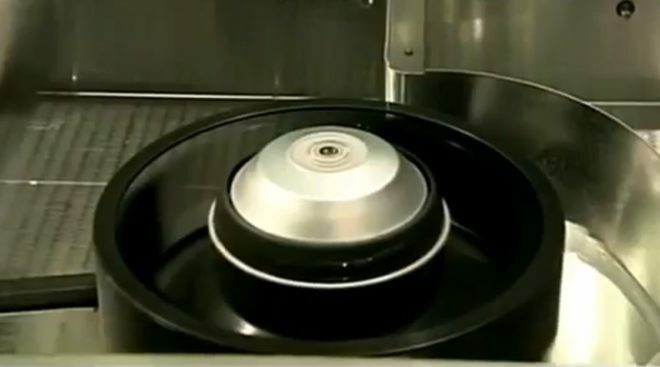
Image taken from https://www.youtube.com/watch? v = LAO5KDV6b_I
The hood does not turn on, while the built-in backlight is on
With these breakdowns, repairs will be within the power of a person with minimal knowledge of electrical engineering. Assess your capabilities. In some cases, it is necessary to replace the motor, which can cost a third or a quarter of the hood itself.
It is very important to disconnect the device from the mains before starting work. Then you should do the following:
- Check fuses. They are of several types. The first, glass electric, protects equipment due to voltage surges in the network. In some cases, it is not necessary to dismantle the hood, as it is located on the side of the junction box. The protective element is most often disposable; it is enough to replace it.
There are also thermal fuses to protect the motor from overheating. With a poorly functioning fan, the temperature inside the device rises and destroys the contacts, stopping the motor. The disposable fuse is removed and replaced with a new one.
- Using a multimeter tester, measure the resistance and ring the entire circuit: switch, fuse, capacitor, motor winding. The swollen condenser is replaced immediately. It is quite easy to find an open circuit - the melted sections of the winding are visible visually, as well as the sealed sections. In the first case, the winding can be rewound manually by cleaning it with a knife; in the second, the gaps can be re-soldered. If the breaks are in an inaccessible place, the winding should be unscrewed until it breaks.
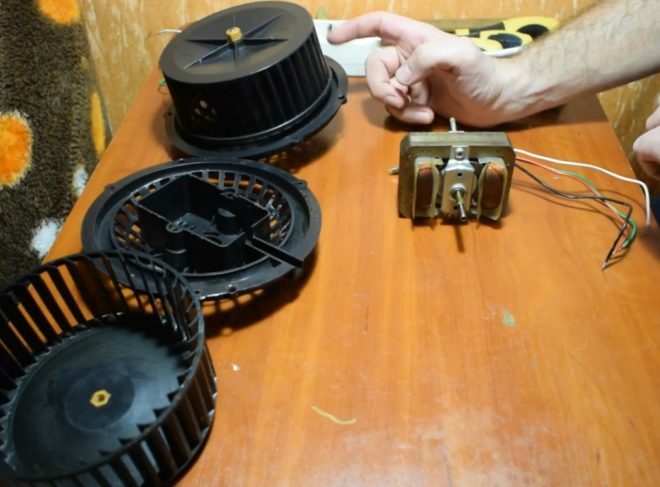
Image taken from https://www.youtube.com/watch? v = 7c00mkWO-9Q
The engine is noisy, but not running
This is often due to the motor wedge. To eliminate it, first remove the protective box from the mechanism. It is often secured with a few bolts or a special mounting plate. Disassemble, clean, lubricate the sleeve bearing, shaft and rear and front bushing seats.
It is best to lubricate with grease for car braking systems - it is most suitable for high-speed engines. Reassemble everything in reverse order, manually crank the engine. Make sure the structure is assembled correctly.

Image taken from https://www.youtube.com/watch? v = K1S7NNoP854 & t = 1s
In some cases it will be necessary to replace the engine gasket.
Do not switch speeds
This problem most often occurs in sliders or pushbutton devices. If the speed does not work in the sensor device, then in this case the breakdown is more difficult and consists in replacing the entire control unit of the electronic board. But in the first cases it is easier - most likely, they have oxidized. To make sure of this, the wires are connected directly, bypassing the switch, and the hood is turned on.
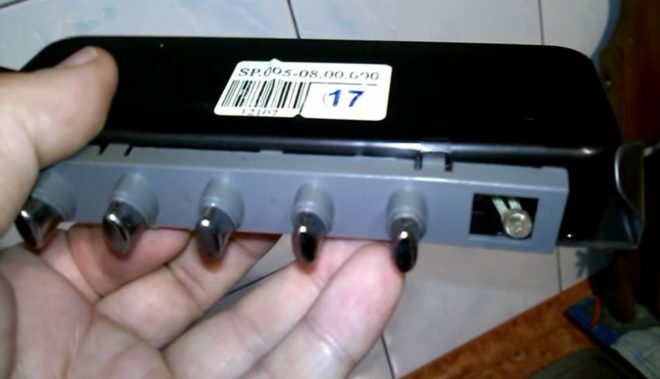
Image taken from https://www.youtube.com/watch? v = rLg2Al5Xwm4
Remove the protective shield to ensure that the switches are working. If the element is worn out, it needs to be replaced. The slide lever is easy to disassemble and clean. Sometimes the common contact that goes to the engine burns out. To strengthen the already repaired contact, an additional stripped wire is soldered to it.
The spot lighting of the hood does not light up
Make sure that there is voltage in the mains, check the integrity of the plug and cord, whether there are frayed places, breaks, melting. The lamp itself can be checked with a multimeter.
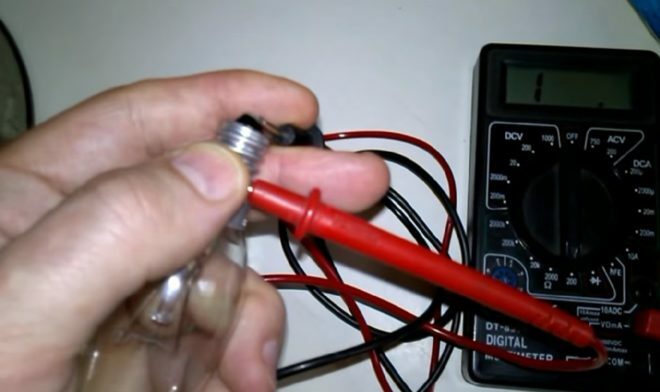
Image taken from https://www.youtube.com/watch? v = rLg2Al5Xwm4
If the unit continues to work, and the problem is only with the light, just replace the light bulb, remembering to remove the plug from the socket. Almost any person can cope with this malfunction. Remove the light filter and protective grill, thus providing access to the lighting.
A breakdown can also be in the socket itself, in the switch or in the connecting wire. Determine the problem with a tester, then fix the problem.
Exhaust device
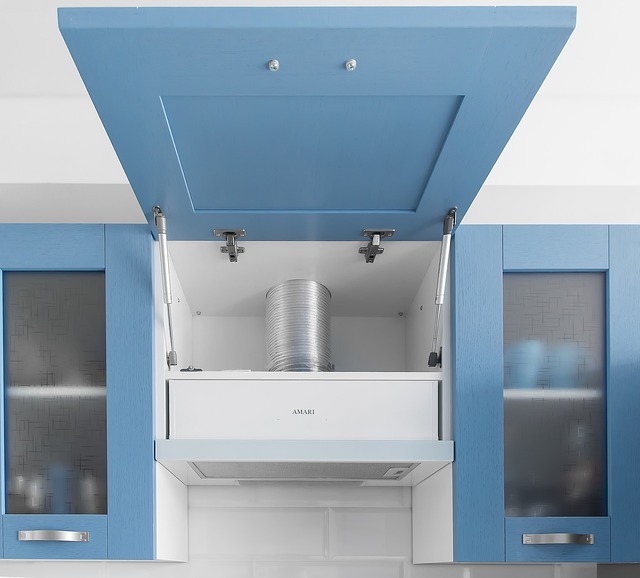
Before washing and disassembling the hood in the kitchen, you should familiarize yourself with its design features. Among all household appliances, these mechanisms are distinguished by the simplest design. Each cooker hood consists of standard components:
- Motor - is responsible for regulating the strength of the air flow. Often fastened with screws to a special flange.
- A fan is an element that provides air exchange. Connects to the motor.
- Filters - cleaning pads that protect other parts from dirt, dust, grease, extending the service life of the equipment. Filters can be: plastic, aluminum, carbon, ceramic, absorption, fiber-optic, stainless steel.
- Lighting elements.
- Speed switching scheme: slider, push-button or sensor.
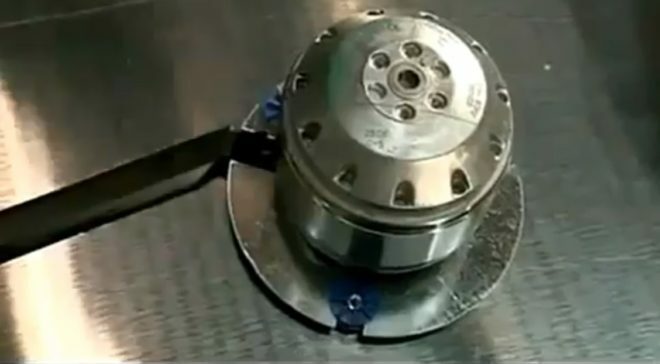
Image taken from https://www.youtube.com/watch? v = LAO5KDV6b_I
Repairing the device yourself is an easy task for those who understand the design features. The main thing is to find the cause of the breakdown.
We disassemble the kitchen hood
The need to remove the hood may arise not only due to operational problems. The filter and the unit should be cleaned periodically. For the average consumer, disassembling and dismantling the hood will not take much time. The manufacturers have done everything to make this process as simple as possible.
- Before dismantling the hood, it must be disconnected from the power supply.
- When disassembling the hood in the kitchen, re-read the instructions, since each model may have its own characteristics.
- Remove the filter grilles located on the bottom panel by sliding the latches (clips).
- Disconnect the light bulb connectors.
- Remove the fan: unscrew the impeller from the stopper and free it from the motor. Sometimes there is a spring clip or other attachment in the design.
- The last one is to remove the control board and the motor (there may be two of them).
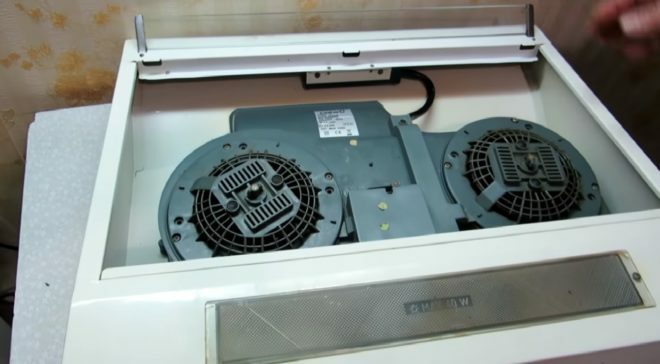
Image taken from https://www.youtube.com/watch? v = tiDU69oE6mg
This is how the hood dismantling looks like. There are models that are even easier to disassemble, since they consist of blocks that are independent of each other. For example, to remove a motor, it is not at all necessary to remove the backlight unit.
We disassemble the device to wash
In order for the equipment to function at full capacity, it is necessary to periodically clean it. During operation, stubborn grease accumulates on the filter elements. In addition, a dirty filter can provoke a fire or damage to the motor.
On the market today there is a technique of the latest generation, with sensors that signal the need for cleaning. If yours is not the most advanced model, you should wash the device monthly. Therefore, all users need to know how to disassemble the hood in order to clean it.
- Examine the design features of the model, find its collapsible elements on the diagram.
- Unplug the hood before disassembling and cleaning the hood.
- The upper part of the case is removed, which is attached with bolts or clamps.
- In some cases, it is sufficient to remove the air mesh that protects the internal cleaner. Most often it is installed on special latches.
- The rest of the collapsible parts are also removable. They should be soaked in warm soapy water to dissolve the fat.
- A dirty filter is removed.
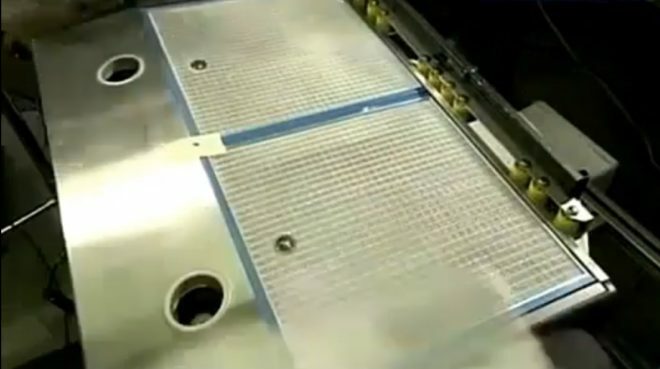
Image taken from https://www.youtube.com/watch? v = LAO5KDV6b_I
It is not easy to clean the hood from grease and dirt, for this we recommend using a number of aids:
a solution based on laundry soap and soda;
dishwashing detergents;
grease removers;
ammonia;
whiteness;
laundry soap;
vinegar;
lemon.
As you can see, it is not so difficult to clean and disassemble the hood. When each part is washed and the outside of the unit is cleaned, you can put it back together.
Installation and operating tips
Compliance with the rules and regulations for the installation and operation of the cooker hood allows you to avoid functional malfunctions. Experts recommend sticking to a number of key points:
- Correctly performed installation of the device maintains the integrity of the connection of wires, corrugations, prevents breakage of contacts and reduces the noise level.
- Timely cleaning and replacement of filters, screens and grids increases the engine life, saves energy consumption.
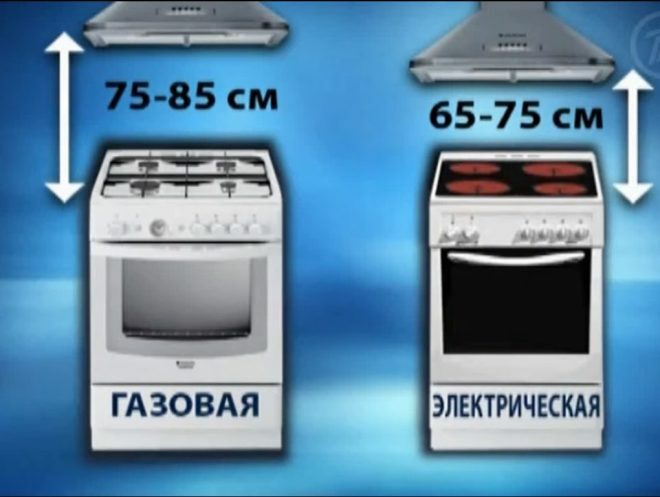
- Compliance with regulations during installation. The device should be located directly above the stove: permissible 65-75 cm from the electric oven and 75-85 cm from the gas stove. When installed below this level, the structural elements of the device will overheat, as a result of which they deform. If the distance between the hob and the hood is too great, its efficiency will be reduced.
- Consider additional protection against voltage surges in the network. For this, a stabilizer or a protective relay is installed.
- The hood must start at minimum speed. If equipped with a manual switch, the speed should be controlled. Turning on the device immediately at maximum power often leads to an increase in the load on the electric motor and its failure.
- Timely care of the filter elements. With constant use of the hood, they quickly become clogged, and this affects the ability to pass air. It is important to remove all dirt from the outside using gentle cleaning agents. Dirty filters are often the reason for ineffective operation. Clean the mesh grease catcher at least monthly, and the charcoal ones every 3-6 months. Modern, expensive models of hoods are equipped with highly functional carbon filters, which have a service life of about 2 years.
- Make sure that the fan is not turned on when the burners are running and there are no dishes on them. Due to the high temperature, this may deform the control panel.
- A couple of minutes before the hob starts to work, you need to turn on the cooker hood. After finishing cooking, do not rush to turn it off, leave the device to work for another 10 minutes.
Knowing and observing all the recommendations for the operation of the hood, you can not only avoid breakdowns, but also extend its service life. If you cannot avoid this, try to fix the problem yourself. In cases where there is absolutely no experience in the repair of electrical appliances, it is wiser to seek help from professionals.
average rating 0 / 5. Number of ratings: 0
No ratings yet. Be the first to rate.


