Russia, Moscow region, Moscow+79041000555

 It takes ~ 3 minutes to read
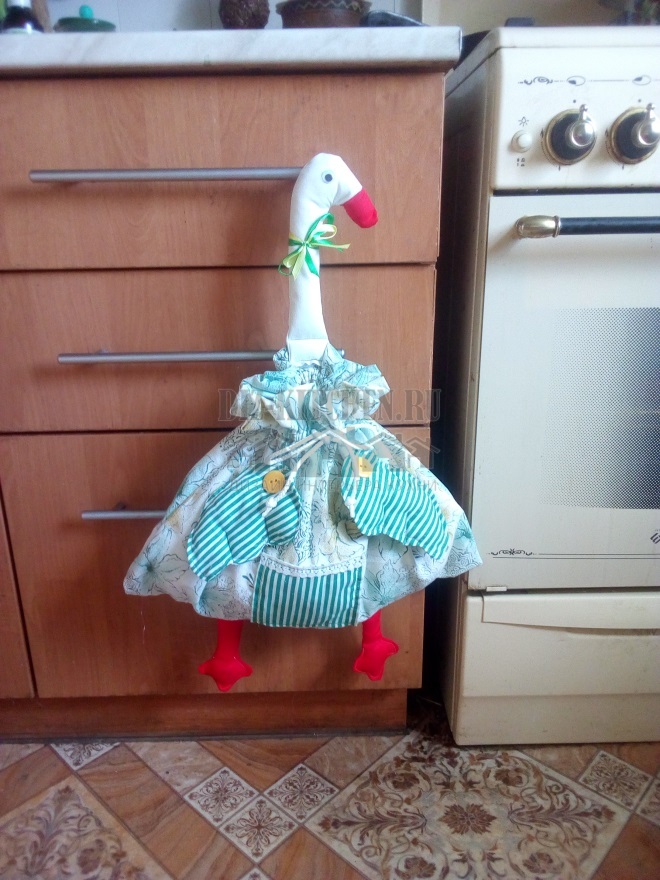
I want to tell you how you can make an interesting interior toy that will also become an assistant in your kitchen. Since in such a goose you can store packages that accumulate in huge quantities in every kitchen. The toy will look great in a country or Provence style kitchen, in a country house, in a country house and in a city apartment.
We need:
Attention! Earned on our website kitchen designer. You can familiarize yourself with it and design your dream kitchen for free! May also come in handy wardrobes designer.
- The fabric is white, red and colored;
- Sewing machine;
- Scissors;
- Threads;
- Lace or rope;
- 2 buttons;
- Eyes or beads;
- Decor tapes;
- Filler.
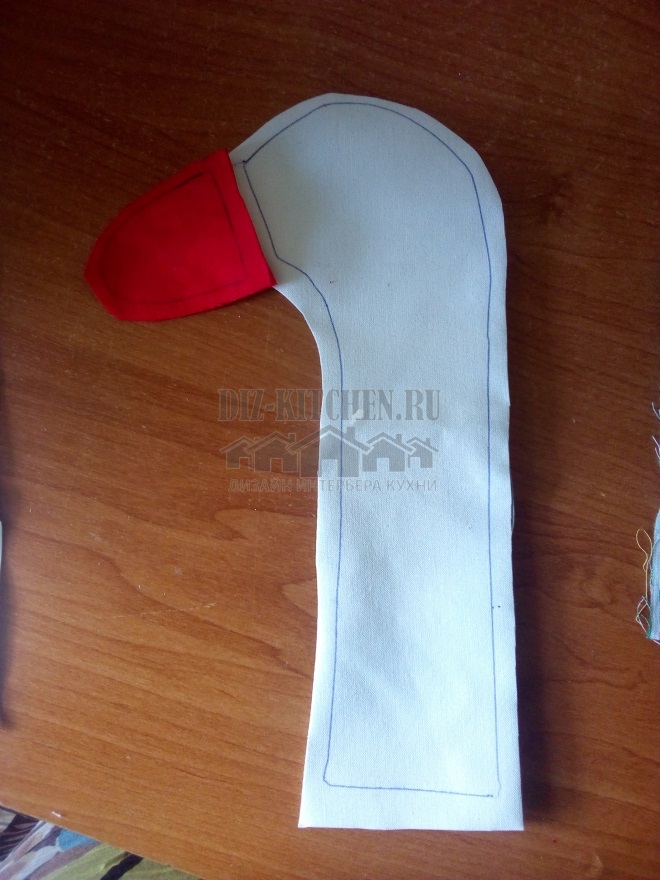
- The first step is to decide on the size of our bag. It depends on what packages you want to store in it. If these are small T-shirt bags that you often use or some kind of sandwich bags, you can make a small goose. If these are large bags, then your goose should be large enough. Usually such a toy is 60-70 cm tall. So, we start by making templates out of cardboard: a foot, a wing, a neck with a head and a beak.

- We select the fabric for the main bag and wings. And I also want to make a pocket.
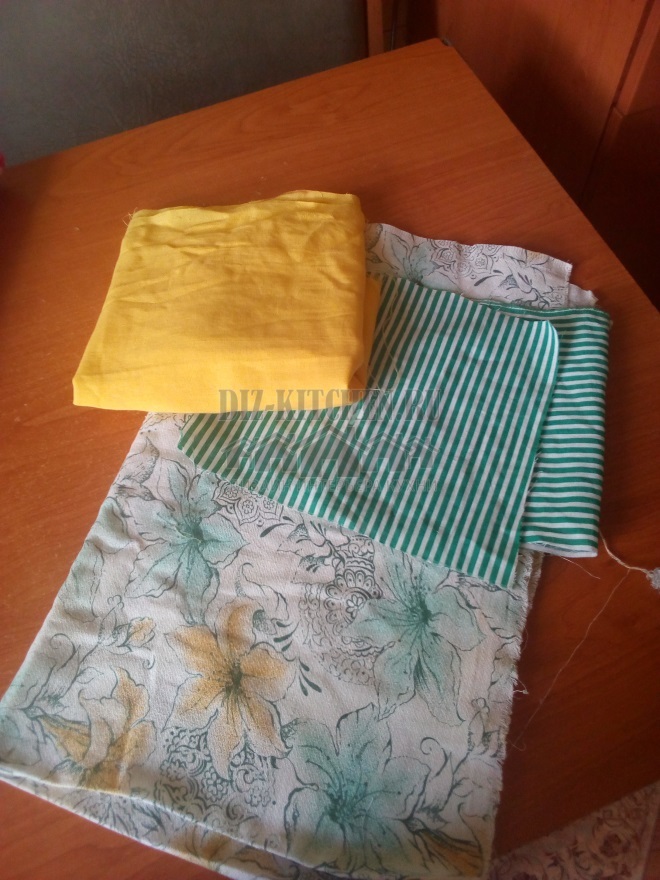
- You will also need a white cloth. You can take a cream for the goose neck and head. And red cloth for the beak.
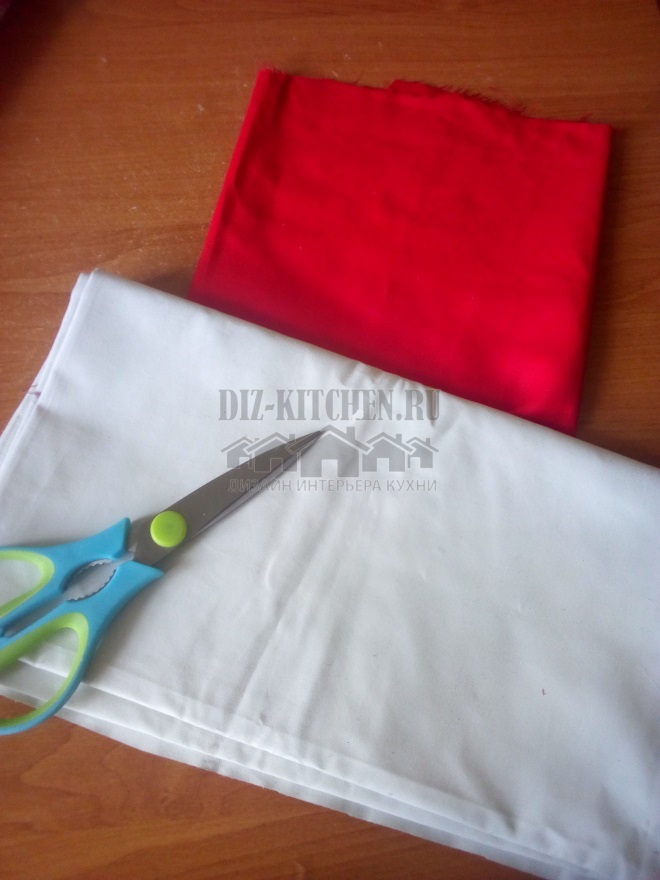
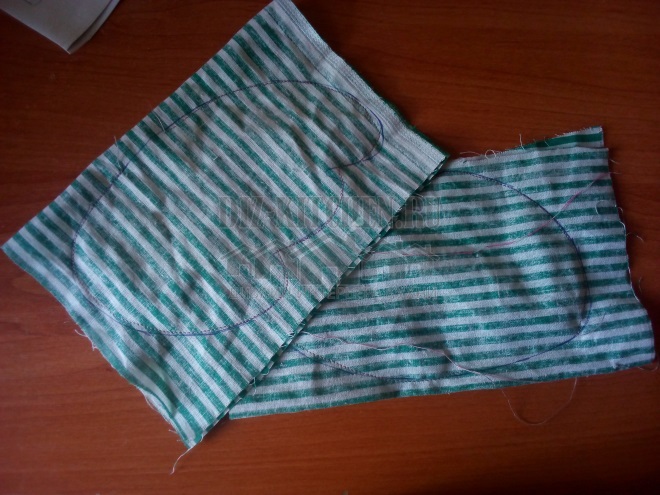
- You can make the legs and beak yellow or colored. We put the templates on the fabric and outline them with a regular pen, you can use chalk or soap.
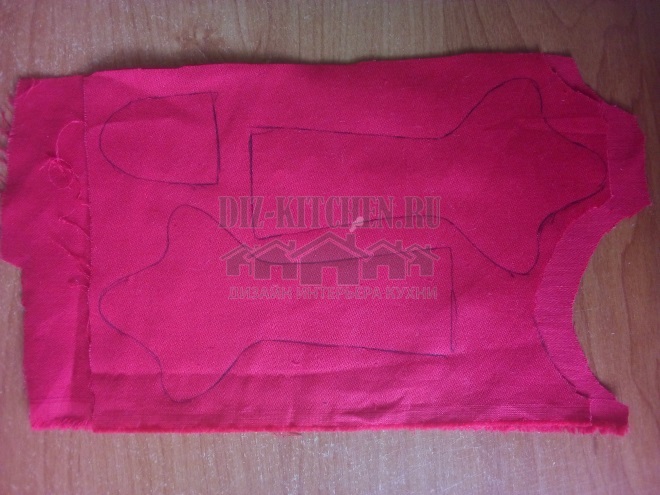
- Now we outline the outlines of the neck and head.

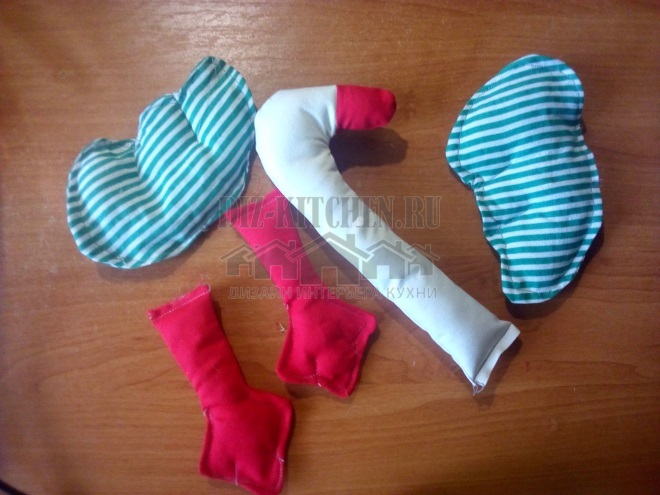
- We fold the fabric in half, so both the legs, and the beak, and the neck should be double. For work, of course, you need a sewing machine.
- We sew the templates folded in half on a typewriter.
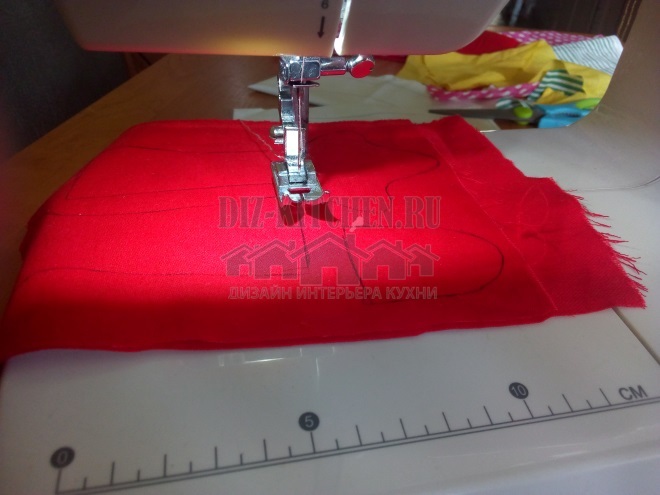
- Do not forget to leave the bottom or some fragment open for further filling.
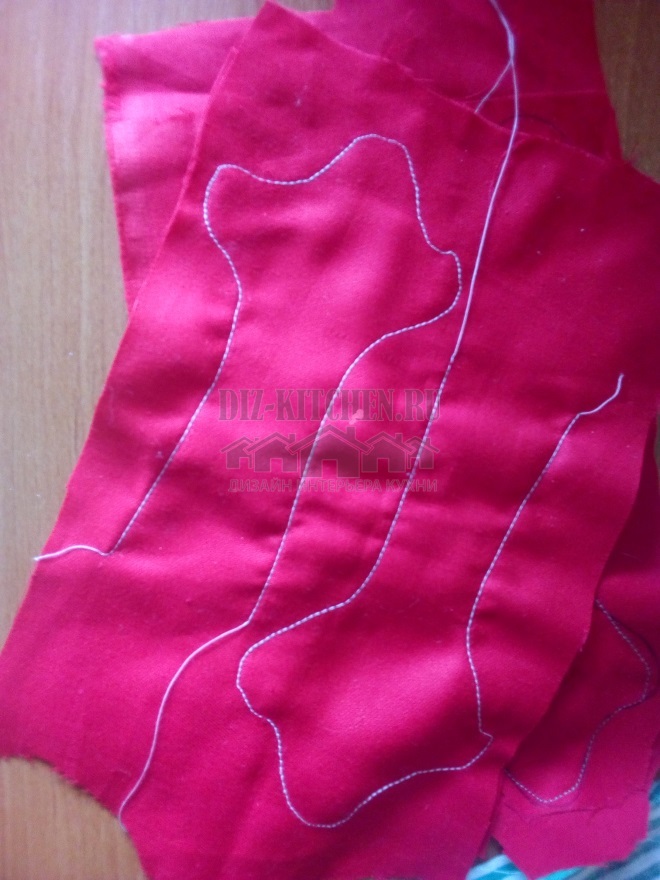
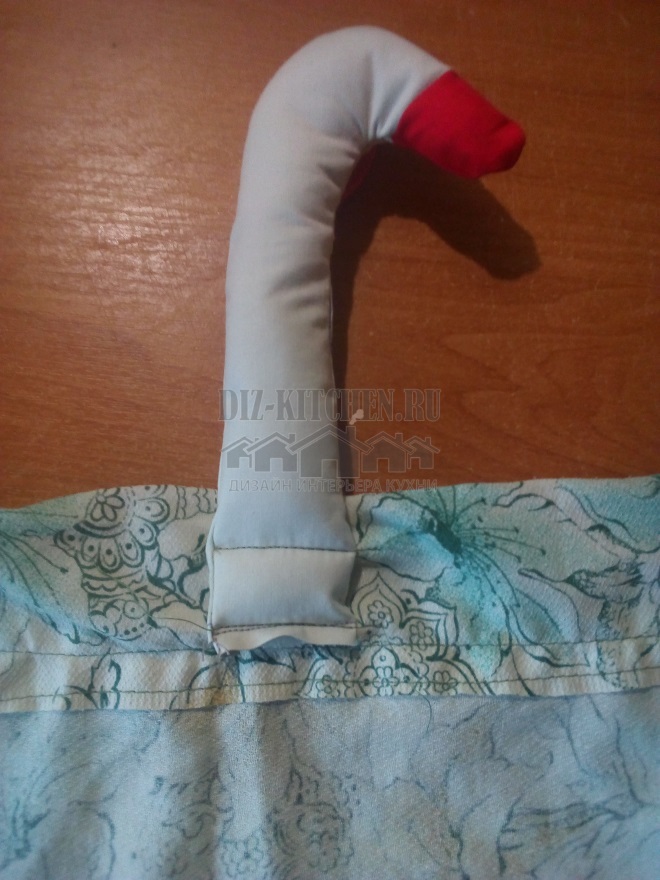
- Let's take care of the head and neck: carefully cut out our parts and sew each side of the head with the beak.
- After we have expired them, it is better to iron the joint of the beak and head from the inside out.

- Fold in a mirror image and sew the entire head, leaving the bottom open.

- Now all elements can be turned out and filled with filler. I am using a synthetic winterizer.
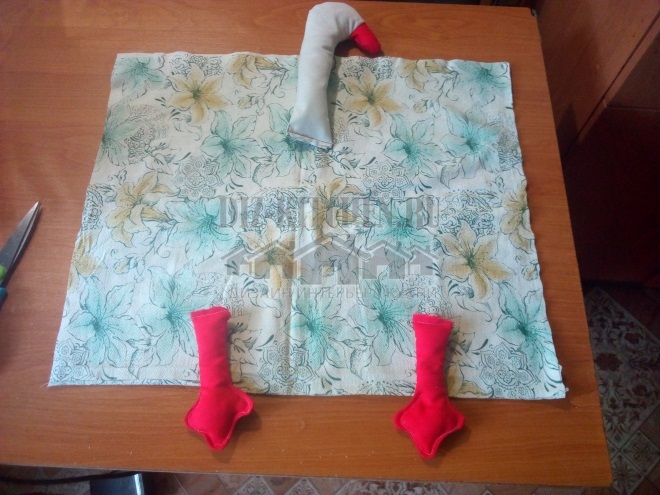
- We take the fabric for the bag and lay it out on the table, applying the details.
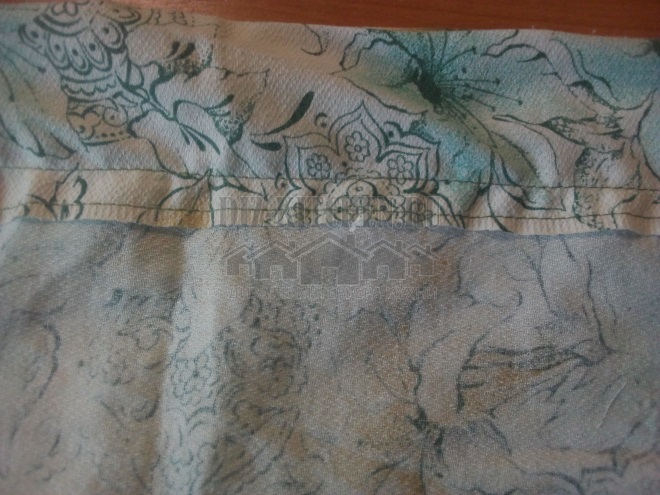
- We sew the bag on the sides and, bending up, we make two lines. We attach the folded edge with the first line, and we make the second line in order to subsequently thread an elastic band or lace there.
- Sew the head from the inside with two lines,
 then a pocket in the middle.
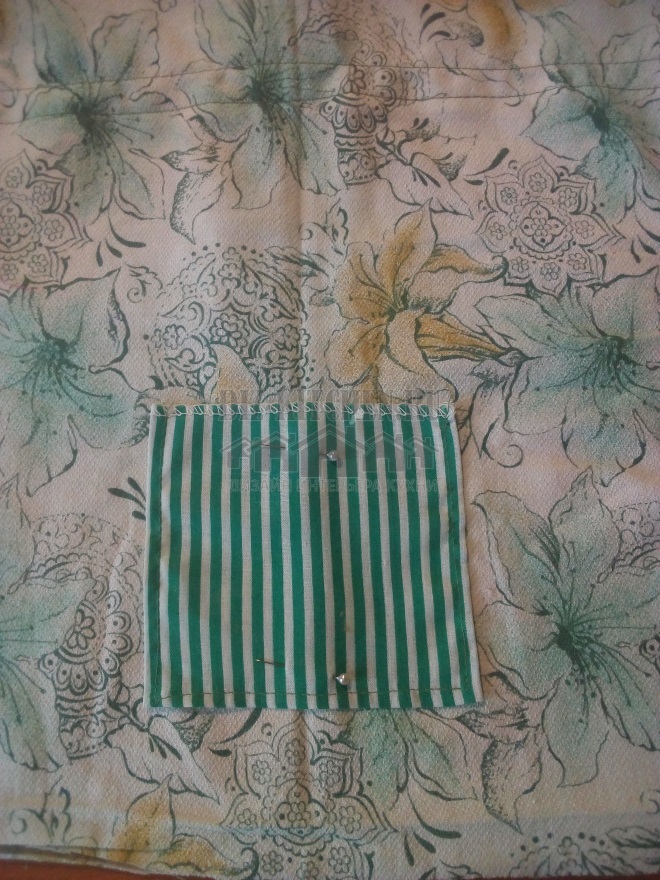
- Sew on the legs with one seam, trimming the bottom of the bag.
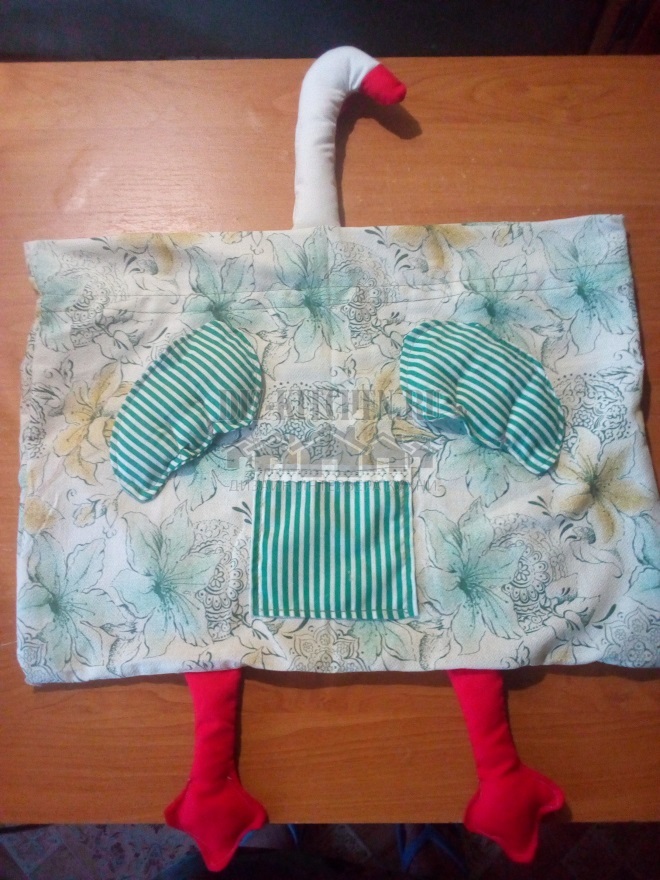
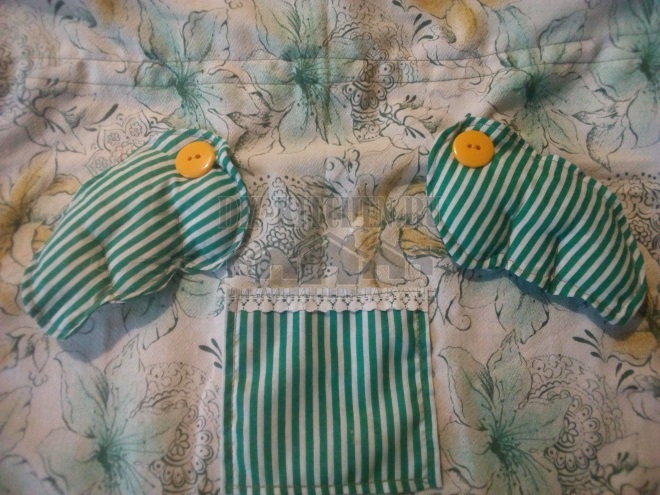
- We apply the wings. They can be sewn on with a blind seam, or you can attach them with bright buttons like mine.
- We pass the string, and our goose - the bag is ready! It looks very nice on my kitchen wall.
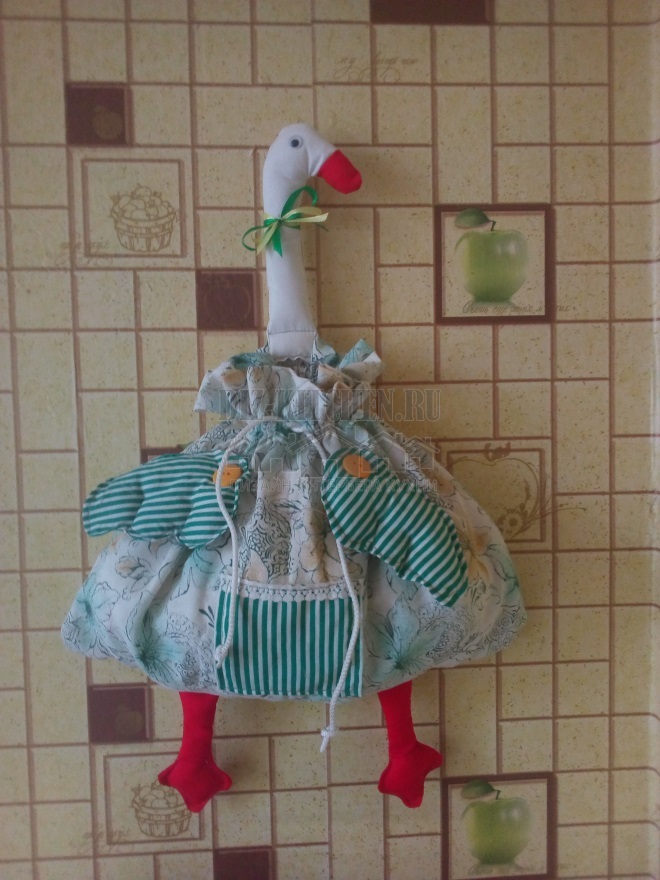
This is a very useful little thing, in our house he became a favorite. Now your bags are in a safe place, they are easy to get out and they are always at hand. 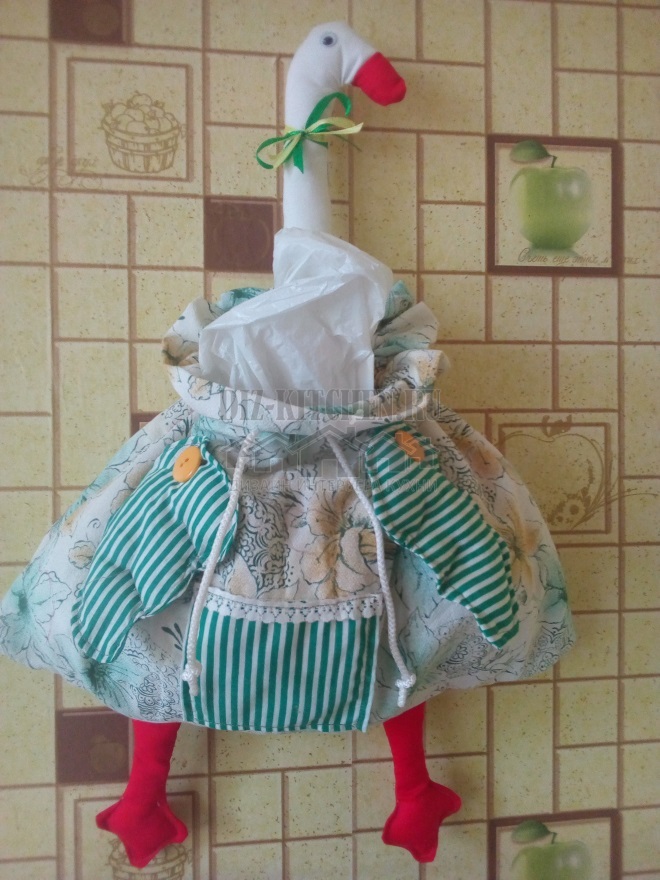
A place that always smells delicious?
Kitchen
46.88%
Microwave
5.21%
Oven
11.46%
Grandma's hiding place
10.94%
Bin
25.52%
Voted: 192
In order not to lose, tell your friends
Follow us on social networks


Dear visitor!
With great interest I always read your comments to my articles. If you have any questions, do not hesitate to ask them, leave, please, Your feedback in the form below. Your opinion is very important to me. Thanks to your criticism and thanks, I can make this blog more useful and interesting.
I would be very grateful if you rate this post and share it with your friends. It's easy to do by clicking on the social media buttons above. Do not forget the article you like Add to bookmarks and subscribe to new blog posts on social networks. 
Anna, editor of diz-kitchen.ru
© 2015 - 2022 | All rights reserved. At a reprint of materials the active link to the source is required. | User agreement and privacy policy
All characters and stories are fictional, and any coincidence with real or living people is accidental.


