Russia, Moscow region, Moscow+79041000555

 It takes ~ 3 minutes to read
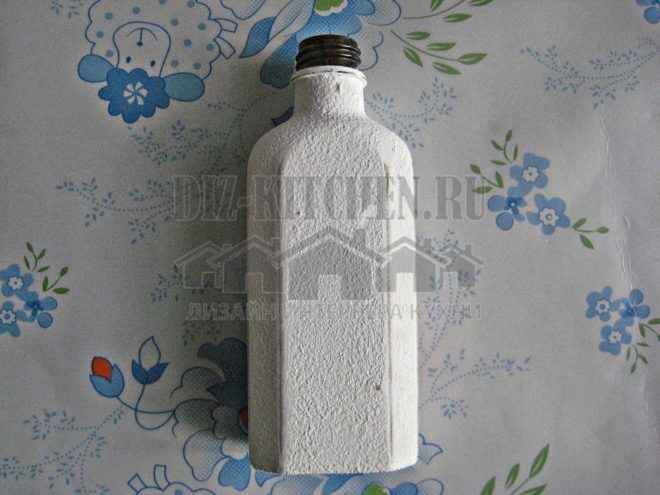
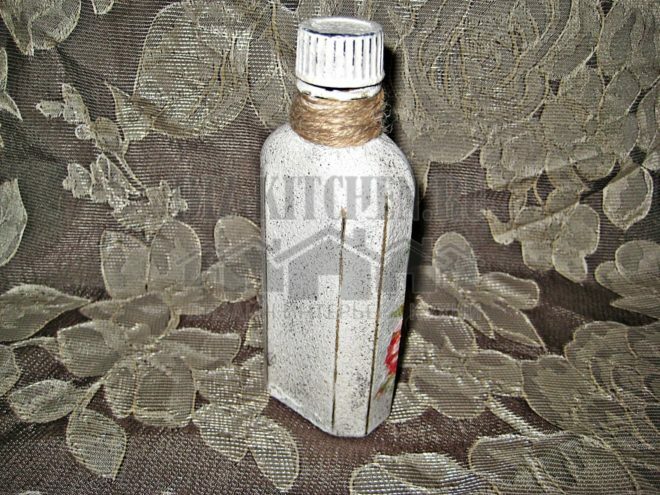
Decorating the interior with materials at hand is easy. To do this, you will need an empty bottle and a few other little things. It is from the bottle that you can make an original thing that will play the role of not only decoration, but also come in handy in everyday life.
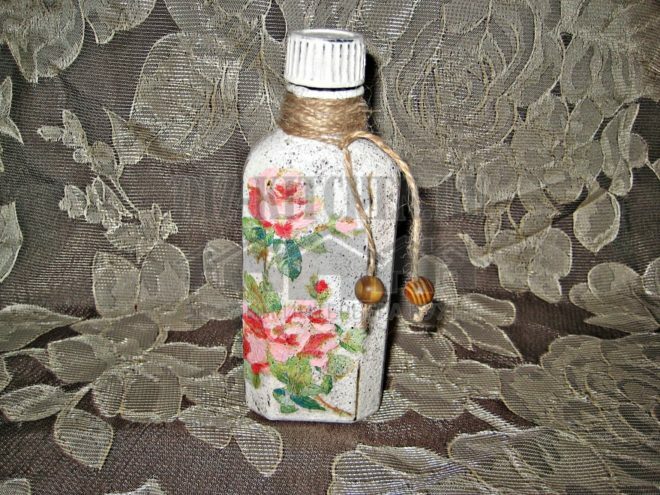
Decorating a bottle is not a time consuming process, but very exciting. To decorate the bottle, we will use the decoupage technique with aging elements.
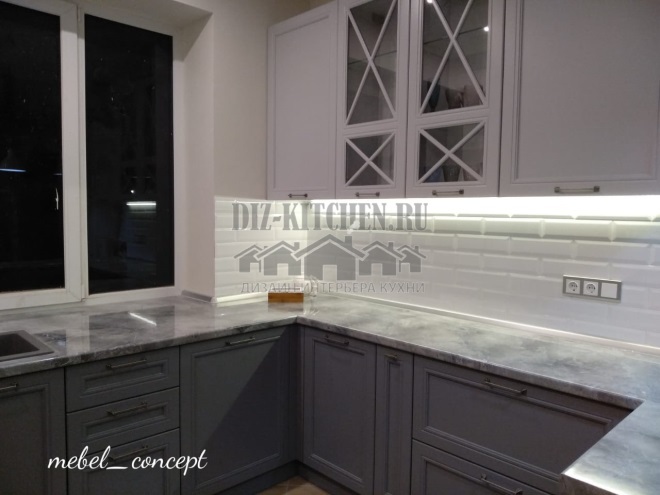
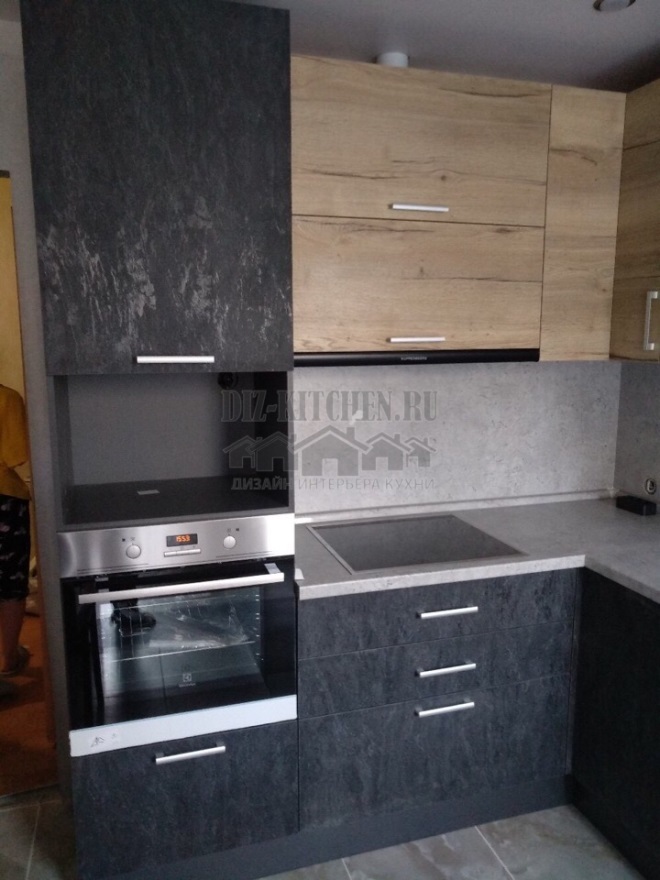
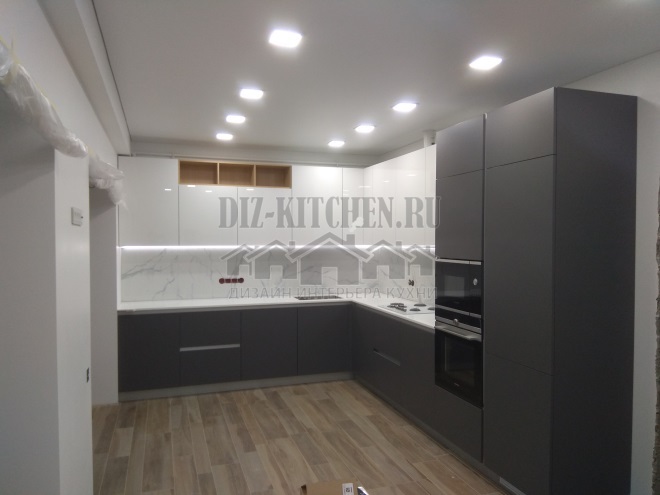
Attention! Earned on our website kitchen designer. You can familiarize yourself with it and design your dream kitchen for free! May also come in handy wardrobes designer.
Materials that will be needed for work
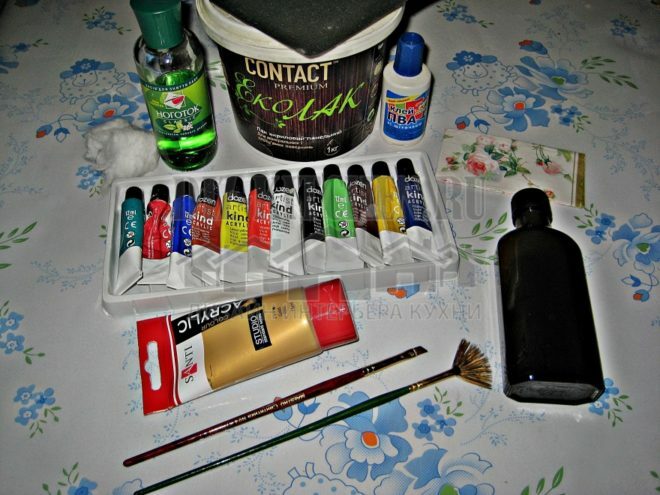
- Empty bottle;
- Acetone and cotton wool;
- Acrylic paints;
- Fine-grained sandpaper;
- Decoupage napkin with rose elements;
- Synthetic brushes;
- PVA glue;
- Brush;
- Matt varnish;
- Jute and beads.
Bottle decorating process
- At the first stage of the work, it is necessary to prepare the surface of the bottle. To do this, degrease the bottle with acetone and cotton wool. Then we apply a golden paint on the entire glass surface.
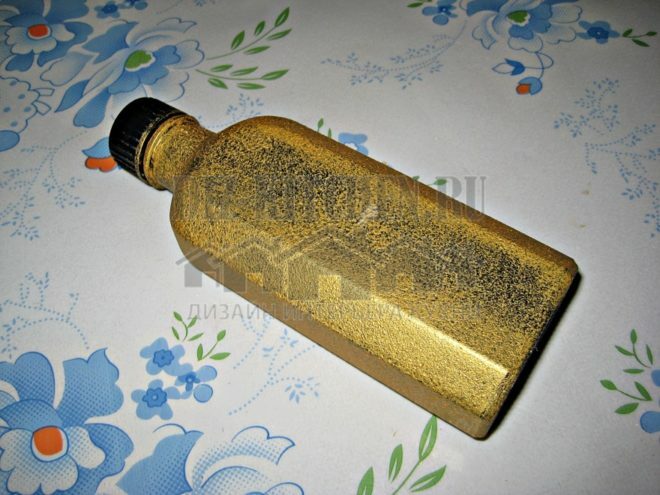
- For a deeper color, apply a second coat of golden paint.

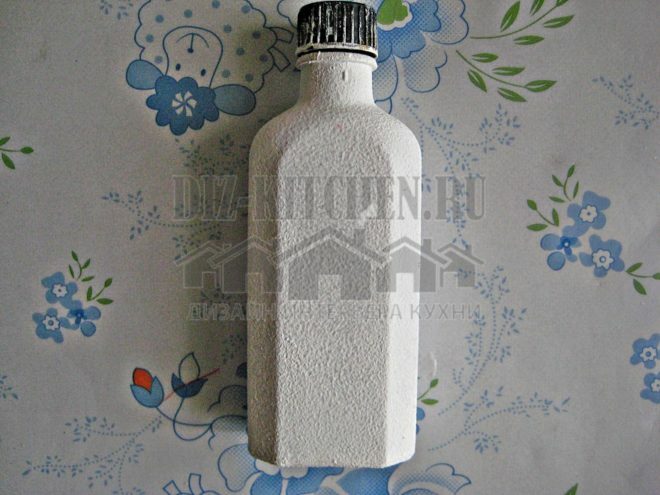
- Next, you need to paint the bottle with white paint. It will serve as the main background.
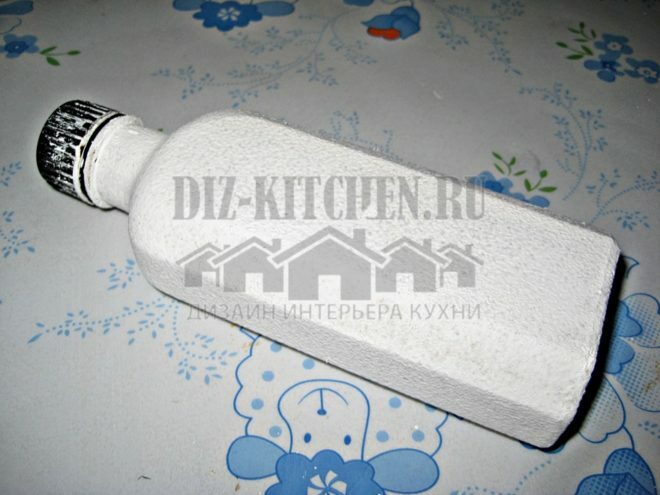
- We also apply white paint in two steps to make the background dense.
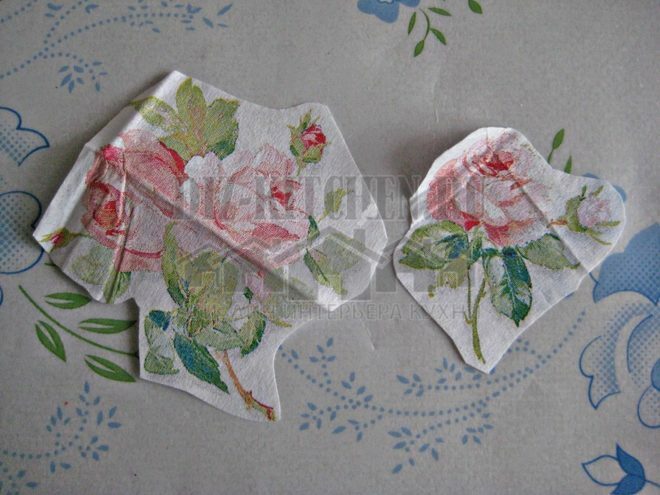
- Let's start decoupage. Using the tearing method, we extract roses of suitable size from the napkin. For work, you need a top layer of a napkin.
- We apply decorative elements of the napkin to the bottle. Then we cover the elements with a thick layer of glue. In doing so, use a wide fan brush. Move the brush from the center to the edge.
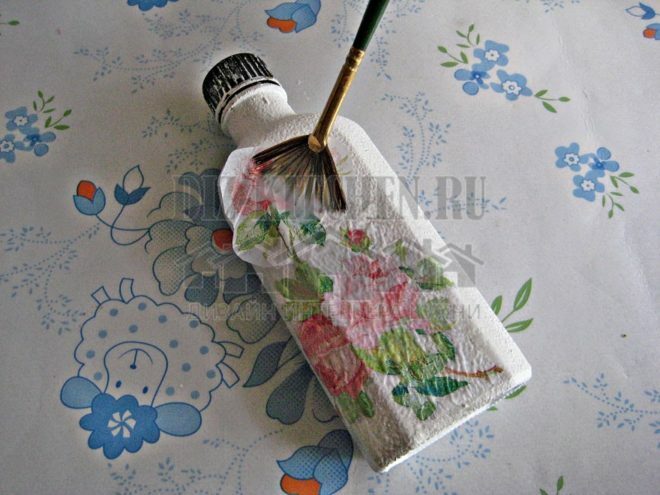
- The napkin is glued. The glue should dry completely.
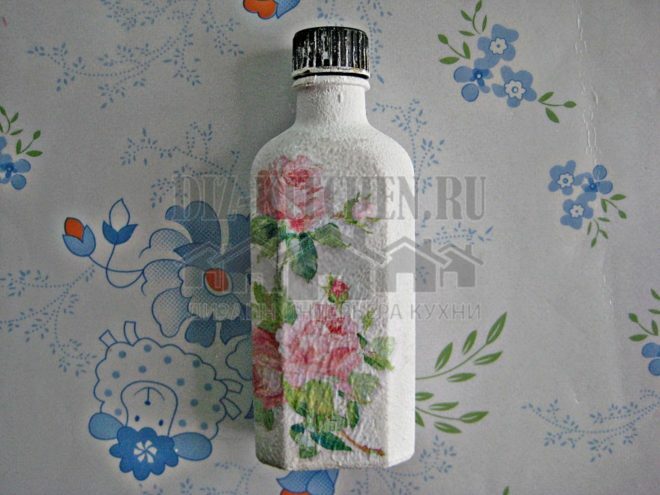
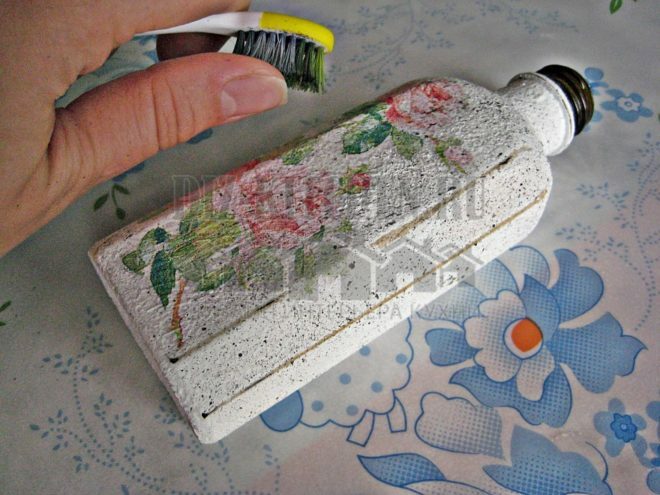
- After the glue has dried, you can proceed with further work. At this stage, let's start aging the bottle surface. To do this, use sandpaper to clean the top layers of white paint. We work on the protruding ribbed parts of the bottle and on the neck. In places of scuffs, golden paint should be visible.
- Next, take a toothbrush and wet it in black paint. After that, gently run your finger along the bristles. From the actions performed, small black dots will remain on the bottle. This is exactly the effect we need to get.
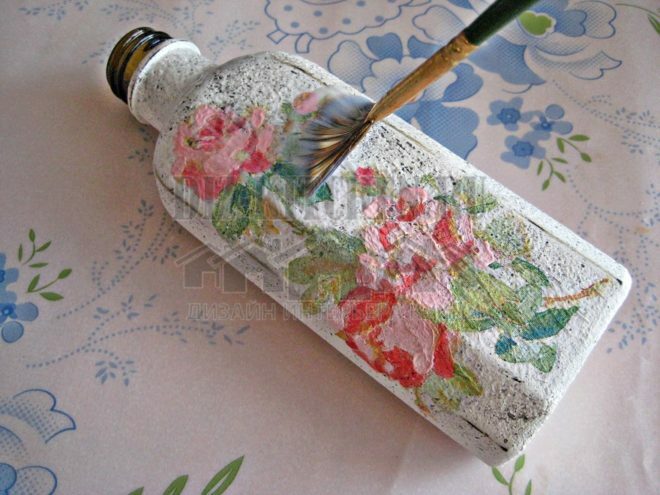
- In order for the drawing on the bottle to turn out to be voluminous, it is necessary to draw some elements of the roses. To draw roses we use pink and red acrylic paints. We also fill the voids with golden paint.

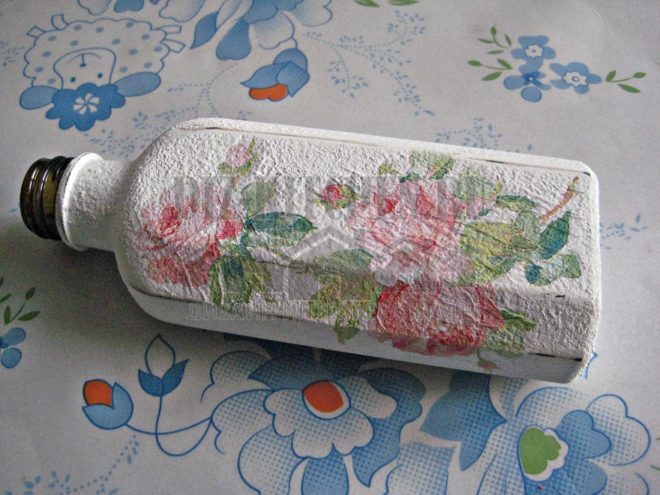
- Coloring the bottle cap separately. All elements are varnished.
- Finally, you need to decorate the bottle with jute and beads.
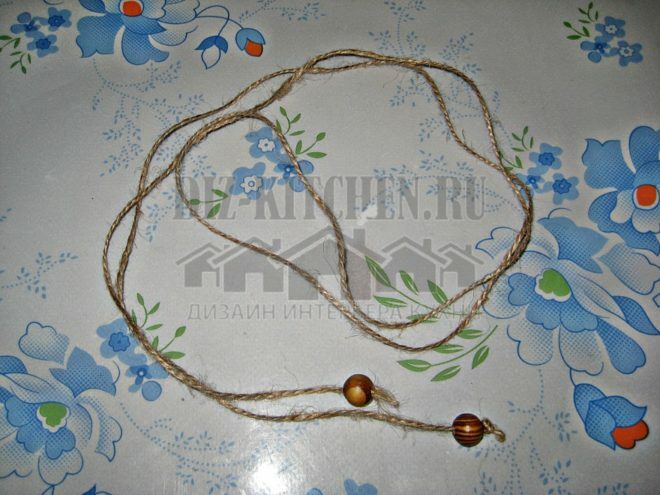
- To do this, randomly wrap jute around the neck of the bottle.
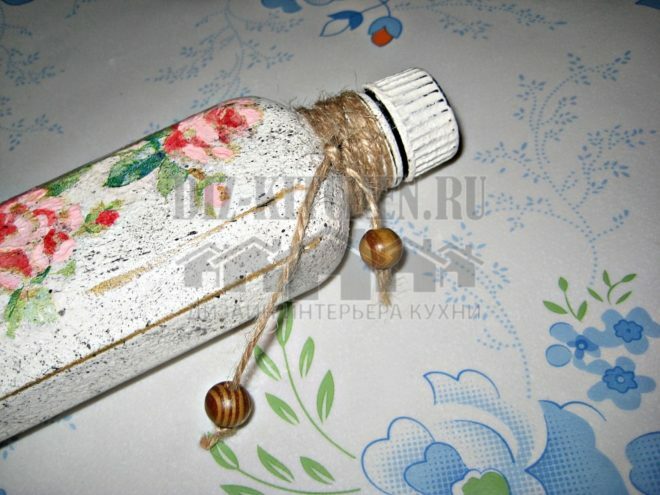
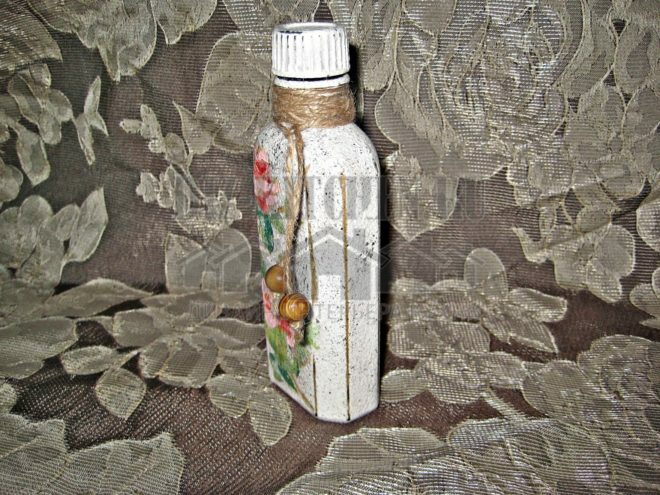
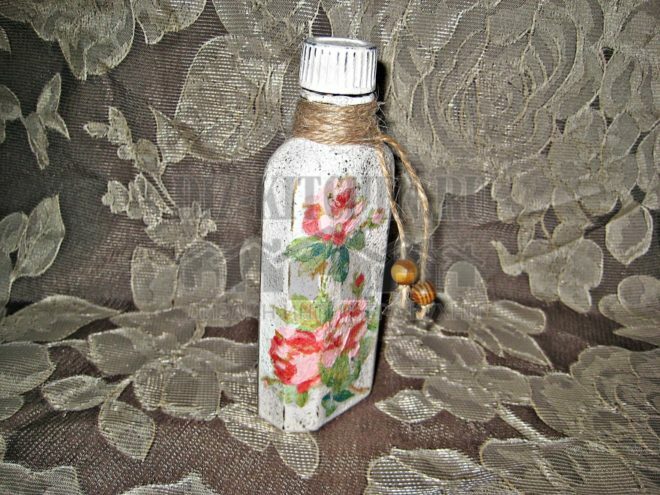
- The decoupage + aging bottle is ready!
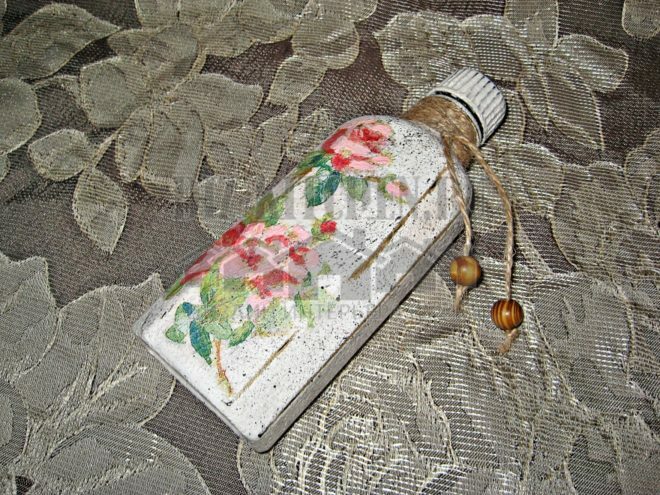
This bottle will be a beautiful addition to any interior.
Why don't some people eat at the computer?
They eat while reading books and newspapers
23.94%
They take a laptop and go to the kitchen
76.06%
Voted: 71
In order not to lose, tell your friends
Follow us on social networks


Dear visitor!
With great interest I always read your comments to my articles. If you have any questions, do not hesitate to ask them, leave, please, Your feedback in the form below. Your opinion is very important to me. Thanks to your criticism and thanks, I can make this blog more useful and interesting.
I would be very grateful if you rate this post and share it with your friends. It's easy to do by clicking on the social media buttons above. Do not forget the article you like Add to bookmarks and subscribe to new blog posts on social networks. 
Anna, editor of diz-kitchen.ru
© 2015 - 2022 | All rights reserved. At a reprint of materials the active link to the source is required. | User agreement and privacy policy
All characters and stories are fictional, and any coincidence with real or living people is accidental.