 Most modern printers use the lpt port to connect. The kit comes with a cable that connects to this port on the one hand, and on the computer’s USB connector on the other. But it is important to find this port in order to use the printer.
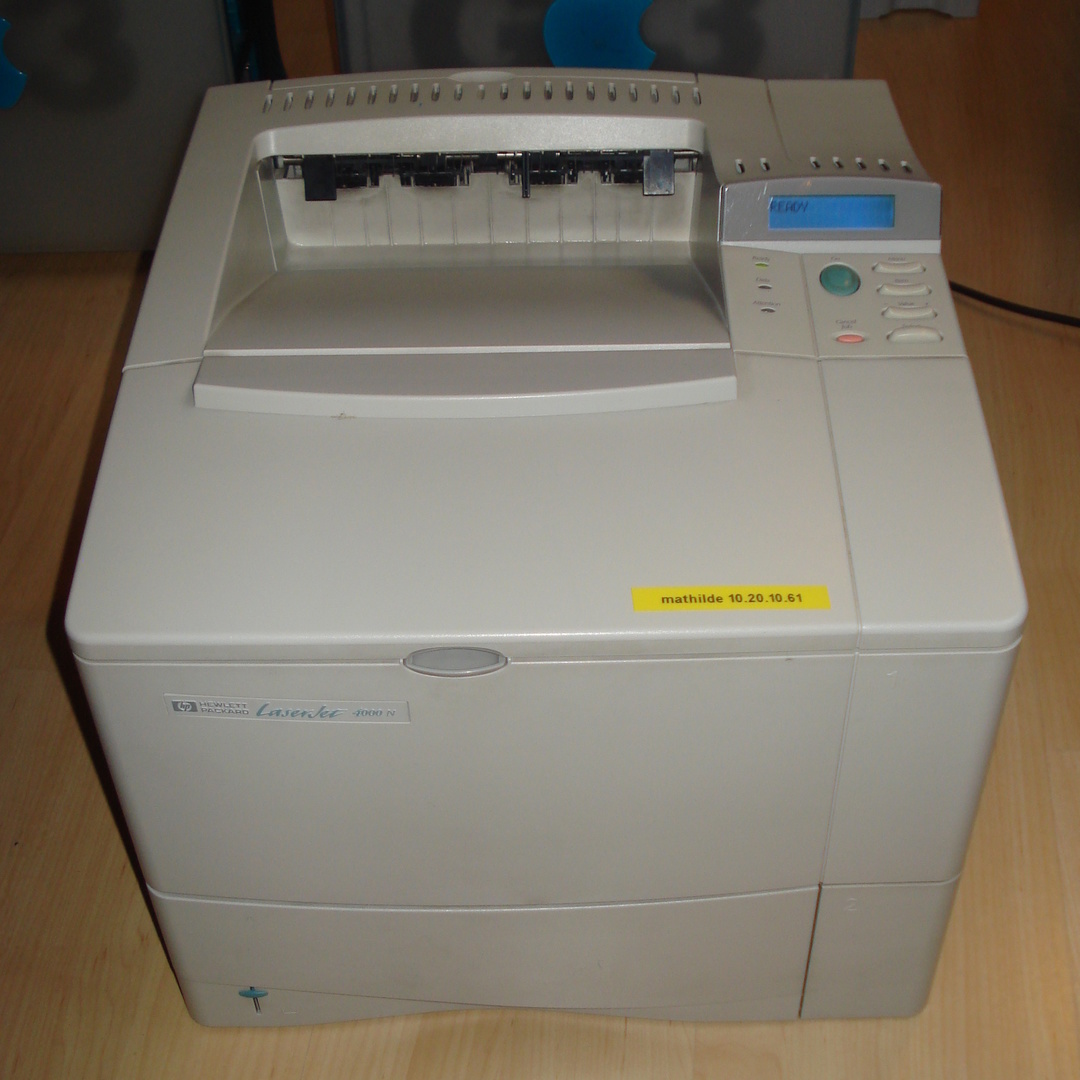
Location of the printer port lpt1
The content of the article
- Location of the printer port lpt1
- Model dependent
- How to connect a printer through lpt1 port
On most models, the lpt connector is located on the rear or side panel, next to the power port. If you need a black wire for power (comes with the kit, it usually looks like a power cable for the computer and monitor), then a thinner wire is needed for the lpt port. Usually it is gray or white (less often than black) and is connected to the computer’s USB connector.
Model dependent
The required port is located on the rear panel, for devices that print paper in A4 or larger. Most often, such devices are used in offices or at home. On the side panels, such connectors are used for devices in stores and outlets, for example, for printing labels or receipts. Devices with a connector on the front and top panels are almost never found, as this will make the printing process inconvenient. The cable will constantly come in contact with paper.
Reference! The bottom panel also does not make a connector, because then the device will not be able to stand on the table.
How to connect a printer through lpt1 port
To connect, do the following:
- Insert the cable into the lpt connector.
- Now you need to configure. We call the system menu. To do this, click the "Start" button.
- Select the "Printers and Faxes" section.
- We will have a window with a list of connected devices. We need to find the icon of the printer that is in use.
- Click on this icon with the right mouse button.
- Select the item "Properties".
- Open the “Ports” tab.
- We determine the port that is used.

If new equipment is being installed, do the following:
- Open the "Start".
- Select "Control Panel".
- Open the link "Printers and other devices."
- Expand "Printers and Faxes".
- Specify "Installing the printer." This command is located on the window that opened on the left side.
- Skip the first wizard window.
- By clicking Next.
- We apply the flag next to the inscription "Local". This appears in the second wizard window.
- Now you need to wait until the printer detects automatically.
- If the master did not find the connected equipment, click next and select the “LPT1” function :( Recommended port).
- Now you need to confirm the save changes. To do this, click the "Next" button. We follow all the subsequent recommendations of the wizard.

All of the above steps can be done when installing the driver for the device. Included is a disk with an application that automatically configures through the installation wizard. In this case, there is no need to use the "Control Panel", everything will be done automatically. But this function is supported only by modern devices.
The equipment works through two cables. One of them allows you to transfer the device the power necessary for operation. Another transmits information from a computer (what exactly needs to be printed). It is for the latter case that we need an lpt connector, the corresponding cable is connected to it.


