A properly organized home theater is, first and foremost, the right choice of equipment that is THX certified. To get the maximum effect on the quality of sound and pictures, you need to correctly choose a room, complete the installation of furniture, equipment.
Step-by-step home theater setup
The content of the article
-
Step-by-step home theater setup
- Images
- Acoustic system
If the TV panel has never been adjusted, there is a high probability that it does not display correctly. Naturally, you can adjust certain characteristics “by eye”, but it is advisable to use special disks for the test. The program will significantly improve the quality of the picture. Most Popular:
- Disney WOW - the best test disc for beginners, allows you to adjust the image quality. There are many different test patterns.
- Spears & Munsil - this disc is best suited for professionals. Has tests for adjusting deinterlacing and scale.

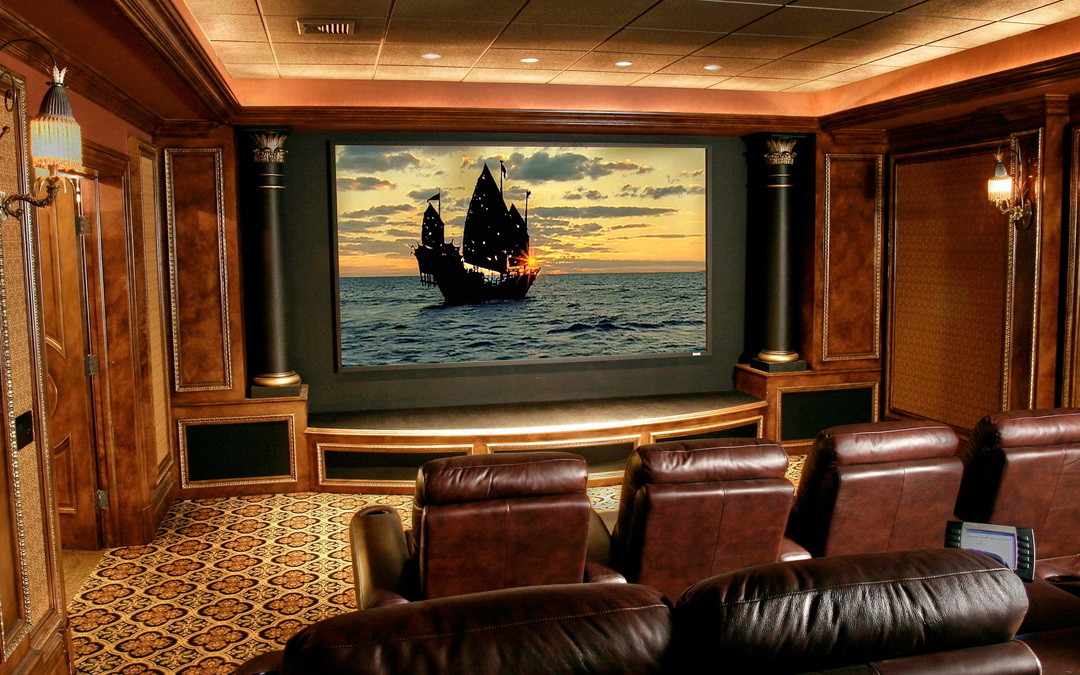
Images
When the brightness is adjusted correctly, 32 gray tones with clear boundaries can be seen at the bottom of the image. If the brightness is low, then all the shades begin to merge with the darkened areas; at high brightness, the shades merge with the light zones.
To adjust the contrast, the same gradation with gray shades is used. Correct adjustment also implies a clear view of the gradation of the scale. If the adjustment is incorrect, then certain areas may change to negative.
After finishing the contrast adjustment, you need to go back and check the brightness adjustment - if the image has changed. Then perform a contrast check again.
On the test disk are various photos of people. The color of the skin of the face in this test is an indicator of proper adjustment. You need to find a balance between dark and light areas. For the naturalness of the image, you need to reduce the saturation, try to avoid understating the color.
When adjusting, white should remain natural, without adding other shades. You need to look at the color strip: on the strip are translucent squares that must be visible in the background. To adjust the visibility, you need to use the saturation settings.

The clarity of the picture must be checked at the intersection of 2 lines. They should b
Wash without shading and surrounded by contours. As a rule, clarity is not often adjusted due to high-quality factory settings.
Reference! Some TV devices have the “Gamma” setting. To check this parameter, a color bar is also selected.
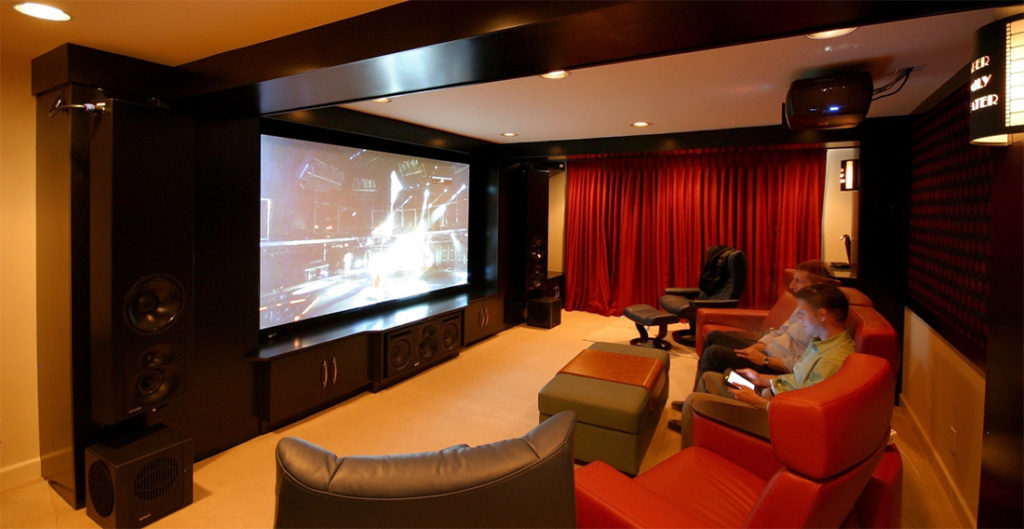
Acoustic system
The most common sound systems are 5: 1 and 7: 1. Where “1” indicates the number of subwoofers. “5” and “7” number of columns.
Recommended way to set the speakers to 5: 1: all speakers are located at the same distance from the user, and are located on a circle. In approximately the same way the speakers are set for 7: 1.
Manually adjusting the system is a rather difficult and lengthy process; only a professional can carry out this task. Sound measurement requires special measuring equipment.
Most often, in AV receivers for home use, there is an automatic sound adjustment function. The user only needs to connect a microphone and install in the place where the person will be in front of the TV.

Reference! When you enable sound debugging, after a certain time, the receiver will choose the best option for sound parameters for a certain type of room. After adjustment, you can further adjust the sound by installing a test disc.
By following the above instructions, you can adjust the home system yourself, without involving professionals. Naturally, if expensive equipment is installed and high quality requirements are set, then contacting specialists is the best option.