Plastering work using modern mixes and store lighthouses is, let's face it, costly. Yes, the same "Rotband" dries quickly, and the surface gives such that it is not necessary to putty (especially under the wallpaper). But the price for this pleasure is appropriate. Today we will talk about saving - how to plaster a wall with minimal costs.

@ tr.freeimages.com
The content of the article
- Required tool
- What to make plaster mortar from
- Preparatory stage
- Installation of beacons
- Rough draft
- Grout
Required tool
For work you will need:
- A concrete mixer, especially if you are planning large-scale work and not sketching a couple of square meters. You can do it with a trough and a shovel or knead on a piece of oilcloth, but this is less effective.
- Trowel, trowel, trowel.
- Ax, hacksaw, hammer and nails.
- A reel of polypropylene cord or fishing line.
- Buckets and bowl for mortar.
- Level and several rules of different lengths.
- Rebar 12-14 mm, cut to the height of the surface to be plastered. The number of rods depends on the area of the wall. You can also use disposable store beacons, but this is not very economical.
In order to save money, you can make a solution yourself, and not buy ready-made dry mixes. The difference in price will be huge. Now let's figure out exactly how we will save on the mixture.
What to make plaster mortar from
I will describe the mixture that I used myself when plastering my rooms. Therefore, do not be surprised and do not ask questions like "why so much cement?" After ten years, the plaster feels great, it has not fallen off anywhere, despite the average six-centimeter throw. In some places, it reached a thickness of up to twelve centimeters - this is how the walls were built in the post-war years. So, the recipe for one batch is as follows:
- cement M400 - 1 part;
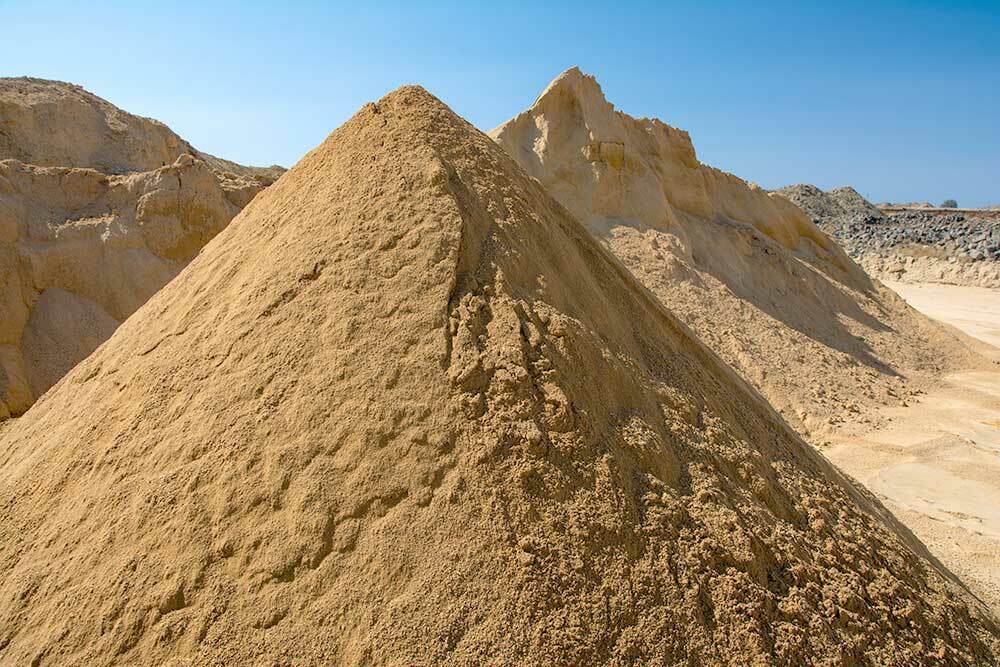
- river sand - 3 parts;
- tyrsa - 4 parts.
In many sources I have found proportions 1:2:6, but, in my opinion, such plaster is not very strong. But, undoubtedly, cheap, because tyrsa is worth a penny.
@ svarog-saki.ru
For those who do not quite know what tyrsa is, it is dust from shell rock or limestone, a by-product of mining and production. It is used as a cheap substitute for sea and river sand.
It would be nice to buy sand and tyrsu either already sifted or by yourself pass through a fine sieve. On the first rough sketches this is not necessary, but when you finish grouting, you will remember more than once what I am talking about now.
Preparatory stage
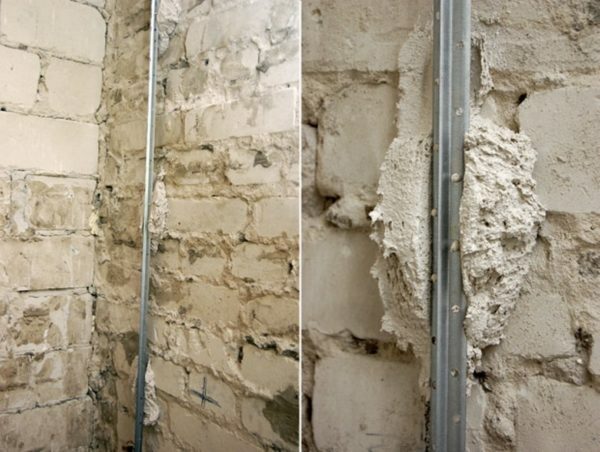
They start by driving a nail on the left and right sides of the surface to be plastered along three levels into the wall. If it doesn’t work - hold the punch in your hands, drill holes and drive in plastic dowels. We screw in self-tapping screws into them. All this fuss is needed in order to pull a polypropylene cord or fishing line over three levels of height. And not just pull, but make them level with respect to the vertical along the entire length. We will be placing beacons along these three cords. In order not to run with the level, use a plumb line - tie a string with a weight (say, with a large nut) to one of the upper nails and level the position of the lines along it.
Installation of beacons
@ vestnikao.ru
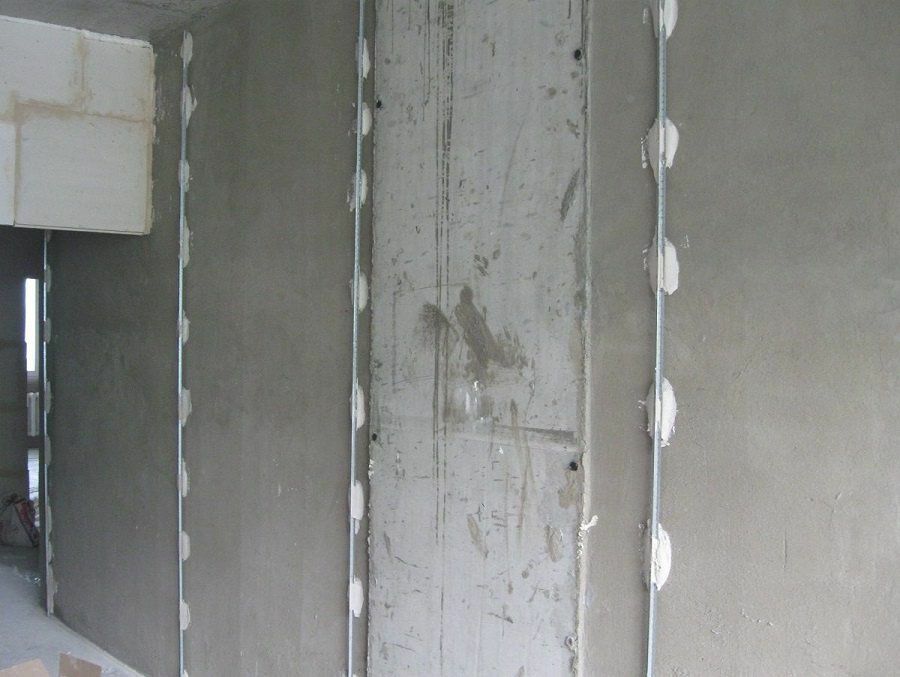
Some people use a solution for fixing, the recipe for which I gave above. But it will be easier to stick on the wall alabaster "cake", and beacons can already be attached to it. In this case, it is necessary to control that the beacons are clearly set at the level along the line. Position them so that the rule overlaps three beacons. Those that are closer to the edge of the wall or doorway are placed with an indent of about 10 centimeters.
If we talk about the convenience of work, it is easier to work with store beacons than with fittings. But they have a number of disadvantages:
- much less durable than fittings - they can bend and deform;
- disposable - after being removed from the wall, there is no choice but to throw them away.
But there are certain pros. First, a magazine beacon is lighter than a strip of rebar of the same length. Secondly, a properly coated lighthouse can be “buried” in the wall, no matter who says anything about rust there. And thirdly, if you did not steal the armature at the nearest construction site, then the lighthouse is definitely cheaper in terms of money.
@ 999.md
Rough draft
If there is already a sketch on the wall, then I will immediately draw your attention to the fact that it is better not to throw a new one on the old plaster. Notches with an ax or a grinder are, of course, not bad - maybe they will hold on. But often a fungus settles in old plasternot healthy at all. Do not be lazy - peel off to a stone.
Regardless of whether you oil the mortar with a shovel or a concrete mixer, add the ingredients little by little and alternately - cement, sand, tyrsa. Then cement again, and so on. With manual kneading, thoroughly mix everything dry. Then gradually add water, continuing to stir, and achieve the density of the store sour cream. First, a little water is poured into a concrete mixer, and then dry mixtures go.
Before sketching, the entire surface of the wall is well sprayed with water - to nail down the dust, and, say, the same shell rock picks up moisture. If not spilled with water, the plaster may fall off.
@ poradnuk.com
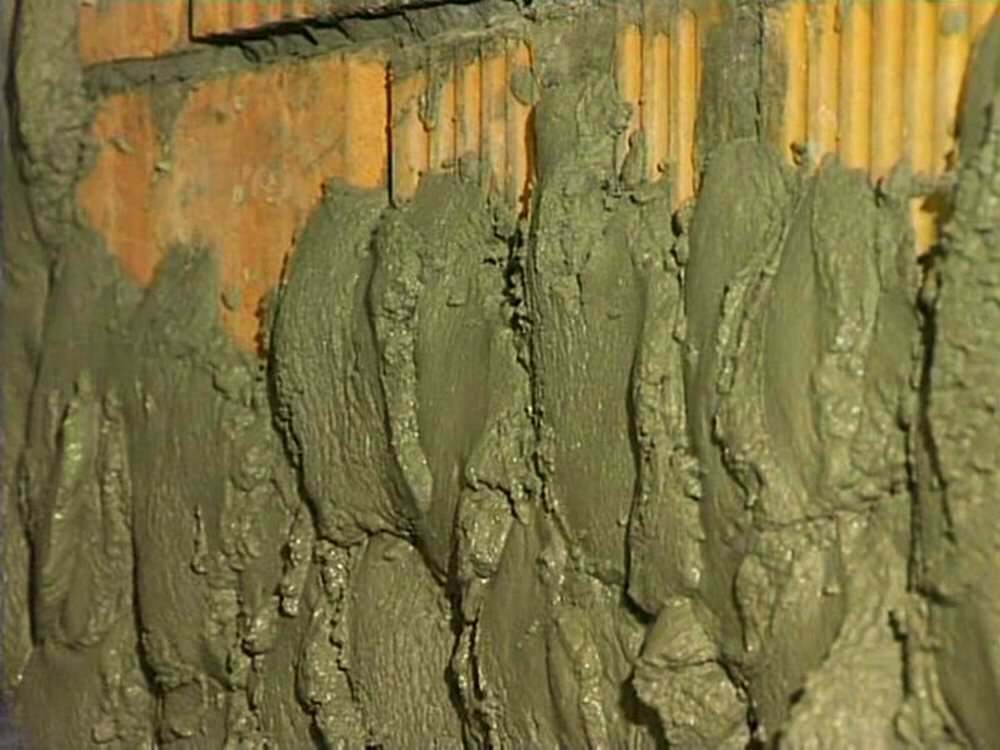
There may be several rough sketches. It is not necessary to make a thick layer (more than 2 centimeters) at once - it may not stay on the wall. Throw upwards, along the intervals between the beacons, called shoulder straps.
After the solution has stood for 20-30 minutes, using the rule, leading it from the bottom up, remove the excess from the wall. Water is added to them and brought to the previous consistency, then it is calmly reused.
If you decide to retrieve the beacon, wait about a day, then mine it. After that, we proceed to the final stage of the operation.
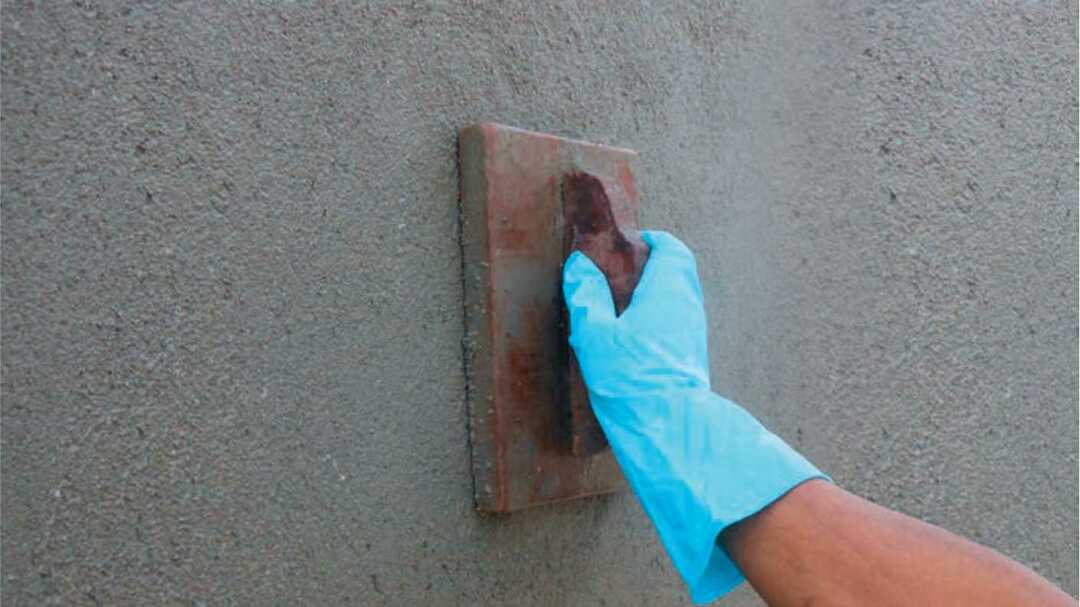
Grout
This procedure is started when the main layer has already grabbed and is not going to fall off. For these purposes, we use cement mortar with sifted sand and tyrsa. Using a foam trowel, we hammer in the remaining holes, cracks and traces of lighthouses on the wall. We pass with a half-grater along the entire perimeter, then let all this settle for a couple of days.
@ civilengineeringforum.me
After that, the wall is ready for processing with starting putty. To clear your conscience, you can walk on it with a bar with P80-P100 grain emery and prime it for better adhesion of the putty.
Subscribe to our Social Networks

