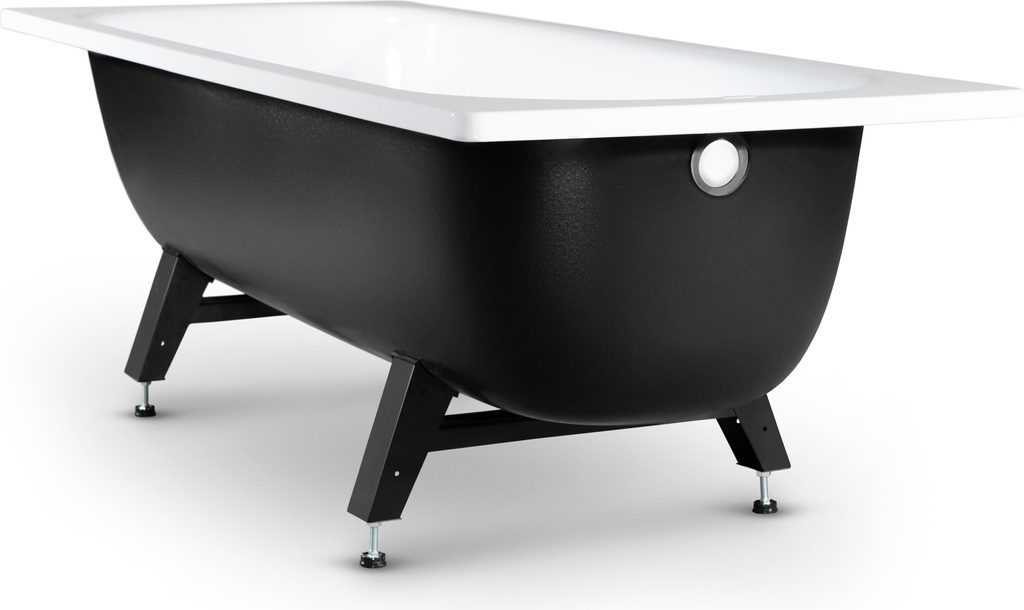
The bath siphon sometimes needs to be disassembled, rinsed and cleaned of accumulated dirt, which can cause clogging and become a source of unpleasant odors. This is where knowledge about its structure will come in handy. In fact, there are no difficulties, but there are subtleties.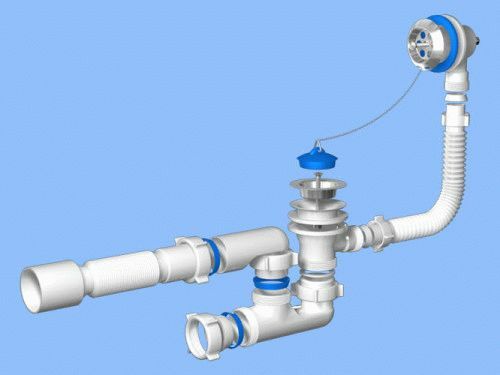
Types of bath siphons
The content of the article
-
Types of bath siphons
- Tubular siphon
- Siphon equipped with a bulb
- Siphon flat model
- Corrugated siphon
- How to assemble a regular siphon correctly
- Features of installing other models
All existing models can be classified according to their design features. The most popular are tubular, flask options, corrugated siphons, as well as flat models.
Tubular siphon
This option is also called knee. Its main part is a pipe, which is made of plastic or metal. It is placed between the bathroom drain and the sewer hole. As the water flows down, it falls, then rises along the second knee. This water creates a kind of barrier against unpleasant odors. Such siphons are large and difficult to maintain. They are cleaned only when a large blockage occurs.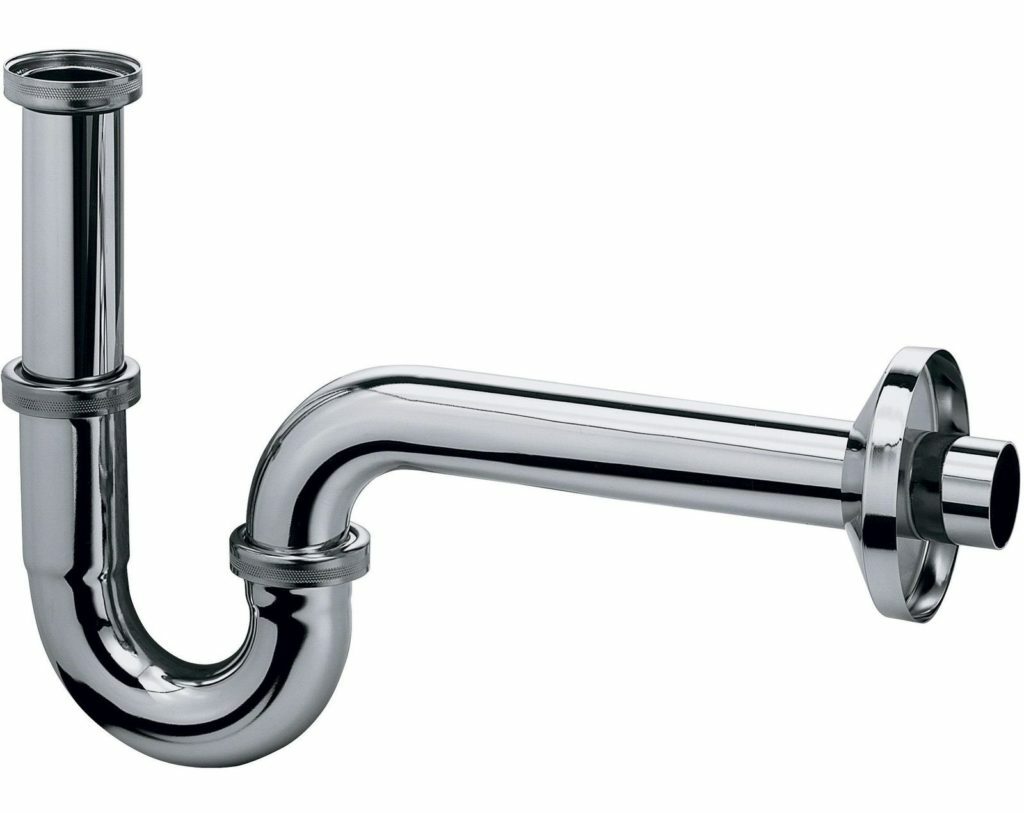
Siphon equipped with a bulb
A device with a flask looks like a bottle, for which it received such a name. In the lower part there is a sump that allows you to easily remove various contaminants from it. To clean it, you need to remove the cover located at the bottom of the sump. At the very bottom of the flask there is a water seal. An outlet pipe, usually a corrugation, is located in the center. This is the most convenient service option. Usually blockages are removed by removing and flushing it.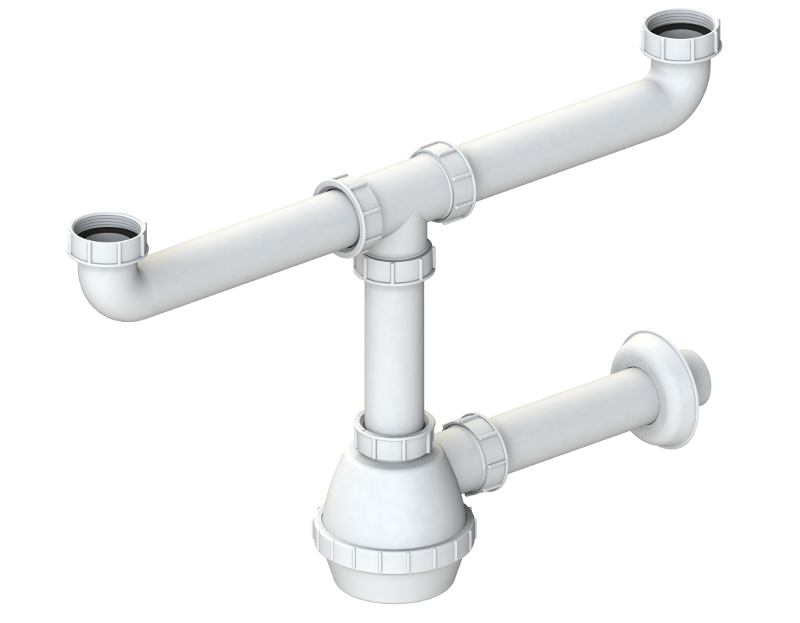
Siphon flat model
It is no different from the usual, except that in its appearance. It has the same plums and branches. It is essentially a flat plastic pipe. The main part is located horizontally, but this does not exclude the creation of a water seal. Convenient to use in small spaces. Serving it is not difficult. To clean, you need to unscrew some of the elements.
Corrugated siphon
It is a curved corrugated pipe. A water seal is located in the bend, which looks like the Latin letter "C". It is attached to the drain hole with a clamp. Although this structure is quite flexible, if it is clogged, it is much easier to install a new siphon than trying to clean the old one.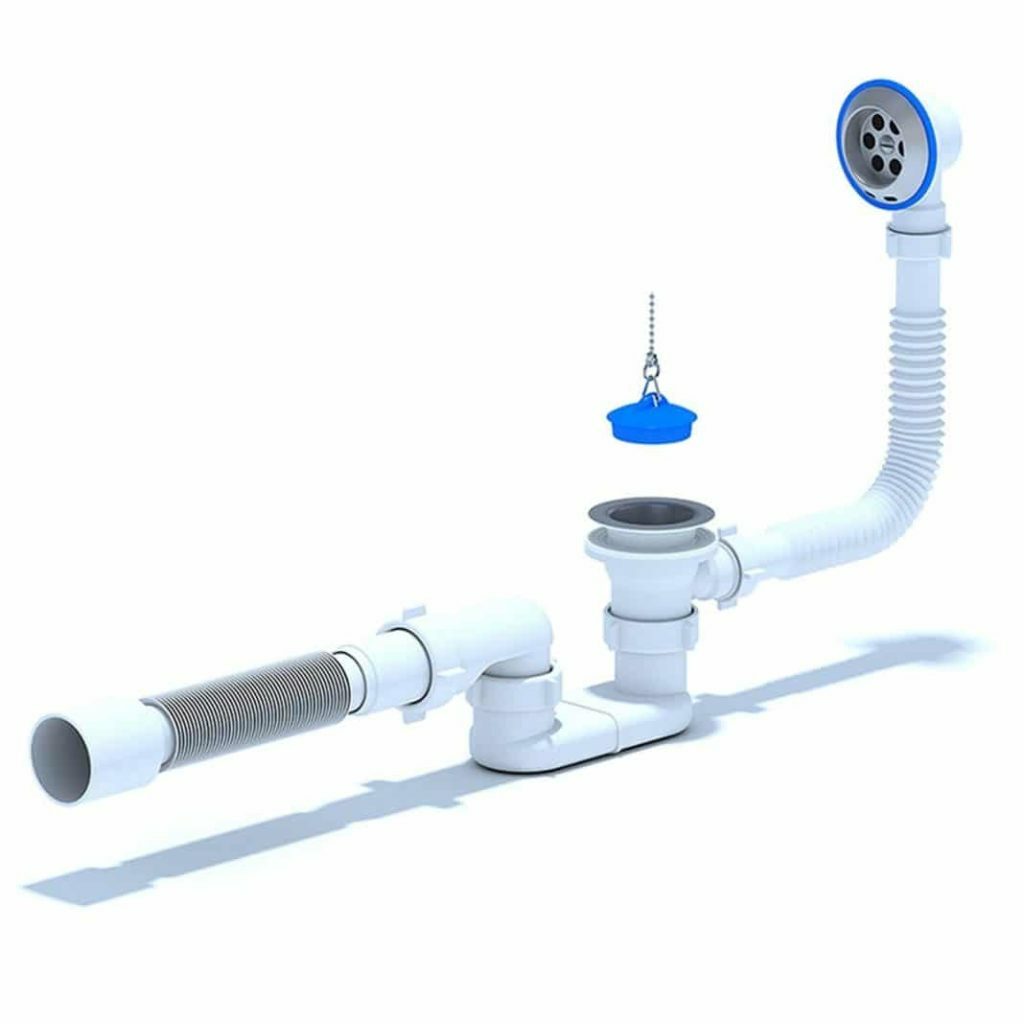
How to assemble a regular siphon correctly
Arriving at the store for a new siphon, we get our hands on a set of individual elements packed in a plastic bag. Well, if you take an expensive model, then the packaging will be branded and made of cardboard. This does not change the essence - the assembly should be carried out according to the instructions attached by the manufacturer. We proceed in order:
- we take the chain with the attached plug and connect it to the overflow plate;
- we check if there is any debris left in the places where the neck is installed, if necessary, we remove the remnants of the old gasket;
- insert a new gasket into the branch pipe and bring it to the drain hole.

All rubber seals are made to fit the cone. Try not to confuse when you put them: turn the wide part of them towards the nut, and direct the narrow part towards the neck.
From the inside of the bathtub we insert the grate into the drain hole; there is also a rubber seal on the grate. We check how even the gaskets lie and fix them with a screw connection. Older models have a threaded plug. Such a plug is simply screwed into the pipe.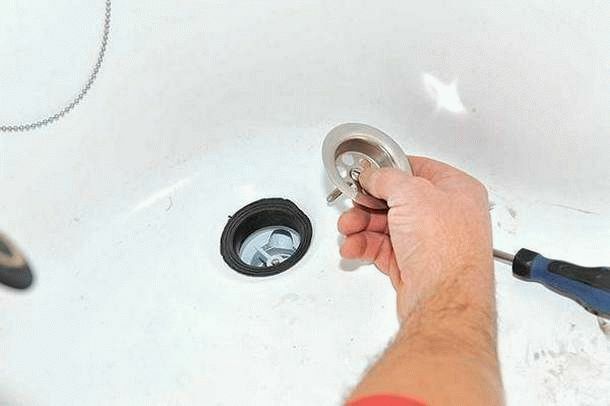
Attention! When twisting the connections, do not try to exert too much effort. This can damage rather fragile plastic elements, and if you need to adjust the siphon, you will have to loosen everything again.
The overflow drain is installed in the same way. With the help of a corrugation, it connects to the siphon. Remember to put the tapered washer and nuts on the hose beforehand.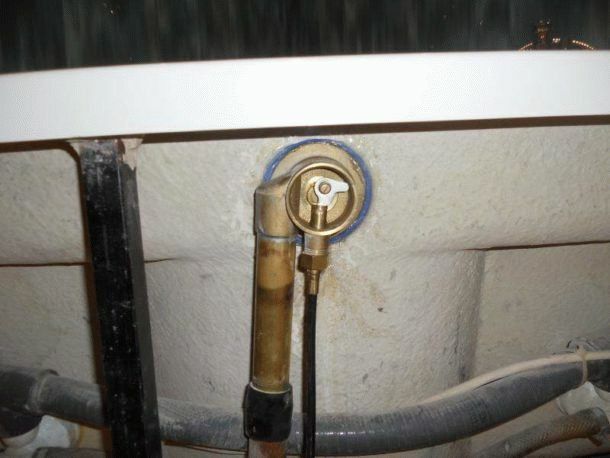
Reference. When installing the siphon, use silicone sealants. After they are completely dry, you can check the assembly for leaks.
Attach a removable elbow to the main drain hole. It creates a water seal inside itself and prevents unpleasant sewerage "odors" from entering the room. In addition, various impurities are collected in it. This means that it will need to be cleaned from time to time.
We put the adapter on the back of the knee. This part will be connected to the sewer. We fasten both parts with plastic nuts, not forgetting to first install cone-shaped gaskets under them.
Features of installing other models
In addition to plastic siphons, you can find metal non-collapsible models on store shelves. You can buy a fully automatic or semi-automatic siphon.
The main thing that should be paid for when installing such devices is the exact observance of the angle at which the siphon pipe enters the sewer hole. It needs to be made as small as possible.
This is to prevent water leakage, which cannot be eliminated by any sealant. In especially difficult cases, you will need to go shopping and buy additional items. The siphon is mounted on the sealant, while gradually tightening the threaded connection.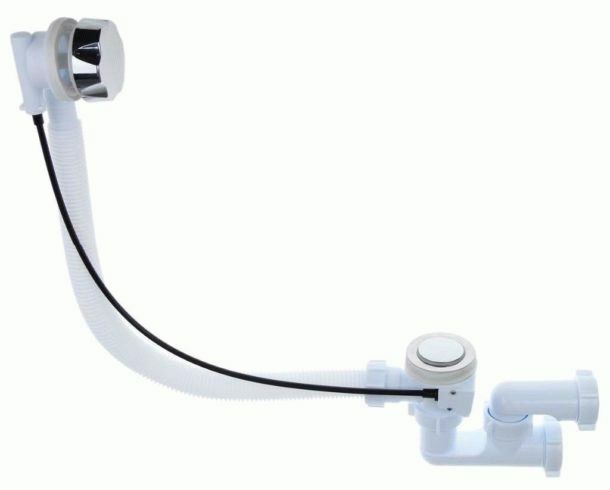
Semi-automatic models are no different in installation, except for additional control elements. They are easy to install thanks to the instructions that come with the kit.
Fully automated siphons, especially if they have an electronic control unit, are quite complex devices. Their installation should be carried out by specialists of the selling company or developer. Of course, you can try and deliver everything yourself, but in this case, the guarantee for them will be canceled.
Subscribe to our Social Networks