What could be more desirable for a girl who looks after her appearance than a makeup mirror? Perhaps, it will be difficult to come up with the best gift, the only problem is that finding one on sale is not an easy task. Yes, and its price is considerable, but it is very possible to make something similar on your own. However, it is better to puzzle the male half of the family with this. But if you are one of those girls who ride a horse, and into a burning hut... Then, of course, you can make yourself such a gift.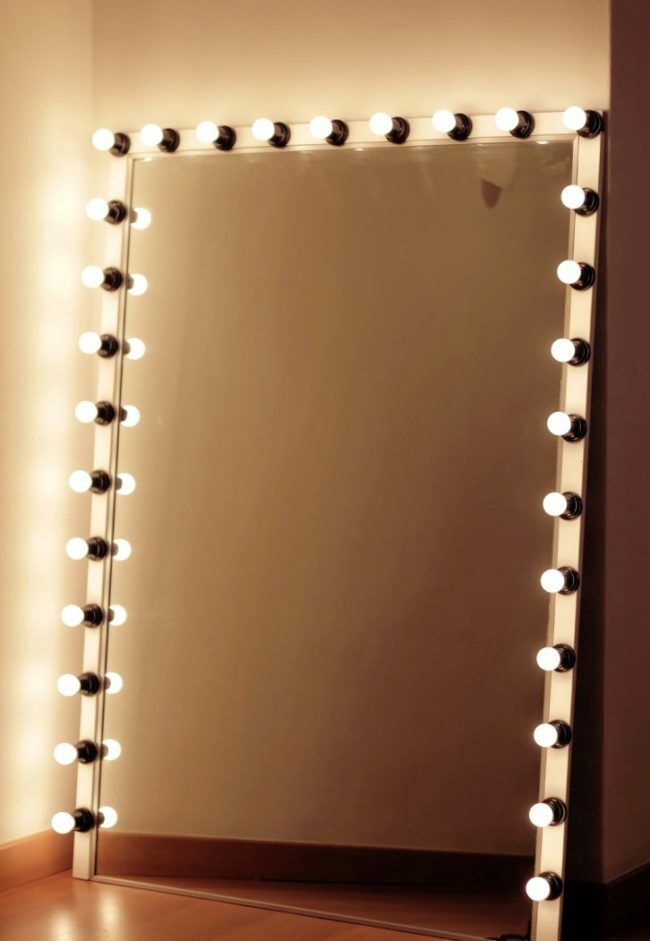
Definitely the dream of any lady who knows how and loves to do makeup for herself is her own make-up mirror. So that the lighting was and everything shone with lights, well, just like Hollywood artists. All women of fashion, without exception, falling under the spell of such a mirror, immediately begin to feel themselves at the zenith of fame.
In addition to the aesthetic side, this piece of furniture also has practical benefits. Well, it's no coincidence that his name is a make-up mirror. These are the ones that are used by all kinds of makeup artists and stylists. The bright light of the lamps allows you to remove all shadows around the nose and eyes, and this is the guarantee of high-quality makeup.
What you need to make your own make-up mirror
The content of the article
- What you need to make your own make-up mirror
- How to make a mirror with bulbs: step by step instructions
- A little about security and how best to make a mirror
Before starting work, you need to make sure that everything you need is prepared. And you will need the following for this work:
- An ordinary mirror, the dimensions of which will correspond to the assigned task.
- Two beams of wood, wide enough, and equal in length to the length of the mirror.
- Electric drill.
- Sandpaper.
- Roulette.
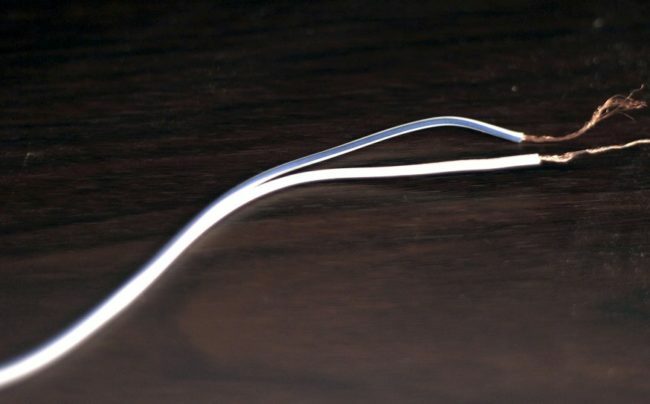
- Copper wire, preferably with blue and white markings.
- Double-sided tape.
- Pliers.
- Enamel of the required color.
- The required number of bulbs with a capacity of no more than twenty-five watts.
- The number of sockets equal to the number of bulbs.
- Electric plug.
- Fuses for lamps.
- Fasteners for cartridges with a length of 2.5 centimeters.
- Figured screwdriver.
Attention! It will not be superfluous to worry about safety by wearing shoes with rubberized soles.
How to make a mirror with bulbs: step by step instructions
All work on making a make-up mirror can be divided into several logical stages.
Stage one
First of all, we take the bars and make the frame of the frame out of them. The size of the frame should be exactly the same as the size of the mirror, and the angles should be ninety degrees.
To facilitate the work, we will use a pencil and a ruler, marking them on the bars with their help.
After everything is cut out, take sandpaper and clean the surface. It should be smooth so that not a single burr remains.
Stage two
So that our work does not look clumsy, and everything looks like it was made at a factory, you need to very carefully make all measurements, mark the places where the lamp holders will be placed. There must be an equal distance between them. And only then it will be possible to prepare these holes with a drill.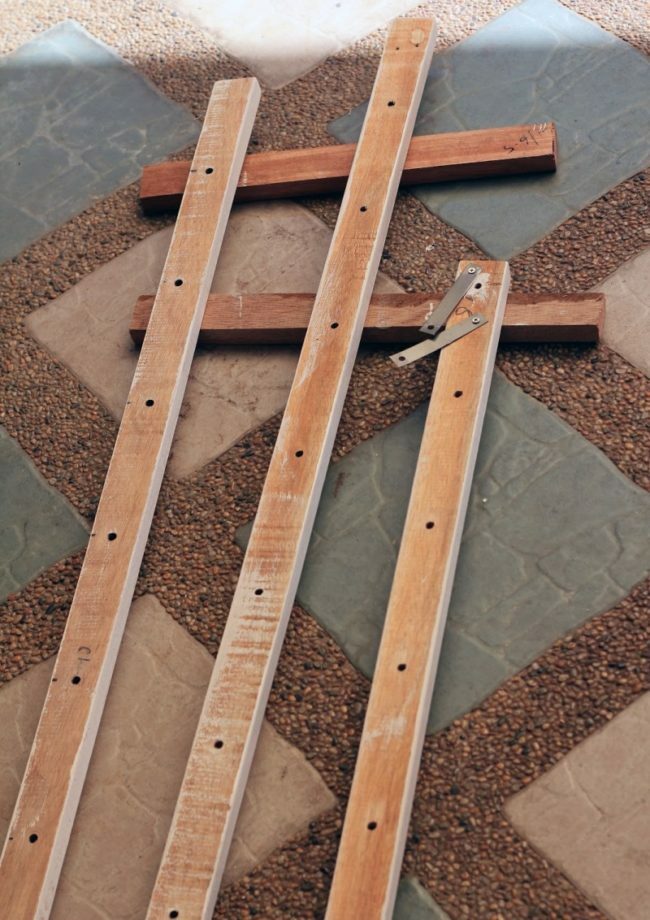
Stage three
After the surface of the frame is sanded and the holes for the cartridges have been made, the frame can be painted. You can choose the color at your discretion, or you can leave the natural wood only by covering the material with a colorless varnish.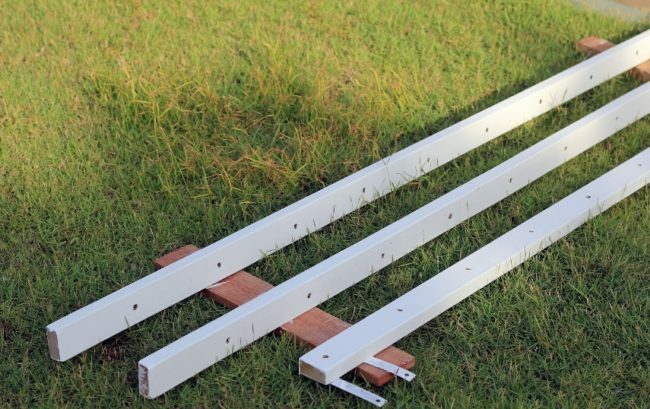
Reference. A more winning color for such a frame would be white.
We fix the mirror to the frame with tape to provide a more reliable fastening.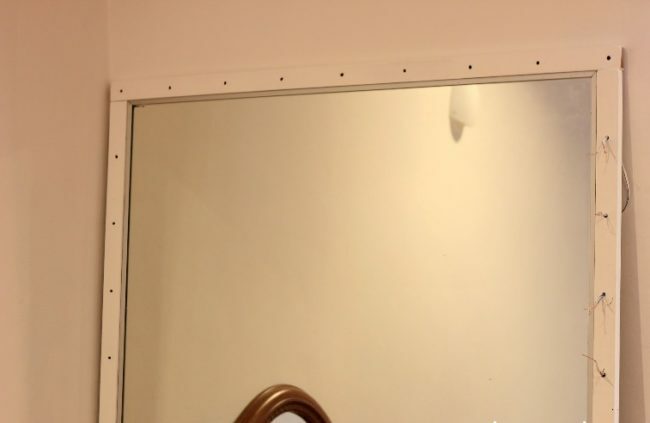
Stage four
Now you can do the electrical wiring. We divide the wire into segments of fifteen centimeters and divide it into blue and white. We fix the wires prepared along the length in the holes, in the same place where the cartridges will be placed. When finished, there will be two pairs of white and two pairs of blue wires inside each hole.
Stage five
At this stage, you need to start installing cartridges. The sockets for the cartridges can be E27 or E14 - so whoever likes it better. This is a pretty crucial stage and you need to think carefully about what type of lamp will look best and how many pieces of them you need.
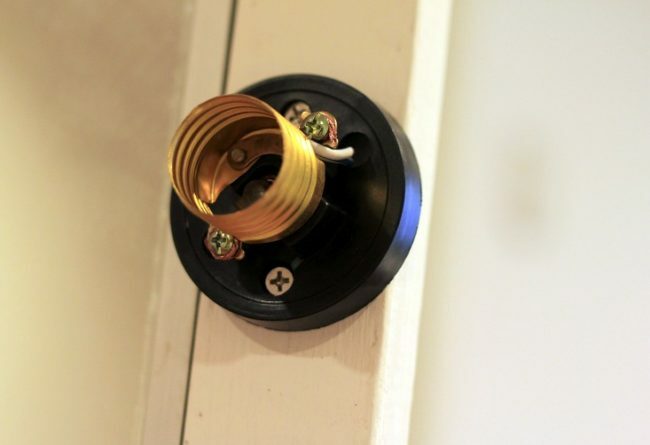
All this is needed to calculate the power and correctly design the electrical wiring and switch. We bring the bare ends of the wires to the cartridge and fix. After that we fix the cartridges in the frame.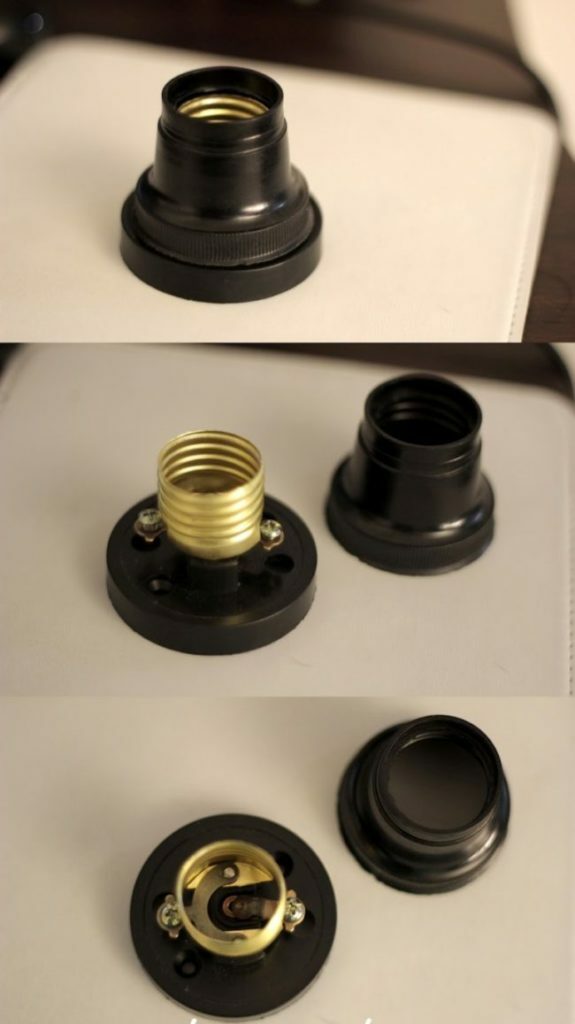
It's time to prepare your fork. Let's use a long piece of wire. We fix one side of it on the first lamp holder, and attach the other end to the plug, while trying to observe the color coding.
We select cartridges according to your taste. It can be E27 or E14.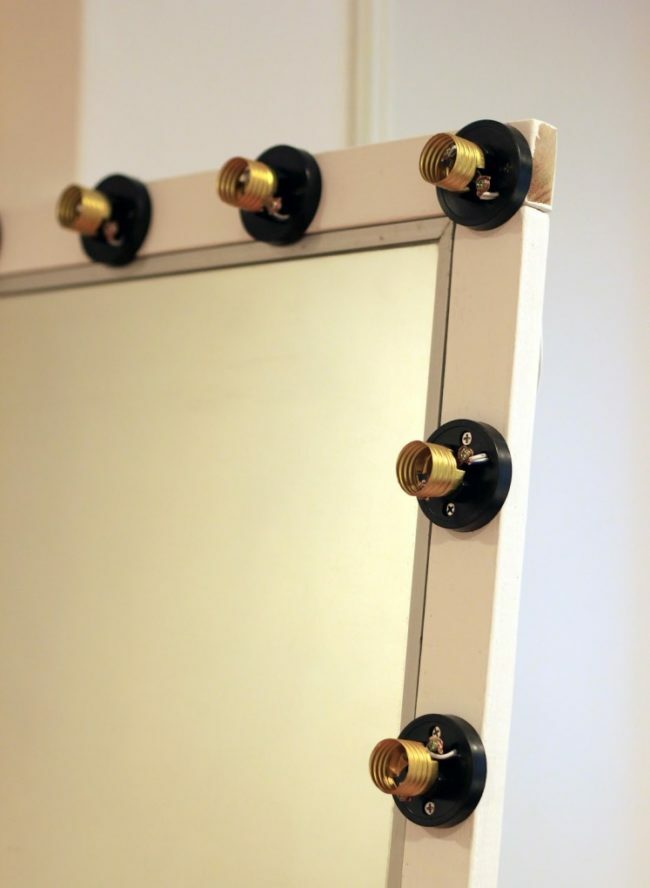
We install the cartridge in the prepared hole and bring in the wire.
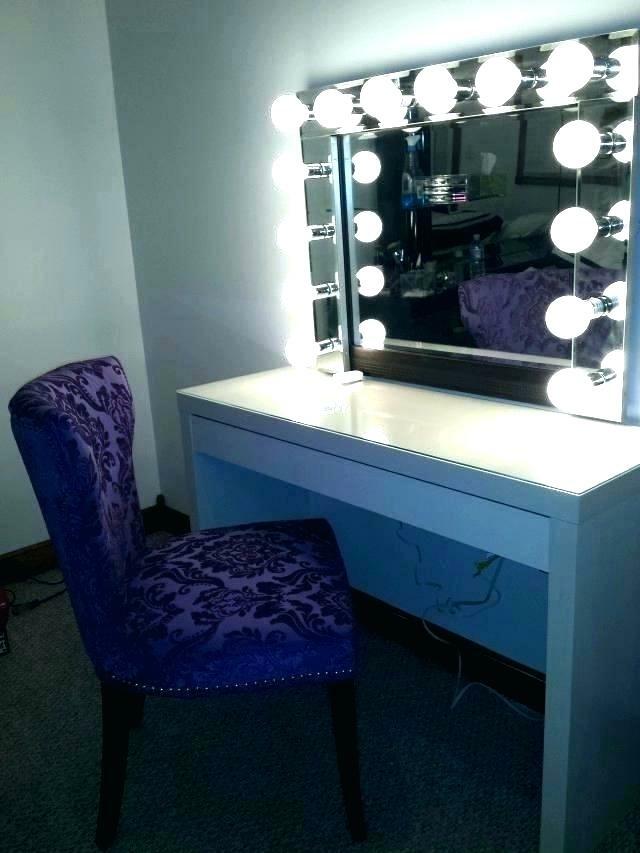
The mirror is ready, but the lamps are not installed yet.
Important! Make sure the wires are not touching each other. If during the test turn on any lamps did not turn on - check the correctness of the wiring. You will probably have to swap the wires somewhere. If after the changes made everything works stably, it means that the task was completed successfully. The mirror is completely ready to use.

A little about security and how best to make a mirror
Do not forget that a mirror equipped with illumination is no longer just a mirror - it is a full-fledged electrical appliance and requires an appropriate attitude towards itself. Irresponsible use of electricity can lead to unpleasant consequences.
When using a make-up mirror, you must adhere to some rules:
- admit children to him as little as possible;
- if there is a factory product in use, you must adhere to the manufacturer's recommendations;
- check the condition of the wiring at least once a month;
- do not place substances that can easily ignite nearby, especially do not place them near light bulbs;
- when leaving the house, do not forget to unplug the plug;
- if a fire occurs, first of all, disconnect the product from the power supply, and only then proceed to extinguish the fire.
If you decide to make a mirror with bulbs around the perimeter yourself, then use the recommendations:
- use LED lamps for lighting - they have minimal heating and they require little electricity;
- especially carefully approach the issue of wiring insulation - if at least one lamp fails - do not be lazy to check all the wiring;
- when installing the wiring, install the fuses - one of the fuses must be installed at the input, the second is placed at the output of the transformer;
- remember that any bare parts of the wires should not touch;
- you can use a different number of bulbs - this is everyone's personal business;
- install the mirror so that it is convenient to use.
Good luck with your DIY make-up mirror!
Subscribe to our Social Networks


