In the modern world, it is impossible to imagine life without an air conditioner. Indoor air temperature control allows a person to feel comfortable at any time of the year. The equipment is used in administrative buildings, offices, shops and theaters. By maintaining the temperature, humidity and cleanliness of the air in the room, the air conditioner ensures high productivity, good mood and well-being for users.
When buying an air conditioner for their home, users often face the problem of installing it. Payment for the services of specialists can reach almost a third of the cost of equipment. Therefore, many owners come to the idea of self-assembly. But what is required for this and is it possible, in principle?
We will help you find answers to these questions - in our article we will tell you about whether it is possible to install an air conditioner with your own hands and what is needed for this. We will also talk about how to install climatic equipment at home, observing all the rules and possible nuances that arise during its installation.
The content of the article:
- The principle of operation and the device of the air conditioner
- Technical requirements for the installation of blocks
-
Air conditioner installation procedure
- Stage # 1 - preparation of tools and materials
- Stage # 2 - installation of the outdoor unit
- Stage # 3 - installing the indoor unit
- Stage # 4 - installation of equipment communications
- Conclusions and useful video on the topic
The principle of operation and the device of the air conditioner
Before you start installing the air conditioner, you need to familiarize yourself with its device and understand the principle of operation.
The device of the air conditioning system is quite simple - structurally, it consists of the following units and elements:
- compressor, which is installed outside the building;
- condensing heat exchangerlocated in the outdoor unit;
- evaporating unit, which is installed indoors (depending on the models, there may be several units);
- pressure regulator;
- connecting tube system.
The system itself is a closed loop. Inside the circuit, the main element serving to cool the air is refrigerant.
Typically used as a refrigerant freon. Being in a gaseous state, it under pressure, blown by the compressor fan, passes into a condensing heat exchanger, where, when connected to external air, it turns into a liquid and, already in liquid form, enters the evaporator unit through the regulator pressure.
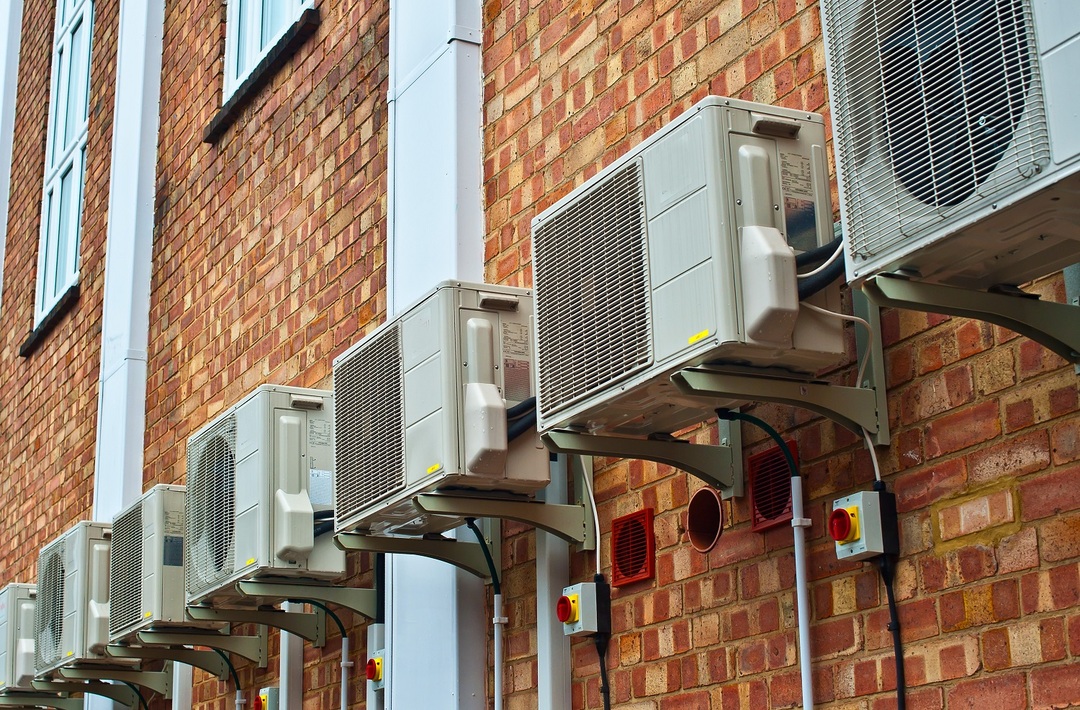
Initially, ammonia was used as a refrigerant in air conditioners. However, due to the fact that ammonia is extremely toxic, later it was replaced by a safer freon
Thanks to the action of the pressure regulator, the boiling point of freon is lowered. Getting into a special chamber located in the evaporator block, freon expands and "boils", while intensively absorbing heat and giving off cold. As a result of this process, condensate is released, which settles inside the evaporator chamber onto the radiator, through which the liquid is discharged into a special tank. Condensate is discharged from the air conditioning system through a pipe.
Absorbing heat, freon again passes from a liquid to a gaseous state and under pressure through a system of pipes is removed back to the compressor block, closing the circle of the working process.
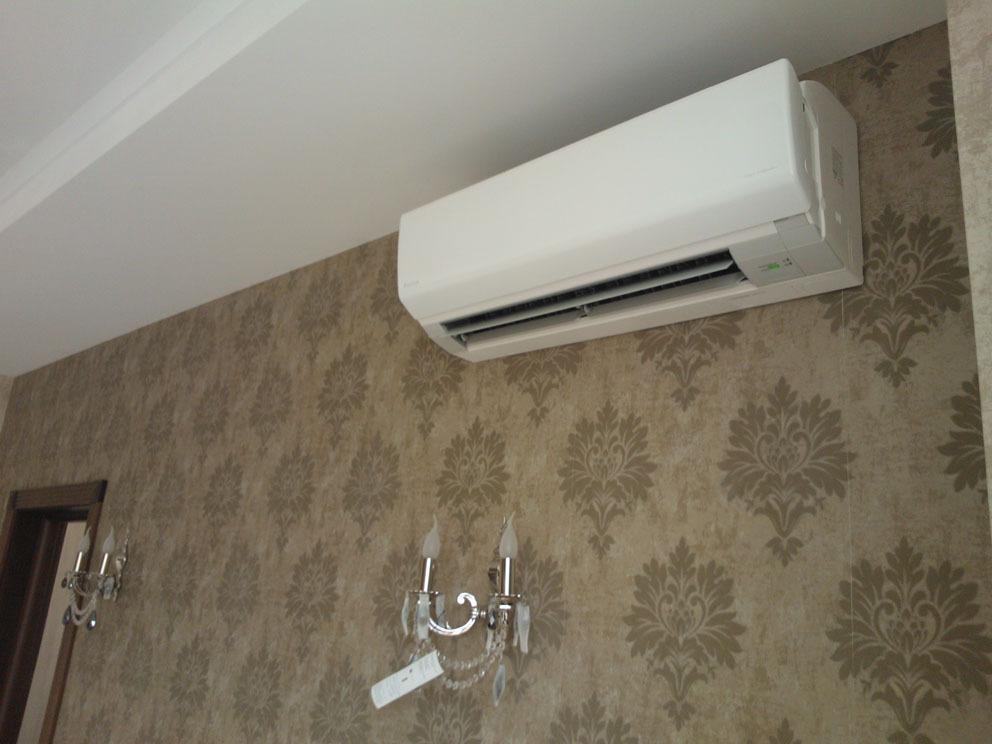
The noise level during the operation of the air conditioner is calculated in accordance with the norms prescribed in CH 2.2.4-2.1.8.562-96. It should not exceed 40 dB during the day and 30 dB at night. The appearance of hiss, hum or rumbling indicates a malfunction in the operation of the air conditioner.
Thus, the closed cycle of the refrigerant depends on the careful connection of all elements and the elimination of depressurization at the joints and connections of the system.
We talked in more detail about the structure and principle of operation of household air conditioning equipment in this material.
Also, to ensure the normal functioning of the air conditioner, it is worth choosing the right place for its installation. Failure to comply with the installation specifications increases the wear of the system parts and the likelihood of malfunctions. The installation features will be discussed below in the article.
Technical requirements for the installation of blocks
There are a number of rules for choosing a place for installing air conditioner units, but the nuances are not always indicated in the instructions and technical documentation of the equipment, although they are very important during operation. Existing calculations for air conditioning systems assume a number of parameters must be adhered to during installation.
So, for the indoor unit, the following parameters must be observed:
- the distance from the top cover of the indoor unit of the air conditioner to the ceiling, in order to ensure normal air intake, must be at least 15 cm;
- the distance to the corner wall to which the air conditioner unit adjoins is at least 30 cm;
- the distance to a possible obstacle to the movement of air blown into the room is at least 1.5 meters.
Failure to comply with these technical parameters may lead to a malfunction of the air conditioner and an increase in power consumption.
Also, the lack of air masses supplied for cooling can lead to unstable operation and breakdown of the indoor unit of the air conditioner.
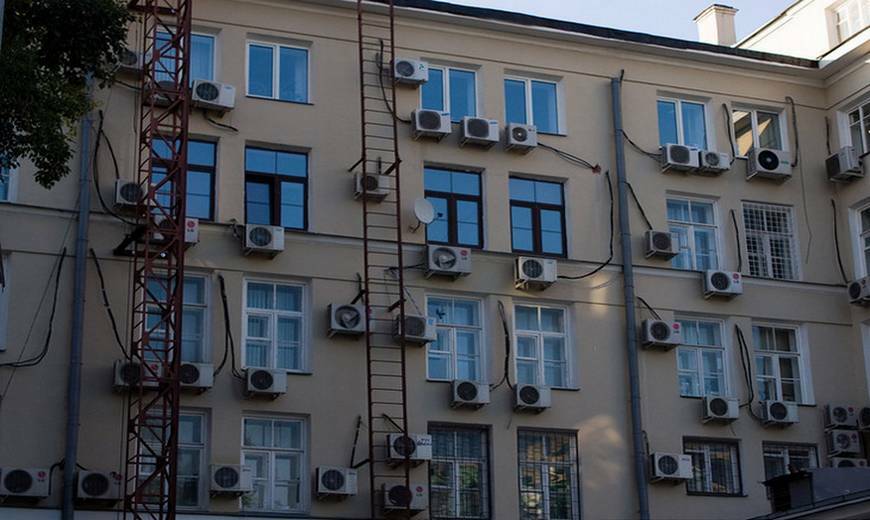
Installing air conditioners in apartment buildings on your own is actually not allowed by law. Existing norms of federal laws, civil and housing codes oblige to harmonize the moment of installation of air conditioners with the residents of the house, with the management company, with the executive bodies authorities
As for the household rules for installing the indoor unit of the air conditioner, then when choosing a place where the flow of cold air will be directed, it is necessary to exclude the possibility of constant being there person.
Cold air should not enter the rest area (sofa, bed) and work area (computer or desk). Otherwise, constant illness cannot be avoided due to blowing cold air.
To install the outdoor unit, the following parameters must be observed:
- the distance from the back wall of the outdoor unit to the building wall is not less than 10 cm, otherwise it will be difficult to "capture" the outside air;
- maintain a sufficient distance from the ground (when installing air conditioners on the ground floors or in private houses) to prevent snow, mud, water from getting into the block;
- install at a distance of at least 1 meter from gas pipes;
- provide at least 1 meter of free space for air blowing out by the fan.
The outdoor unit of the air conditioner must be installed on the outer wall of the building adjacent to your apartment. You should also exclude the location of the block on the wall of an adjacent apartment. Provide an external unit if necessary special visor - this is necessary to prevent icicles from falling onto the air conditioner unit in winter.
When positioning the outdoor unit, it is important to take into account the possibility of free access to it for maintenance.
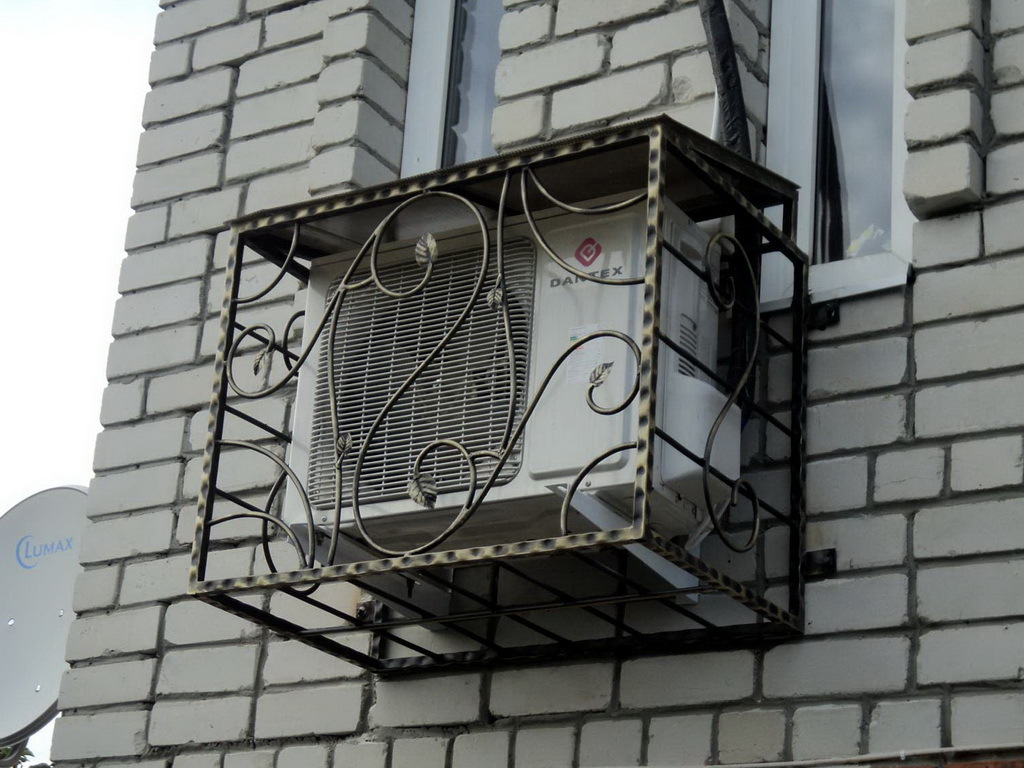
The installation of the outdoor unit of the air conditioner on the ground floors must be carried out in compliance with the conditions for the unhindered passage of pedestrians near the walls of the house. It is also worth fencing with a special lattice to prevent vandals from impacting on the block.
It should be noted that at the dawn of the mass installation of air conditioners in apartment buildings, it was believed that the outdoor unit should be installed lower than the indoor one. This myth was based on the fact that this is how the constant oil lubrication of the compressor of the outdoor unit will be ensured (otherwise the oil is supposedly collected in the indoor unit).
From the point of view of the location of the outdoor and indoor units, the determining parameter is the distance between them. The established framework is from 1 to 6 meters, but the manufacturer may indicate specific parameters that should be strictly observed.
If you exceed the maximum permissible distance (more than 6 meters), you will have to additionally pump freon into system, and when located less than a meter, it is necessary to form a ring from the tube to ensure the necessary footage.
In more detail, the question of the correct choice of the optimal places for installing the air conditioner we covered in our other article.
Air conditioner installation procedure
Even with self-installation, you will definitely need help. This is due to the rather large weight of the external unit of the air conditioner and the work that will be carried out from the outside of the building.
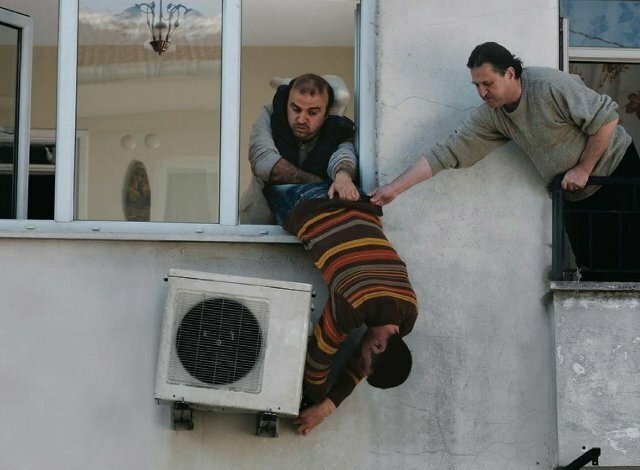
Installation work should be carried out carefully and with the obligatory observance of safety measures. It is dangerous to do as shown in the picture.
Stage # 1 - preparation of tools and materials
When installing an air conditioning system with your own hands in an apartment, preparation for the upcoming work plays an important role. The necessary set of equipment, materials and tools used will ensure uninterrupted work on the installation of the air conditioner.
So, for installation you need the following tools:
- puncher, the main tool for making through holes in the wall;
- a drill with a set of drills, necessary for making holes for fasteners;
- vacuum pump for starting the air conditioning system;
- hacksaw for metal or special copper pipe cutter;
- file or sandpaper for trimming the surface of pipes;
- pipe bender to ensure the required shape of the pipe system;
- pipe calibrator and flare tool;
- wall chaser (or chisel with a hammer);
- level;
- screwdrivers;
- set of hex keys.
Self-installation of the air conditioner is impossible without these tools.
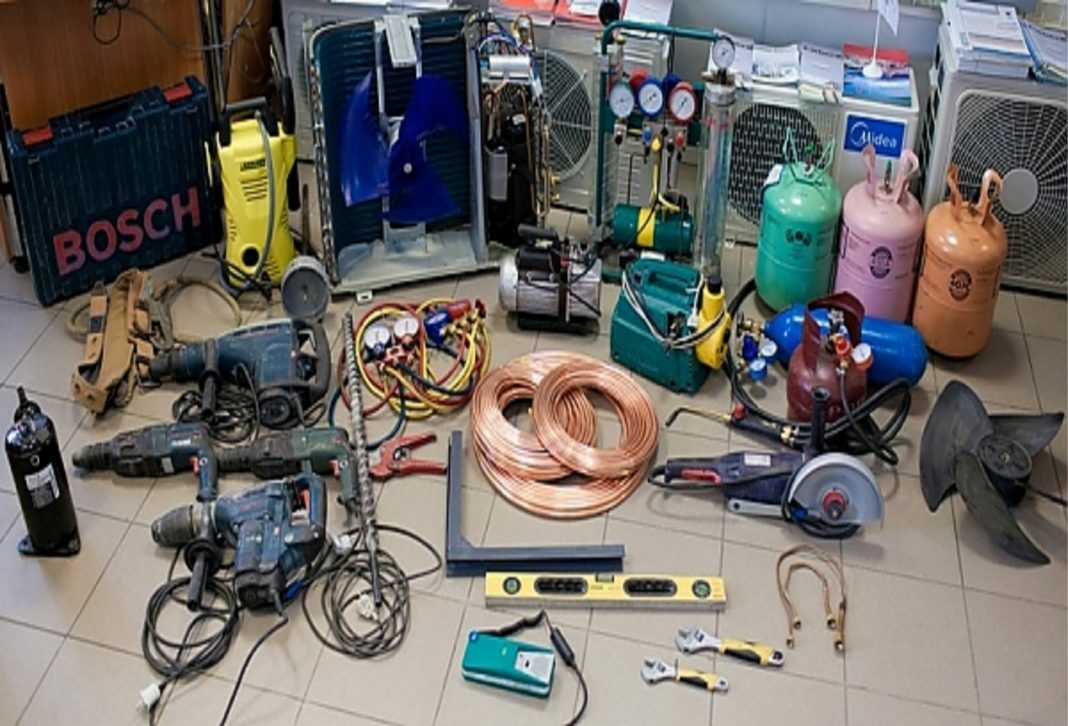
Not every owner has the necessary kit for installing an air conditioner. Therefore, before deciding to install the equipment on your own, you must provide yourself with the entire set for work.
Also, before starting work, you need to prepare consumables:
- power cable for making a power wire and connecting modules - use a four-core cable with a cross-section of 2 x 2.5 mm2;
- seamless copper pipes - their length should exceed the estimated length of the route by 50 cm, but the diameter of the pipes is selected in accordance with the instructions for the air conditioner;
- synthetic and insulating insulation;
- corrugated hose with a built-in internal plastic spiral for drainage - its length must be 1 meter longer than the calculated length of the route;
- steel brackets for installing an outdoor unit of an air conditioner - the load limit of the brackets is calculated based on block mass (you should take brackets that can withstand a load twice as large as the weight of the external block);
- fasteners, selected for fixing the bracket and the indoor unit of the air conditioner.
When installing, it is better to use high-quality materials, picking them up directly to your equipment. This will ensure operational reliability of the system.
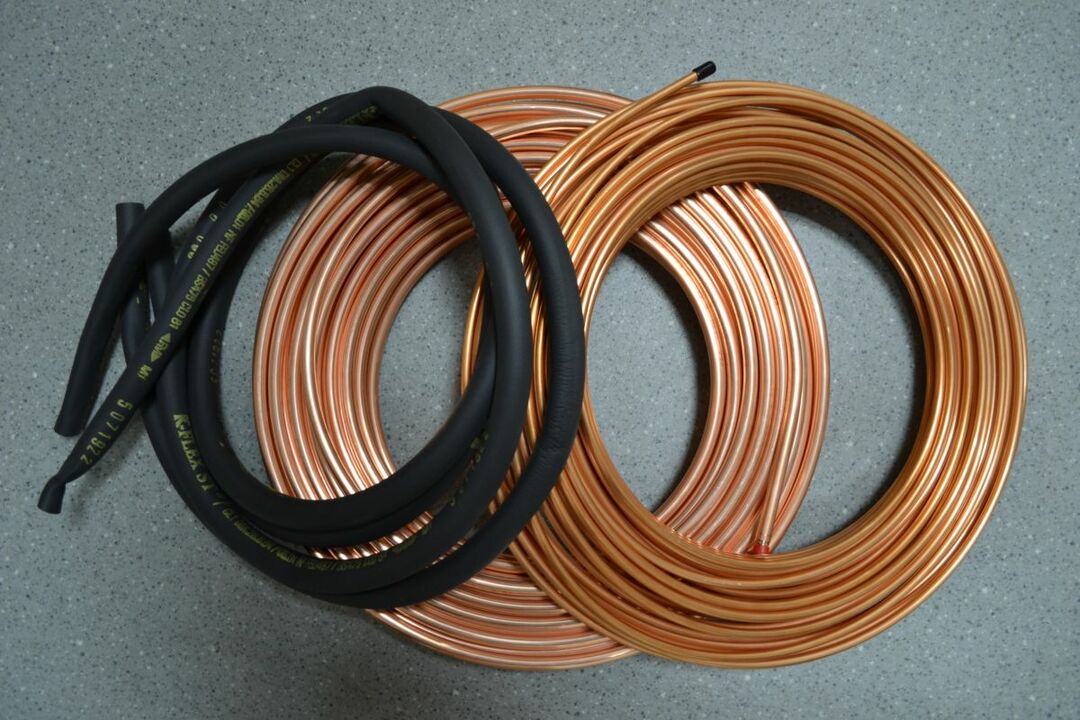
Copper, being a ductile metal, is excellent for brazing and flaring. It is also more resistant to corrosion than other household metals, does not interact with freon at the chemical level, and shows resistance to temperature changes
Stage # 2 - installation of the outdoor unit
Next, consider how the outdoor air conditioner should be installed.
The following should be added to the above general requirements:
- installation should be carried out on the supporting elements of the facade of a building or balcony;
- if the walls are made of aerated concrete, then the use of a damping seal is mandatory;
- the maximum permissible noise should not exceed 30 dB;
- at installation on the balcony or attic it is worth considering the possibility of vibrations during the operation of the equipment;
- when installed at a height of 3 floors and above - the work must be performed by high-altitude installers using climbing equipment.
If all these requirements are met, you can start installing the outdoor unit of the air conditioner.
Having decided on the installation option: on a balcony, under a window or next to a window, it is necessary to make a markup using a level. After marking with a puncher, all the necessary holes are made - for attaching the brackets and wiring the pipe system inside the room - into which the anchor bolts are inserted.
It is worth noting that in houses where there is no thermal insulation, the diameter of the hole for the air conditioner communication systems should be 50 mm, and where thermal insulation is used, at least 80 mm.
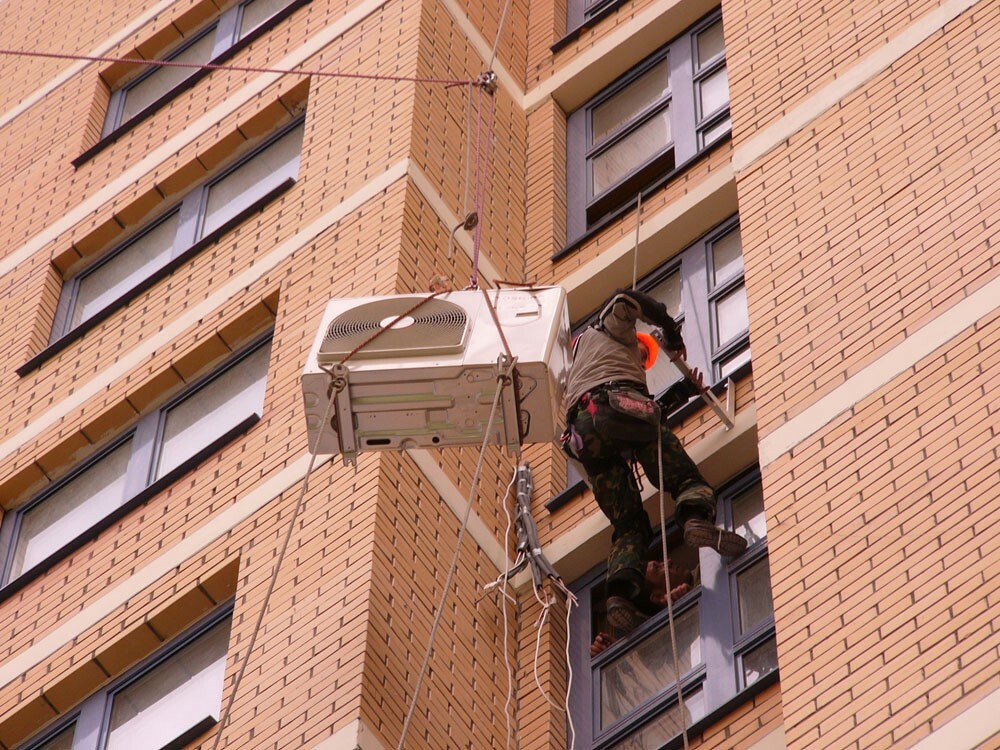
To carry out high-rise work on the installation of the external block of the air conditioner, you must have a special mountaineering training and equipment, undergo training, certification and internship in performing work on height. Thus, to carry out the installation of the outdoor unit of the air conditioner at a height above the 2nd floor of the building, it is imperative to invite specialists.
The brackets are fastened with bolts, which must be tightened as firmly as possible. It should be borne in mind that during installation, the weight of the outdoor unit can be more than 20 kg, therefore, when installing it, you cannot do without the help of a partner.
The outdoor unit is hung on a bracket. Beforehand, rubber should be laid on the places of contact between the bracket and the external unit of the air conditioner. It is thanks to this layer that the vibration from the operation of the air conditioner will be smoothed out.
Stage # 3 - installing the indoor unit
To install the indoor unit of a domestic air conditioner, you should also follow all of the above requirements. Considering also that the outdoor and indoor units must be installed relative to each other at a distance of no more than 6 meters.
When carrying out work indoors, it is necessary:
- prepare a place for work by removing curtains and removing household appliances or furniture from the wall on which the air conditioner will be installed;
- check the availability of the power supply (sockets) to connect an air conditioner to it, if the standard power cable of the device is not enough, then you will have to increase it;
- mount the unit to a wall or ceiling.
In the room in which the indoor unit of the air conditioner is installed, it is necessary to make markings with using a level, then use a drill to make holes in the wall and arrange a mount for the block air conditioner. It is noticeably lighter than the outer one, but, nevertheless, the mounts must hold it securely.
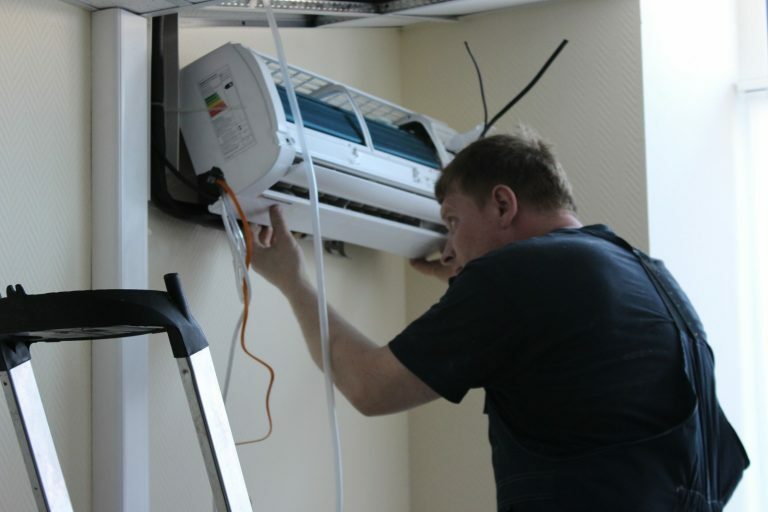
The use of a level when installing an air conditioner is a prerequisite. So, when installing the indoor unit, observe the parallelism of the equipment relative to the ground. If this requirement is violated, then in the future, during the operation of the air conditioner, the formed condensate will not be able to be discharged through the drainage system in a timely manner and the air conditioner will "leak"
Insert plastic dowels into the holes and fix them as much as possible with a hammer. Attach the mounting panel of the air conditioner, fix it with self-tapping screws. Then hang the indoor unit.
Stage # 4 - installation of equipment communications
Air conditioner communications include:
- electrical connections;
- piping system;
- drainage system.
When installing an external unit, a punch makes a hole in the wall, which is called the main channel. It must be of the required diameter so that communications can be run through it.
For the smooth operation of an air conditioner with a capacity of more than 1.5 kW, it is recommended to lay a separate power line. To do this, you need to connect another one to the main panel. circuit breaker, from which to run a four-core cable directly to the installation site of the air conditioner. When connecting, be sure to determine the zero and phase.
It is worth noting that working with electricity is considered dangerous and cannot be performed without knowing the basics of electrical engineering.
We also recommend that you read the rules connecting the air conditioner motor.
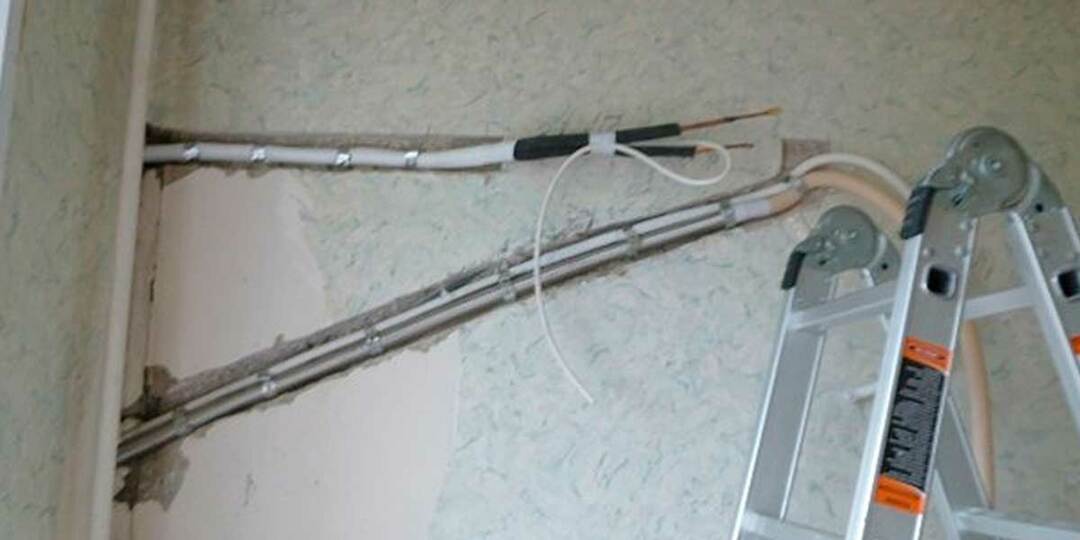
It is recommended to install the air conditioner, starting with the preliminary preparation of communications. Carrying out the electrical network, connecting pipes must precede the installation of the indoor unit. At the end of the work, the communications must be protected with a special plastic box
The laying of the pipeline system must be carried out with special care, because a leakage of tightness entails the leakage of life-threatening Freon.
Work order:
- the copper pipe is cut to the required length with a bend margin of 1 m;
- the edges are grinded with sandpaper or a file;
- bending of pipes must be carried out in compliance with a radius of at least 10 cm;
- for thermal insulation of pipes, put special polyurethane foam hoses on them;
- flare the ends of the tubes and connect the pipeline;
- after connection, tighten the union flange securely.
To give greater tightness to the pipe system, professionals advise to carry out soldering copper pipes. Soldering is carried out using a propane heater: the pipe is heated to a temperature of 250 degrees and a special solder is used. The following soft solders can act as it: L-SnCu3 (S-Sn97Cu3) and L-SnAg5 (S-Sn97Ag5). They provide reliable bonding, resistance to mechanical stress and corrosion.
Having made the connection between the outdoor and indoor units in accordance with the instructions, you should start assembling the drainage system. The withdrawal of the used liquid can be carried out outside the room or into a special container inside the room. It is recommended to equip the outlet of the drain outside the premises.
The drainage channel is made of a reinforced plastic pipe. It is enough to connect it with a flange to the drain. The liquid drainage pipe must be laid at a slope of at least 3 mm per 1 m.
After completing these works, a corrugation is pulled to the outlet of the communications from the indoor unit, and the connection must be fixed with a clamp. The communications of the outdoor unit are closed with a hose. Possible cracks in the through hole are sealed with polyurethane foam.
We talked in more detail about the installation of communications in next publication.
Conclusions and useful video on the topic
Self-installation of the air conditioner is clearly shown in this video:
In the same video, you can see what the most common mistakes are made when installing the air conditioner yourself:
The air conditioner can be installed by yourself. To do this, you need to have a little knowledge and skills. When installing air conditioner units, be sure to follow the instructions and safety requirements. However, when performing work, you cannot do without the help of an assistant - the weight of the outdoor unit can exceed 20 kg.
If after reading the article you still have questions or have suggestions for installation based on personal experience, be sure to share them in the special comment section below the article. Here you can also add unique photos of your air conditioner installation.


