Plastering the walls is more a necessity than a whim of meticulous owners, because it is almost impossible to buy an apartment with even walls today. Many owners, after buying finishing materials, begin to think about whether it is necessary to prime the walls before puttingty in general?
The primer is the basis for the future coating, thanks to which the plaster will last for many years, retaining its durability even under the influence of moisture.
Next, you will find out why it is so important to prime the walls before puttingty, what materials are best to choose and how to prepare the surface for processing yourself. The article presents the procedure for carrying out work on priming the walls in an apartment, including professional recommendations from the masters.
The content of the article:
- The need for priming walls
- Selection of a primer
-
The order of work
- Stage 1 - surface preparation for processing
- Stage 2 - priming the walls indoors
- Several important rules
- Conclusions and useful video on the topic
The need for priming walls
A perfect surface finish is only possible with priming and putty.
A well-done work guarantees you a reliable base for wallpaper, painting or decoration, which allows you to bring even the most daring ideas to life.
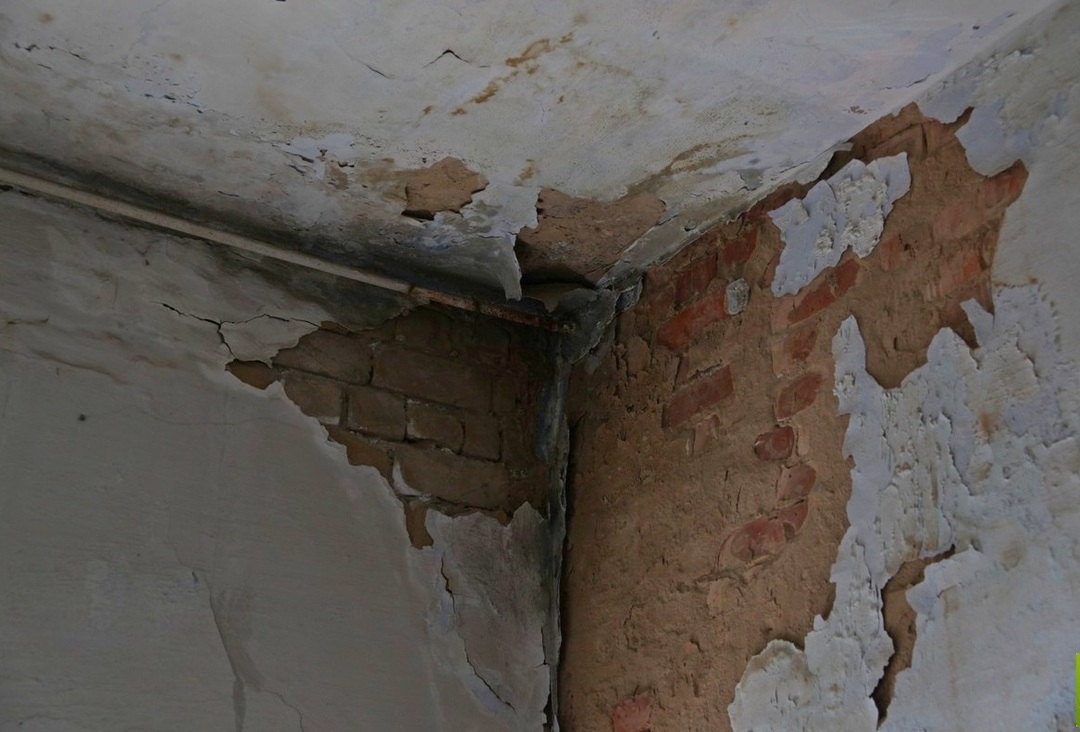
The further "behavior" of the putty depends on the composition of the applied primer, which, in the case of a poor-quality primer, can simply crumble along with the paint
The primer allows you to strengthen the surface of the wall, making it more monolithic, and at the same time significantly increase the level of adhesion for further processing. This is especially important if the walls are made of "porous" materials: brick, wood, concrete, drywall.
In addition, the primer performs several important tasks:
- alignment of the absorbent properties of the surface;
- ensuring a high level of adhesion of the finish to the wall;
- saving the consumption of putty material by filling cracks and pores;
- strengthening the wall due to the creation of a monolithic structure of the material;
- preventing the appearance of fungus by improving moisture protection properties.
The presented functions are indisputable proof that priming the walls is important and necessary. Such coverage will allow once and for all get rid of the hated fungus, which usually appears in rooms with high humidity: bathroom and kitchen.
For such cases, a special anti-fungal primer is sold.
Selection of a primer
Before purchasing a primer, it is important to evaluate the surface of the walls, since the mortar is always selected in accordance with the type of substrate and its properties.
In the modern building materials market, you can find completely different compositions: concentrated, with additives, ready to use, or in the form of a dry mixture that requires dilution with a solvent or water.
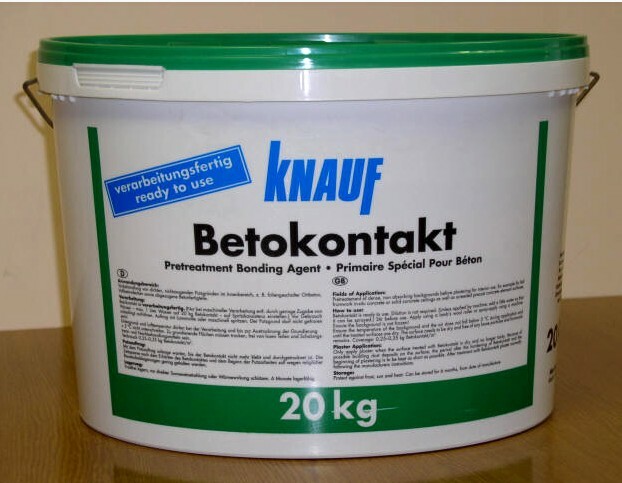
There are special universal mixtures based on polymers (acrylics) that can be applied both to drywall and concrete base.
The only drawback of a universal primer is the overpriced, which frightens off many buyers.
Alternatively, it is worth considering budget solutions, each of which has its own scope:
- Phenolic. Such a composition is intended for the preparation of metal and wooden walls, including chipboard, fiberboard and OSB. It is not used when processing plastered and walls.
- Alkyd. Ideal for preparing wood surfaces before applying putty. It is applied to wood just before coating with alkyd paint.
- Glyphthal. The material is used as a basis for leveling wood and metal surfaces. More suitable for exterior walls due to toxic odor.
- Quartz. A sand-based solution is produced, therefore, when applied, the surface becomes rough. Best adhesion to paint and decorative plaster.
- Mineral based. The primer is made from plaster, lime or cement. Ideal for silicate, concrete and plastered surfaces.
All primers are classified as adhesion or strengthening. The choice depends solely on the material of the walls, as well as their condition.
If you are ready to spend a lot of money on repairs, then it is better to give preference to an acrylic primer.
The order of work
After choosing the appropriate mixture, it is important to decide on a tool for treating walls. Since the primer is usually applied to vertical surfaces, you can choose from roller, brush or spray.
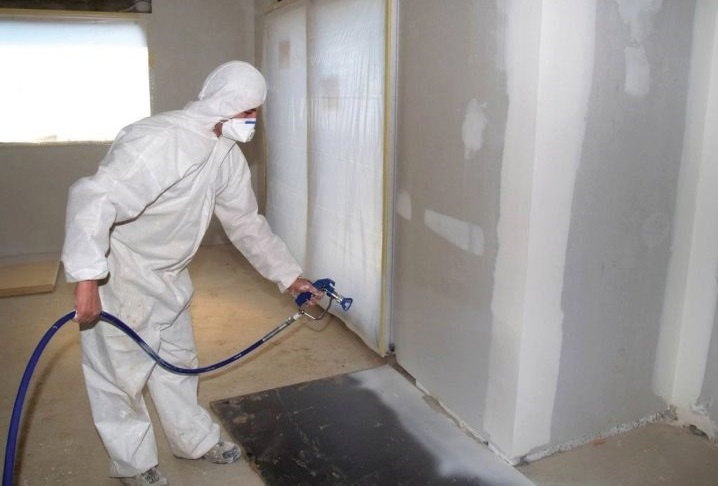
The fastest way to apply the primer evenly over a large area of the wall is to use a spray bottle, after wearing a protective suit, mask and goggles.
Despite the speed of the spray gun, this method still has one main drawback - the complexity of cleaning the system after work. Therefore, it is best to use a roller, and in hard-to-reach places, a small brush.
In order to prime the walls in your apartment on your own, you do not have to spend too much effort. The process of surface treatment with a primer solution has its own sequence, therefore, it is carried out in two stages: preparation of the walls and their priming.
Stage 1 - surface preparation for processing
At this stage, it is necessary to prepare the walls for the upcoming work: remove the remnants of the solution, dirt and dust. If necessary, get rid of particles of the old coating lagging behind the base. It is better to degrease oil spots right away so that the primer “lay down” without problems.
If the wall is wet, it should be dried by simple ventilation. The primer mixture is applied only to dry walls, so be careful. Otherwise, you will have to redo the work twice, since the solution can simply drain off.
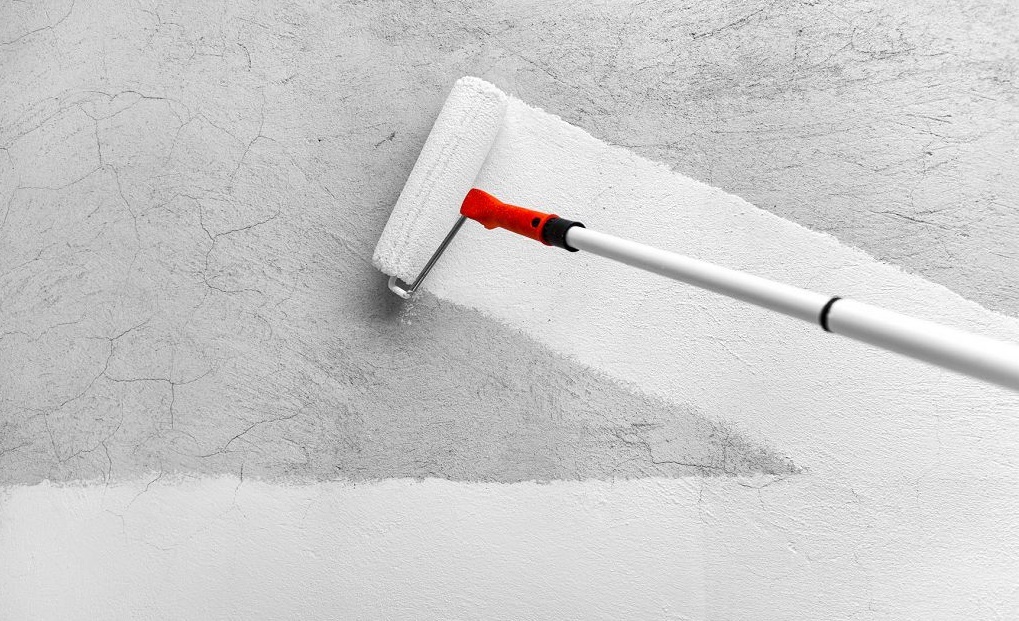
So that the grayness of the concrete walls does not appear through the putty, and subsequently through the paint, it is better to purchase a primer mixture of snow-white color
At the same stage, check the temperature regime in the room - the ideal temperature will be no more than +10 degrees. Professional craftsmen recommend finishing work in the warm season (spring or summer) in order to speed up the drying process of the walls.
Stage 2 - priming the walls indoors
If the walls are prepared, then you can safely start preparing the primer composition. Each solution has its own instructions posted on the label, which must be studied in advance.
As a rule, all formulations are prepared according to the same standard:
- mix the mixture thoroughly and pour into a more convenient container;
- the concentrated primer is diluted in the prescribed proportions;
- the dry mixture is diluted with plain water, according to the directions on the package.
Next, you should decide on the type of tool - a roller or a brush, put on a protective suit, and you can start applying the mixture. The primer is applied in an even layer, while slight overlaps are allowed.
On average, the walls completely dry out only on the third day, provided that the required temperature regime is maintained.
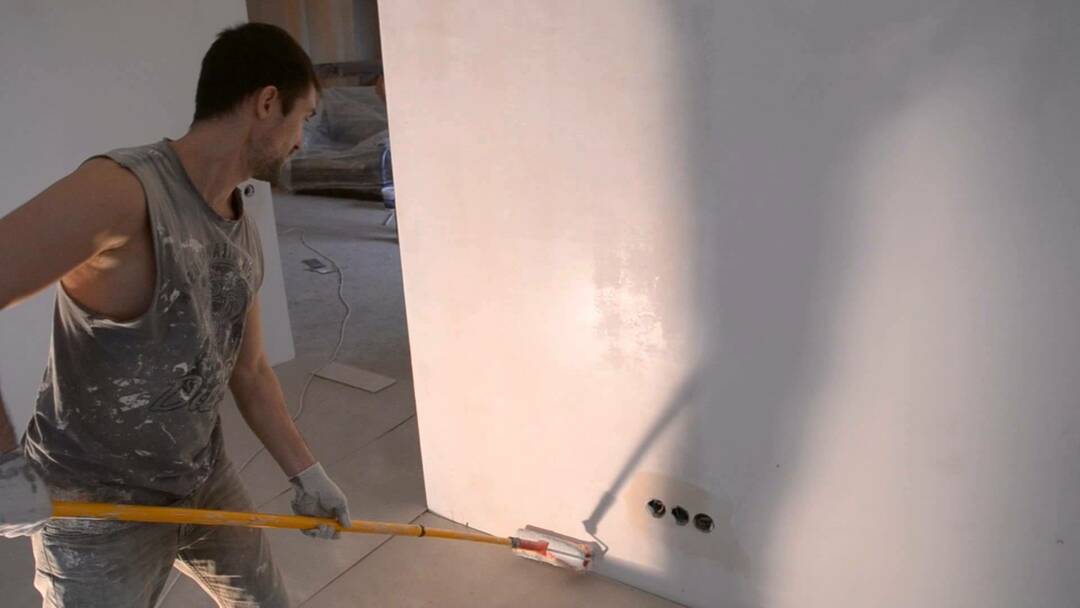
It is recommended to prime the walls at least twice, but the exact number of layers will depend solely on the type of mixture and surface structure.
Be sure to check if the previous layer has absorbed well before starting a new layer. You can only reapply the primer on a dry surface, otherwise you will smear the old layer and “transfer” the material.
The presence of color in the primer plays a role not only for reasons of aesthetics. So, it will be much easier for you to control the process, which will allow you to evenly cover the surface. If the wall itself is light, then it is better to choose a pigmented primer.
Several important rules
The processing of each coating has its own characteristics. So, a deep penetration mixture is applied to drywall, which reduces its absorbency. The joints of the sheets are leveled with a putty, after which they are rubbed with sandpaper.
Walls made of wood are treated with a waterproofing solution that protects the material from the effects of moisture: deformation and subsequent decay. In this case, a shellac composition is ideal, which prevents the release of resin and evens out the shade.
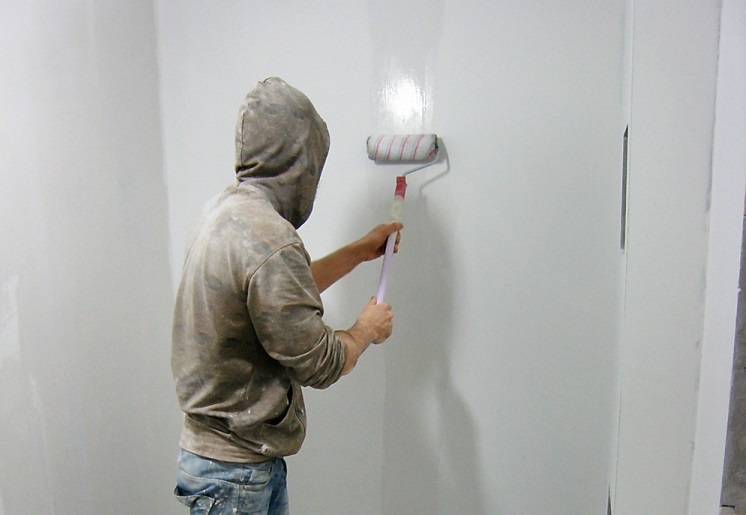
To obtain a durable coating, you can also apply a primer after the putty paste has dried, while it is better to putty in several thin layers
Mixing solutions from different manufacturers is strongly discouraged. Even if they have the same purpose, their chemical composition is different. When mixing, the consistency of the solution may be disturbed, as well as its main properties may be lost.
Conclusions and useful video on the topic
You can find out why it is important to prime the walls before applying plaster from the video:
A guide to priming walls before applying putty is provided in the following video:
Based on the simple recommendations presented in the article, you can qualitatively carry out the priming of the walls with your own hands. So, it is enough to choose a mixture suitable for a particular type of coating.
An important condition is to create a favorable microclimate in the room for full drying of the primer coating: maintain the temperature and eliminate drafts. As a result, you will get an ideal surface for subsequent filler.
If you previously had to prime the walls yourself, tell your story in the comments below the article. Perhaps your experience will help our readers study the issue in more detail, and prepare the walls for plastering as efficiently as possible.


