Having bought a brand new door for ourselves - entrance, toilet or interior - it doesn't matter, we stand in front of a dilemma - to save money and put it on your own or call the master and part with a decent the amount? It's up to you to decide, but frankly, installing doors is not top mathematics. In the article we will figure out how and in what order the doors are put.
@ interiorbakuhotelsweb.com
The content of the article
- Choosing the right door size
- How to choose a platband
- Dismantling the old door
- Installation start
- Leveling
- Next steps
- Platband installation
Choosing the right door size
Suppose your home is not bare, and you change the door instead of installing it in an empty doorway. After preliminary measurements (you made them, didn't you?) a canvas with a box of the required dimensions is purchased. How to calculate them? Dismantling the platbands on the old doors. All the same, dismantling is not carried out without this. So, having removed the platband, they measure the dimensions of the old box. If you order a door in the carpentry, indicate the resulting dimensions
minus 15-20 millimeters for polyurethane foam. I take the option when the old door, as it was done during the Soviet era, is held in the wall by mortgages.For those who buy a door in the market or in a store, the algorithm is even simpler - you can measure the dimensions of the old door leaf. Most often, you don't have to choose especially - shop doors are high 2000, and the width 600, 700, 800 or 900 millimeters. We choose something closest in size.
How to choose a platband
If there is plenty to choose from, take widest platband. What happens to the wall after dismantling the old door remains to be seen. Maybe, for example, a piece of brick or a wooden mortgage will fall out - this disgrace will need to be covered.
The platband should be taken with a margin of about 15-20 centimeters. Firstly, part of the length will be spent on the sidetrack, and secondly, there will be a fit to one corner. And thirdly, you can make a mistake when sidetracking. And then a stick that is too short will have to be launched on the "short stacks". The moral of that fable is this: take only long sticks. And provide a margin of 10-15% of the total timber, if possible.
I recommend paying attention to the shape of the casing - it should be straight and not resemble a Turkish saber.
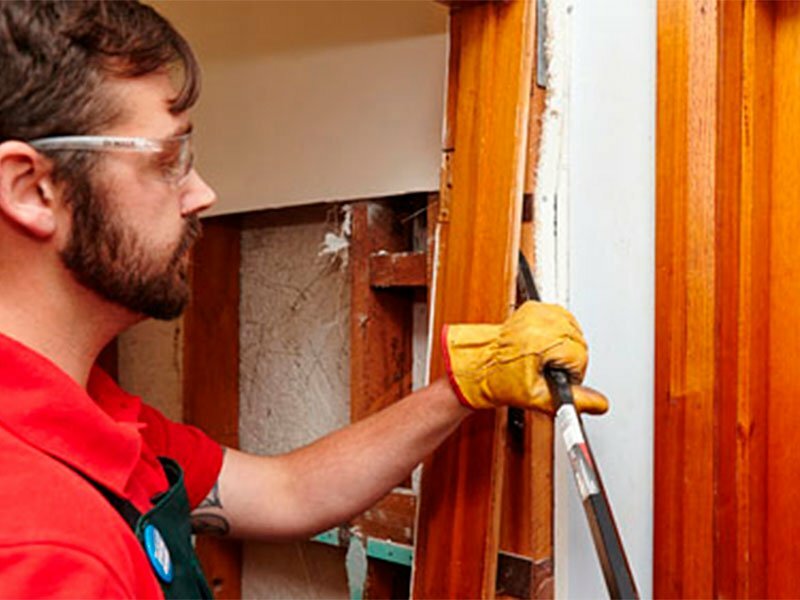
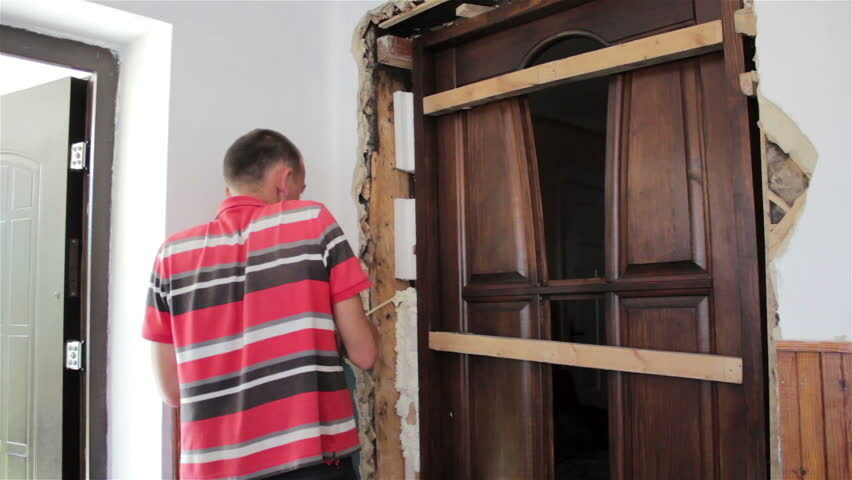
Dismantling the old door
@ ruat-evpa.com
The process begins with dismantling, as already mentioned, the platband. Then the canvas is removed from the hinges. If it doesn't work, we help from below with a mount, placing a wooden block under it.
There are times when the door is in the middle of the opening, there is no platband (there is nowhere to tulle it), and there are slopes on both sides. The case is not fatal - unscrew the hinges either on the box or on the door where it is easier.
So, the canvas is removed. It is necessary to make a volitional decision - whether the old door is needed. If necessary, it is advisable to keep the box. This is a separate story, and labor costs for dismantling (if the box is not on foam) increases significantly. Here each case is individual.
If the box is not needed, hacksaw in hand and saw castle post closer to the middle. Then, having threaded the mount between the box and the wall, we begin to break out from the lock side. Further dismantling is intuitive, I think. If necessary, you can make more cuts in the box to facilitate fuss.
Installation start
@ homstips.blogspot.com
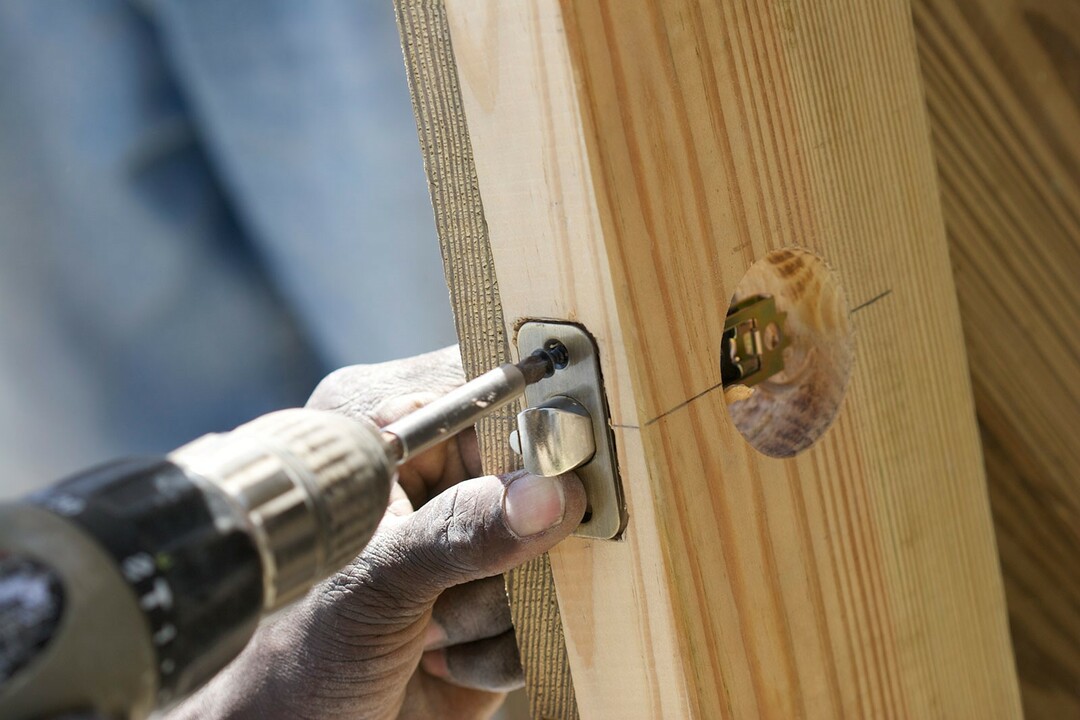
The first thing to do is take the canvas out of the box and screw the fittings - hinges, lock and handles. We will assume that they are already hung, I have already described how this is done. If you are afraid to stain the door handles with foam, they can be screwed on after it has settled.
Next, cut from an unnecessary wooden block wedges at different (10-30 degrees) angles and different sizes.
The primary task is to stick the box into the opening in its place. If you wrong measurements, and the box won't fit - you have two options:
- you can expand the opening;
- using a planer machine to cut a part of the box.
I say right away - the first option is preferable. But if, say, you hit a reinforcement in a wall or concrete, plan the box.
We decide how to put the door - by level or by opening. Oddly enough, this does not always mean the same thing, especially in older houses. Installing a door not in a level is fraught with the fact that it will independently go to close or open under its own weight. But if the plans for global repairs are not foreseen, you can close your eyes to this and put the box along the opening.
Always start installation from the hinge side. The box is fixed in the opening with wedges. After the hinge side of the box is exposed, you can grab it with plasterboard mounting plates for reliability.
Leveling
@ legkovmeste.ru
After making sure that the box is securely fixed, we put the door on the hinges from top to bottom. If the opening does not allow this or the hinges are non-separable, then we fasten them in place with self-tapping screws, having got into the previously made seats. The problem is more difficult, but solvable.
If the box is level and the door is hung correctly, it will close without any problems. Possible troubles at this stage:
- The door catches the box from above or from below closer to the lock. The solution is to raise or lower the lock box rack.
- When closing, there is no vestibule. This is visually reflected in the presence of a gap between the door and the frame in the lock part from above with their complete adherence from below, or vice versa. The solution is to move forward to the door that part of the box where there is a gap. Or vice versa - move the adjacent part.
- The door is randomly opened or closed. This is due to the fact that the box (looped side) is piled forward or backward. The solution is to set it by level or leave it as it is.
Next steps
After the box is exposed, the fun begins. She needs fixblowing in the gaps between the opening and the box with polyurethane foam.
The door is closed, and they put in the gaps between the canvas and the box around the perimeter pieces of hardboard 3-5 mm thick. If this is not done, the expanded foam will deform the frame and the door will not close. You may not even be able to open the door.
Foam gun allows you to smoothly adjust the flow of foam and save its consumption by 20-30%. The opening is blown out from the bottom up gradually, taking into account the fact that the foam expands 2-3 times. Do not rush to blow out, otherwise the foam will begin to crawl out and can get on the frame and door leaf. To wipe it off is long and unpleasant.
@ shutterstock.com
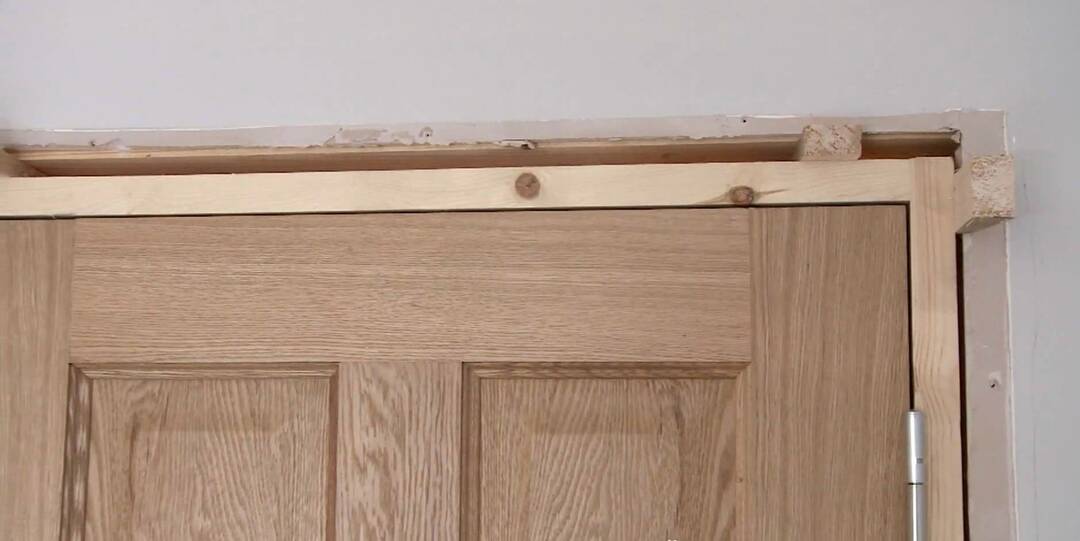
Wait a day after blowing, then cut off the excess foam. After that, you can put a striker on the box from the lock, it is marked and mounted at this stage, not earlier. The wedges on which the box was held are carefully filed with a hacksaw and hidden under the casing.
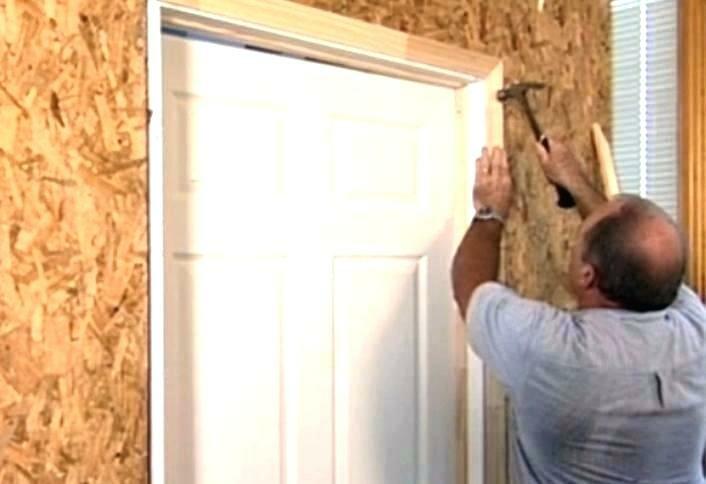
Platband installation
If necessary, the box is covered with a platband. It is neatly cut "on a mustache", that is, at 45 degrees using a hacksaw and a miter saw or a miter saw. The platband is placed so that the door leaf does not cling to it when it is closed. About 3-5 millimeters retreat from the inner edge of the end of the box. Installation is carried out on copper-plated studs with small caps. They are fastened firmly, but so that the platband does not have to be broken during dismantling.
Here is the whole process in a nutshell. In fact, there are many installation nuances that you have to learn on your own during the installation process.
Subscribe to our Social Networks


