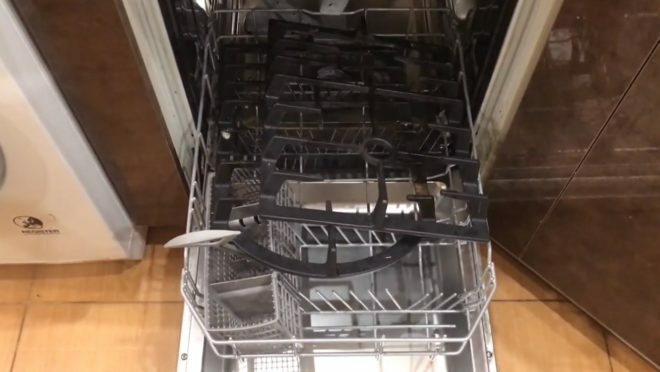
What do you need for a comfortable stay in the kitchen? In addition to the things that must be purchased (refrigerator, hob, sink, oven or microwave), the convenience of the hostess is designed to provide such a thing as a dish drainer. In this article we will tell you how to choose a cupboard for drying dishes in the kitchen, so that it is not only functional, but also stylish, fits into the interior, and also is not too expensive in price.
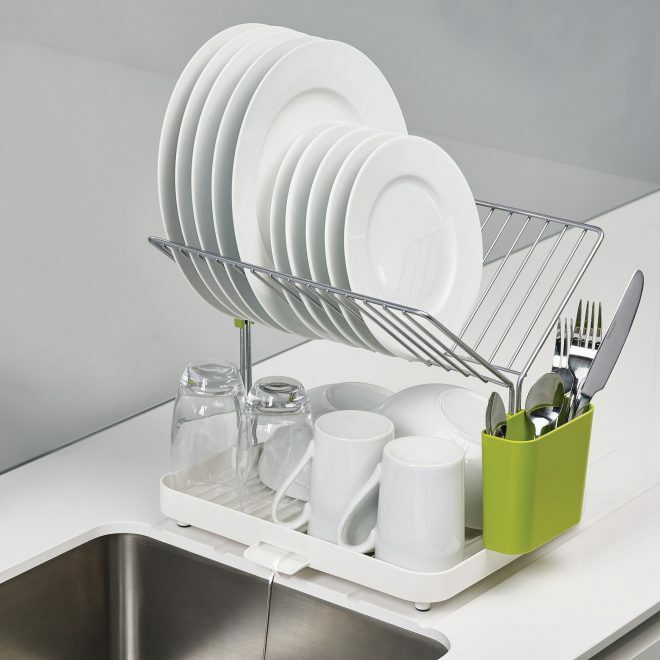
What are dish dryers
All cupboard dryers are made of the same design. The dividing grids are positioned vertically so that the water flows down from the plates onto a special drip tray. This division is due to the different dimensions of the kitchen utensils.
Attention! Earned on our website kitchen designer. You can familiarize yourself with it and design your dream kitchen for free! May also come in handy wardrobes designer.
In any basic configuration, you will find the following departments:
- For plates, bowls - both for regular, flat and deep.
- For cups, glasses, glasses - spacious top compartment.
There are options where a different set of tiers is presented:
- Tier 1 is used only for storing plates and bowls.
- 2 tiers. This design helps to correctly place clean dishes. Being in the upper compartment, the glasses will stay securely in their place.
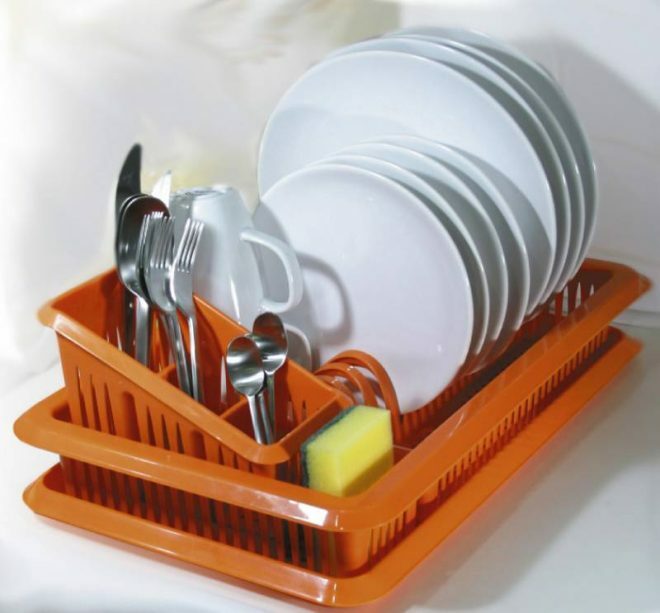
- Additional compartments. In modern plastic models, there are compartments designed to accommodate cutlery.
The cupboard dryer is made of durable, reliable materials. A layer of enamel or paint is applied on top to protect the coating. The base of the structure is sometimes made of rubber, which prevents the dishes from sliding.
Dish drying cabinets are also divided according to the installation method:
- Autonomous. Stand alone or wall hung.
- Part of the kitchen set. They must be built into one of the modules (top or bottom).
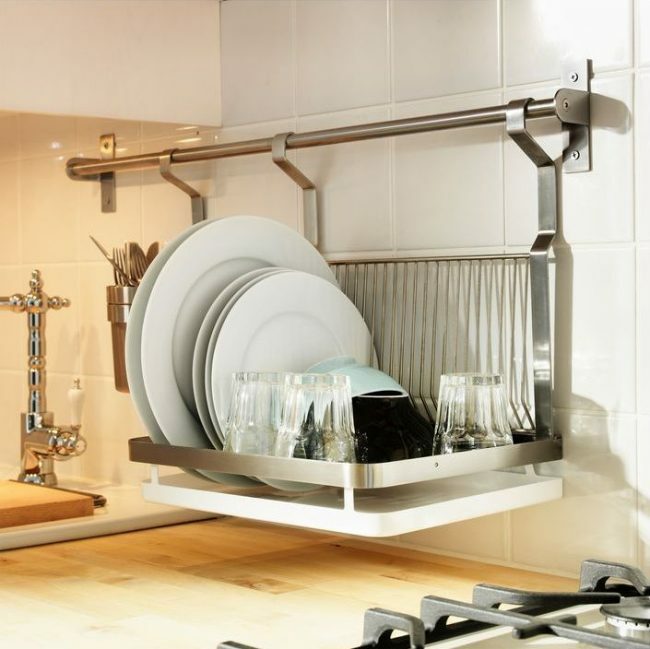
The right solution would be to place a hanging dish drainer above the sink. This will prevent dripping on the kitchen floor as you carry the plate from the sink to the dryer.
The hinged dish drainer can be open. For such models, a large pallet is made. They are suitable for any style of room decoration and are relatively inexpensive. Their main advantage is that, at the request of the owners of the house, the structure can be easily removed and moved to another, more convenient place.
The built-in dryer can be retractable, which is very convenient in terms of saving free space. It is usually mounted in one of the kitchen cabinets. There are the following reasons for this:
- common kitchen area;
- individual requirements and wishes of the owners;
- ergonomics;
- the presence of a dishwasher.
At the moment, a wall-mounted dish dryer with a tray is undoubtedly considered the market leader. It is extremely easy to use. The main condition should be good ventilation so that the plates are ventilated.
Material for making
Drainers for kitchen utensils are divided into the following categories depending on the material from which they are made:
- Metal.
Most products use steel, which is pre-coated with a special coating to prevent corrosion processes. This method of protection can significantly extend the life of the facility. Many buyers like this particular type of material because of its pleasant metallic color and glossy sheen.
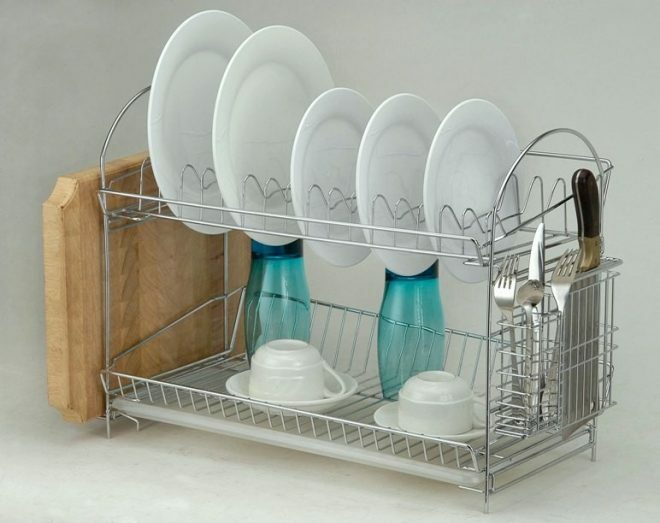
- Stainless steel.
This standard version has an adequate price-performance ratio. Strong material has wear-resistant properties, so it can serve for a long time and properly.
- Plastic.
These models are popular among buyers in the domestic market, because it will be inexpensive to buy a plastic structure. The main disadvantage of this material is its short service life and the rapid loss of its presentation. Under the influence of water, heat, direct sunlight, the surface loses its original color and brightness. Another disadvantage is the fragility of the material. Do not overload the dryer by placing too many dishes on it. Otherwise, it can bend or even break under heavy weight.
- Tree.
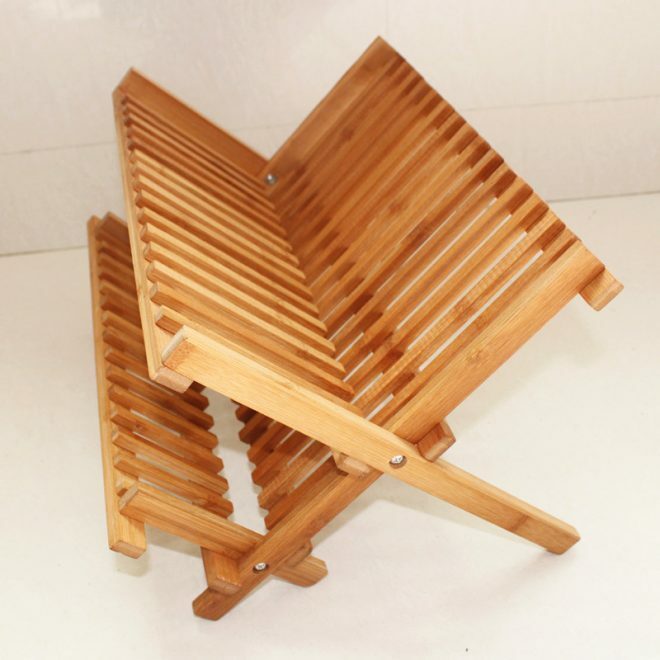
A wooden dish drainer is the choice of real aesthetes and connoisseurs of classic style in the interior. You can dry dishes on it only if the wood is covered with a special protective compound that prevents the processes of decay and destruction. It is not suitable for every owner, since it is used rather as a design highlight.
How to choose the right one
Built-in dryers must clearly correspond to the parameters of the niche where they will be placed. Before buying, be sure to measure the height, width and depth of the kitchen unit. Traditionally, dryers have the following dimensions:
- 40 centimeters;
- 50 centimeters;
- 60 centimeters;
- 70 centimeters;
- 80 centimeters.
Please note that the distance between the bottom line of the cabinet and the pallet must be at least 5-7 centimeters, and the distance between the two tiers must be at least 30 centimeters.
How to install
There are many photos on the Internet illustrating the step-by-step process of installing dryers. We will discuss a couple of important details. Firstly, the drying setting depends on the material of its manufacture. Metal structures will look good on the wall, plastic ones installed on the kitchen countertop.
In order to secure the dryer securely, you will need the following tools:
- puncher;
- hammer drill;
- plastic dowels;
- metal screws;
- thin wooden plates.
Here are the basic installation steps:
- The wooden plates should be glued to the rear upper side of the structure. They are used to strengthen the support, to make the mount more reliable.
- Two small holes have to be drilled on the aforementioned top bar. Plastic dowels are hammered into them.
- Using a hammer drill or an impact drill, the dryer is attached to the wall with metal screws.
That's it, the dryer is installed and ready to use. Happy shopping!
average rating 0 / 5. Number of ratings: 0
No ratings yet. Be the first to rate.

