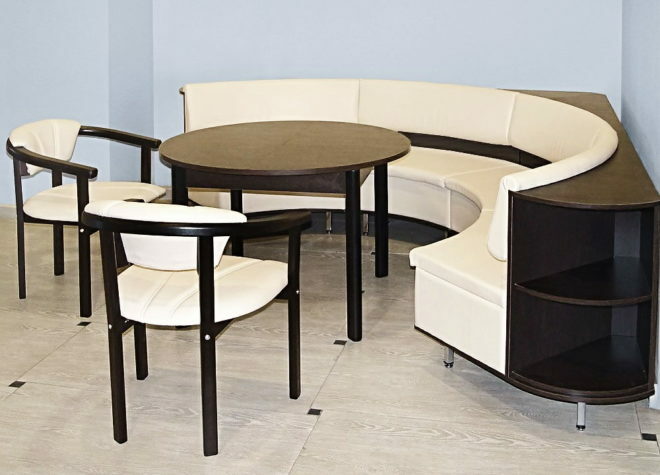
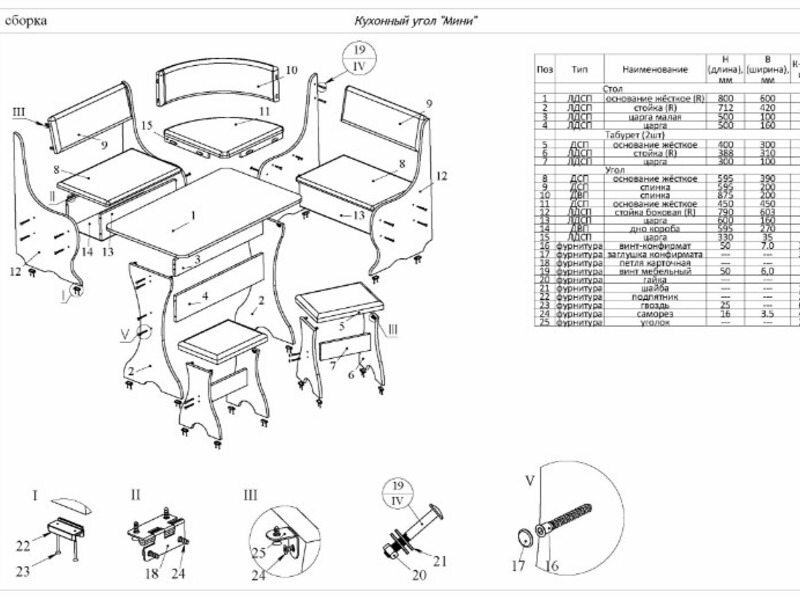
 Not many can boast of the presence in the kitchen of free space for large furniture. In small kitchens, every centimeter matters, especially in the area where the table is located. In the kitchen, you always want to accommodate as much seating as possible. With such a task it is quite within the power to cope with a soft corner sofa, which will allow you to use the space to the maximum. At the end of the article, you will find a drawing of a kitchen corner, a diagram and step-by-step instructions that will help you make it yourself with your own hands.
Attention! Earned on our website kitchen designer. You can familiarize yourself with it and design your dream kitchen for free! May also come in handy wardrobes designer.
Soft corner using shelves from Ikea
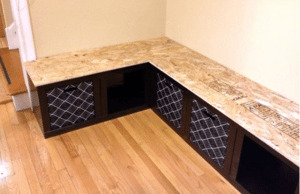
To minimize carpentry work, you can use ready-made Ikea shelves as a frame. To make such a corner with your own hands, you will need materials:
- Chipboard or plywood.
- Ikea shelves with facades.
- Upholstery fabric.
- Furniture foam rubber.
- Electric jigsaw.
- Drill.
- Construction stapler.
- Bolts and nuts.
Installation and fastening of the frame
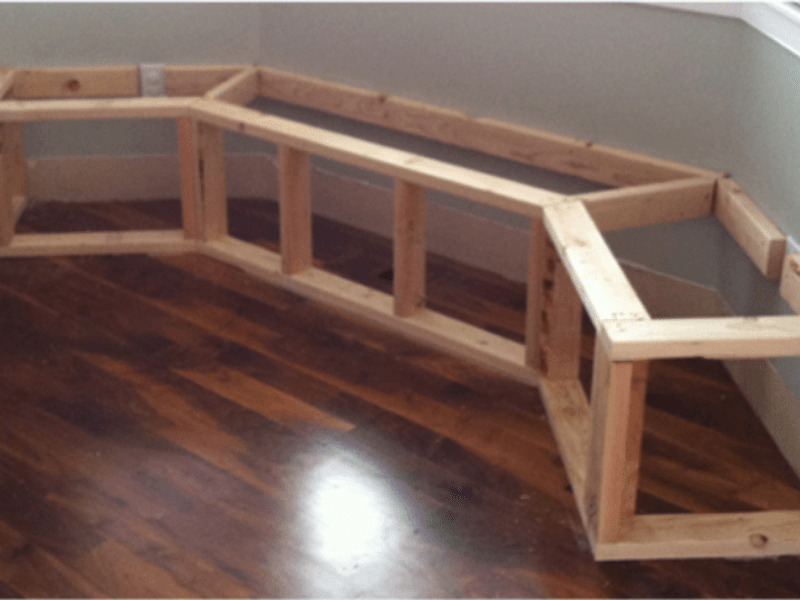
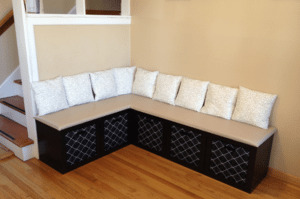 When choosing the size of the shelves, you should take into account such standards as: the height and depth of the seat should be 40–45 cm. The convenience of using the shelves is that you can easily create not only an L-shaped structure, but if the space and area of the kitchen allows, then a U-shaped one.
With the help of bolts, all structural parts are connected to each other. But before that you need to drill holes of the appropriate size in the side walls. If the drill does not fit in the shelf, then the hole should be drilled from the outside, separately in each wall. It is very important to make clear measurements so that there are no problems when connecting the structure.
So that the wood does not deteriorate when the bolts are tightly pulled together, it is recommended to additionally use gaskets for the bolt and nut caps.
Installation of fronts and seat bases
After the frame is installed, the fronts of the shelves must be fixed. You can do without this, which will make the structure much cheaper, but if you need additional space for storing various things, then you still need to install the doors.
The base for the seats is made of chipboard (OSB) sheets or plywood. Plywood with a thickness of 10 mm can withstand high loads and has good moisture resistance. The most economical option is to use wood chipboard or oriented strand board.
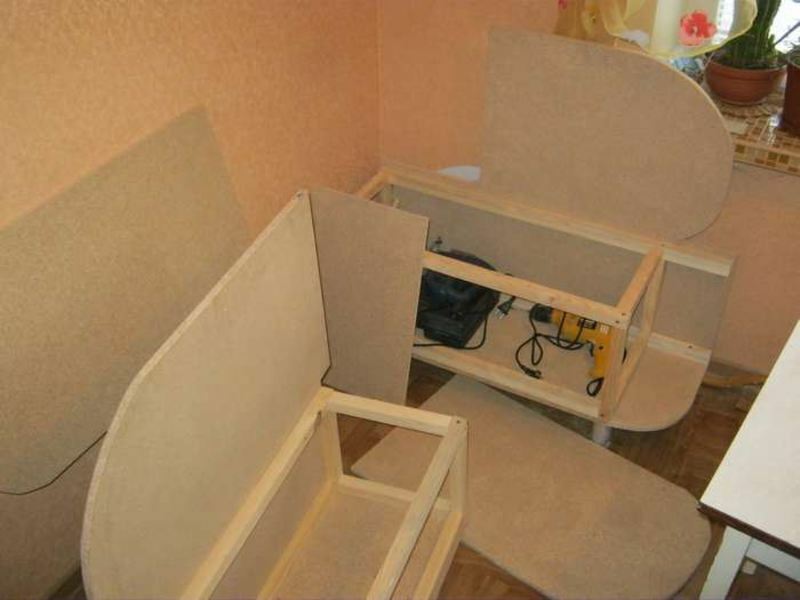
The board is cut to the size of the corner with a jigsaw. Next, sand the edges with medium-grit sandpaper.
Upholstery with soft material
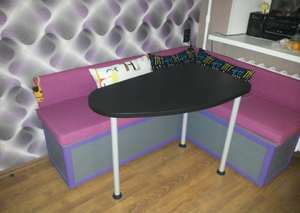 This stage of work is the most time consuming. Furniture foam should be cut in the same way as a plywood sheet. Then it is glued to the base.
It is important to use in the work a special glue designed for strong adhesion of foam rubber to a wooden surface.
The next step will be covering with fabric using a construction stapler. The distance between the staples should be 1–2 cm. Even an inexperienced person can do upholstery with a monochromatic material, but you will have to adapt to a complex pattern, because this task is no longer an easy one.
The finished seat can be supplemented with soft cushions, which will also function as a backrest.
A simple do-it-yourself kitchen sofa from a furniture board
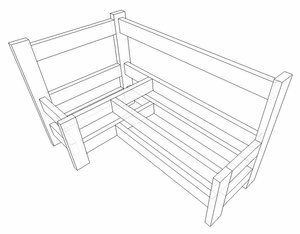 A do-it-yourself kitchen corner from a furniture board is one of the most budgetary options for this venture. For work you will need the following materials:
- Acrylic paint.
- Textile.
- Drill.
- Jigsaw.
- Self-tapping screws for wood.
- Furniture board (18 mm).
- Foam rubber (80 mm and 20 mm).
Cutting the shield and fastening parts
Before you start cutting the shield, you need to draw up drawings of a homemade kitchen corner with cuts. The project must be designed in such a way that at least 3 people can be freely accommodated on the sofa.
It is better to start cutting the shield with a jigsaw, but you can also do with a hand hacksaw. In the process of cutting, the tool should be held strictly perpendicular, and the ends of the shield should be located strictly at an angle of 90 ° in relation to the main plane.
The parts are fastened with self-tapping screws, and in order to avoid cracks, it is first necessary to make a hole for the screw. The drill diameter should be 0.5–1 mm less than the screw diameter.
Body painting
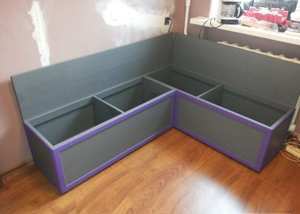 For painting, you can use alkyd enamel or acrylic. It is better to make a choice in favor of acrylic enamel, due to its stability, durability and lack of a pungent odor, which will allow using the enamel directly in the room.
Before painting, it is necessary to treat the surface of the case with a primer in order to increase the adhesion between the varnish and the wood surface. We make the coating in 2 layers, and for a more saturated color - in three.
Making soft pillows
For sewing pillows we use foam rubber, which, unlike padding polyester and holofiber, has a better density and is more comfortable to sit on.
For the backrest, you can use thinner foam rubber, and for the seats you will need foam rubber with a thickness of at least 80 mm.
If it is possible to work on a sewing machine, then it is best to sew removable covers with a zipper or buttons. This option is convenient because the old fabric can always be replaced with a new one at no extra cost.
Do-it-yourself kitchen corner made of wood
A very simple but original corner for the kitchen can be made from a wooden board with your own hands. For work you need:
- Foam rubber.
- Wooden board 100x40 mm.
- Plywood or chipboard.
- Round dowel with a diameter of 15 mm.
- Drill with 15 mm crown.
- Electric jigsaw.
- Construction stapler.
- Batting.
- PVA glue.
- Upholstery fabric.
- Varnish and stain.
Sawing and grinding parts
First, you should create a drawing on paper or in a special program, and then you can start cutting the board into parts. To give the corner a more elegant look, you need to carefully cut out the curly parts with your own hands. To make the elements smoother and more accurate, use a flexible ruler to draw lines on the surface of the tree.
All parts are sanded several times with sandpaper of varying grain size. Next, according to the drawing, the entire corner is assembled with dowels and glue.
Staining and varnishing
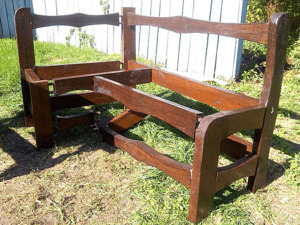 It is best to use wood stain instead of enamel for coating. The stain does not create an unnecessary film effect on the surface of the wood, but, on the contrary, preserves its structure. The color can vary from light to dark red. The stain has a peculiarity - to raise the pile of the tree during the staining process, therefore, after drying, the surface must be sanded again.
Like the stain, the varnish should be applied in several layers. To speed up the process, you can use a water-soluble varnish, the drying time of which is no more than 30 minutes.
Assembling the frame
Before using the glue for fixing the ends of all structural elements, it is recommended to assemble it "dry". It is necessary to ensure that all frame parts fit without gaps.
If everything fits together perfectly, you can start assembling the frame with glue. For strengthening, you can use metal corners 4x4, which are attached to the inner corners.
The bottom of the boxes can be made of plywood or chipboard. The selected material only needs to be placed on the furniture corners attached to the frame at the bottom.
Seat installation
From the same sheet of plywood or chipboard, from which the bottom for the boxes was cut, you can make a base for the seat according to the dimensions indicated in the drawing. Progress:
Step 1. We take the foam rubber and cut out a piece from it, which should be 2-3 cm larger than the base on all sides.
Step 2. We glue the foam rubber to the chipboard.
Step 3. Cut out the batting along the contour and glue it to the seat with the same glue.
Step 4. Using a construction stapler, we attach the upholstery fabric.
The result is an excellent corner sofa that can be a decoration for any kitchen.
How to make an original corner sofa from pallets
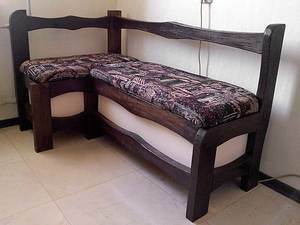 Direct purpose of wooden pallets — transportation of goods. But this simple construction can serve as a reliable material for making furniture.
Perhaps such a sofa will not fit in every kitchen, but it is also perfect for a gazebo in the garden, especially since a pallet sofa is not particularly difficult to assemble.
Selection and adjustment of pallets
The first step is to inspect the pallets that will be used for the manufacture of furniture, for chips and damage, so that there is no trouble during operation.
A corner sofa is designed according to the size of the pallets. If space permits, you can make furniture out of solid pallets, otherwise you have to resort to using a circular or hand saw.
Connecting parts
It will not be difficult to make a corner for a kitchen or a gazebo, because for this you just need to connect the finished parts together with screws.
It is recommended to install the pallets in two rows so that it is comfortable to sit, taking into account the fact that there will still be a layer of foam rubber or a thick mattress on top.
To make the backrest, you need to attach the pallet in an upright position to the base. This completes the assembly.
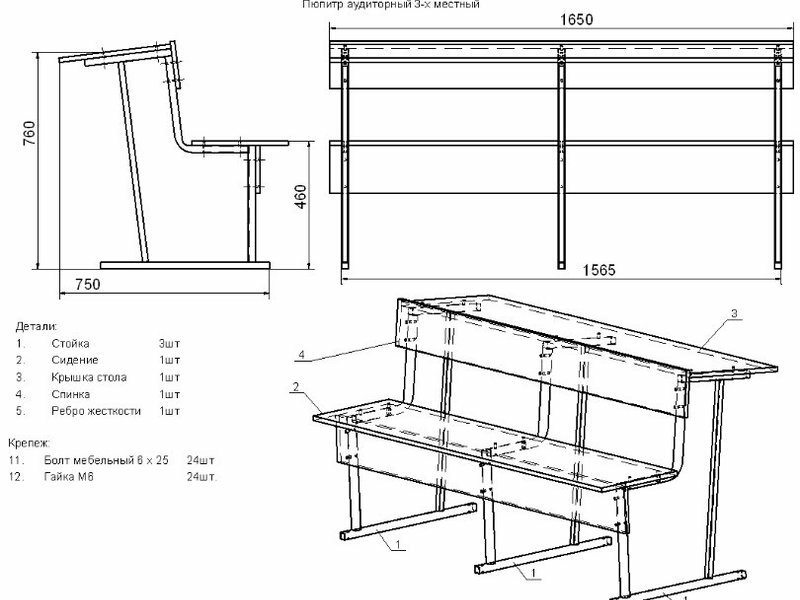
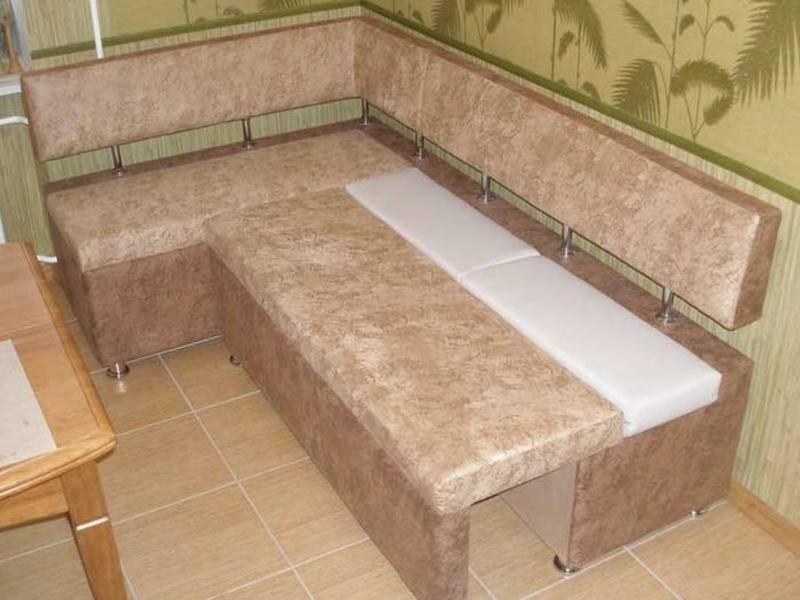
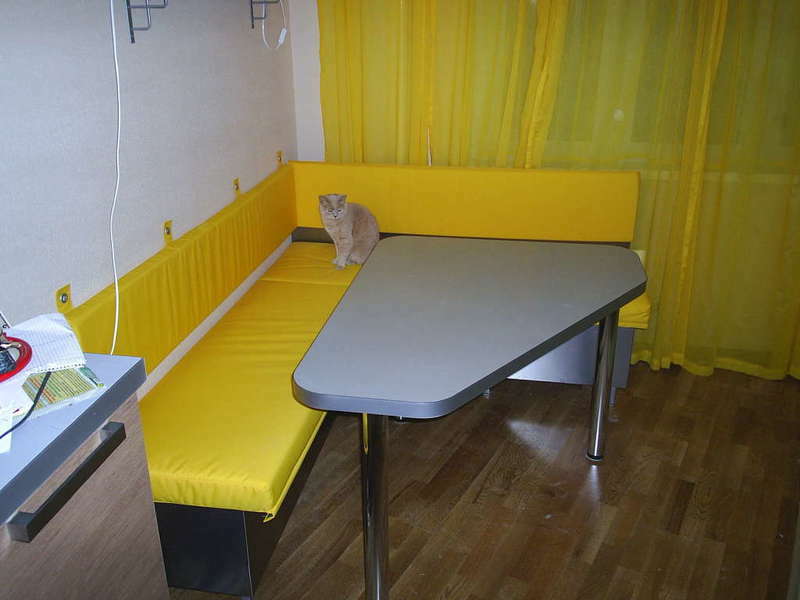
Photo - homemade corner of the kitchen: drawing and dimensions, diagram, step by step instructions

average rating 0 / 5. Number of ratings: 0
No ratings yet. Be the first to rate.


