Russia, Moscow region, Moscow+79041000555

 It takes ~ 3 minutes to read
When it's cool outside, you want to have a cup of tea with lemon. And if you are in a bad mood, you can cheer it up by placing a beautiful citrus-scented candle on the table during dinner. I propose to make such a candle today. The process of its creation is not at all complicated. The only snag is that you need to prepare dried slices of orange, lemon or grapefruit in advance. Finally, you need to dry them under pressure (for example, a heavy book), in which case they will be flat and even. And for additional aroma, you can sprinkle them with aromatic oil before placing them in the mold. And then you will have a wonderful citrus-scented candle. 
You will need:
- Wax or candles
- Wax crayons or eyeshadow
- Juice molds
- Knife
- Glass beaker or jar
- Pot of water
- Dried citrus
- Decor elements
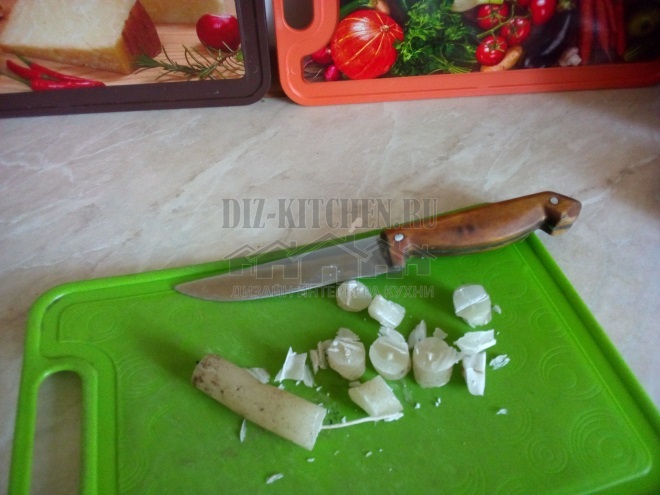
- We take old candles or wax. You can buy it at specialty stores, but I use regular white candles. I cut them with a knife and carefully take out the wick. We will need it for our new product.
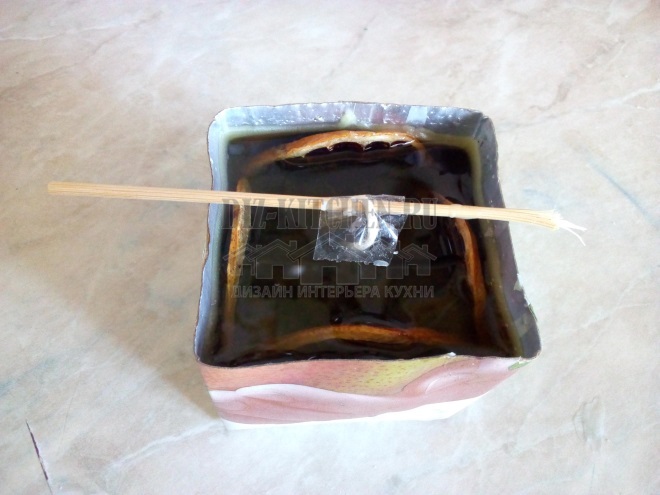
- The wax must be placed either in a glass or in a glass jar, which we put in a saucepan or ladle, previously filled with water. It is advisable to put a rag on the bottom of the jar so that the jar does not burst. Well, of course, you need to decide on the shape of the candle.

- I want to make a square candle. I need a size large enough for my dried slices to fit. So I chose a juice container. I place a wick on a wooden skewer.

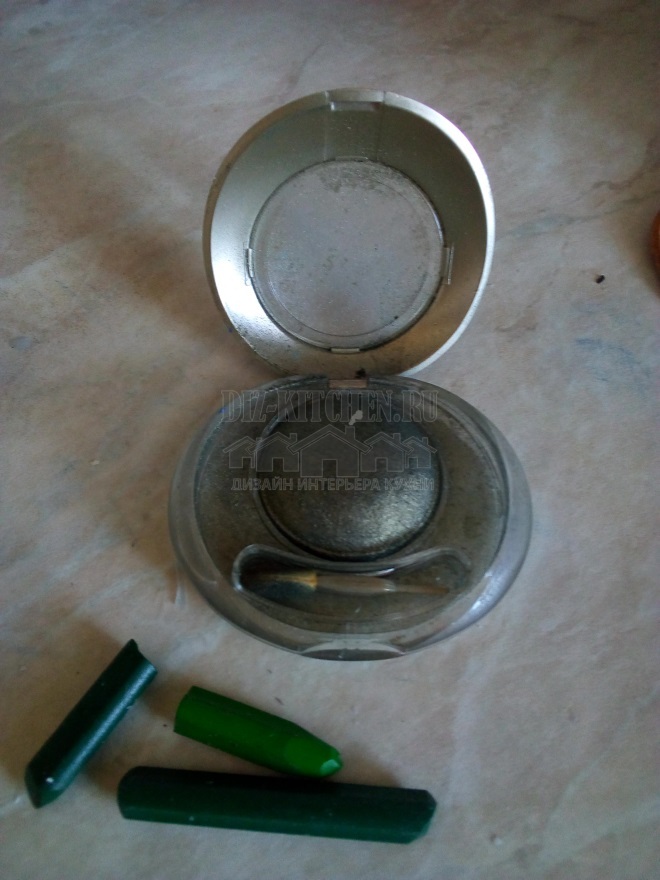
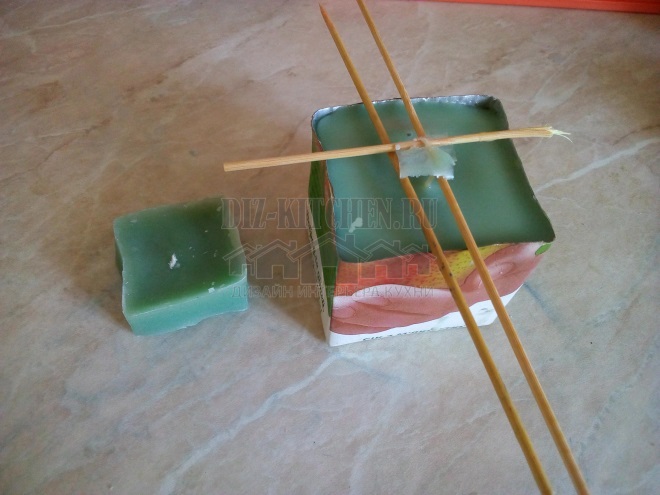
- And in order for our candle to acquire the original emerald or malachite shade, I will use ordinary cosmetic shadows or colored wax crayons.
- So, the wax is melted, add shadows and get a rich and beautiful color. In a container for a candle, I carefully put the dried orange slices on the sides and fill it with hot wax. If the wick has moved, it doesn't matter, it can be carefully corrected.
- Such a candle will take time to solidify. With the help of additional skewers, I fix the wick so that its tail sticks out beautifully above the candle. Approximately 1 cm.
- When the candle has frozen completely (and this is easy to determine, since the walls will no longer be warm and soft), carefully remove the foil and take out our candle.
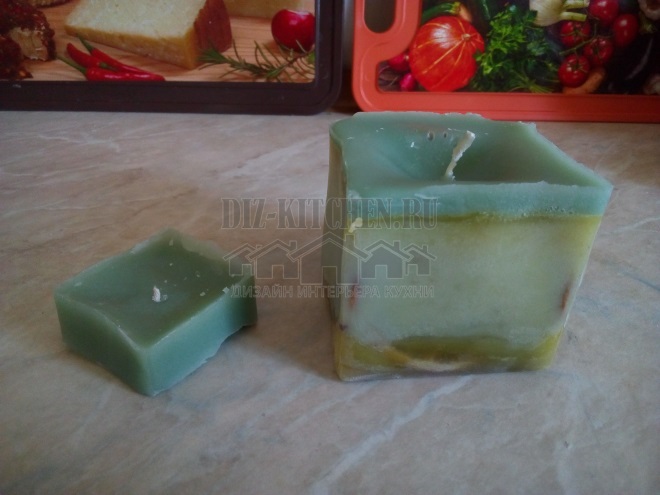
- I have some wax left, so I made another mini candle. Then I’ll figure out what to do with it. If the orange or lemon wedges are not very visible due to the wax layer, you can use a regular iron to smooth the edges of your candle by melting them.

- For decoration, I use regular twine or rope and a dried orange slice.
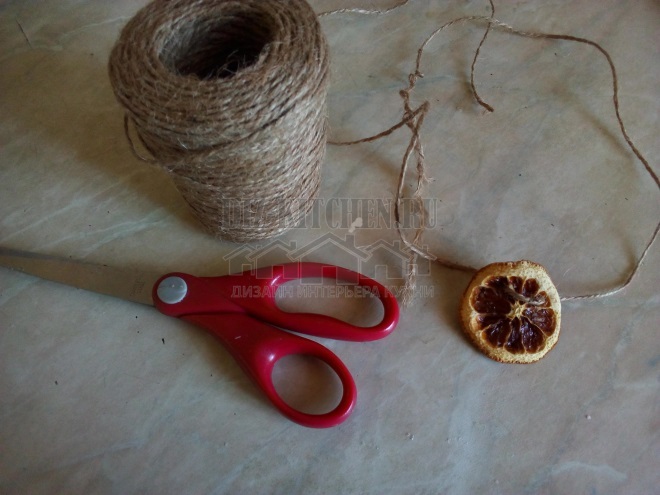 I just tie a bow on the candle, after stringing a circle of orange.
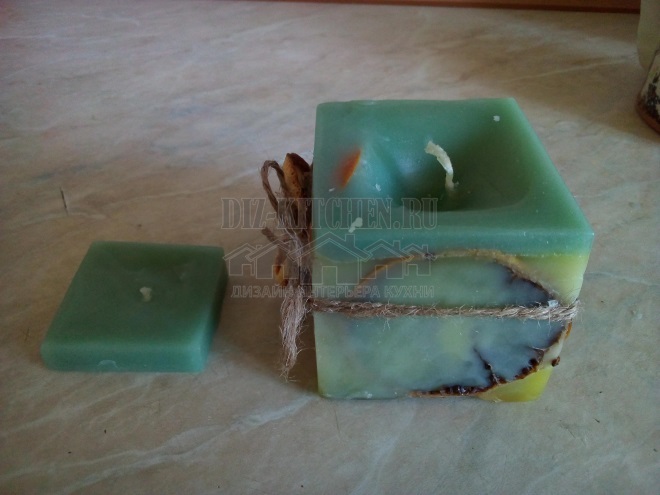
Our candles are ready! They will be the perfect decoration for any romantic dinner or lunch. 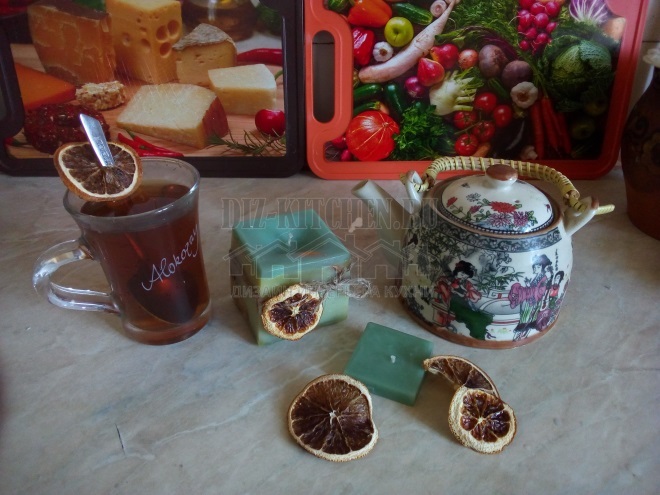
Attention! Earned on our website kitchen designer. You can familiarize yourself with it and design your dream kitchen for free! May also come in handy wardrobes designer.
And for a small candle, I found a wonderful use. The result is a floating mini-candle. You can put a plate, saucer or cup on the table, collect some water, put our candle and light it. It looks very original. 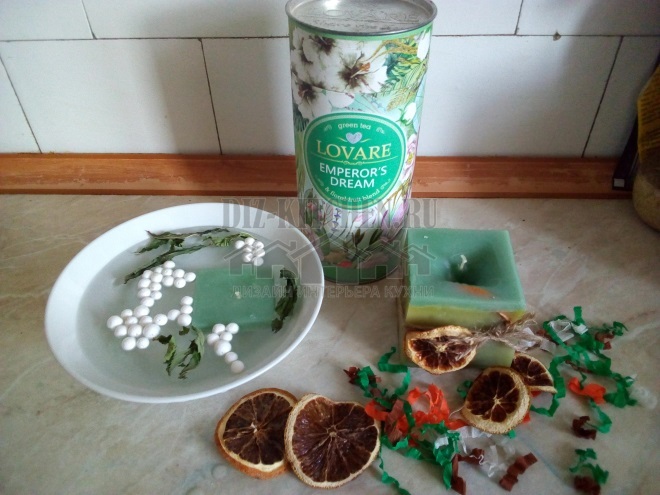
What is the most popular material for furniture fronts?
MDF
49.71%
Plastic
13.71%
Chipboard
21.14%
Natural wood
15.43%
Voted: 175
In order not to lose, tell your friends
Follow us on social networks


Dear visitor!
With great interest I always read your comments to my articles. If you have any questions, do not hesitate to ask them, leave, please, Your feedback in the form below. Your opinion is very important to me. Thanks to your criticism and thanks, I can make this blog more useful and interesting.
I would be very grateful if you rate this post and share it with your friends. It's easy to do by clicking on the social media buttons above. Do not forget the article you like Add to bookmarks and subscribe to new blog posts on social networks. 
Anna, editor of diz-kitchen.ru
© 2015 - 2022 | All rights reserved. At a reprint of materials the active link to the source is required. | User agreement and privacy policy
All characters and stories are fictional, and any coincidence with real or living people is accidental.


