Russia, Moscow region, Moscow+79041000555

 It takes ~ 3 minutes to read
The horseshoe has long been considered a symbol of good luck and good fortune. That is why so many people still hang such decorations in their homes. Of course, you can hang a wooden horseshoe or a real iron one on the wall, but it is better to make such amulet with your own hands, because during the manufacturing process the craft will definitely be charged with your positive energy. Such a craft can not only be hung to decorate the interior in the house, but also given as a present, making it pleasant for loved ones. The main thing is that the horseshoe horns look up, keeping all the best in themselves.
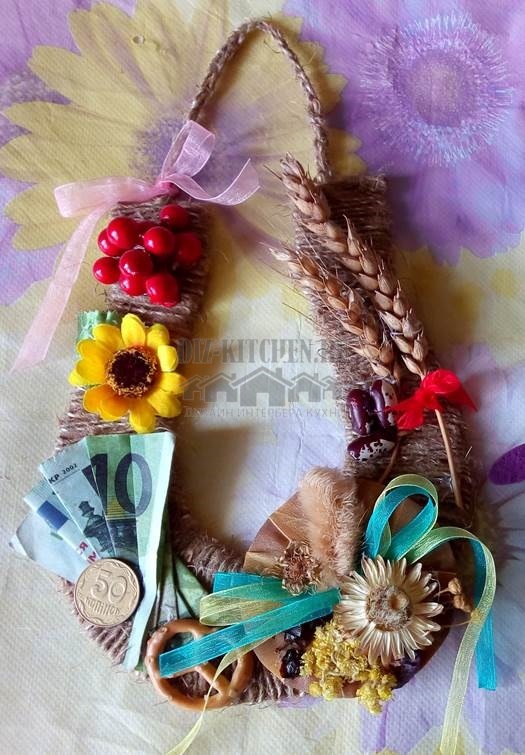
We need:
- Scissors
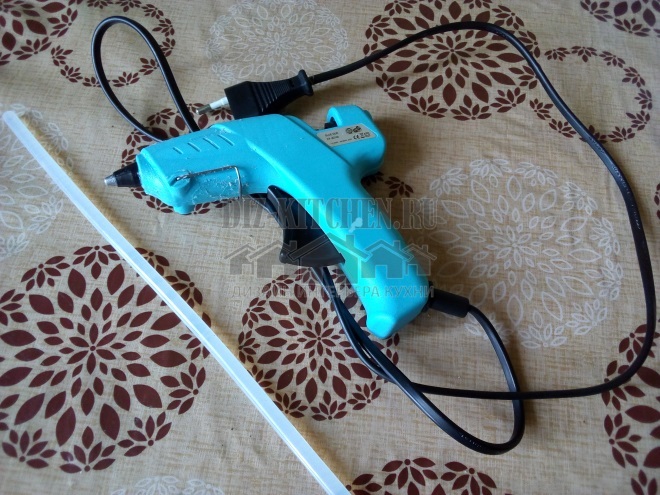
- Glue gun
- Twine
- Cardboard
- Decor elements: spikelets, flowers, dried fruits or berries, beans, crackers, coins or banknotes, beads or other decorations, ribbons, braid, etc.
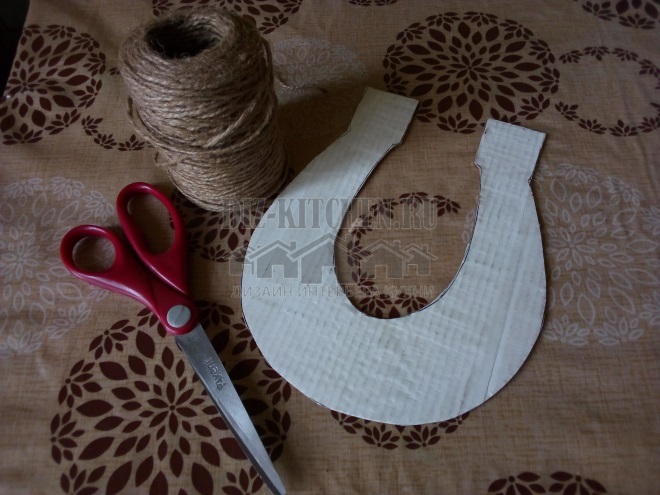
- The first thing we need is a template. I cut a horseshoe shape out of regular cardboard. Horseshoe can be of different sizes and shapes. You can look on the Internet, you can think of it yourself.
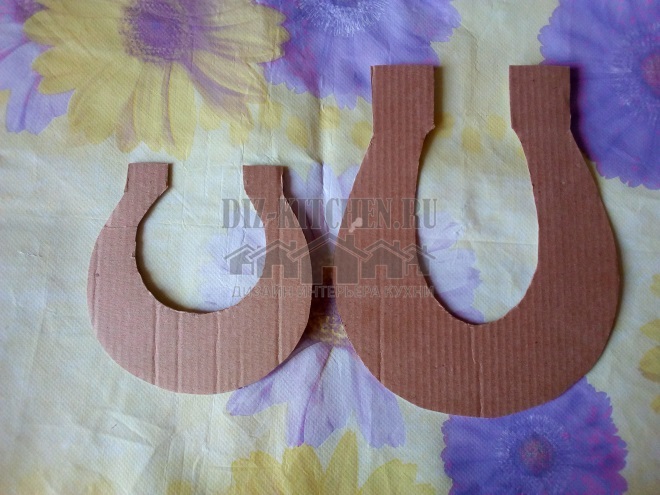
- Then you need to attach the template to a denser cardboard, which will already be the basis of our craft. Why does cardboard have to be thick? First, we will need to wrap it with twine. If the cardboard is soft, the horseshoe will begin to bend during the wrapping process and, as a result, the craft will not keep its shape. Secondly, as you can see, my horseshoes are decorated with quite a lot of elements, which also make the horseshoe heavier.
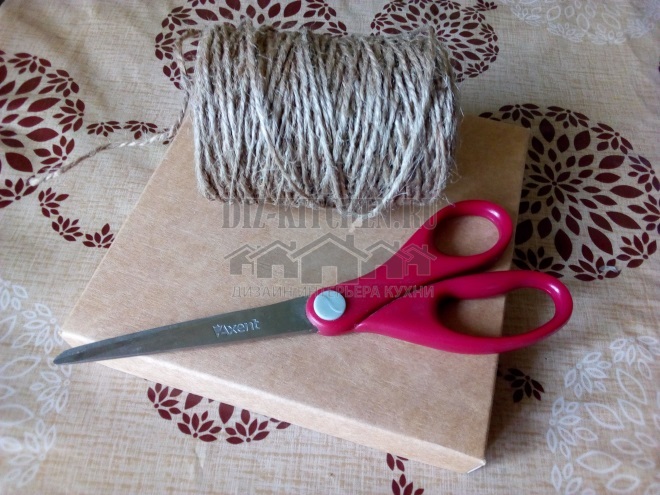
- Next we need a regular string. I choose a soft string, not rigid, because I hang my horseshoe on a chain that is crocheted from this string. And if the string is too stiff, then the chain will simply not work. If you don’t know how to knit, then you can simply weave a pigtail using 3 or 6 threads.
- We fasten the beginning of the twine from the back and with the help of hot glue or PVA glue (as you prefer), we simply begin to wrap the horseshoe with a string. We wrap tightly, there should be no gaps.
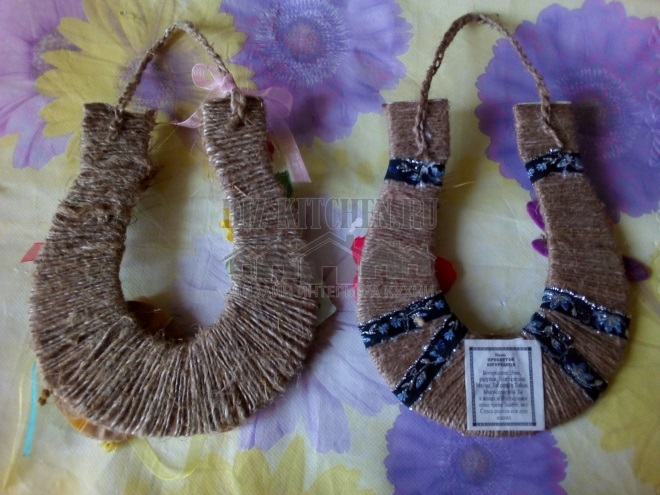
- Then we turn over the horseshoe and just decorate it as we want. We fix all parts with hot glue.
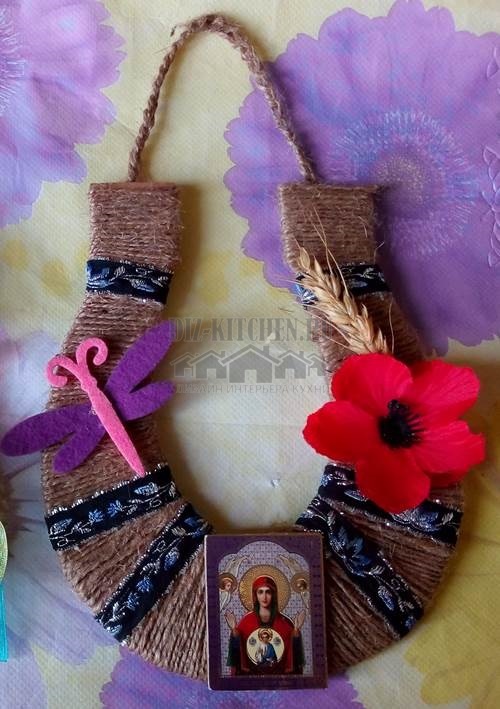
- I made two horseshoes. The first one was made with fewer decorations. I decorated it with beautiful braid, decorated it with a spikelet, a poppy, a dragonfly, and attached a small icon below.
- As a decoration for the second horseshoe, I used a composition of dried flowers and medicinal herbs.
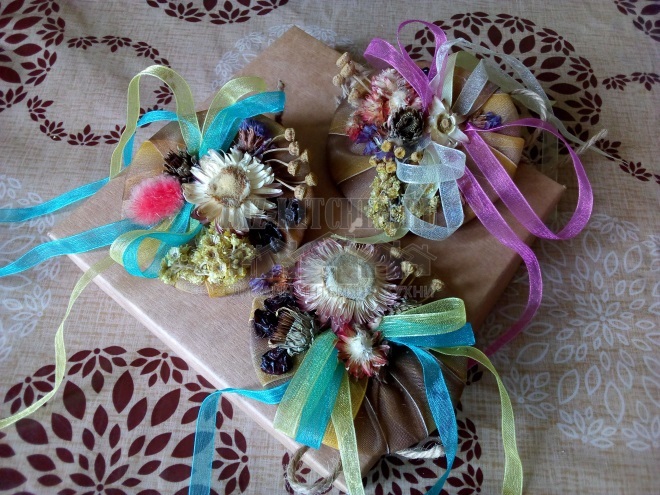 Spikelets and ribbons were also used. To make the horseshoe look bright and beautiful, I bought sunflower flowers, viburnum, hot pepper in a handicraft store.
 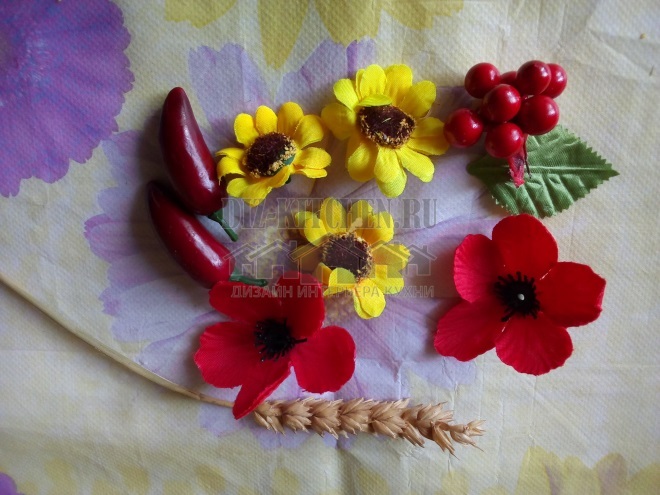 And you can add some coins, attach chestnuts or acorns, beans, in principle, everything that will be at your fingertips.
 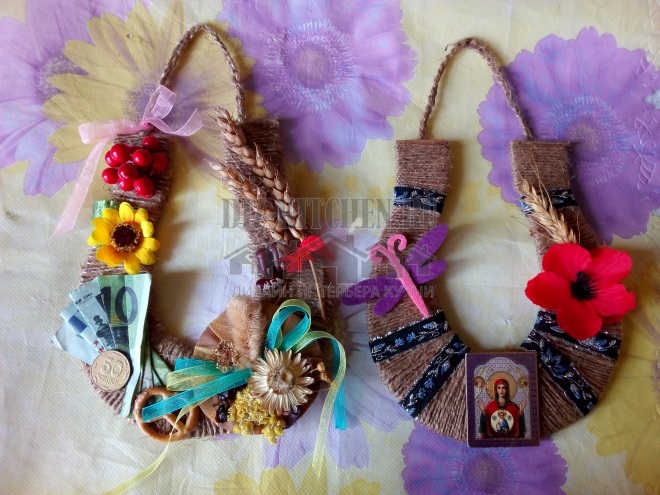 Your imagination itself will tell you how to decorate the product. In order for money to be found in the house, as a rule, banknotes are attached to such horseshoes. If color is not enough for you, you can add some more bright ribbons. Our horseshoe can be both part of the composition and independently decorate the interior of your home. May happiness be a full cup in your home, and a horseshoe will bring good luck!
The ideal format for gatherings in my kitchen is ...
Dumplings party
34.33%
Sitting over a cup of tea
41.79%
Youtube party
11.94%
Cocktail buffet
11.94%
Voted: 67
In order not to lose, tell your friends
Follow us on social networks


Dear visitor!
With great interest I always read your comments to my articles. If you have any questions, do not hesitate to ask them, leave, please, Your feedback in the form below. Your opinion is very important to me. Thanks to your criticism and thanks, I can make this blog more useful and interesting.
I would be very grateful if you rate this post and share it with your friends. It's easy to do by clicking on the social media buttons above. Do not forget the article you like Add to bookmarks and subscribe to new blog posts on social networks. 
Anna, editor of diz-kitchen.ru
© 2015 - 2022 | All rights reserved. At a reprint of materials the active link to the source is required. | User agreement and privacy policy
All characters and stories are fictional, and any coincidence with real or living people is accidental.


