It's nice when in the kitchen all the interior elements are combined with each other, and the design delights not only the owner of the house, but also the guests. One such element of the interior is a kitchen apron, which can be made of MDF. Such glossy panels can be attached to the wall in several ways, but they do not tolerate all types of paint. See also options for kitchen aprons from tiles, glass, plastic.
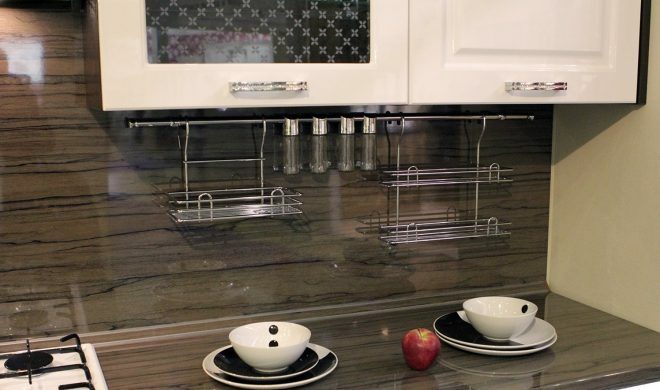
What is MDF?
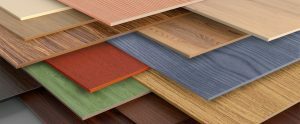 The abbreviation MDF does not fully reveal the essence of this building material. The abbreviation is literally translated from the English meaning MDF. In fact, MDF products are medium density fibreboards. Based on the decryption, it is more logical to call these products DPSD. However, this name did not take root among the Russian-speaking population. Read more…
Attention! Earned on our website kitchen designer. You can familiarize yourself with it and design your dream kitchen for free! May also come in handy wardrobes designer.
The basis for MDF boards is small chips, which are processed under the influence of high temperature, and then pressed under pressure. The binder for these products is environmentally friendly lignin. In its normal state, it is safe and harmless to health.
Advantages of an apron for a kitchen made of glossy MDF wall panels
The undoubted advantage of MDF products is their low cost. In addition, an apron can be ordered from almost any company that is associated with the production of furniture. And since compressed small shavings are easy to decorate, a private specialist, having the necessary equipment for cutting, is able to create an apron from MDF with an individual design. Moreover, the properties of the MDF material allow processing the sheet with smooth transitions and lines.
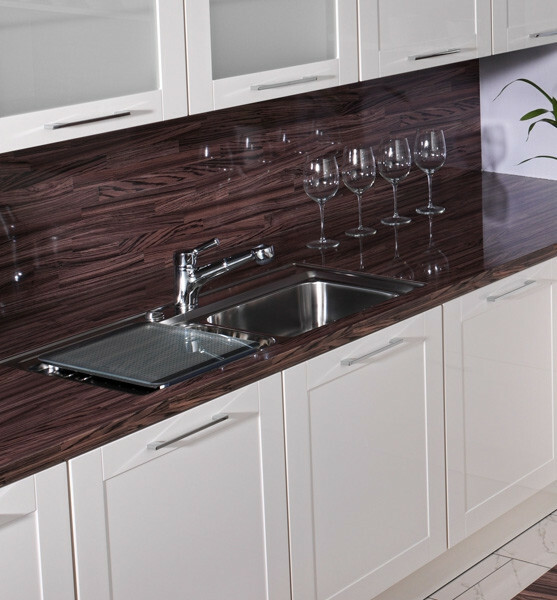
In addition to curly cutting, MDF material can be painted with almost any paint. Although there are limitations in the choice, a correctly selected and applied layer will not move away from the panel. The property of MDF wall products is that the paint is not absorbed into them, but at the same time a strong adhesion between the board and the decorative layer is ensured.
Flaws
 The paint applied to the apron adheres well and does not flake off. However, not all types of paint can be applied to the decorative layer. High susceptibility to alkali reagents has imposed restrictions on the use of nitro-paint, as well as finishing materials containing aggressive chemical elements. Also, MDF products are highly flammable. During combustion, lignin undergoes a chemical reaction. As a result, toxic substances harmful to health are formed.
Another disadvantage of MDF material is its flexibility. If incorrectly attached to the wall, the canvas can deform, which will also lead to peeling of the decorative layer applied to it. But in order to prevent deformation, it is necessary before installation, first of all, to prepare a section of the wall on which the apron will be attached. That is, eliminate obvious defects and clean the wall so that the connection is quite tight.
Choice of design and decor
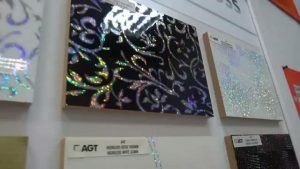 Observing the basic melting of color compatibility, choosing an apron that will fit into the overall style of the kitchen is not a difficult task. For a small room, light colors will play a key role in the interior. White apron is no exception. After all, the property of white is to visually enlarge the room.
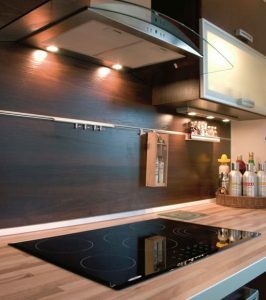 Black has two sides of the coin. On the one hand, a dark apron looks impressive, and on the other, traces of fat and other contaminants will be clearly visible on such a canvas. Therefore, for the aesthetics of the entire room, you should constantly monitor the cleanliness of products in dark colors.
Vivid photo printing applied to the panel itself already accentuates the attention. Therefore, this option will be combined with the interior of the kitchen, made in soothing colors. One of these colors is beige, which will dilute the brightness of the variegated apron.
But a canvas made under a tree, stone or concrete will perfectly fit into a bright and catchy headset. These tones will balance the overall background of the room.
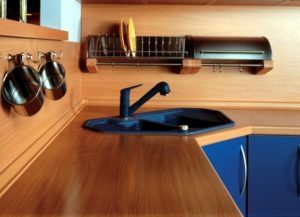
If the floor in the kitchen is finished with wood, then the panel combined with it in texture will look the best possible.
Measurements and calculation of material
 You can find out about the required size of the apron by armed with a measuring tape. First of all, the height of the decorative panel is determined. There are several ways of fastening, which have their own nuances. More details ...
First optiont, it is also the most economical - installing an apron in the gap between the floor and the upper cabinets of the kitchen set. In this case, the distance between the floor and the bottom of the upper shelves is measured. In this case, a stock of 20-25 cm is taken. The advantage of this method is a large supply of linen, but the cost of purchasing a finishing material will increase.
Unlike the first option, measurements taken between the bottom and top of the headset will save you money. But in order to avoid re-purchase in case of an error during processing, the material is also taken with a margin of 20-25 cm.
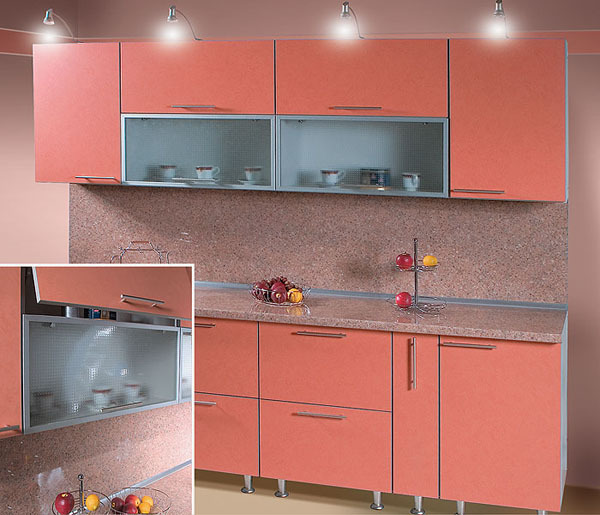
Also, the height of the apron depends on the presence of a kitchen hood. The installed electrical appliance may not be in line with the upper cabinets. Therefore, measurements are taken in such a way that the decorative panel completely covers all the gaps between the upper and lower modules.
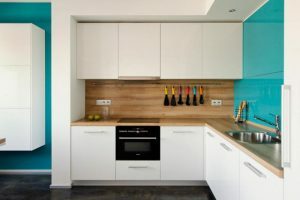 There is another installation method, which is mainly applicable for already finished kitchens. Since the installed headset will not allow you to fix the panel under its modules, in this case the canvas is cut so that its lower part is practically in contact with the cabinets standing on floor. And the resulting gap is covered with a plinth with glue or self-tapping screws. The length of the canvas is determined by the size of the headset. But the calculations are done with a small allowance of a few centimeters.
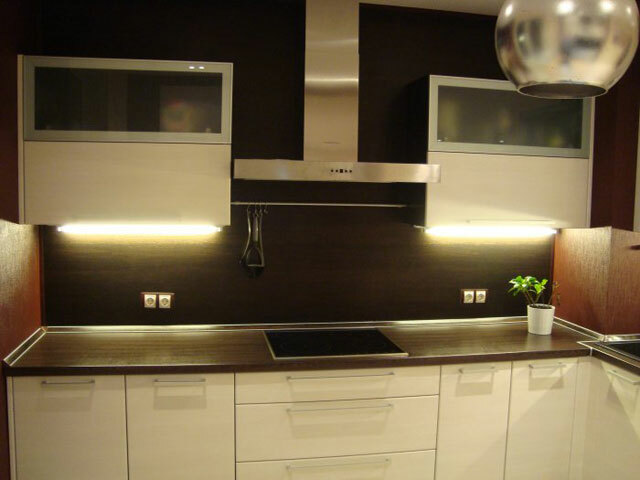
The wall sockets and switches also affect the subsequent processing of the decorative material. Therefore, before starting the installation, markings for the holes are pre-marked on the apron. It is in these openings that all the protrusions will be located.
Surface preparation
How securely the panel will be fixed depends primarily on the integrity of the wall. On an uneven surface, the MDF material will not last long. Therefore, the wall is freed from finishing materials, as well as nails and other objects that interfere with the installation. The section of the wall on which the panel will be mounted should be as flat as possible. If there are obvious defects on the surface, then a metal or wooden crate is mounted on it.
After all the preliminary work, the wall is treated with an antiseptic. This procedure is necessary for the destruction of microorganisms.
How to install: installation
There are two ways of attaching the apron to the wall: install with self-tapping screws or liquid nails. The second option is preferable if the caps of the self-tapping screws will be knocked out of the overall design of the kitchen.
Fastening with self-tapping screws
The method is good in that the panel fixed with self-tapping screws fits snugly against the wall. And this is an important indicator for small kitchens. Indeed, even the thinnest panel takes up a certain amount of space, and a tightly pressed one frees up, albeit a small, but much-needed space.
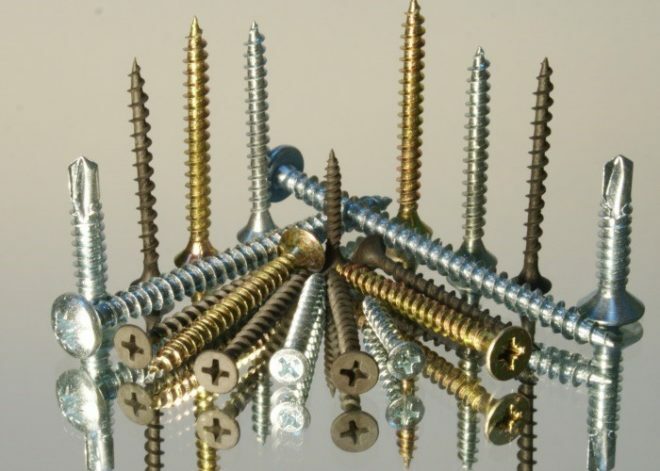
To fix the apron, for a start, future holes are planned on it. The distance between the marks is:
- length 50-60 cm;
- in height, no more than 15 cm.
Then holes are drilled in the panel through which marks are made on the wall with a thin pencil. And already dowels are inserted into the drilled grooves, after which the panel is fastened with self-tapping screws.
Fastening with liquid nails
Using liquid nails to attach a kitchen apron has a number of undoubted advantages.
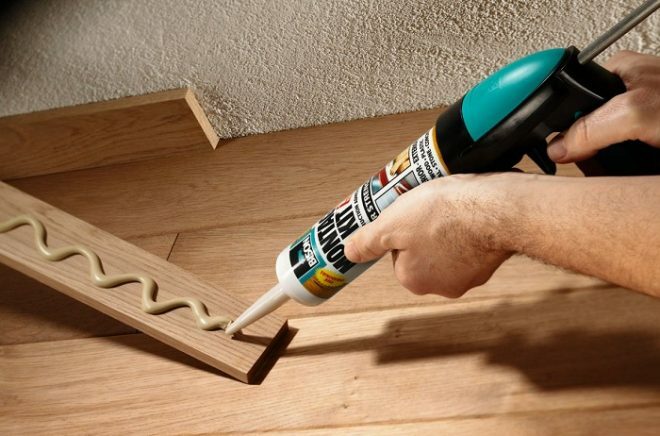
Firstly, the panel can be installed with the kitchen unit already installed. The use of self-tapping screws will cause a lot of inconvenience during the work.
Secondly, liquid nails are easy to use. For firm fixation, it is enough to apply vertical or horizontal stripes on the back of the panel at a distance of no more than 30 cm from each other. You can also apply glue in zigzags, the main thing is that the binder is evenly distributed.
Installation on wooden slats
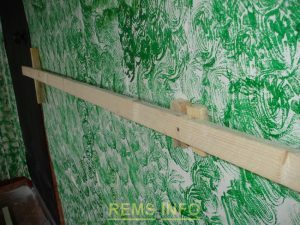 If the wall has significant defects that, for some reason, cannot be corrected, then the MDF apron can be fixed to wooden slats. In fact, this is a frame that performs two functions: it hides the unevenness of the wall and reliably holds the kitchen backsplash.
The decorative panel is attached to such a frame using self-tapping screws. And the rails to be installed should have a cross section of 10 x 40 mm and be located at a distance of 40 cm from each other.
Plasterboard wall mounting
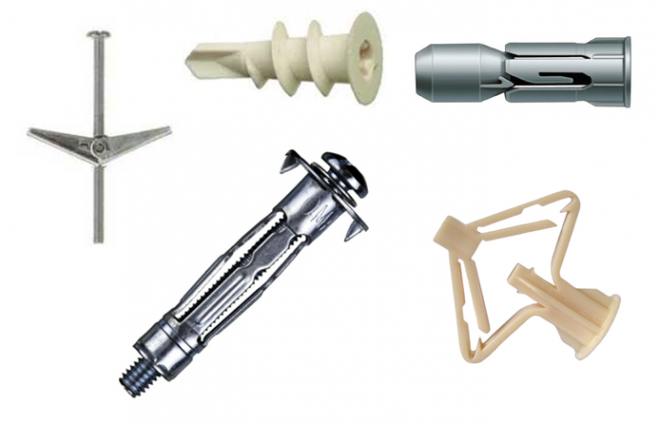
Fastening the panel to drywall is possible only with the use of special dowels. The use of standard fixings is unacceptable, as regular anchors will not hold in drywall.
Video
A distinctive feature of the MDF apron is that its installation is not so difficult. You just need to follow the rules for performing work with this type of material. The cost of MDF products is low, which makes it possible to refer it to the budget option.


