Russia, Moscow region, Moscow+79041000555

 It takes ~ 3 minutes to read
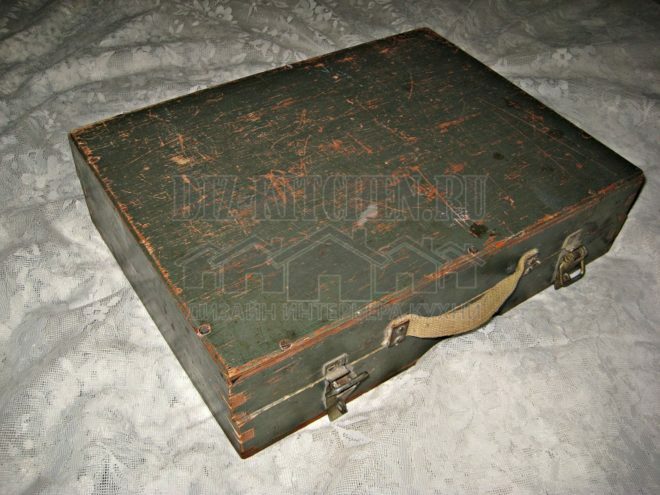
Many have old suitcases. We inherit them or simply gather dust in the attic. But, a suitcase is a necessary item in the house and you shouldn't forget about it! So, in an old suitcase you can store things or documents, or you can use it as an interior decoration. To do this, it is enough to decorate your suitcase using the simple and affordable Decoupage technique.
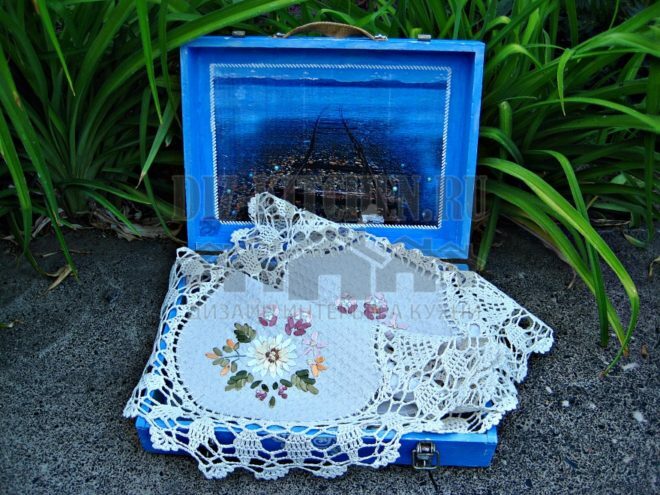
Consider the option of decorating a suitcase using decoupage technique. A railway theme was chosen for the decor.
Attention! Earned on our website kitchen designer. You can familiarize yourself with it and design your dream kitchen for free! May also come in handy wardrobes designer.
Materials (edit)
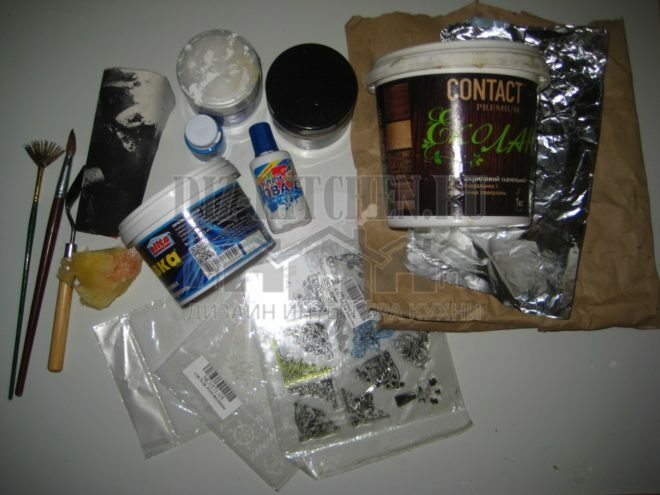
- Acrylic paints.
- Sandpaper.
- Synthetic brushes and sponge.
- Laser prints with pictures you like.
- PVA glue.
- Stencils.
- Silicone stamps.
- Putty.
- Palette knife.
- Foil.
- Kraft paper.
- Cardboard.
- Decorative stones and bead halves.
- Acrylic lacquer.
Manufacturing process
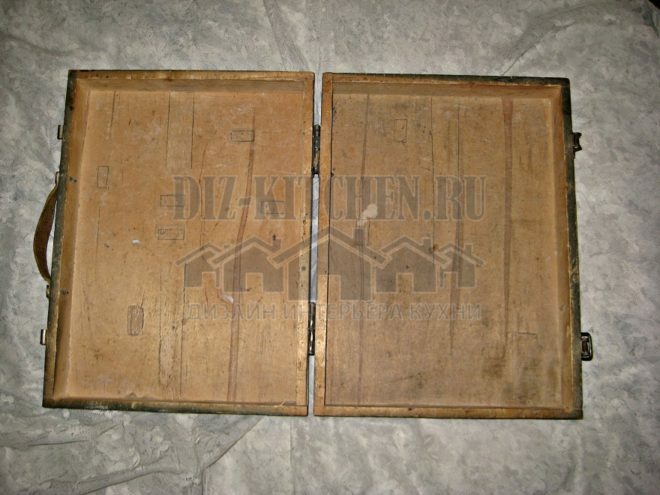
- In this case, we will decorate a wooden suitcase measuring 35 * 25 * 10 cm. The surface of the suitcase inside and outside must be cleaned of dirt and sanded. Then, for convenience, we remove the fittings and fasteners.
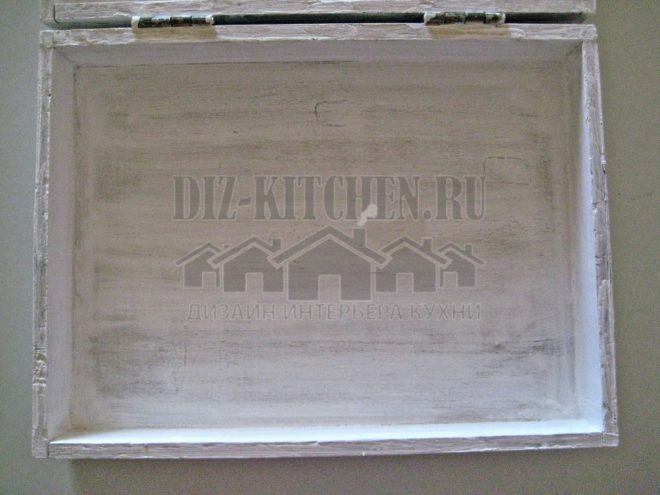
- Next, you need to prime the suitcase. For this we use white water-based acrylic paint. We prime the surface in 2 steps. We sand each layer of primer.
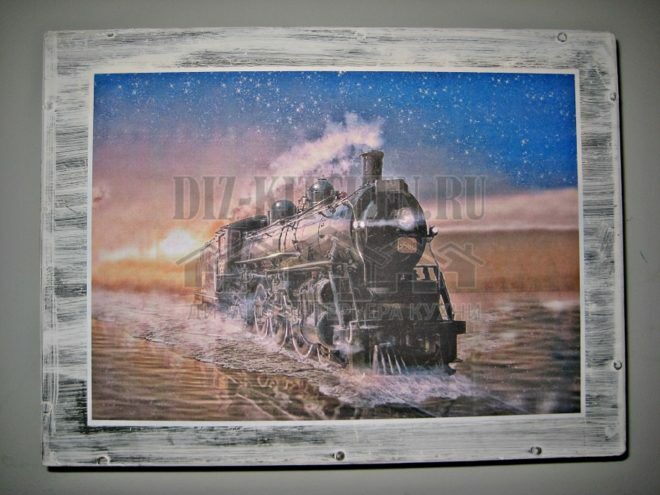
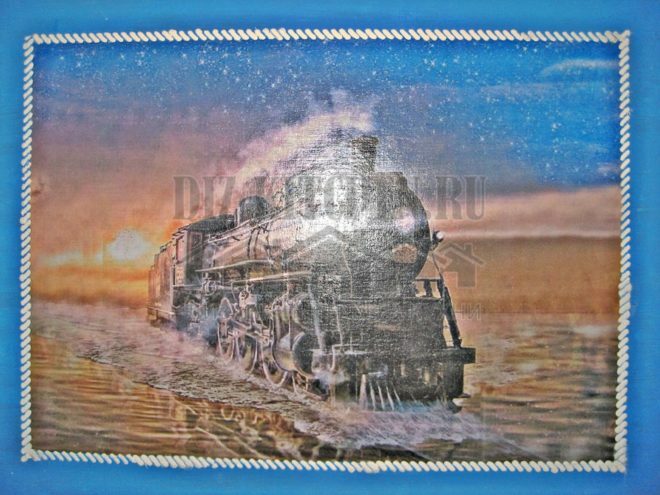
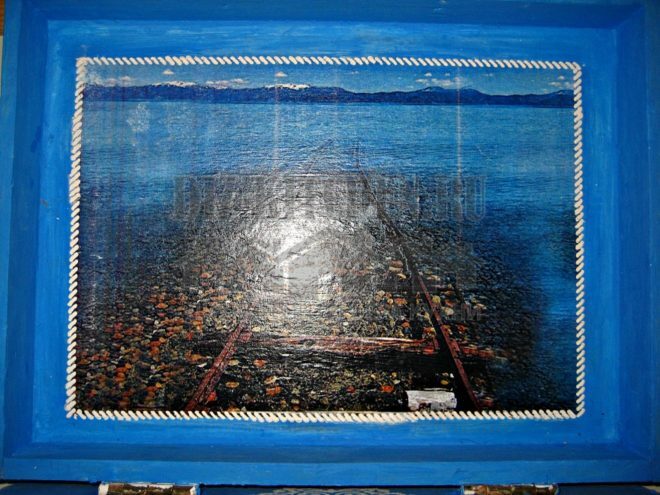
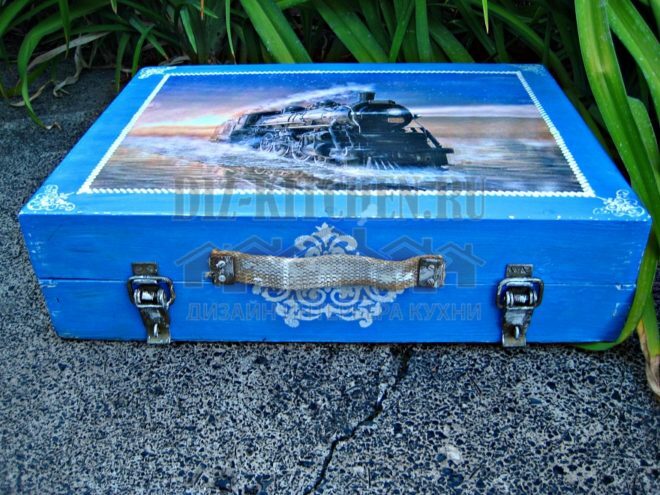
- Let's start decorating. The first step is to decorate the top of the suitcase. To do this, glue the picture in the center of the box lid.
- Paint the empty space around the picture with blue acrylic paint.
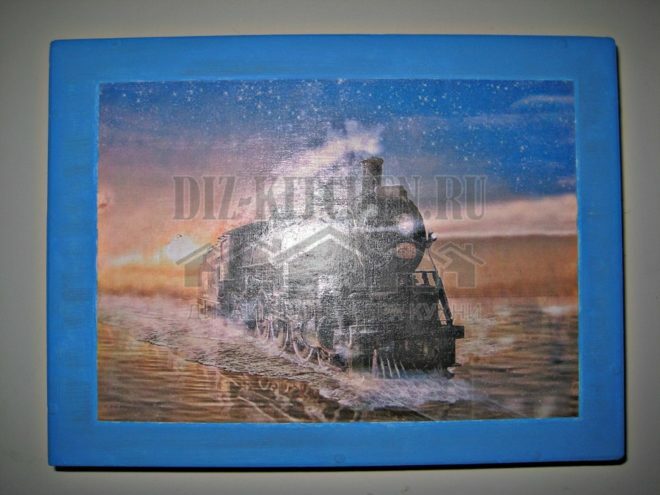
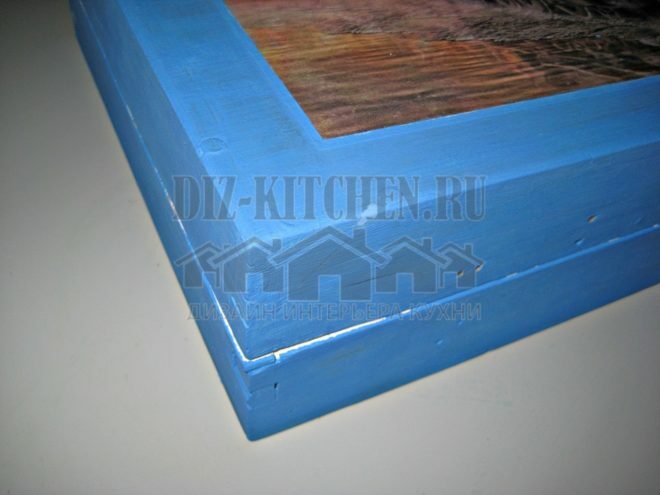
- We also paint all sides of the suitcase with blue. We carry out coloring in 2 stages. Each coat of paint should dry well.
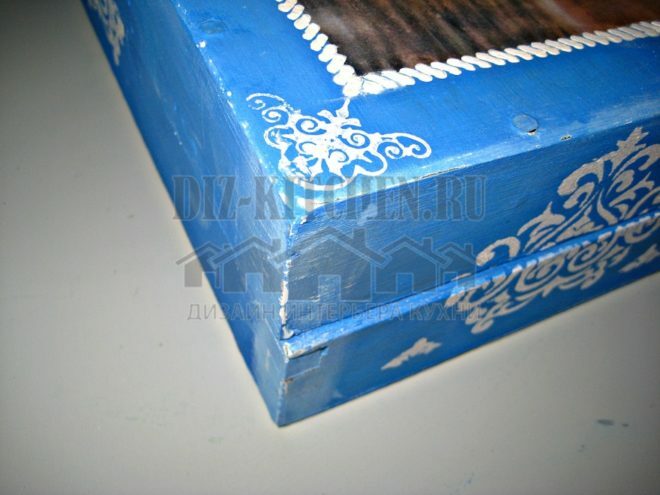
- When the paint is dry, you can proceed to the next stage of the decor. We will make a volumetric frame around the picture. To do this, we take a stencil on a marine theme. Using masking tape, cover unnecessary elements and apply a stencil with a "rope" pattern to the place of drawing. Using a palette knife, put the putty on the stencil. Quickly remove the stencil until the putty is dry.
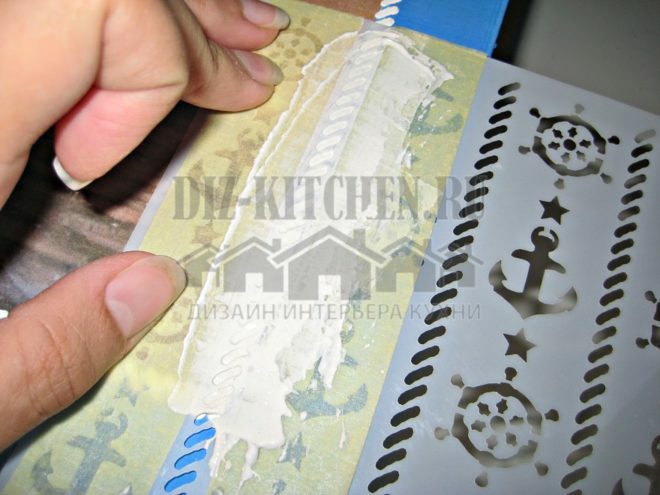
- We get a beautiful volumetric frame around the picture.
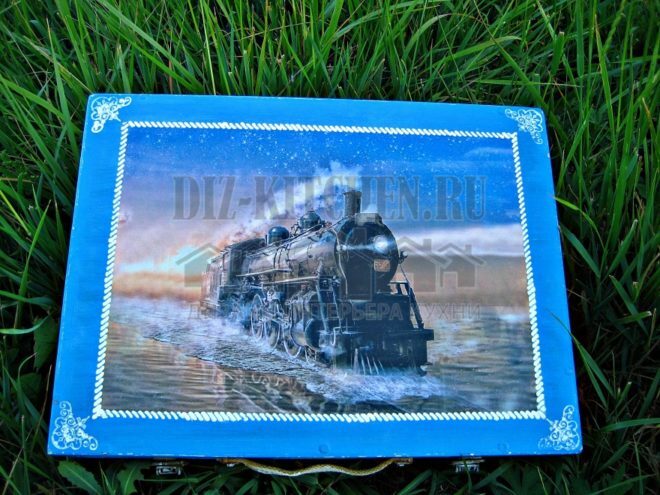
- Next, we take a silicone corner stamp and coat it with white acrylic. Then we put the stamp on the plastic transparent cover and make an impression in each of the corners of the suitcase lid.
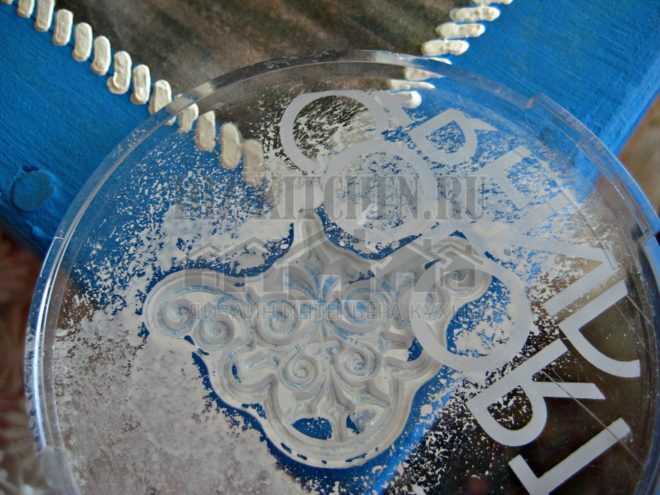
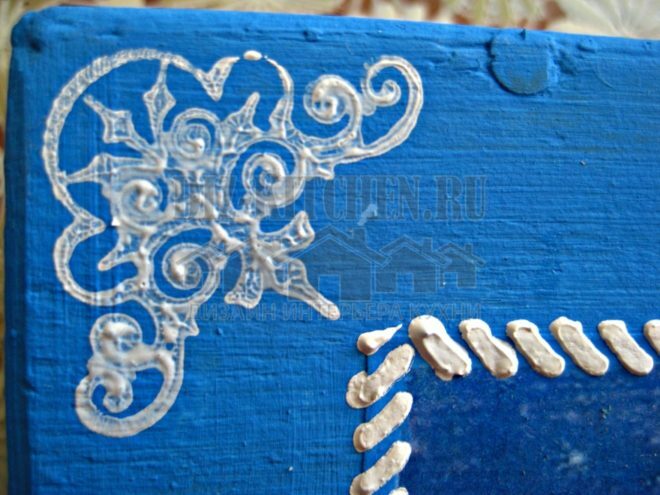
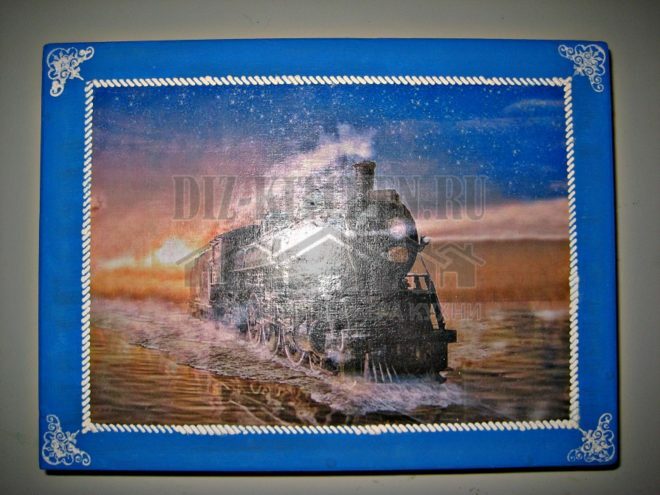
- The suitcase lid is ready!
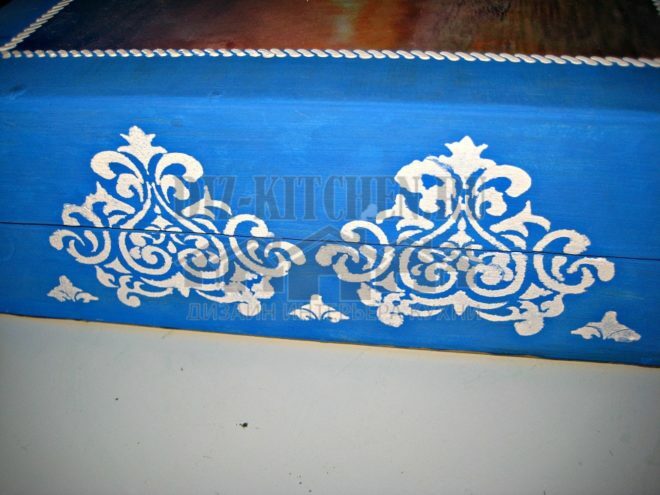
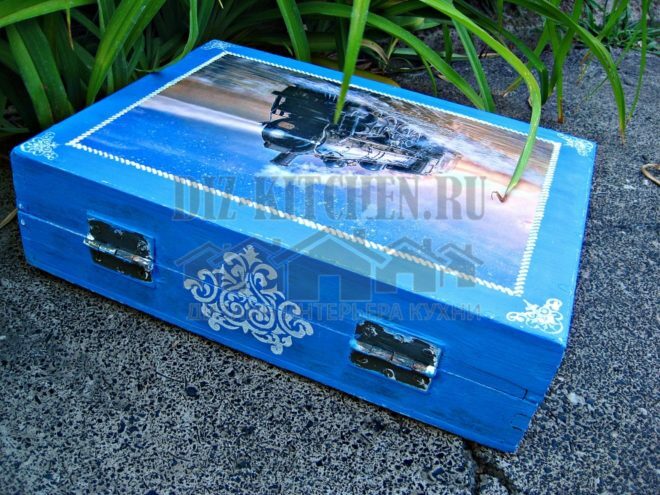
- We decorate the sides of the suitcase. To do this, take a stencil and apply acrylic white paint with a sponge.
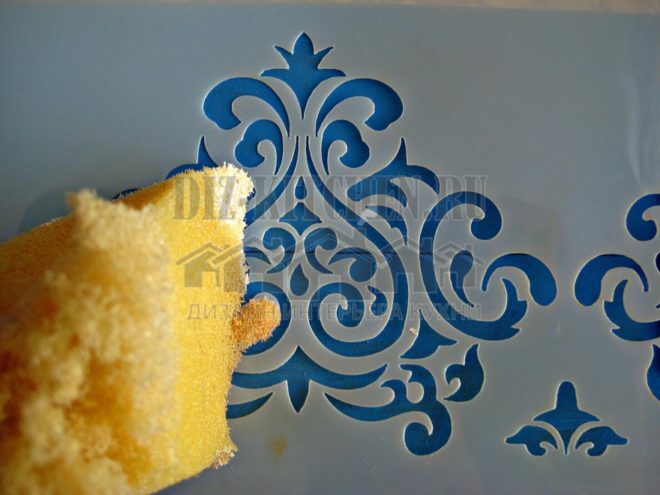
- This is how we decorate all 4 sides of the suitcase.
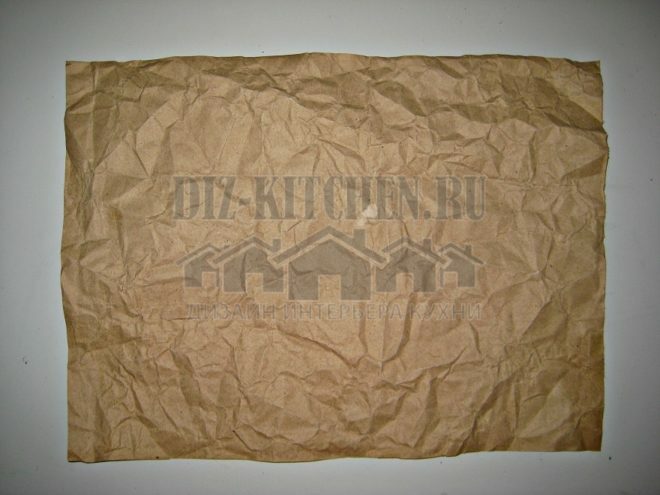
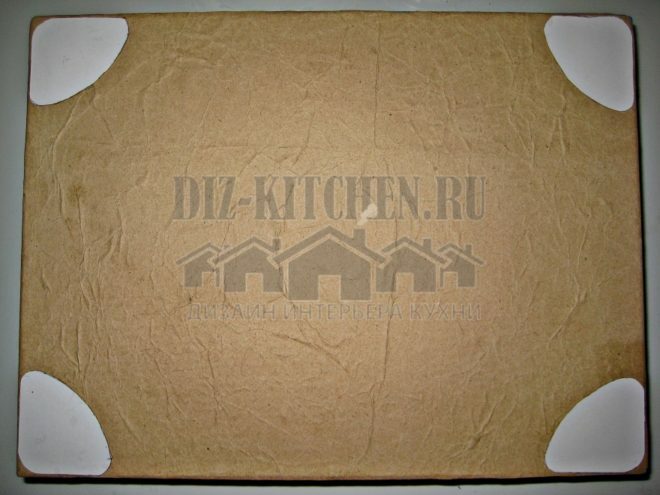
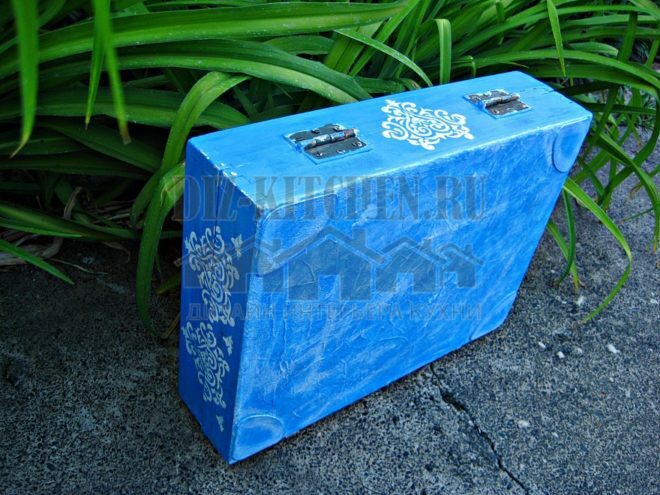
- Let's start decorating the bottom of the suitcase. In this case, we will simulate wrinkled skin. To do this, take a sheet of kraft paper and measure it by the size of the bottom. Then we wrinkle the paper and level it.
- We glue the paper to the bottom of the suitcase.
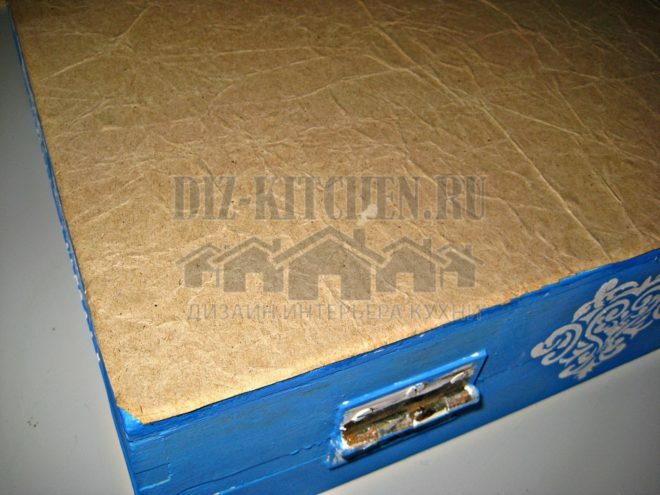
- Making legs. To do this, cut out 4 triangles from thick cardboard and glue them to each of the corners of the bottom.
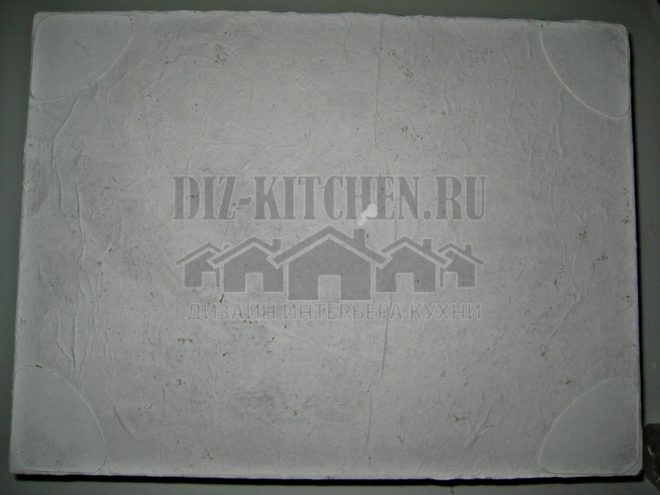
- We prime the bottom of the suitcase.
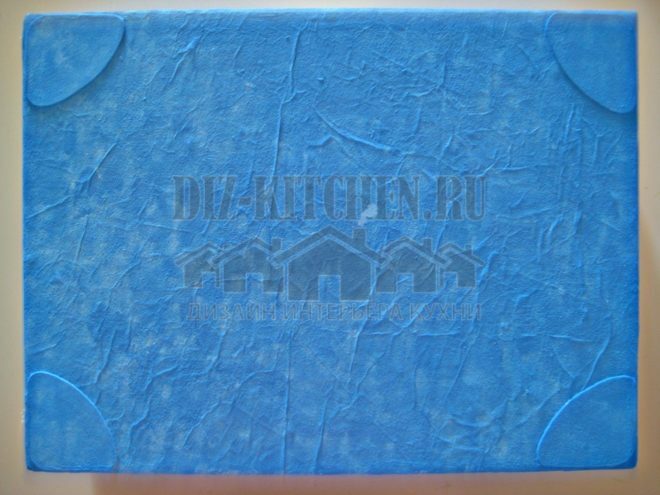
- Paint the bottom with blue acrylic.
- Then, using the dry brush method, apply white paint to all bulky parts of the paper.
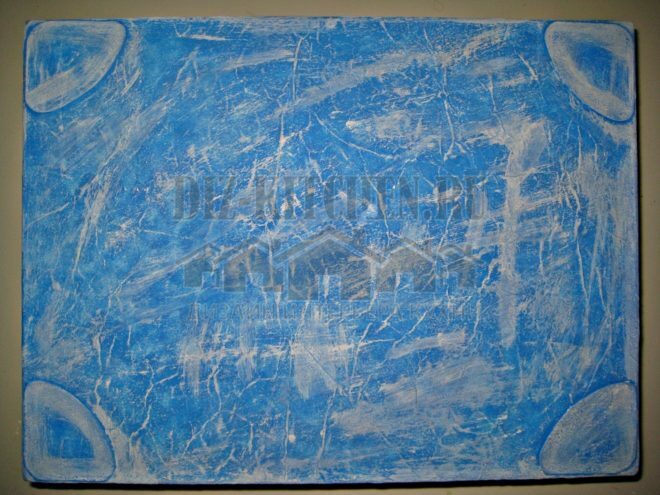
- We age the edges of the suitcase with a skin.

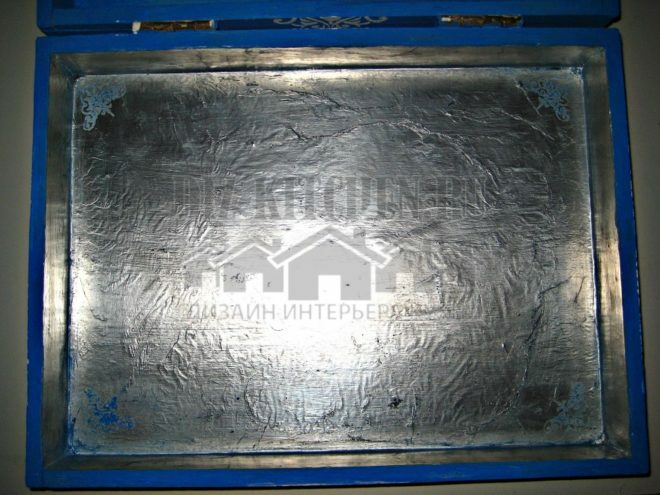
- Let's start decorating the inside of the suitcase. We glue the working part of the suitcase with foil.

- We give the foil a blue tint with a sponge and acrylic. In the corners we make impressions with a stamp, paint the sides.
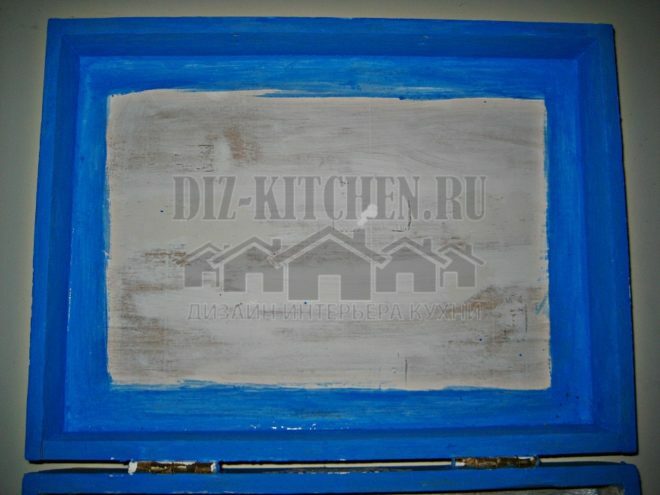
- We paint the lid of the box with the main color, while leaving the place for the picture unpainted.
- We glue the picture on the lid.
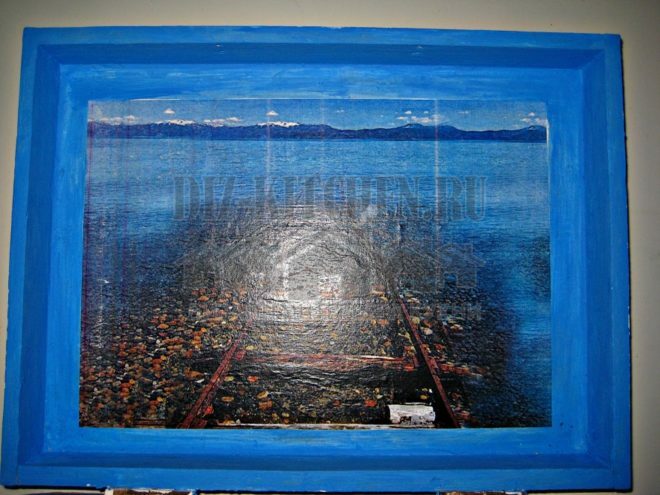
- We make a volumetric frame around the picture.
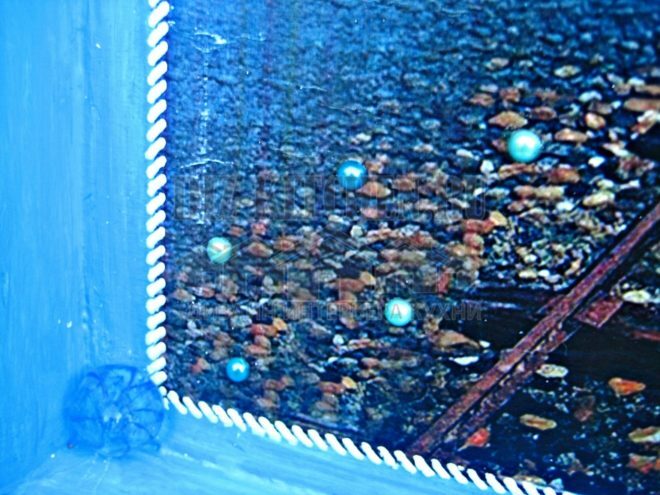
- We glue decorative half-beads and stones.
Outcome
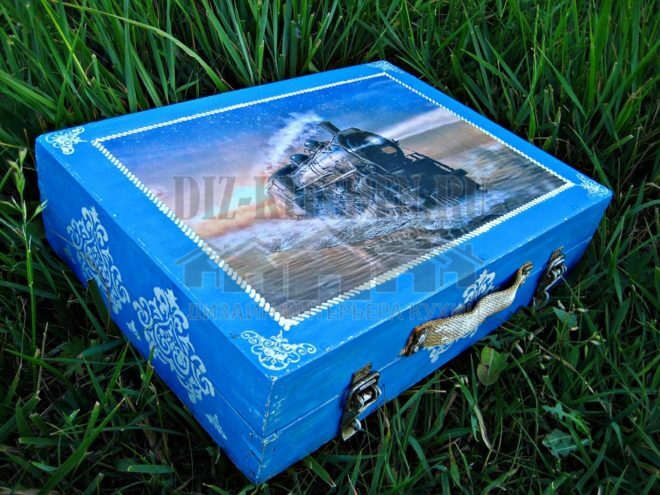
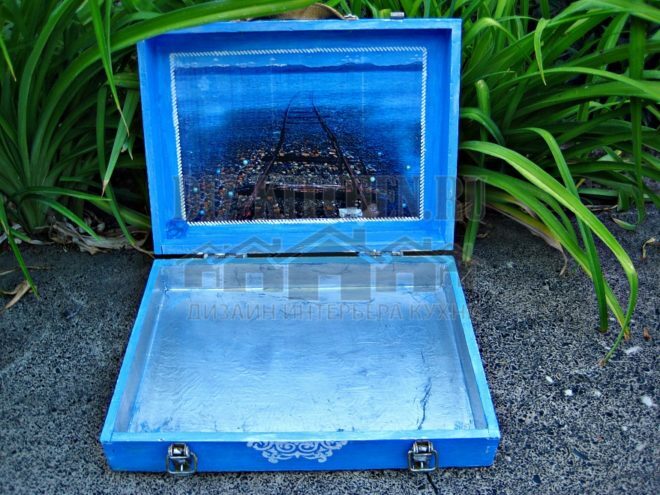
Each layer of varnish should dry for about 2-3 hours. The suitcase is ready!
In order not to lose, tell your friends
Follow us on social networks


Dear visitor!
With great interest I always read your comments to my articles. If you have any questions, do not hesitate to ask them, leave, please, Your feedback in the form below. Your opinion is very important to me. Thanks to your criticism and thanks, I can make this blog more useful and interesting.
I would be very grateful if you rate this post and share it with your friends. It's easy to do by clicking on the social media buttons above. Do not forget the article you like Add to bookmarks and subscribe to new blog posts on social networks. 
Anna, editor of diz-kitchen.ru
© 2015 - 2022 | All rights reserved. At a reprint of materials the active link to the source is required. | User agreement and privacy policy
All characters and stories are fictional, and any coincidence with real or living people is accidental.