A rack ceiling in the kitchen is one of the beautiful, practical and inexpensive design options. It is a lightweight construction made of metal or plastic slats that are held on to a frame made of rails, corners and hangers.
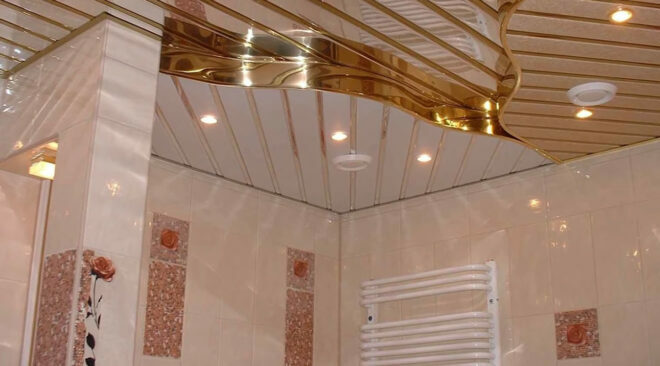
Image taken from https://www.youtube.com/watch? v = jK-EO-wdAIc
Advantages and disadvantages
Given the properties of materials, most often preference is given to aluminum slatted ceilings. This metal is lightweight, strong, durable, does not deteriorate from steam, high temperatures, condensation. Therefore, a ceiling assembled from aluminum slats has significant advantages:
- Easy to clean.
- Serves for a long time.
- Does not burn in case of fire, but only melts.
- Does not emit toxic substances into the air.
- Does not contribute to the growth of bacteria, the development of mold.
- Partial replacement of the damaged part of the ceiling is possible. The damaged rail is replaced with a new one. True, in this case, you will still have to disassemble the ceiling from the place of damage to the wall, and then assemble it.
- Acceptable price.
- The quality and evenness of the base surface of the ceiling does not matter if it is hidden behind the slats. It is also convenient to hide the wires above the ceiling level, you can lay soundproofing material.
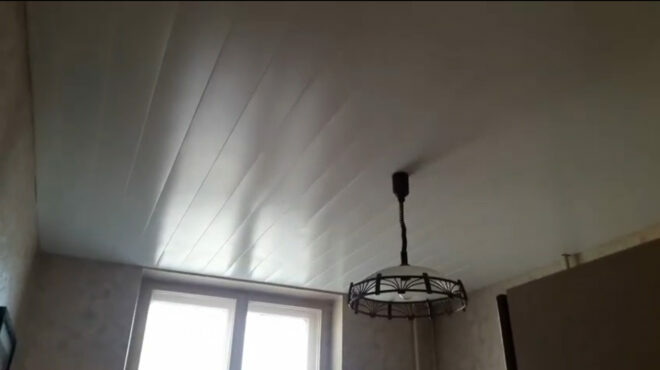
Image taken from https://www.youtube.com/watch? v = P89UVEBt1F0
There are no flaws at all:
- During the installation of the false ceiling system, the height of the room is lost by about 5 - 12 cm.
- Not all styles may fit a slatted ceiling.
- When choosing mirrored surfaces, more frequent cleaning of the ceiling surface is required.
- The more complex and interesting the design, the more practical skills are required for styling and financial investments.
Varieties of rack ceilings
At the moment, there is a sufficient variety of materials and types of structures for kitchen ceilings from slats in the construction market, which allows you to choose a suitable option if desired.
Attention! Earned on our website kitchen designer. You can familiarize yourself with it and design your dream kitchen for free! May also come in handy wardrobes designer.
Types of structures
The rack ceiling differs in the way the slats are laid:
- With the open type, the lamellas do not fit into the joint, but with a gap between them. The distance between the slats can be from 16 to 20 mm. It is interesting that the slats themselves can in this case be located not only horizontally, but also vertically, which allows you to achieve a very beautiful and unusual look. The open design assumes a thorough rough finish of the ceiling, as it will be visible in the gaps between the slats. Also, hidden backlighting is often made with such a mounting system. It is clear that leaving will be more difficult. Particles of fat and steam penetrate under the slats. For this reason, open-type slatted ceilings are not often installed in the kitchen.
- The closed type of installation is characterized by the close fit of all rails to each other. This simplifies maintenance, favorably distinguishes this design in terms of operation in difficult kitchen conditions. However, this reduces the scope for design experimentation.
- Combining the advantages of both types allowed the combined ceilings in the kitchen. The spaces between the slats are here made of a different material, often of a mirror or contrasting color. Thanks to this, the interior is interesting, and the tightness and hygiene of the ceiling are preserved.
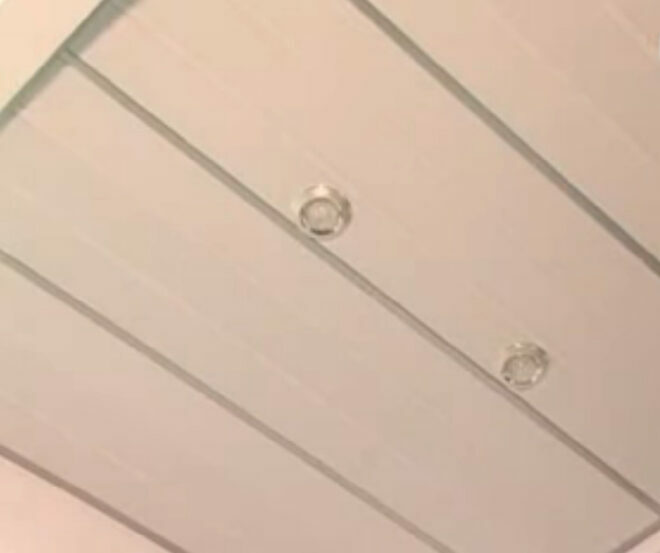
Image taken from https://www.youtube.com/watch? v = pRNOXRHiaTE
Surface types
It is possible to move away from the classic flat white ceiling made of slats due to the huge variety of the slats themselves. They differ in width, color, surface quality, material. The wider the slats, the more they create the effect of expanding the space.
Depending on the style, you can choose aluminum, steel, plastic as the material. Steel gives the room an industrial look, suitable for loft and high-tech. However, when choosing this material, you need to understand that the metal can corrode and rust from excess moisture. The way out is either to wipe the condensate more often, or to cover the slats with a protective coating even before installing the ceiling in the kitchen.
Plastic comes in all colors, but is considered less durable than metal. In addition, it is fire hazardous, over time it can change color (turns yellow).
When choosing the colors of the slatted ceiling, choose one, two, at least three tones for slats in order to avoid excessive variegation. Often monochromatic lamellas alternate with mirrored stripes, metal stripes for gold, silver, bronze. It enhances the space by feeling, adds a touch of luxury to the interior.
There are matte, glossy, mirror slats. You can even buy perforated models, but for hygiene reasons, they are not very suitable for the kitchen.
Lighting
In order to work comfortably in the kitchen, you need to think carefully about the lighting. The slatted ceiling for the kitchen is well suited for installing any kind of lighting fixture. Point light sources are used more often. If there are several levels, the boundary of their section is supplied with an LED strip. The open type of construction is ideally complemented by hidden lighting. In this case, the light source is higher than the slats themselves. In addition to white, colored backlights are used.
The rack structure will not withstand a heavy chandelier. It must be fixed to the concrete base of the ceiling. Sometimes, before installing the rails, you need to make holes for the fixtures.
Installation instructions
It is not difficult to make a single-level slatted ceiling for a kitchen with your own hands if all slats go in the same direction. For this you will need:
- Horizontal water or laser level.
- Screwdriver, drill.
- Self-tapping screws, dowels.
- Guide profiles, or tires, comb, stringers, traverses.
- Suspensions.
- Edging profile.
- The slats themselves and the inserts between them.
With a closed installation of a suspended structure, it is not necessary to process and level the ceiling, it will be completely hidden. Stages of work:
- Fastening the edging profile. The perimeter is marked with a level and a pencil or painter's thread. The ceiling is made 5-10 cm below the main level. This distance should be about 1 cm greater than the depth of the recessed luminaires. The corners of the profile are cut at 45 degrees and fixed to the wall with self-tapping screws every 40 - 50 cm. If you need to mount it on a tile, the holes should not fall into the joints between the tiles.
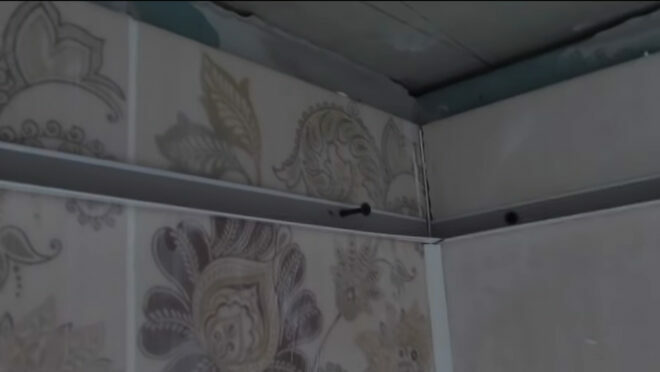
Image taken from https://www.youtube.com/watch? v = bc9qTOt5jT4 & t = 167s
- Secure the guides. Determine their level above the edging by about 0.5 cm. They shouldn't hit the wall. It is recommended to leave a gap of about 5 mm. Traverses are placed at a distance of 10 - 20 cm from the wall and with a step of 70 - 150 cm between them. They are attached to the ceiling with suspensions every 50 - 60 cm.
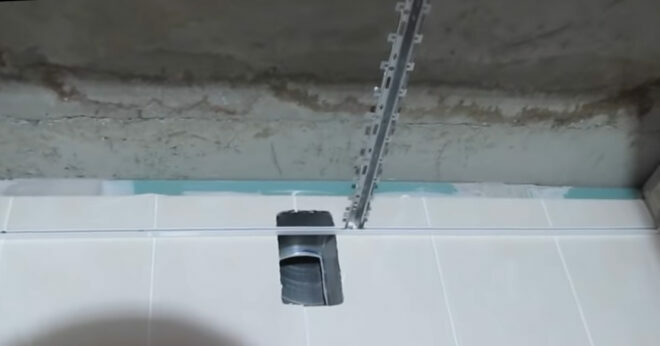
Image taken from https://www.youtube.com/watch? v = bc9qTOt5jT4 & t = 167s
- Holes are made in the slats for the lamps. Use a crown to cut a circle or drill a hole in the center, and cut the outline with metal scissors.
- The length of the slats is made 0.5 cm less than the distance from wall to wall. Insert the slats into the grooves of the guide profile. Start on one side of the wall. The outermost rail will be difficult to insert last. Therefore, before reaching the opposite wall, insert the last rail, fill in the remaining gaps. If the design assumes the presence of inserts between the rails, they are mounted.
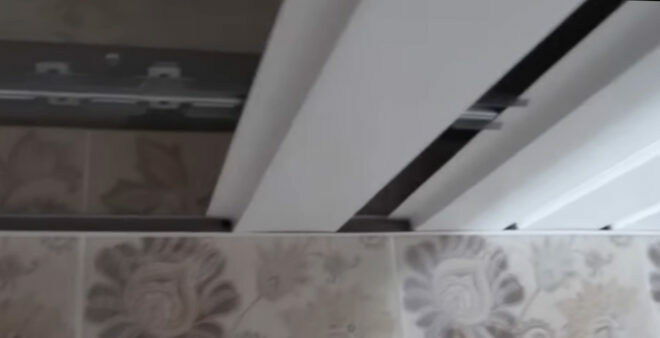
Image taken from https://www.youtube.com/watch? v = bc9qTOt5jT4 & t = 167s
- Sometimes the last rail needs to be reduced in width. To do this, outline a cutting line, draw several times with a knife along it and bend-unbend the profile, break off the excess part. Considering that the lock is cut off in this case, you need to take care of fixing the edge in the edging profile. To do this, a U-shaped profile is inserted from above between the last rail and the plinth.
For more complex designs, it is better to involve craftsmen with experience.
Design features
In small rooms, neoclassical or high-tech style, flat, plain ceilings will look good. Wood imitation is perfect for classic interiors, rustic and Scandinavian styles. If you want to make the ceiling look more impressive and noticeable, there are many options:
- Multilevel ceiling: combine two or more levels, if the height of the room allows (from 3 m). They combine different colors or textures, different directions of laying the slats.
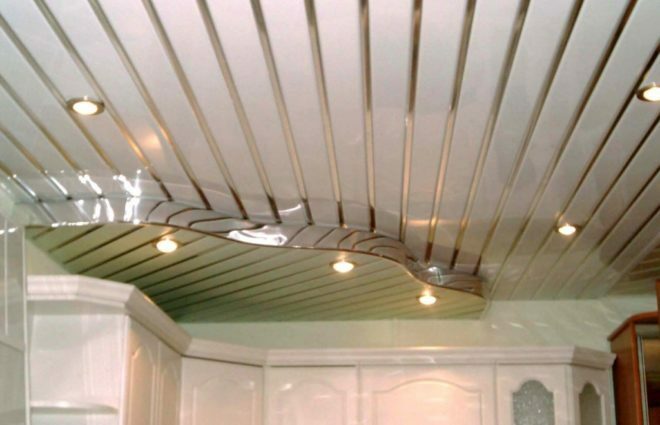
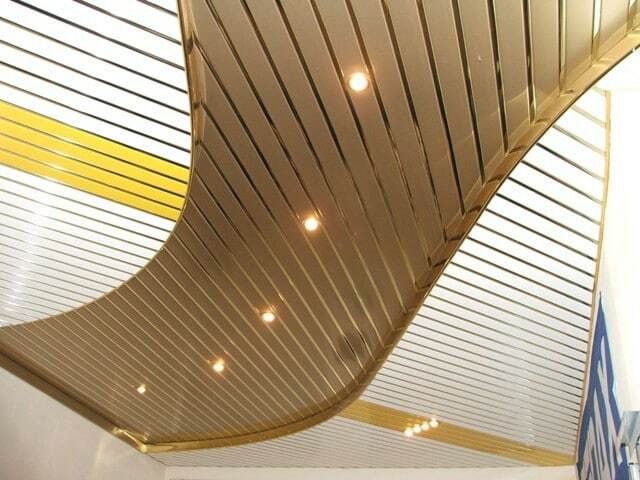
- The volumetric ceiling looks like a dome or waves that descend on one of the walls. One of the requirements for such a ceiling design is a decent room height (from 3.5 m). To make such an original and complex ceiling structure allows the ability of the lamellas to bend. They are thin (0.3 - 0.7 mm) and easily take the desired shape. Therefore, it is quite possible to perform not only a strict flat ceiling, but also to achieve smooth rounded lines.
- Combination of different styling directions. The most popular are "herringbone", in the form of a rhombus, triangles, mosaics, two zones perpendicular to each other. A slatted ceiling, laid in such an unusual way, helps in zoning a large kitchen.
- Wooden slats are natural, original and environmentally friendly. They have good sound and heat insulation properties, and with appropriate paintwork, they will last a long time.
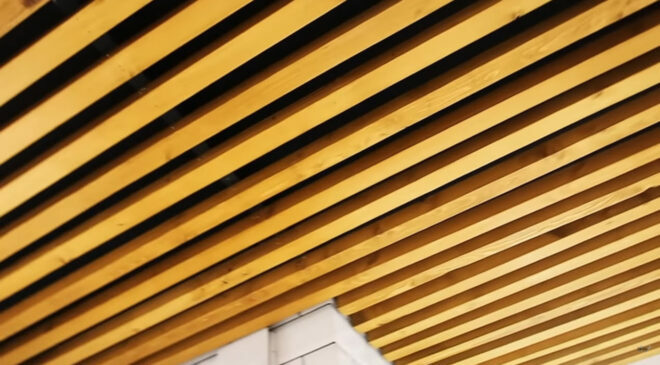
Image taken from https://www.youtube.com/watch? v = qYjEkiNMy0c
- Metal is a very practical material for the kitchen; it lasts up to 20 years. Washes well, does not contribute to dust settling, does not burn or deteriorate in extreme kitchen conditions.
As you can see, the assortment of materials and designs is quite large. All that remains is to choose a beautiful original design, a reliable manufacturer and realize your idea.
average rating 0 / 5. Number of ratings: 0
No ratings yet. Be the first to rate.


