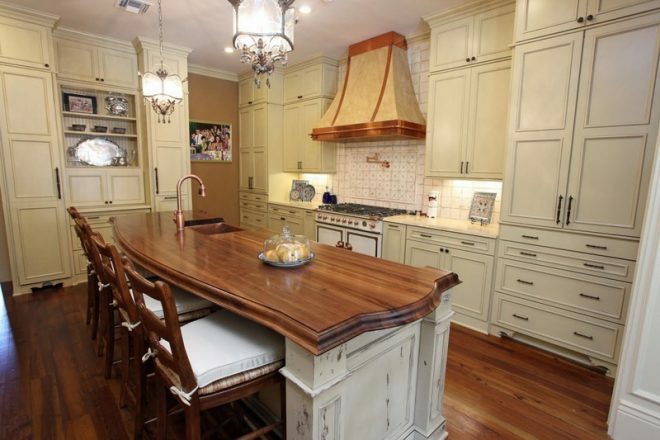
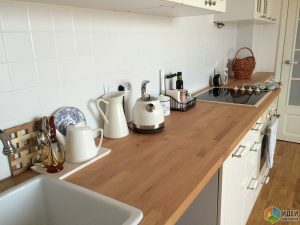
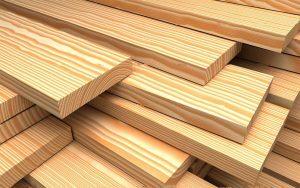
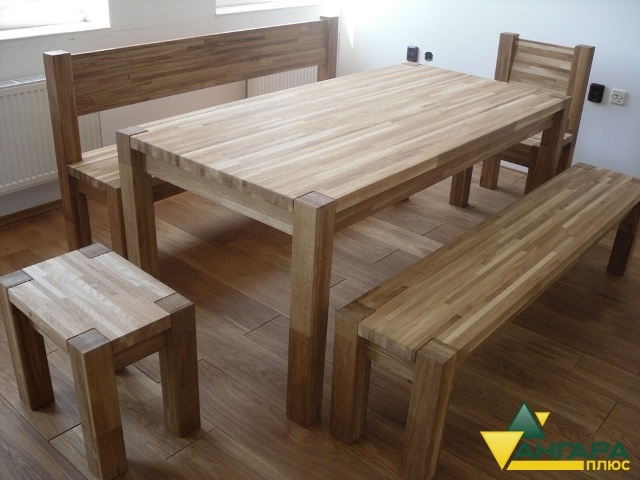
An expressive amber color, a surface warm to the touch, an ancient tradition of processing, an affordable price - all these qualities have secured the leadership of wood among other interior materials. Dielectric, antistatic properties, as opposed to metal and plastic, are high, therefore wood is always in demand. The wooden countertop in the kitchen made of boards, beams is functional, simple in execution. With proper care, it will last 10 years or more. And we will tell you how to make a wooden countertop with your own hands in this article. see also Making concrete countertops with your own hands.
Advantages and disadvantages of wooden kitchen countertops
 Among the advantages, we highlight the low cost, the use of simple tools for manufacturing. Note the optional presence of a specialized workshop for the procurement, subsequent processing. The weight of the blanks is commensurate with the efforts of an ordinary person. Three-meter tabletop 0.6 m wide with a dry pine specific gravity of 0.5 g / m3 lighter than 10 kg.
Attention! Earned on our website kitchen designer. You can familiarize yourself with it and design your dream kitchen for free! May also come in handy wardrobes designer.
The disadvantages of wood are easily eliminated with varnish, taken into account during manufacture, and compensated for by technological methods. There are not many of them, but they are:
- susceptibility to warpage in humid environments,
- cut with an ordinary kitchen knife,
- low impact resistance, chips are possible at the edge of parts,
- tendency to crack beyond the 10% moisture threshold (measured with a moisture meter).
Selection of material (board or solid pine)
The lumber is inspected, selected without knots. A tree with a wormhole, longitudinal core cut, non-parallel fibrous is discarded. Curved by the drying process, leaving the planned parameters in any of the planes, planed beams and boards are not suitable for tabletops.
Natural wood

Available wood, its properties:
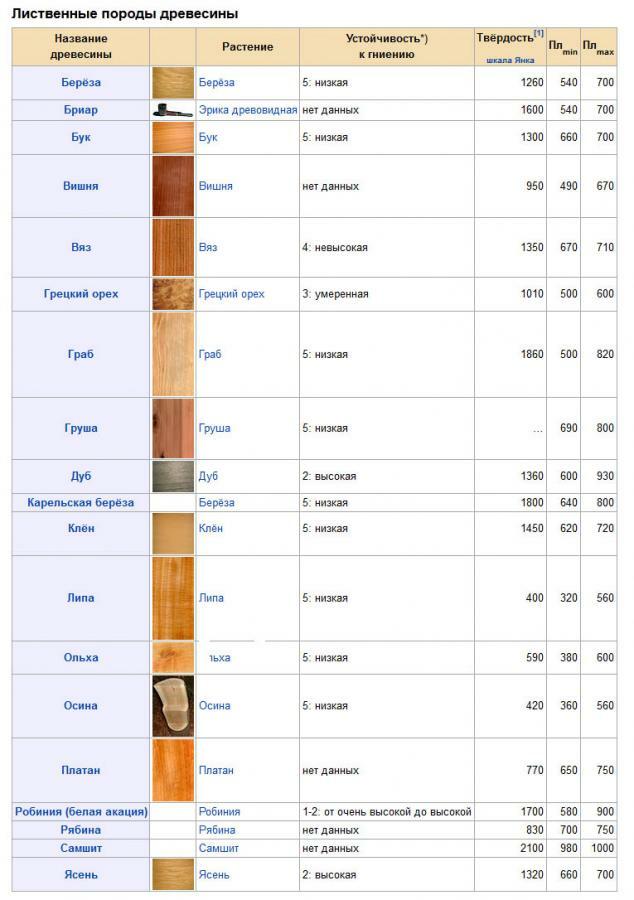 The raw wood of willow, poplar is akin to a sponge. Dry wood of porous species is of little use. Valuable species - ash, beech, cedar, walnut, maple, oak are difficult to buy in many regions. Acacia is a European "iron" tree, difficult to work with. A healthy (not flying out) knot in the center of the workpiece ⌀ 15 mm is not a marriage for conifers. This is unacceptable for hardwood lumber.
Substitutes
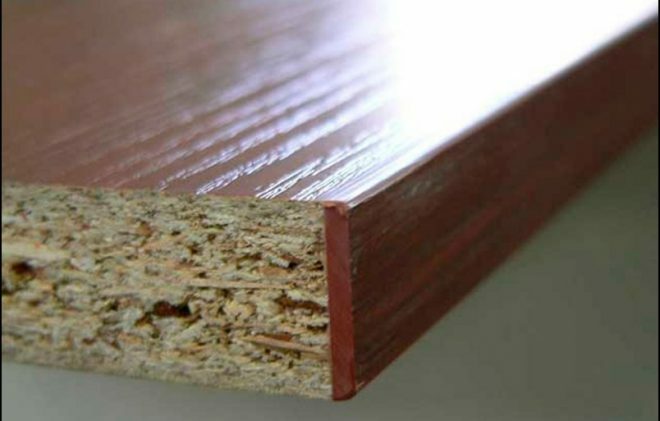
Improvement in properties has led to the creation of wood-based panels without strong torsion in a humid environment, protected by plastic (laminate), and therefore moisture resistant, having a wide spectrum of decorative properties, ease of processing, low specific gravity. Materials are widely used:
- plywood,
- Chipboard, chipboard,
- cement-bonded particle board,
- OSB (oriented strand),
- with the addition of cement and gypsum - CSP, GSP,
- MDF, Fiberboard - medium and fine fiber.
Most pressed boards contain phenolic resins and are therefore relatively safe. Natural wood smells like phytoncides - useful.
Kitchen countertop making process
When making a drawing of a future product, it must be borne in mind that in thin places (h = 10 mm) a wooden product splits from impacts. The table top should be uniformly massive (especially at the edges and in the places of through cuts), with a board thickness equal to / higher than h = 15 mm. The video below will tell you how to make a do-it-yourself dining table.
Preparation of materials and tools
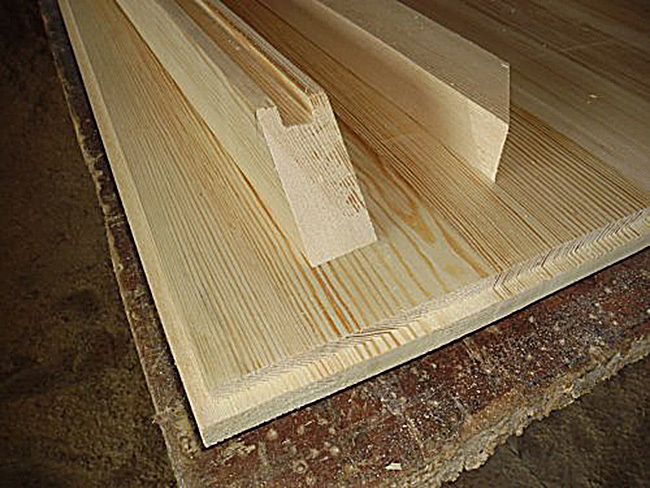
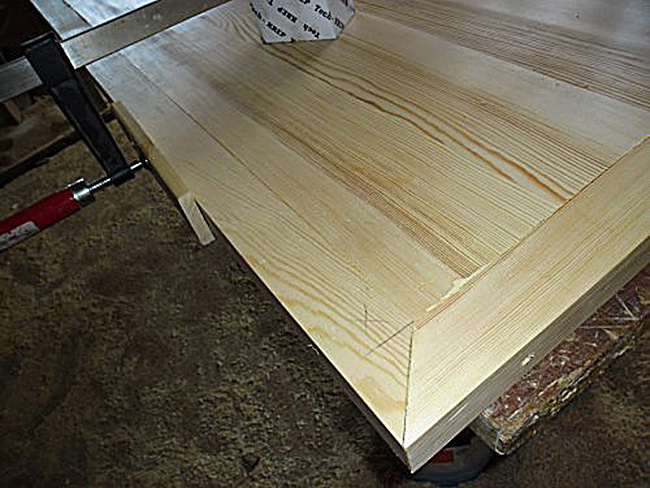
 For a panel board prefabricated table top, a grooved (quarters are selected) board with a thickness of ≥15 mm, and for a type-setting array - from h = 20 mm. The length of the workpieces should exceed L tabletops by 5 cm on both sides. The location of several cross-pieces of the shield is established (every 30 cm + at the ends), an overhead rim (front decorative strip) is provided. Assembly on plywood from fragments grooved on all sides is permissible (parquet set). For carpentry work, you can use any table, supplementing it with a longitudinal stop board and guide rails (beams with a thickness of about 40 mm).
You will need:
- steel hammer,
- epoxy hammer,
- 4 clamps,
- PVA glue (or any carpentry),
- copper (bronze) nails,
- awl, breakdown, square,
- drill with drills diameter 1 and 5 mm,
- lining pieces of plywood,
- wooden conical nails (diameter 3-5 mm), as an option - sawed Japanese sticks.
Assembly
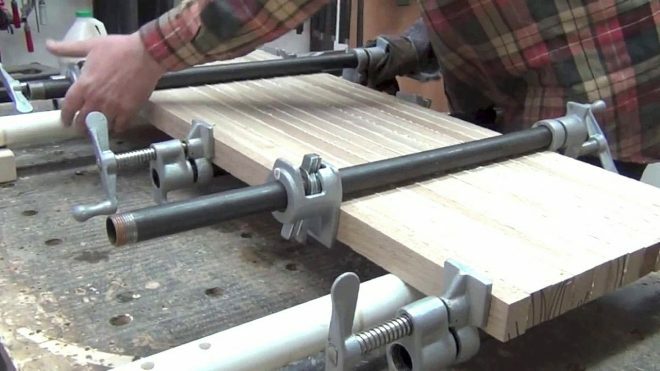
The first board (type-setting bar) is fastened with clamps on the guide crossbars - the same for both methods.
- Making from boards, glue the transverse lining with glue, fix it, without finishing nails on the mark pricked with an awl. The next board is wound with a tongue to the previous one, wound up from the corner, lightly tapping with an epoxy hammer. They do not finish off the nails, so that they can then bite off the caps, drown them or extract them completely;
- The blocks of the array are compressed on glue one by one, allowing each glue to dry for 24 hours, compression is performed using clamps. Other options:
- With studs L = 80 cm and wing nuts,
- Compressive clamp on a comb bar,
- On a timber sawn down along the width of the countertop with sealing wedges.
The last option is rather primitive, because the jammed bars tend upward. Only the limit bar screwed on top can withstand the parts tearing up.
The assembly of the array in one step is possible with a sufficiently large number of clamps (for every 40 cm of tabletop length - a pair).
Cover - the nuances of manufacturing
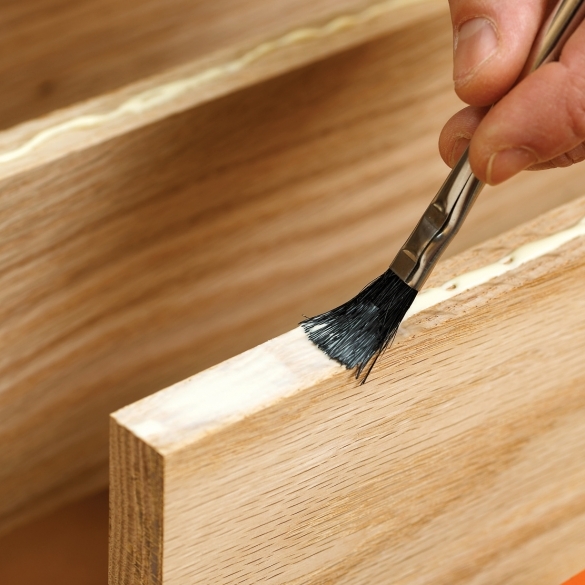
It is a simple task to nail down the “sag” - flanged profile bar with nails (bronze, wooden). For strength, they are seated on glue.
The workshop conditions allow the use of a profile cutter of the machine or a guided hand router on a block fixed to the table. With a curly nozzle, cutters create a decorative profile, as well as ridges and grooves of the edge of the shield with opposite formations on the flange. For covering, deciduous wood is used: alder, pear, cherry, apple. The flange-protected edge protects the hands from burrs and gives the worktop a solid, solid look. On glued type boards, a decorative edging is cut out on the massif itself, tracing around the contour with a cutter.
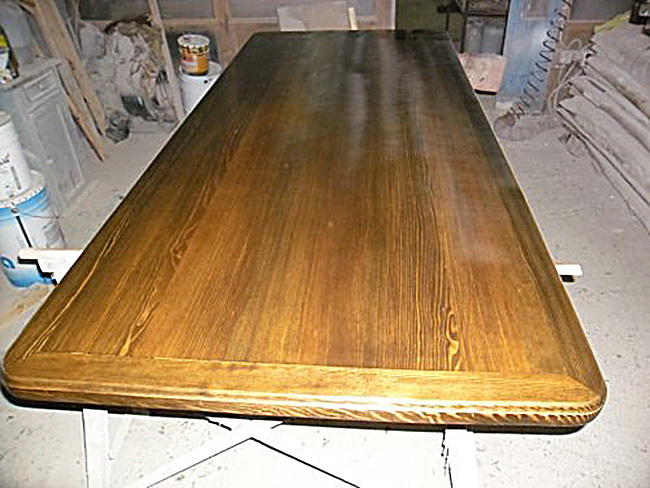
Processing: product coating
The finished countertop is sanded and varnished. The best varnishes are zapon, oil, oil-acrylic, acrylic, alkyd.
The first one smells harsh, but dries quickly. A multi-layer coating with sanding (glass yellow, but not graphite gray) with sandpaper is acceptable. Tinted acrylic stains are less suitable because they do not form a thick protective layer. The tsapon is applied with a soft natural rag tied to the bar with natural twine. With quick movements, dipping rags into a metal container to the level of a bar. The rest of the varnishes are applied with a brush, a paint-spraying device in 2-3 layers with a mandatory interval to completely dry each one. The thinner the first layer, the more evenly the next one will cover.
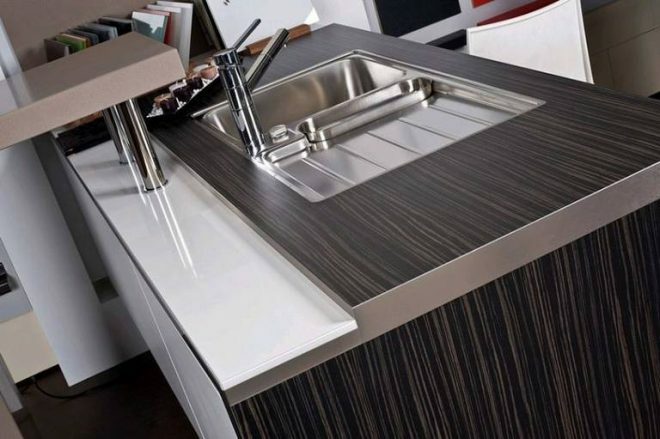
Combined version with plastic
HPL / CPL (high / low pressure) plastics are glued with the compounds recommended by the manufacturers on a perfectly flat, clean, grease-free surface.
The process is as follows:
- a sheet of plastic is cut with an allowance,
- degrease both surfaces to be glued,
- cover the tabletop with plastic, placing temporary guides made of PVC plastic to prevent instant seizure,
- press the plastic with an anti-countertop, taking out the PVC strips (with a plate of the same size) using many clamps along the contour (at least every 20 cm),
- the excess plastic is cut off with a circular hand saw along the guide rail through the pressure plate (all 3 layers - table top + plastic + pressure plate - are cut simultaneously).
In view of the fact that an anti-countertop is needed, it is better to craft 2 pieces. simultaneously. Plastic is not placed on the prefab board - only on the polished array.
Making from a finished furniture board: how to do it yourself
Peculiarities
The finished furniture board is veneered, so it is an ideal blank for pasting with plastic. In addition, the furniture board has a factory polished edge. It will become front. But more often they use laminate (chipboard). The surface of such a stove requires careful handling in the kitchen, but it will serve for several years. Two sheets of laminated chipboard are fastened by gluing, squeezing together with self-tapping screws, then the front of the edge is decorated with plastic.
Required tools
- fine-toothed hacksaw (or circular electric saw),
- marking tool,
- self-tapping screws h 25 mm,
- screwdriver, drill - drill 1 mm,
- roller, glue, guides, compression strips,
- several clamps.
Manufacturing and assembly
Both surfaces of the sheets are lubricated evenly with glue, stretching them with a roller and a scraper, folded, pressing the edges with clamps, drilled holes for self-tapping screws, screwed in. After the glue dries, allowances are cut along the guides. The edging tapes are fixed with an iron through paper or with an edge temperature stacker.
The nuances of working with laminated chipboard
The plastic is knocked out with the teeth of a hacksaw. To avoid this, it must be cut to the chip layer under the ruler with a boot knife in two parallel grooves at a distance of 2 mm. The gap of the grooves is gouged out with an awl.
How to “update” wood countertops?
Grind the old varnish, remove the old layer with solvents. Dents are leveled with a grinder, deep cuts are putty with restorative compound for wood. Dried, cleaned surfaces are re-varnished.
Care and maintenance
In order for the table top to serve for a long time, it is not used as a cutting board, moisture is systematically eliminated, hot objects are placed on a stand. Chops should be made on a board with a napkin underneath.
Video: do-it-yourself wooden table for the kitchen
average rating 0 / 5. Number of ratings: 0
No ratings yet. Be the first to rate.

