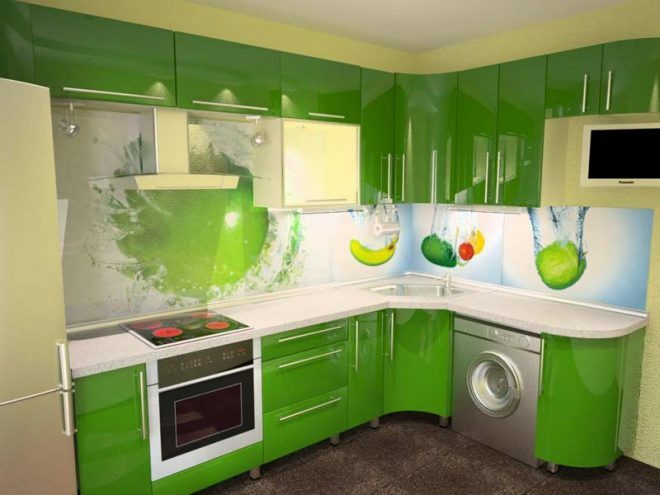
The wall adjacent to the kitchen table has to be washed daily. No plasternor wallpaper exposure to water with detergents will not withstand. You need a steam and abrasive resistant, non-grease-absorbing protection - the so-called apron. But at what height should it be from the kitchen floor? In this article, we will consider the standard sizes and what material to choose it from.
Types of materials
Existing materials with the required properties are divided into the following categories:
Attention! Earned on our website kitchen designer. You can familiarize yourself with it and design your dream kitchen for free! May also come in handy wardrobes designer.
- Synthetic
- PVC lining;
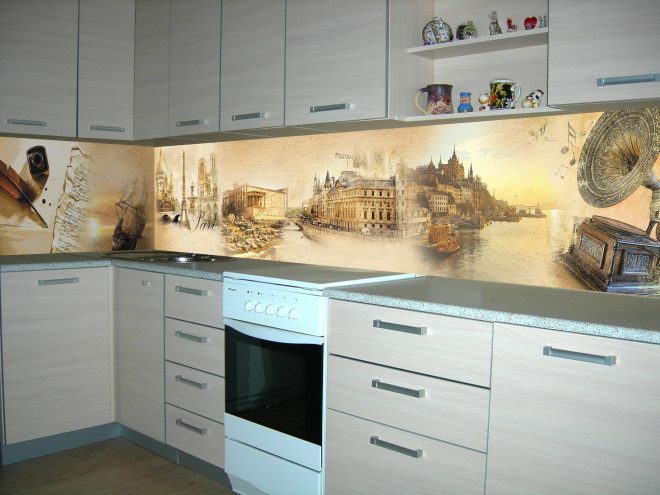
- PVC panels;
- Laminated MDF panels;
- Postforming;
- Acrylic mosaic;
- Natural
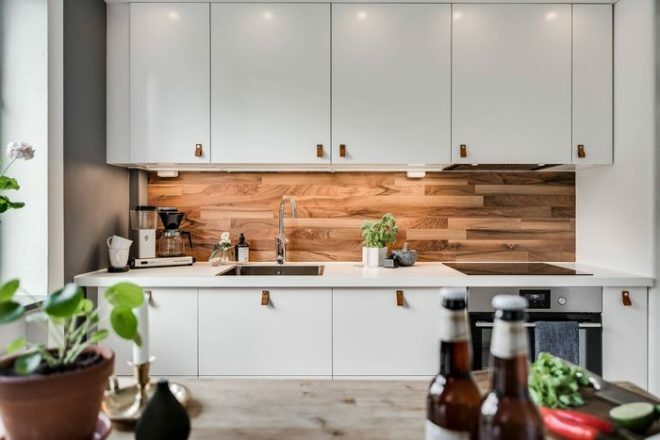
- Wooden lining;
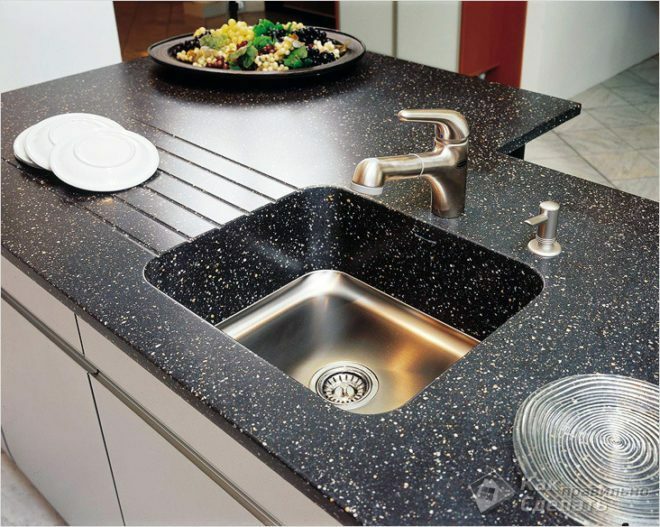
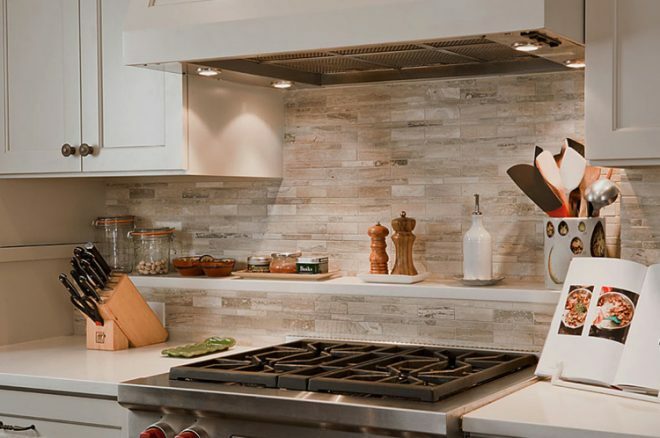
- Sawn sandstone;
- Sheet glass (skenali)
- glazed ceramics (including majolica);
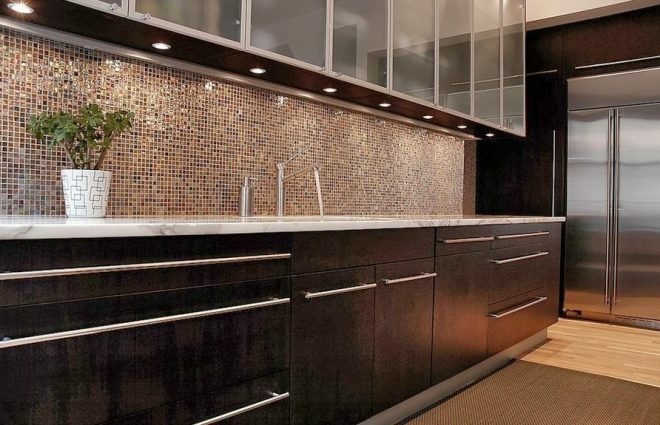
- glass mosaic.
Traditionally, preference is given to tiles (more details), but there are difficulties in installation. It is preferable to mount wood, plastic, sheet glass using an installed tabletop - as a support and a guiding plane. Ceramic protection is placed in the absence of wall furniture, with an overlap of 5-10 cm for future cabinets, as well as upper cabinets. This approach is due to the fragility of tile adhesives and ceramics. The ends of the table and hanging cabinets can chip the edge of the tiles on impact. Glued tiles are stronger closer to the center.
The situation is aggravated when the kitchen table is paved with tiles together with a special set of apron, in which the baseboards are made of ceramics. They with friezes, "pencils" make up a set. In this case, “extra-mural” masonry is not suitable, tables and cabinets must be purchased in advance.
Criterias of choice
The ideal material for a kitchen apron has not yet been invented. Some materials are too expensive, others are difficult to process, and others take a long time to assemble. If the above parameters are rated at 5 stars, the following is obtained:
Material |
Durability |
Installation |
Price |
Decorative properties |
Ceramics |
***** |
* |
*** |
**** |
Tree |
**** |
***** |
** |
** |
Skinali |
*** |
** |
* |
***** |
PVC panels - print |
* |
***** |
***** |
**** |
PVC honeycomb panels |
** |
***** |
***** |
** |
Glass mosaic |
***** |
*** |
* |
***** |
Acrylic Mosaic |
**** |
**** |
* |
***** |
MDF postforming |
**** |
***** |
*** |
* |
The more seams, the harder the care. But if “beauty requires” - a mosaic, cross-cut wood, lining under epoxy varnish, pebbles under glass and in the thickness of the plaster are acceptable. The choice is made according to the general design concept, based on time and money.
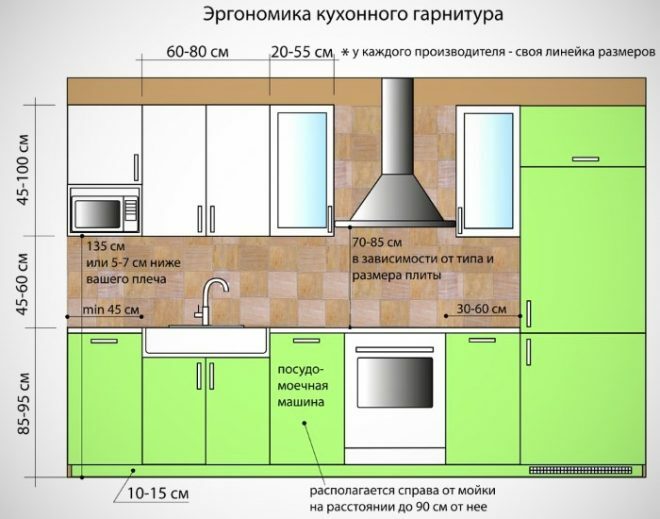
Standard size for kitchen apron height
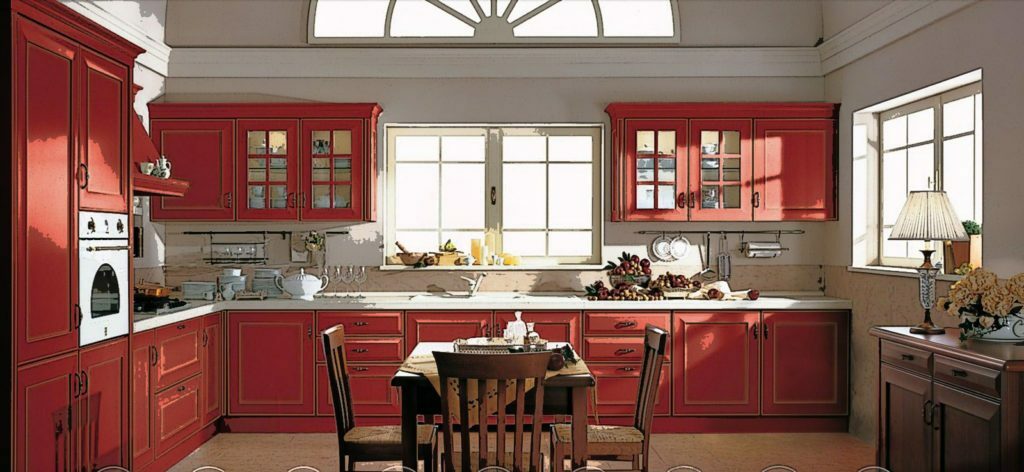
It is customary to paste over with tiles “from wall to wall” and to the front horizon of the countertop (U-shaped configuration). If the table is limited by a refrigerator, a high chest of drawers, the ceramic layer can partially go behind them.
The selected module of the furniture sections is taken into account. Sections are produced with dimensions divisible by 10, 12, 15, 30 cm. Ceramic manufacturers do the same, tiles of this size are popular.
Let's say the height of the pedestals is standard. Together with the legs, drawers, table top, the total height is h = 0.850 m (tall housewives can set a more convenient height for them). Then the first row of tiles with a size of 12 x 12 cm is placed at the level from the floor: 850 - 100 = 750 mm. The tile will go ten cm down the countertop, 2 cm will look out. At the junction of the table and apron, it is necessary to lay a protective plinth, it will cover the protruding 2 cm.
The next rows are laid from the level of 870 mm (from the upper edge of the tile protruding above the table) to the level of 1.596 m, thus laying out 5 rows of tiles with 1 mm seams between them, the 6th is the one that goes behind the hanging locker. We get a distance of 0.626 m covered with an apron with up and down allowances. As you can see, the height is close to optimal.
Is there a standard: width calculation
After laying the front of the wall, the work surface became narrower. How did it happen? Tiles with a thickness of 5 mm + 10 mm glue.
Let's say the table top is made of postforming with a standard width of 0.6 m. Multiple 120 mm - the size used. But minus the seams, minus 15 mm taken by the front, we get:
(600 - (1 mm (fillet weld) + 15 mm + 4 mm (for 4 seams of the wall)): 4 = 576 mm
You will have to operate with this number. Part of this size will take up 480 mm - covered with four full tiles. How to cover the remaining 96 mm so that the apron is flush with the edges of the table?
Two ways: cutting the tiles with a PVC tile edge trim or using the manufacturer's friezes. Stripes of 2 cm, 3 cm or more are inserted interspersed with the general system. They can be transverse, longitudinal.
When the issues with vertical and horizontal lines are resolved, you can prepare for the purchase by calculating the total area of the material: S = 7 rows of tiles x 0.12 x 0.12 x L =… m2. Let's say the length of the wall is 3 m.At this distance, 3000/121 mm will fit equal to 24.79 squares - a full 25. Then the required number with a 60 cm countertop is 7 x 0.12 x 0.12 * 25 = 2.52 m2. On the ends (both sides) 2 x 0.12 x 0.12 * 6 = 1.201 m2. As you can see, the area of the purchased tile differs from the area of the space for the apron plus.
The masonry "ladder", teeth saves from end cuts. But this approach is permissible for the Gothic style - it is read with a plinth peeking out of the wall. An elongated facing tile “hog” is suitable for such masonry. More often it is produced not glazed.
Installing the apron under the hood
A continuous flow of heated air, drops of fat turning into drying oil - a huge load for any finishing material.

It is clear that PVC boards with prints applied on them and a protective layer (a few microns of an acetate film) can serve only for a short time. It is necessary to wash such a print after each cooking.
Polished porcelain stoneware recommended. The new material has all the necessary qualities, including the ability to polish on the edges after cuts. When laid in a diagonal way, it is highly decorative. Laying in stripes, staggered order is possible. In the latter case, it looks good alternated with majolica inserts 2 x 2 cm. Beat off such a strip with ceramic borders. Porcelain stoneware was invented for floors, therefore its specific gravity (due to its density) is higher than that of ordinary ceramics. Laying porcelain stoneware follows from the floor itself or from the level of the slab, but reinforcing the lower edge with a duralumin-aluminum profile.
The distance from the hob is required. It is accepted that the fat is scattered by 15 cm. So, the width of the hood-plate strip is 90 cm. Favorable width for large hoods.
For mini-hoods with an inclined catching surface, an additional steam restriction is required - a laminated visor is hung at the ceiling above the cabinets.
In an apartment with tall people - 185 cm and above - a hood is attached at the same height (along the lower edge). We calculate the area of the “hood-plate” strip: 185 - 85 (table and plate level) = 100 cm. Bottom line: 0.9 m2 without up and down pads. But since the pads are necessary and are at least 5 cm - the final desired: 0.05 x 0.9 x 2 + 0.9 = 0.99 m2.
At what height from the kitchen floor to carry out the installation
The standard for the table top level is 850 mm. In furniture stores, lower drawers are shown more often without lower legs, they seem to be lower. With non-standard sizes of pedestals (made by hand or to order), the table's horizon is determined, which is drawn on the wall under the level.
Often, pieces of furniture are rolled up under a table top, fixed on 2 extreme pedestals. Then the entire wall is paved with tiles. A possible option is cheap materials behind the curbstones, higher - expensive, decorative ones.
When laying ceramics on the floor and wall at the same time, the thickness of the floor covering must be taken into account - usually 25 mm. 850 + 25 = 875 mm is the boundary line for the countertop.
Laying below the table is desirable. It's okay if a gap appears higher. Such a gap is laid with a plinth. But the skirting board can interfere with the rapport (tile pattern). The skirting board (usually made of aluminum) is measured and added to 850. Let's say the height of the plinth is 2 cm. Then the seam of the lower row of tiles must pass 870 mm from the finished floor.
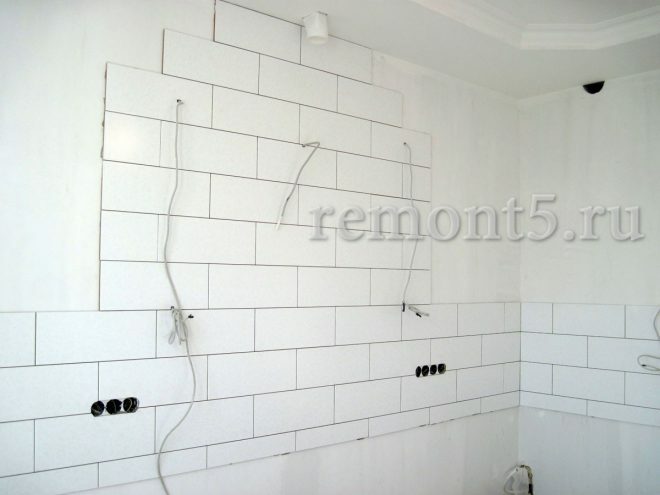
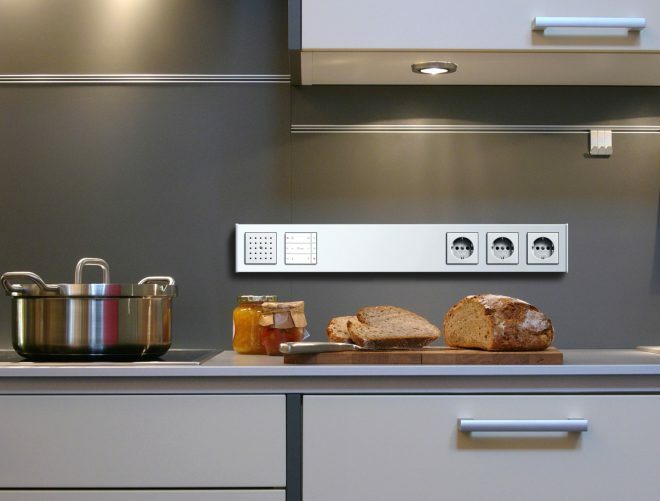
What to do with the sockets?
The issues of supplying electricity cannot be put to a number of finishing works. Above the line, broken off by an angle of 850 (or another size - the horizon of the tabletop), the placement and number of rosettes are outlined, given that the decorative rim has its own width. For most outlets, the rim is 2 cm. Euro nests have a standard diameter of 4 cm. This means that each nest (or group of nests) must be 4 cm, and when a plinth is provided 4 + 2 cm = 6 cm. We cut over the unpaved floor according to the level based on the calculation: 25 mm (floor) + 850 mm (curbstone and table top) + 60 mm (socket body, its edging, plinth) = 925 mm.
The sockets of the sockets must fit into the cross hairs of the tiles. It is not possible to make cutouts inside the tiles. In the case of skinning, sockets are made within open shelves, walls adjacent to the apron, even in the bottoms and sides of cabinets.
average rating 0 / 5. Number of ratings: 0
No ratings yet. Be the first to rate.