Russia, Moscow region, Moscow+79041000555

 It takes ~ 3 minutes to read
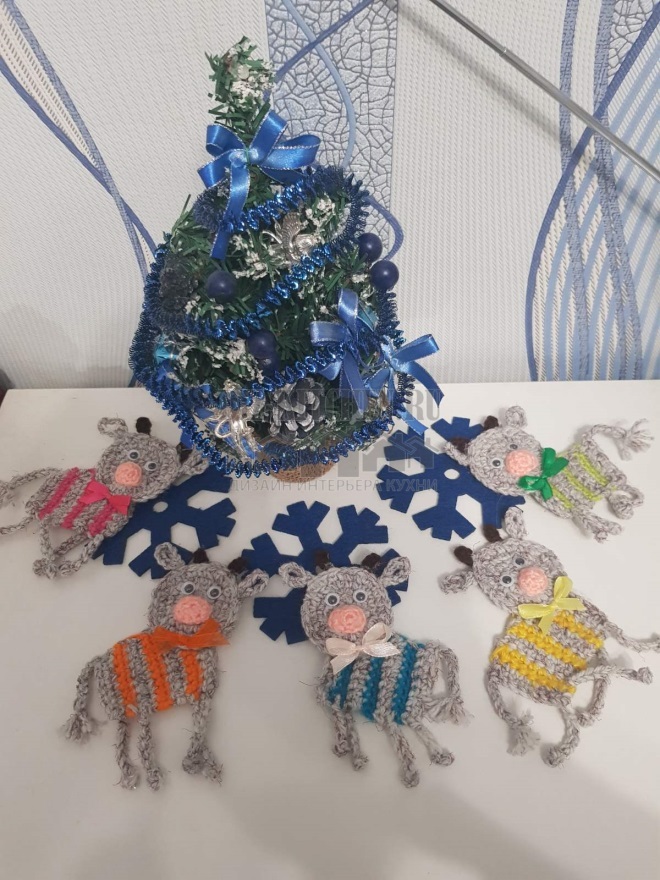
The New Year holidays have begun, and everyone begins to think about what to give to friends and family. Today I propose to make a fridge magnet in the form of a symbol of the upcoming 2021 - a cute bull. The knitting process will take you quite a bit of time, but at the same time you will get an original and relevant gift made by yourself.
We need:
Attention! Earned on our website kitchen designer. You can familiarize yourself with it and design your dream kitchen for free! May also come in handy wardrobes designer.
- The yarn is gray, pink;
- Multi-colored yarn;
- Scissors;
- Hook;
- Glue gun;
- Eyes or beads;
- Decor tapes;
- Magnets.
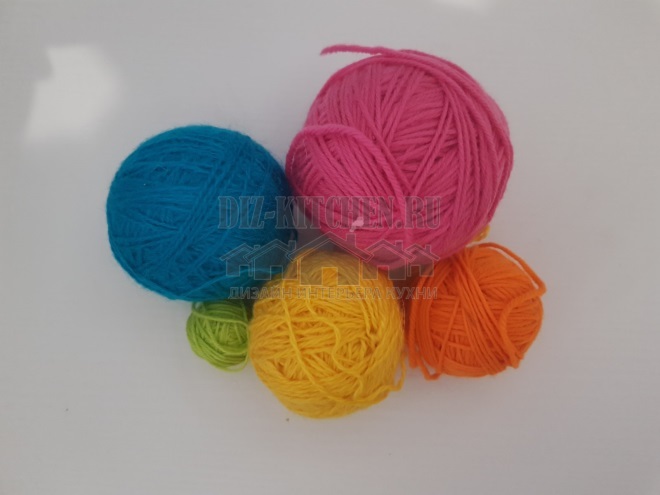
- We start by choosing material for work. I crochet my bulls. I will knit several pieces at the same time, so I immediately decide on the threads that I will use. Gray threads will serve me for the animal itself, and I chose soft pink for its muzzle.
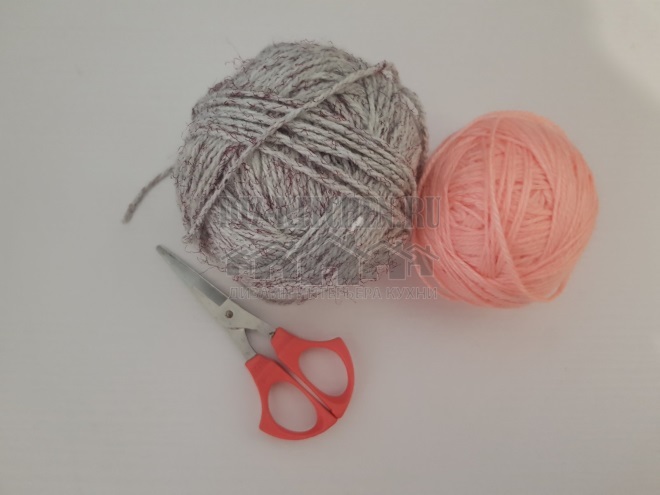
- I selected several colored balls for the torso, since all magnets will be different.
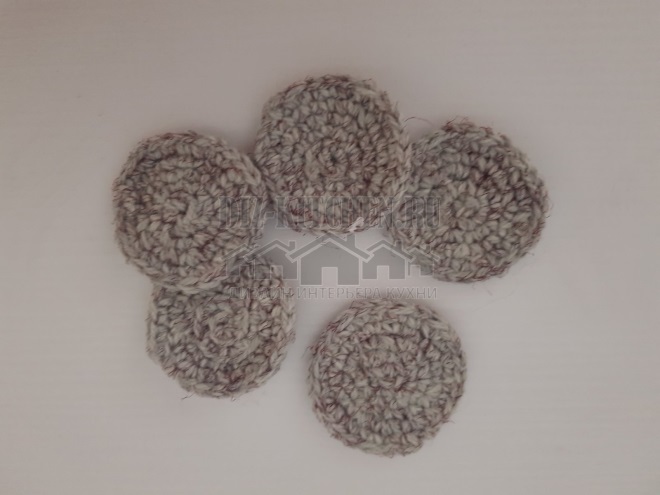
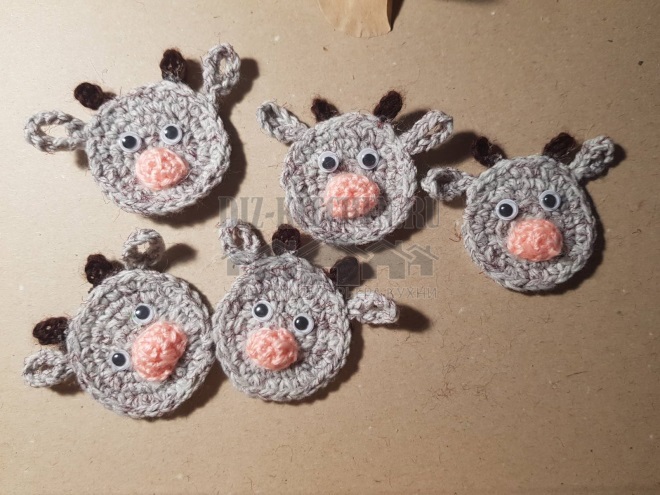
- We knit the head immediately. Since these are fridge magnets, they don't need to be very large. I will make five toys at once, so I knit 5 identical circles with single crochet loops.
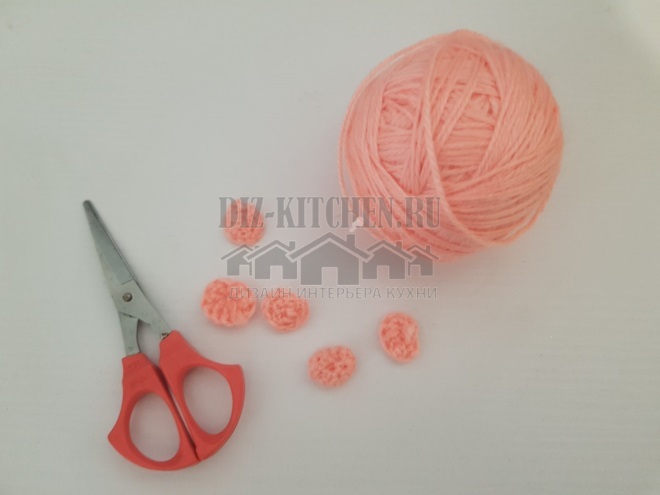
- Then we knit a small muzzle from pink threads (also with loops without a crochet).
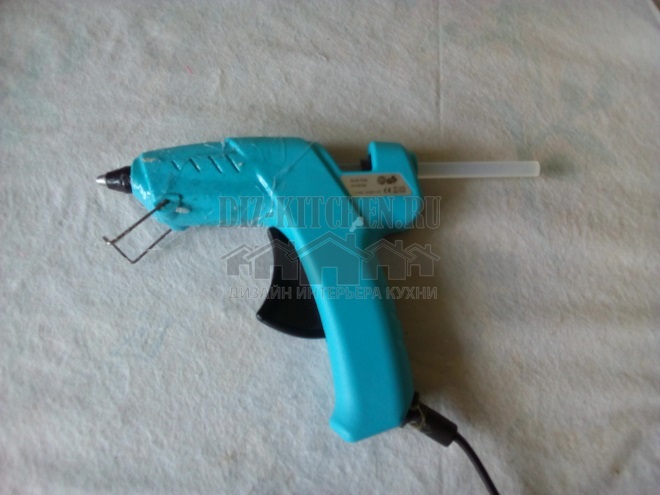
Let's prepare a glue gun, because we will attach all our parts with it.
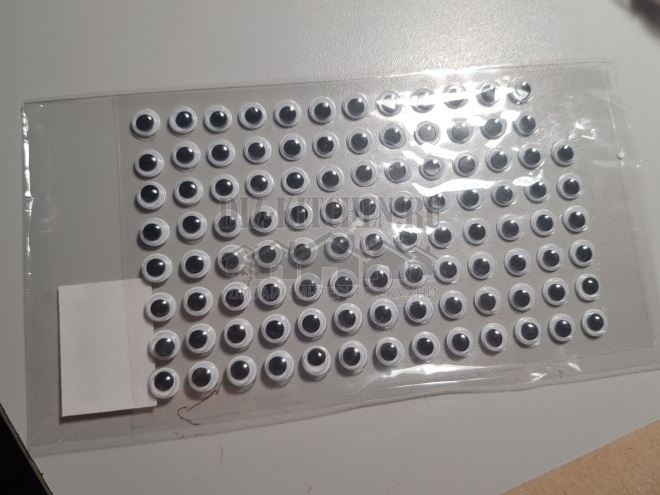
Take the eyes. They are purchased from me, on an adhesive basis - it is very convenient. You can make them yourself, from scrap materials (for example, from a blister for tablets and black paper).
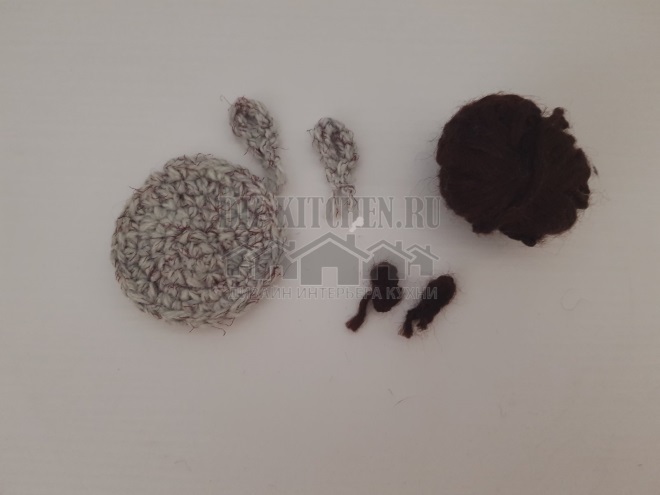
We knit 2 ears and horns made of dark brown threads to the size of our head with a regular chain without a crochet. Horns can be cut out of felt. But I knit a chain of 5 loops, and then knit them in the opposite direction.
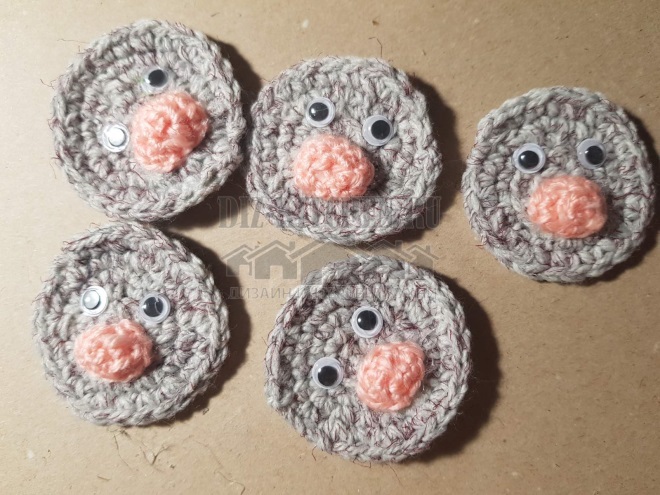
We heat up the gun and start working with our details: attach the muzzle to the head. You can put a small piece of cotton under it so that the muzzle does not lose its shape. Then we fix the eyes.
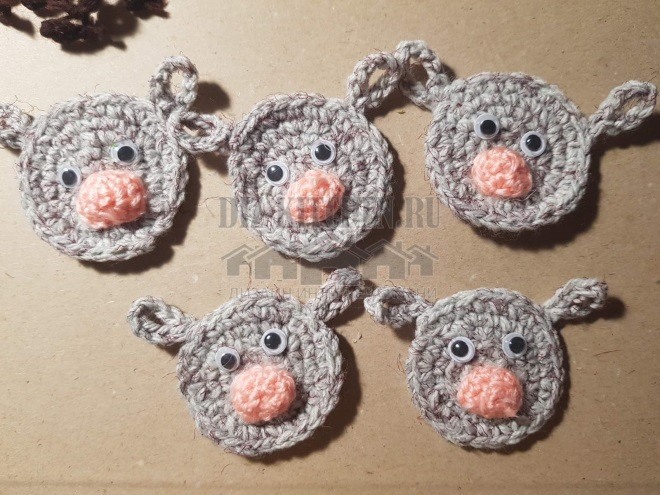
Now we glue the ears.
The last are the horns.
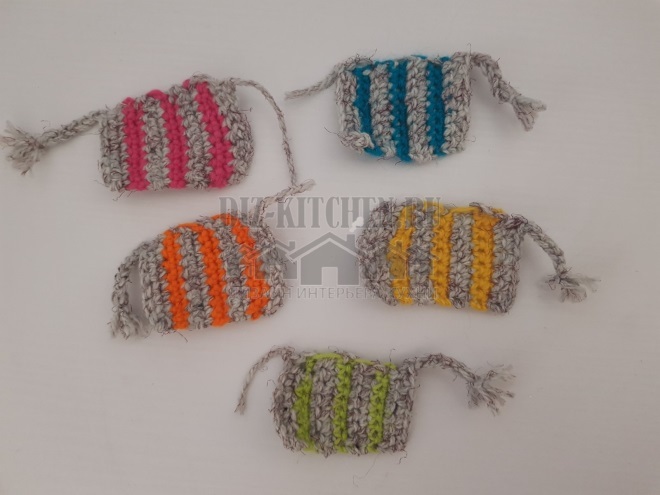
The next step is to make the torso. We knit striped rectangles with regular single crochets. We leave the end of the thread in the form of tails, knitting a small chain.
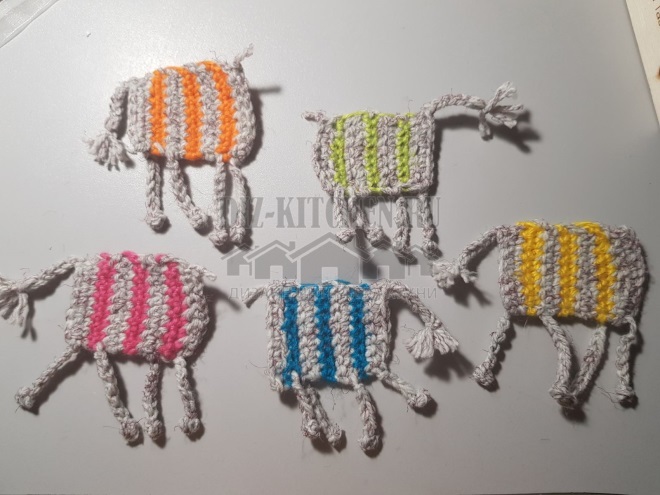
Now we make the legs. To do this, we simply thread a thread in two places and knit small chains of 10 loops each, tying a double knot at the bottom, imitating a hoof.
It remains for us to attach the head to our barrels and decorate them with multi-colored bows.
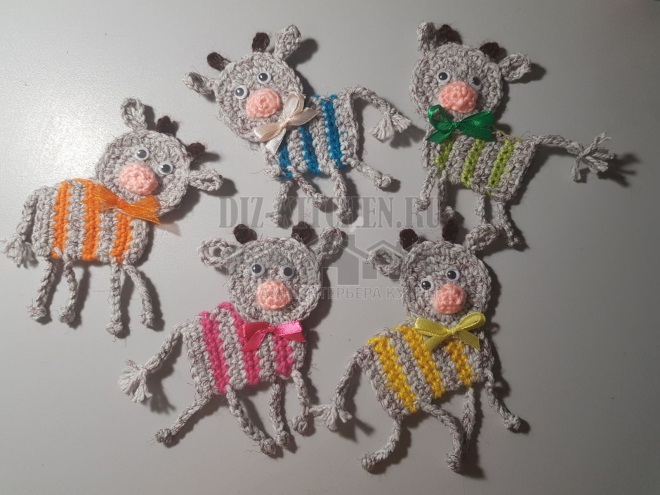
Glue strips of magnets on the back of the toy.
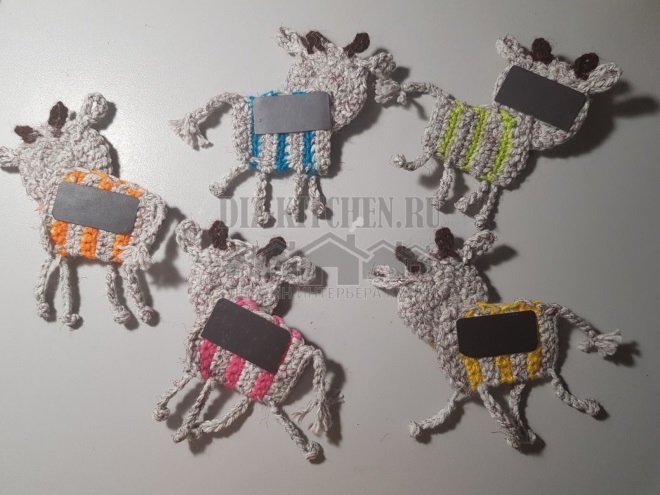
Make sure the magnet is strong enough to hold our toy on the fridge.
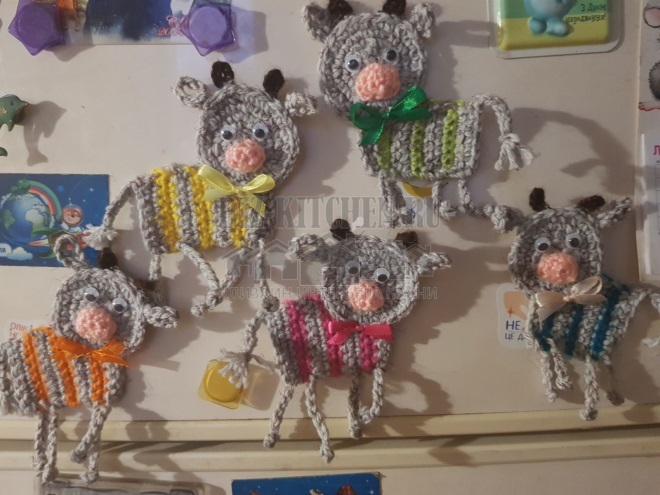
These are the wonderful and bright symbols of the New Year I got.
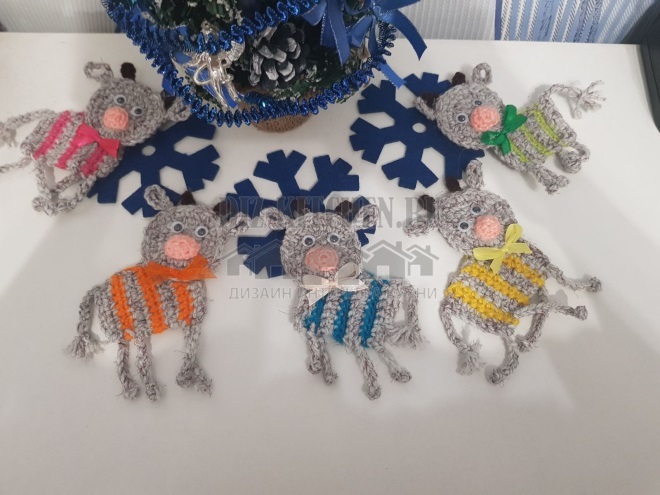 All happy holidays, may the bull bring you good luck !!!
What do you do with old furniture?
I sell
22.34%
I take it to the dacha
26.6%
I give to the poor
25.53%
I disassemble and store on the balcony in the hope that someday it will be useful
25.53%
Voted: 94
In order not to lose, tell your friends
Follow us on social networks


Dear visitor!
With great interest I always read your comments to my articles. If you have any questions, do not hesitate to ask them, leave, please, Your feedback in the form below. Your opinion is very important to me. Thanks to your criticism and thanks, I can make this blog more useful and interesting.
I would be very grateful if you rate this post and share it with your friends. It's easy to do by clicking on the social media buttons above. Do not forget the article you like Add to bookmarks and subscribe to new blog posts on social networks. 
Anna, editor of diz-kitchen.ru
© 2015 - 2022 | All rights reserved. At a reprint of materials the active link to the source is required. | User agreement and privacy policy
All characters and stories are fictional, and any coincidence with real or living people is accidental.
