The grout has several main functions: it removes minor defects in the edges of the tiles, prevents the formation of mold on the surface, and protects the joints from moisture. This material gives the floor covering a complete look, emphasizing the texture of ceramic tiles. Our article and video of grouting floor tiles will help to consider the process in more detail.
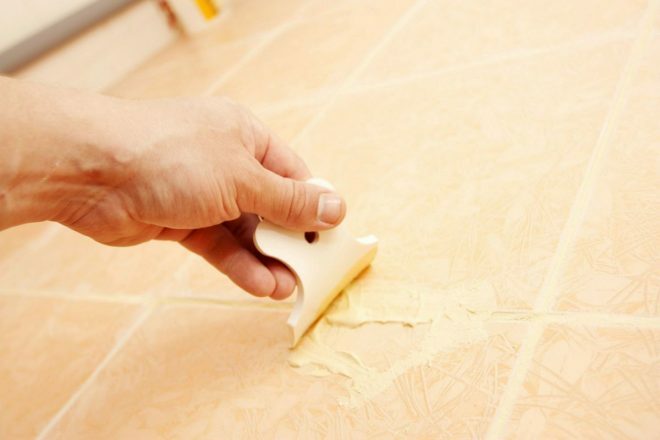
Varieties of grout
Grouts are delivered to construction stores in buckets or bags in the form of a dry mix. This material is dissolved with water to a paste before grouting. The main component of the grout is considered to be resin or cement binder, therefore the compositions differ in technical characteristics and scope.
Attention! Earned on our website kitchen designer. You can familiarize yourself with it and design your dream kitchen for free! May also come in handy wardrobes designer.
Cement grout is made on the basis of a cement-sand mixture or Portland cement. The first material is intended for filling large joints up to 5 millimeters thick. These are cheap products of various grain sizes, its structure depends on the fraction of sand. Such a mixture does not differ in high indicators of durability, it crumbles during cleaning and can collapse as a result of prolonged exposure to water. Another disadvantage of the material is the impossibility of using it on a glazed surface, because small grains of sand can scratch the coating.
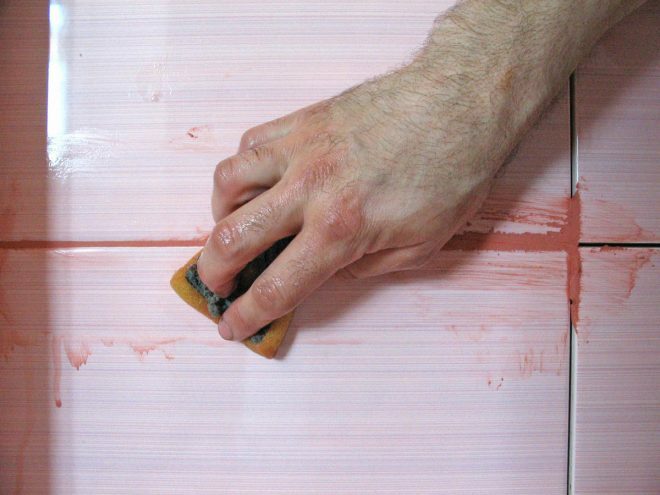
Grout based on Portland cement with special additives is a plastic mortar with sufficient setting time. The composition is intended for filling joints with a thickness of 3-5 millimeters. To obtain a ready-made solution, water or liquid latex is added to the powder. The latter material improves the hydrophobic qualities of the grout. The mortar is easy to apply, fills the joints well, and can be used on glazed tiles.
The main advantages of cement compositions are:
- affordable price;
- ease of application;
- easy removal of the old layer if necessary.
Of the main disadvantages of the material, one should point out insufficient moisture resistance and poor resistance to cracking, a minimum color palette.
A two-part resin grout has slightly different characteristics. For preparation, the dry mixture is mixed with a hardener. The main binder here is considered to be epoxy or furan resin. Unlike its analogue, epoxy mortar has high moisture resistance and resistance to chemicals.
The joints between the tiles, filled with this grout, are easier to clean from dirt, do not absorb water and do not exfoliate, and retain their original appearance longer. The color palette of resin mortars is much richer than that of cement mortars.
The advantages of the material include:
- resistance to sudden changes in temperature;
- high indicators of wear resistance;
- long-term color retention;
- plastic.
The main disadvantages are the complexity of the application and the high cost.
Calculation of material consumption
All manufacturers indicate on the packaging the amount of grout to overlap 1m2 of floor area, but these are only approximate figures. They depend on the thickness and width of the seam, as well as the professional qualities of the craftsman. Calculations can be done independently using the following formula.
D * K = g / m2, where D = (Dp + Shp) / Dp * Shp = m / m2, K = Wsh * Gsh * Ov, where
D - seam length;
K - material consumption in grams;
Дп - the length of the tiles;
Шп - tile width;
Shsh - seam width;
GSh - seam depth;
Ov is the weight of the grout.
Consider a specific example for laying a floor with tiles with dimensions of 20 * 20 centimeters with a material thickness of 4 millimeters. In this case, the optimum seam width will be 2 millimeters. We divide the sum of the length and width by the product of these dimensions and we get 20 + 20/20 * 20 = 0.1. Next, we multiply the resulting value by a factor of 1.6, as well as by a tile thickness of 4 millimeters and a thickness seam - 2 millimeters t- 0.1 * 2 * 4 * 1.6 = 1.3 kilograms, which corresponds to the material consumption given in table. Such a calculation does not give 100% accuracy, so another 5-10% is added to the resulting value.
Preparation of the solution
Before preparing the solution, the dry mixture is kept for 1-2 hours at room temperature. The mixing process consists of several operations:
- mixing of raw materials;
- holding the mixture;
- re-mixing.
After mixing, the solution should remain moderately moist so that the material can fill the joints well and not crack. After insisting for 10 minutes, the solution will become dense. For loosening, add a little water to the composition and mix again.
The ready-to-use grout should be kept on a slide and not flow out of the bucket. After preparing the mixture, clean the tile surface from glue particles. After that, grout is hammered into the seams. It should be noted that ordinary grout is mixed with water or latex additives, the polymer dry mixture should only come into contact with water. The proportions of liquid and raw materials are combined according to the instructions on the package.
Before mixing the grout, 75% of the required amount of water is poured into the container and the dry component is added. After the mixing procedure, pour out the remaining water and check the consistency of the solution. The work is carried out using a construction trowel or an electric drill with a whisk. After mixing, the grout should stand for 10 minutes, after which it is mixed again.
Preparation of seams
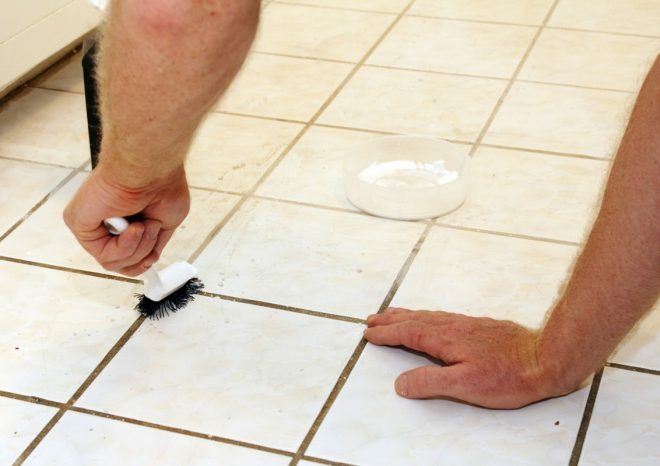
Tile grouting technology begins with preparatory work. The depressions must be cleaned of dust and dirt, which will improve their adhesion in relation to the solution. It is also necessary to get the pieces of mortar out of the seams. This is best done with a narrow, sharp piece of wood. It is necessary to work with such a device with special care so as not to disturb the recently laid tiles.
Some builders cover up the crosses installed between the tiles, but this is not recommended. In such places, the grout will be laid in a thin layer and has a color different from the standard. Filling the tiles with a solution is carried out at least 5-7 days after the installation of the floor covering.
Application and tamping
Before grouting, the joints must be moistened with water for better adhesion of the mortar to the surface. A thin paint brush is used to apply the liquid. If you need to fill the seams in the bathroom or bathroom, then you can start work the next day after installing the flooring. In these rooms, residents are always moving, they can bring dirt into the gaps between the tiles.
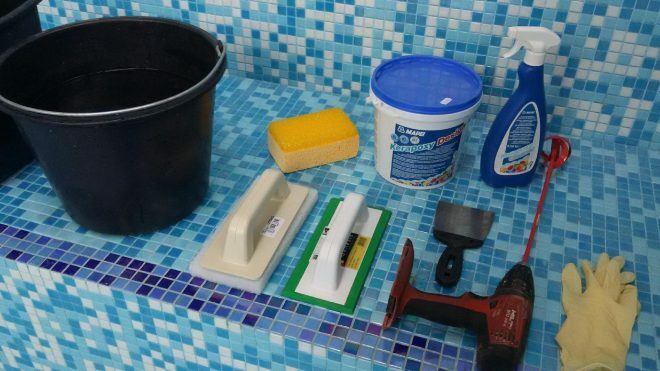
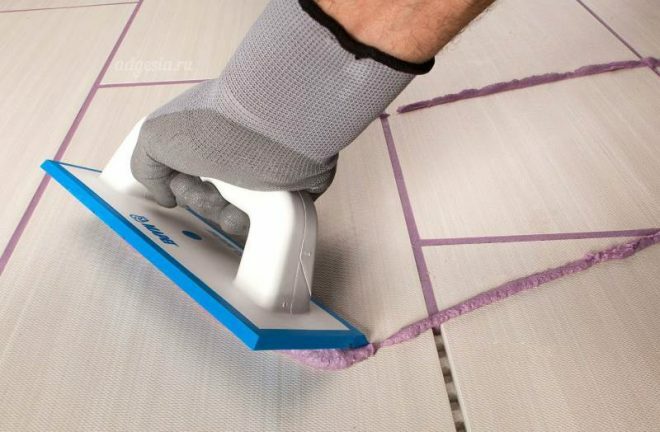
After removing the remnants of glue and dust, the seams are coated with antifungal compounds. To apply the grout, you will need a rubber trowel and other materials:
- container with warm and clean water;
- hard sponge;
- the cable is slightly less than the seam width.
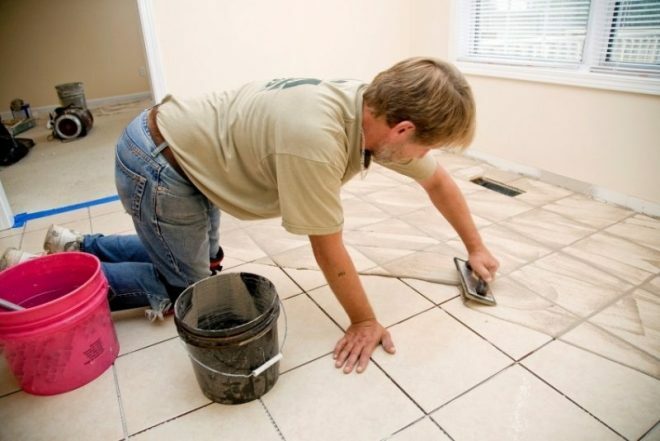
Pour the paste from the tray into a small container for ease of work. The solution is taken with a spatula, pressed and pushed into the seam. The best results can be obtained with the smallest portions of pasta. A properly mixed and tamped grout will be firm and flexible. The remains of grout must be removed with a sharp metal spatula, which is moved to the side or down in a direction perpendicular to the seam. The excess mixture is returned to the container. The stains on the tiles are washed off half an hour after processing.
Final processing
The joints between the tiles must dry well before finishing. Within 20 minutes after application, the solution becomes plastic. At this moment, the formation and joining of gaps is carried out.
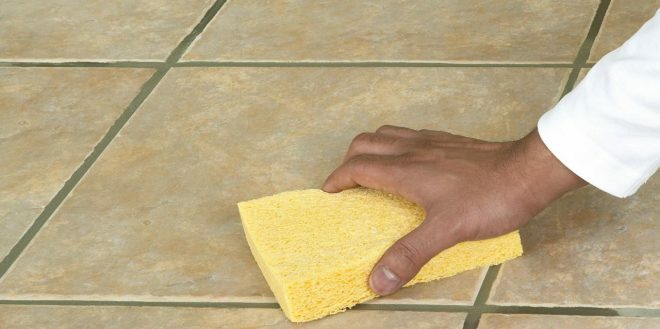
Processing tile joints after grouting begins with rinsing off the remnants of the solution from the surface. To do this, a rag or rag is dipped in a bucket of water, after which they are squeezed well. When grouting with a cloth with high humidity, a certain percentage of water will be absorbed into the solution. Excessive moisture can cause the appearance of age spots on the seams, they stand out against the general background, giving the surface an ugly appearance.
A hard sponge moistened with water is moved along the gap between the tiles. Its hard surface removes the protruding edge of the grout. A rag is used to remove paste residues from tiles. Such work must be carried out some time after the seams have been hammered, until the solution has dried. After processing a small surface of the seam, the sponge is buried in a bucket of warm water and rinsed. This is due to the fact that a paste may remain on the foam rubber, which, when moving along the seam, will damage the surface.
Joining of gaps can be omitted. This procedure is necessary for the formation of smooth flat seams without pits and depressions. To carry out such work, you will need a piece of cable 15-20 centimeters long. Before work, this part is washed in water and wiped with a rag so that the wire does not leave dirty spots on the grout.
The cable should be slightly pressed into the mortar with your finger and passed from corner to corner of the tile. Crawled out residues of the solution are removed with a damp sponge. If the paste is not evenly leveled, it is passed through it again. A small amount of fresh solution is placed in the places of depressions and pits, it is pressed in and left to dry.
Tips & Tricks
After grouting the tiles on the floor, you need to learn how to properly care for the coating. Above all, keep your room clean to prevent mold and mildew. Cleaning the seams from dirt is done at least once every two months. For this, a soap solution is used. Seams are disinfected with bleach, bleached with soda. The most convenient way to carry out work is with a toothbrush or steam cleaner.
Do not throw away the leftover mixture, it may be useful for sealing joints in other rooms. When a fungus appears, the old solution is removed and the surface is impregnated with an antiseptic, then a new solution is applied.


