To glue the wallpaper alone, you do not need specialized education or skills in carrying out repairs. By following a few simple rules, even a beginner will do the job.
The content of the article:
- Preparatory stage
- How to prepare the surface
- How to do pattern matching and marking
- How can I mark the surface of the walls
- How to apply glue and stick canvases
- How to paste over areas with sockets and switches
- How to trim the excess
- How to paste over the area where heating radiators are installed
- Tips from professionals
Preparatory stage
Before starting work, it is required to prepare tools and materials. To glue the wallpaper alone, you will need:
- Measuring tool with a scale in millimeters (tape measure or measuring tape).
- Pencil for drawing markings on vertical surfaces.
- Level to determine the correct location of the canvases in a vertical plane.
- Knife, clerical or specially designed for cutting wallpaper.
- Paint brush or roller for applying glue.
- Table, building goat or ladder. Choose stable structures that can withstand the weight of a person.
- Device for smoothing cloths (specialized roller or spatula made of plastic).
- Glue container.
For the preparation of glue, a container with a wide mouth is selected. This makes it easier to mix the composition. The method and proportions of breeding differ depending on the brand. Before use, study the instructions supplied by the manufacturer.
How to prepare the surface
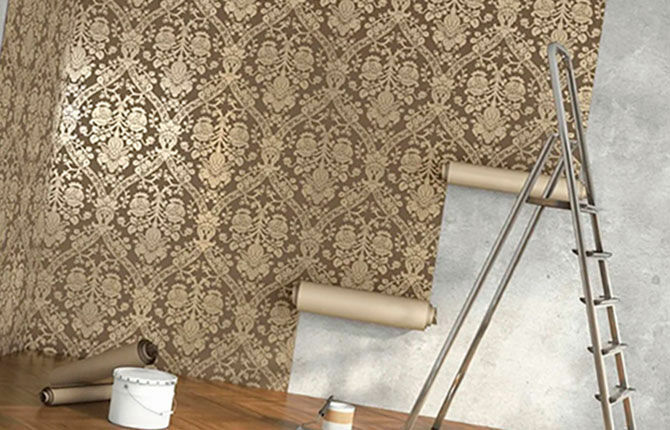
Before you glue the wallpaper yourself, prepare the walls. At the same time, all large and small irregularities are eliminated. The appearance of the pasted walls depends on the quality of the surface.
Preparation is carried out in the following sequence:
- Clean up the walls. Remove old paper wallpaper or paintwork.
- Inflict priming. Use deep penetrating liquids. They improve the degree of adhesion of the plaster to the surface. When choosing a composition, pay attention to antifungal properties.
- Close the irregularities with a layer of starting plaster. This is a draft composition designed to fill defects of various sizes.
- Apply a layer of finishing putty. This eliminates small defects.
- Sanding the finish coat. For grinding, sandpaper or a specialized mesh is used.
After grinding, a smooth wall is obtained. To remove small abrasive particles and improve adhesive properties, the dust formed during grinding is removed with a dry rag.
How to do pattern matching and marking
In order to glue the wallpaper alone, you should prepare the canvases in advance, taking into account the location of the pattern. This way it is possible to obtain a single canvas in which the individual elements correspond according to the pattern.
Fitting will require a flat, clean surface. The dimensions of the site depend on the height of the walls. The part of the roll corresponding to the height of the room must be placed on the floor in full length.
A piece of the desired size is cut from the roll. Lay the fabric face up on the floor. Unwinding the roll, apply it to the first section according to the drawing. After fitting, a piece of the desired size is cut off.
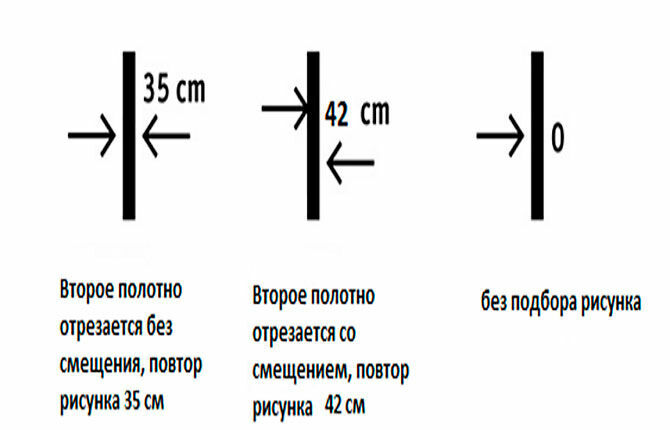
On the back side, the segments are marked. This indicates the sequence of gluing elements. The marked parts are twisted into small rolls and installed vertically near the wall in order. Thanks to this, a person who decides to glue the wallpaper alone will not need to waste time looking for the right piece.
How can I mark the surface of the walls
To determine how to properly paste the wallpaper, markings are applied to the walls. To do this, use a pencil. The use of the marker is not allowed. The lines drawn by the marker will be visible on the surface of the canvas after gluing. The markup is done with a slight pressure on the pencil.
A vertical line is applied to the surface. To check the correct location of the strip, a building level is used. To make markings alone, you can use a simple or laser level.
From the control line measure the same distance in the upper and lower parts. At the same time, a distance recedes from the corner of the room, which is 10-20 mm more than the width of the roll. So when gluing the canvas will not close the line. This will allow you to control the correct location of the wallpaper, even if the person works alone.
How to apply glue and stick canvases
After fitting, marking and marking, they begin to apply glue. It is prepared in a large container. In order to stick wallpaper alone, for convenience, the composition is collected in small portions in a small container.
To glue the wallpaper to one, proceed in the following sequence:
- Cover the floor with a clean sheet. Use cardboard or plastic wrap. The coating must be larger than the dimensions of the cut elements.
- Lay the piece with the back side up. To prevent the part from twisting, a load is placed on the edges.
- Apply a thin layer of glue to the wallpaper. A roller is used to speed up the process. The edges are smeared with a paint brush.
- Fold the strip in half. So the adhesive impregnates the canvas. After the part is left for 3-4 minutes. The impregnation time depends on the density of the material.
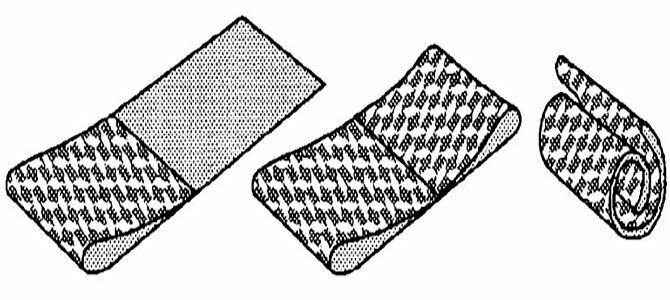
- Holding the strip by the upper part, they climb onto a table, a construction goat or a ladder.
- Attach the top of the wallpaper to the wall.
- Level the strip and press it around the entire perimeter. In this case, they follow from the top to the bottom. So one can stick wallpaper without additional support.
- Remove air bubbles. Use a specialized roller or plastic spatula. The joints are additionally smoothed with a roller.
- Remove any excess adhesive with a clean cloth.
Then proceed to the next strip. Strictly observing the sequence of actions, it will be possible to glue the wallpaper alone.
Recommended reading! Step-by-step guide on how to glue it easily and quickly:
- vinyl wallpapers;
- non-woven.
How to paste over areas with sockets and switches
Before you glue the strips alone, you should dismantle the electrical wiring elements. To avoid the occurrence of a short circuit and injury, the household power supply is de-energized.
Sockets and switches are removed from the mounting box. Wiring is disconnected from the working part of the electrical equipment elements. To avoid the occurrence of a short circuit when voltage is applied, the ends of the wiring are insulated. You can use adhesive tape or insulated terminal blocks.
After gluing the wallpaper, holes are cut at the locations of the mounting boxes. An even cut is obtained using a clerical knife. The working elements of sockets and switches are connected to the electrical wiring and installed in the mounting holes. Cut irregularities are covered with decorative parts of switches and sockets.
How to trim the excess
Excess parts are cut off after the canvas dries. If you cut raw wallpaper, then the cut will tear. The excess is cut off with a utility knife. At the same time, its severity is controlled. The blade of such a knife is divided into several sections. If the extreme part is dull, it is broken off. The edge of the blade becomes sharp.
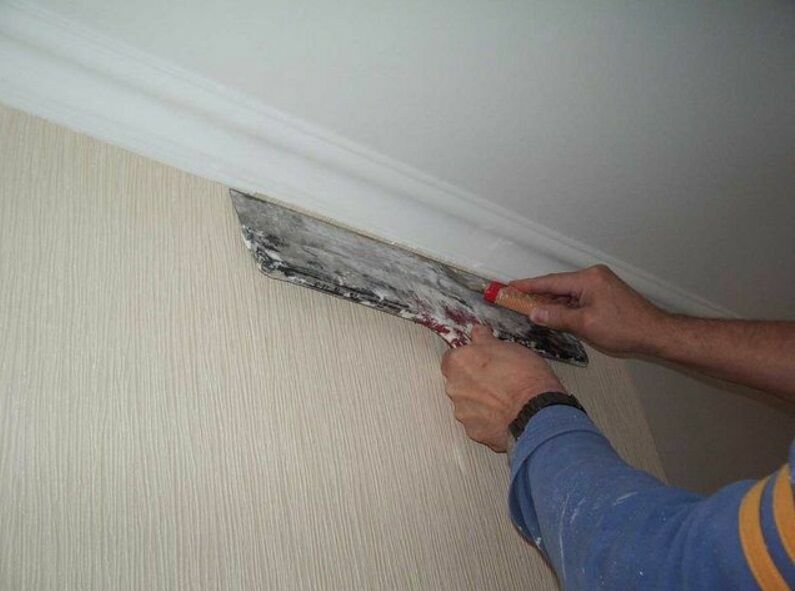
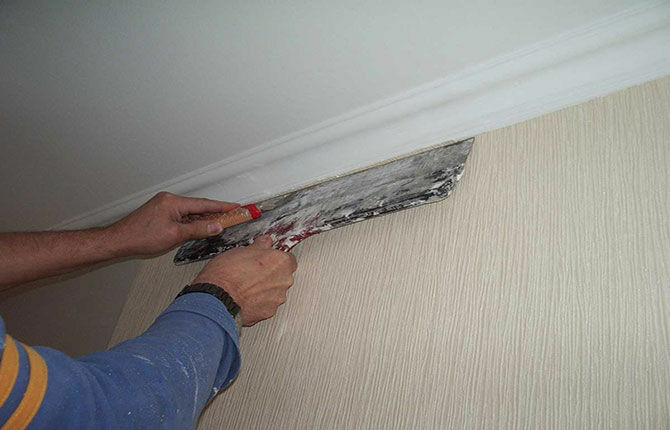
So that the edge of the wallpaper does not tear when trimmed, it is pressed tightly against the wall. To do this, use a flexible ruler or a wide metal spatula.
The part is pressed to the cut point. A knife is drawn along the line of contact. Holding the spatula, remove the excess. This way you get an even cut.
How to paste over the area where heating radiators are installed
One can glue the places behind the radiators in two ways - with the dismantling of the heater or without removing the radiator. If you leave the battery in its place, you will need to glue thin strips of wallpaper behind it. It's hard to do it alone. If dismantling is supposed, the work is carried out in the following sequence:
- Shut off the inlet and outlet heating pipes.
- Unscrew the radiator pipes from the line.
- Drain the remaining liquid into a previously prepared container.
- Dismantle the radiator.
- Glue wallpaper. In this case, it will be easier to glue wallpaper alone than with a radiator installed.
- Cut off excess.
- Install and connect the radiator in reverse order.
If wallpapering is carried out in the cold season, it will be necessary to prime the surface with glue before installation. If the radiator temperature is controlled separately from the heating system, the appliance is not turned on at full capacity.
Tips from professionals
It is important for a person who decides to stick wallpaper alone to follow the sequence of actions. To make it easier to stick wallpaper alone, take into account a few tips from professionals:
- When spreading the canvas, the glue is carefully applied along the edges. This ensures a secure connection at the junction.
- When preparing the glue, the composition is gradually mixed until the lumps are completely dissolved.
- During work, keep your hands clean.
- Do not allow the accumulation of glue on the surface made of cardboard or film. Failure to follow this rule will lead to contamination of the canvases.
Given a few rules and following the sequence of actions, one will be able to paste the wallpaper. To make the surface smooth, the walls are puttied and polished. The absence of irregularities on the vertical surface and the uniform application of the adhesive contributes to good adhesion.
Did you glue the wallpaper yourself? What tools were used for this? Leave comments and share the article on social networks, add it to bookmarks.
How to quickly and easily stick wallpaper or wallpaper alone can be seen in the video.
