To get a perfectly smooth and beautiful surface, you need to figure out what to do after plastering the walls. First, beacons are removed and obvious irregularities are eliminated with the same composition. Then proceed to the primer and putty. Finishing - painting walls or wallpapering. A detailed description of each stage can be found in this article.
The content of the article
- Lighthouses and primer
-
The main stage - putty
- The choice of putty
- How to putty walls
-
Finishing
- Painting
- Wallpapering
Lighthouses and primer
Plaster compositions dry within a few weeks. Moreover, to gain strength, it is advisable to wait 25-30 days. Next, you can understand what to do next after plastering the walls. First of all, it is necessary to remove the beacons, level the surface and proceed with priming. Then it will be possible to proceed to the next stage and decide how to putty the walls after plastering, as described below.
The first steps will be:
- Removing beacons. If they are made of a material resistant to corrosion, this is not necessary. On the other hand, finishing the walls after plastering involves the removal of beacons. Some materials may begin to rust, while others may expand or contract depending on temperature changes, thereby reducing the strength of the layer and causing cracking.
- It is advisable to remove the lighthouses immediately, literally in a few hours - this is the first thing to do after plastering. If several days or weeks have passed, the work will become more complicated, but you can still do it yourself. For dismantling, use pliers and a plaster scraper. Remove part of the layer first.
- Now it is easier to understand what to do after plastering the walls with gypsum plaster. It is clear that strobes remain due to the removal of the beacons. They need to be sealed with the same composition. Moreover, in wet rooms, on the front surface it is better to use a cement mixture, and in rooms with dry air - gypsum.
- Then you need to figure out what to do next after the plaster. During work, splashes and streaks almost always remain, which also harden and thus form an uneven surface. They are carefully cleaned, and evenness is determined using the rule.
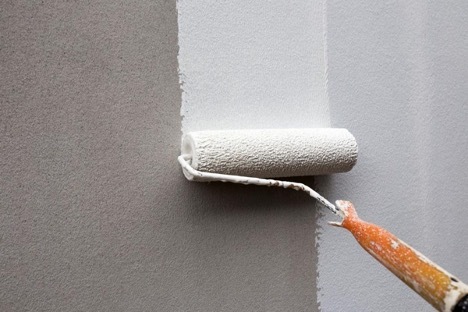
- If we talk about what comes after plastering the walls - this is a primer. It is applied to the surface to remove dents and cracks, after which it is treated with the composition of the starting putty.
- When the walls are dry, they begin to align. In the simplest case, you can use an emery mesh or paper for this. Although if there is a grinder and the right nozzle, it is easier to use it.
- At the last stage of preparation, the walls are wiped with a damp cloth, and the dust is removed with a vacuum cleaner.

The main stage - putty
Quite often, users wonder whether it is necessary to putty the walls after plastering. This stage of work is mandatory, because the purpose of the previous steps is only to prepare the walls.
The choice of putty
To get a perfectly flat surface for finishing, you should understand what to do with the walls after plastering. To do this, determine which putty to choose. Depending on the structure of the mixture, 3 types are distinguished:
- Home – with a granular consistency, based on quartz sand. Used for primary processing, i.e. elimination of the largest defects, cracks.
- Finishing - fine fraction, superimposed on the starting one with a small layer within 2 mm. The result is a glossy surface that is easy to sand.
- Studying what to do next after cement plaster, you can consider the application universal plaster, which combines the functions of starting and finishing. Such a composition is applied in one layer and simplifies the work, but is more expensive.
Considering the better to putty the walls after plastering, you need to get acquainted with the types of mixtures depending on their composition:
- Cement - the most common, versatile variety that can be used to work outside and inside. It is resistant to humidity, temperature changes and sunlight.
- Gypsum - very plastic, allow you to achieve a perfectly flat surface, are used only for interior work. When the walls are plastered, it is planned what to do next. If you need to paint, it is gypsum putty that is best suited.
- Polymer based on acrylic, latex, polymer cement. These are particularly resistant compositions that will not suffer from high humidity or temperature changes. They are more expensive, but they last a long time.
How to putty walls
Now it’s clear what to do next when the walls are plastered - you need to start puttying. The work is carried out in several stages, and each of them uses its own tools:
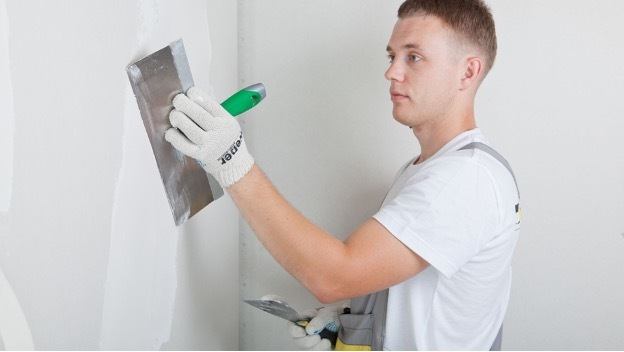
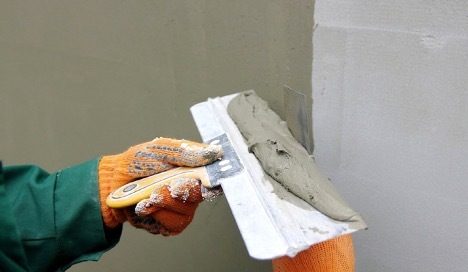
- Prepare the solution according to the instructions and proceed to the starting putty. This requires a large spatula. It is held at an angle to the wall of about 30o. The composition is applied, moving in a diagonal direction. You can also overlap the layers so that there are no bumps.
- The next stage after plastering the walls is the processing of even corners. For this, an angled spatula and a small spatula are used. The last composition is applied to the slope with a small layer, and the corner is carefully leveled.
- Finishing - At this stage, you will need a large and small spatula. In this case, the composition is laid in a small layer within 2 mm. A small tool is used to lay the composition on a large one, after which it is distributed over the surface.
- When the previous layers are completely dry, you need to figure out how to level the walls after plastering. To do this, use the same tools (spatulas of different sizes). The composition is applied with a second layer and then proceed to wallpapering or painting.
Finishing
When the walls are ready after plastering, what to do next is also quite clear. It is necessary to start finishing (final) finishing - this is painting or wallpapering.
Painting
After puttying, the composition must be given at least a day to dry. Then the walls are carefully examined, directing oblique rays of light, and go through with sandpaper. Further processing is carried out with a vacuum cleaner and a hair brush to remove residual dust. There is no doubt whether putty is needed after plastering. It is she who provides a perfectly flat surface, which can be additionally checked by swiping with a damp sponge. If a dark spot remains, the moisture has absorbed, it is necessary to go through the primer, and only after that you can start painting.
Wallpapering
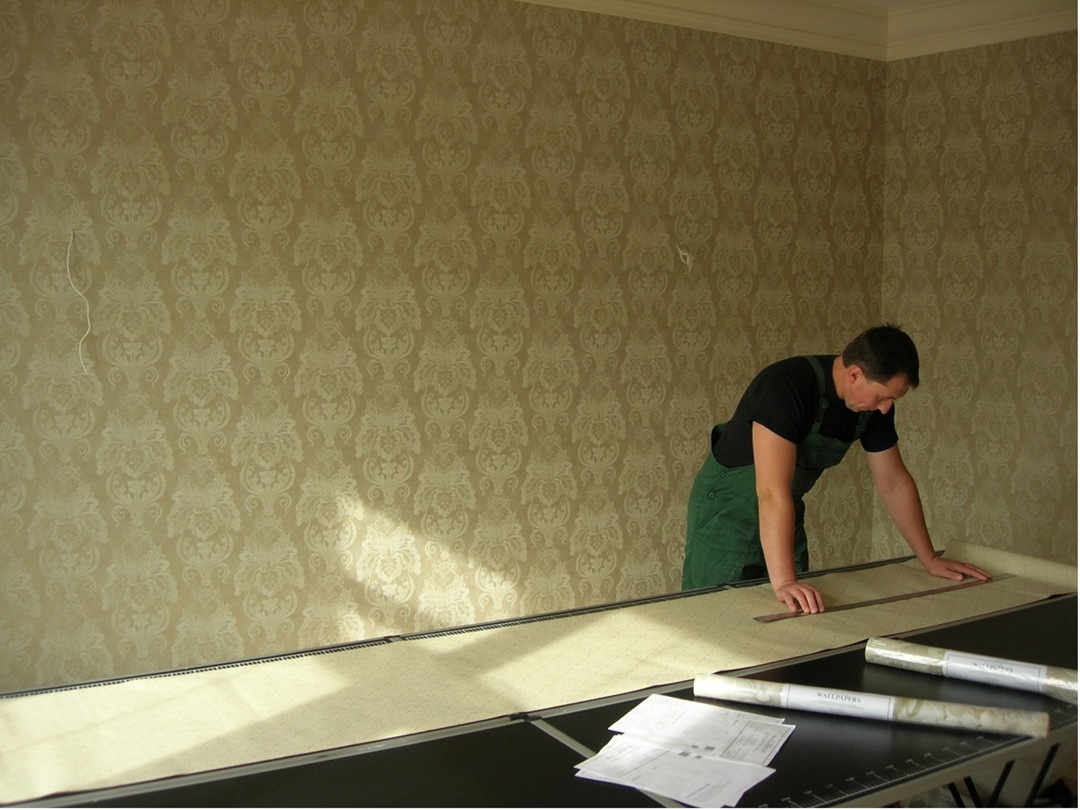
If, after plastering the walls, wallpapering is planned, it is quite enough to lay only the starting composition. Next, check how the wallpaper will look. After drying, the fragment is glued to the surface and see if yellowish spots appear. If everything is in order, the wall needs to be sanded, dust removed and wallpaper paste applied. Then dry again and proceed to pasting.
From this review, it became clear what needs to be done after plastering the walls. First you need to carry out preparatory work on the "rough" alignment. Remove the beacons, pass the primer. But in order for the surface to become perfectly smooth, putty should be used. Only then can you start finishing.
