Styrofoam tiles are in most cases used to finish the ceiling. But it is quite possible to use it for gluing walls. Installation is very simple - you only need to carefully draw up a diagram and transfer the markup to the surface. In addition, it is important to choose a durable tile that can be repeatedly washed if necessary. How to do this is described in the article.
The content of the article
- Is it possible to use ceiling tiles: the pros and cons
- How to choose a tile
- Installation of tiles on the walls
Is it possible to use ceiling tiles: the pros and cons
Styrofoam tiles are very convenient for gluing walls, because they are light and can be glued even without special skills and equipment. At first glance, it seems that this is a primitive and “cheap” solution, although with the right approach, the wall will look very beautiful due to the tile patterns.
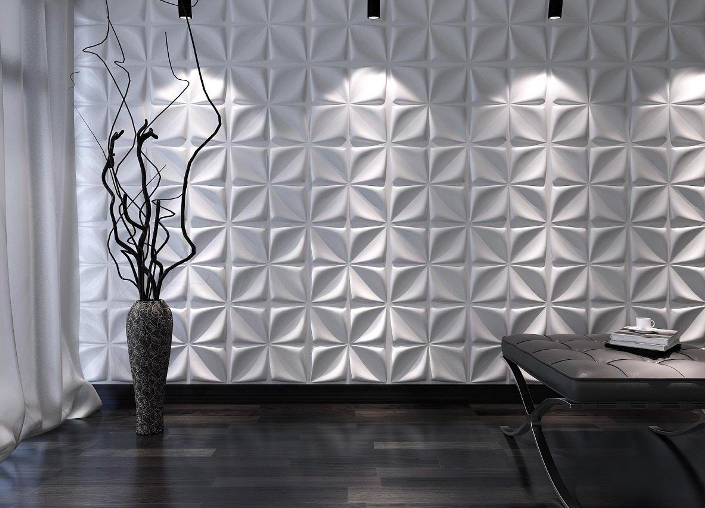
Wall decoration with foam ceiling tiles provides several important advantages:
- The material is inexpensive - this is one of the most budget options. You can save a lot on finishing large areas.
- There is no need for such laborious preparation as in the case of screed and painting.
- The tile allows you to hide even relatively large defects.
- It looks quite attractive, besides, ceiling tiles are suitable for painting with acrylic or water-based composition, which is also affordable.
- A wide range of sizes and patterns - you can easily implement any design option.
However, ceiling tiles have both pros and cons:
- It is flammable, so if the risk of fire is high in the room, it is not recommended to use such material.
- The coating basically does not turn out to be seamless, because the individual elements are represented by squares, which, even when tightly joined, form seams. Although there are special materials with waves or special grooves that are inserted into each other according to the “groove to groove” principle.
- The use of tiles is objectively limited - for example, this option is not suitable for the kitchen due to contamination with grease and soot. Although the problem can be solved if you periodically repaint the entire surface.
How to choose a tile
Foam tiles on the walls are of 3 main types:
- Pressedand I.
- Injectionand I.
- extrudedand I.
The basis of the composition is always expanded polystyrene, but the processing technology is different. So, the injection tile has a low density and thickness within 15 mm. Pressed products go through an additional stage, so they are more dense, and the thickness does not exceed 8 mm.
At the same time, the most durable styrofoam wall tiles are extruded. It is the most dense and therefore has a minimum thickness - within 3 mm. Moreover, the surface is additionally laminated, which allows you to wash it an unlimited number of times. This is especially useful for areas in the home such as the kitchen and bathroom.
When buying, you should carefully inspect the tile and make sure that there are no dents, small creases at the corners and other defects. Particular attention is paid to granularity - it should be minimal, i.e. the surface should be as homogeneous as possible, which indicates the high quality of the material.
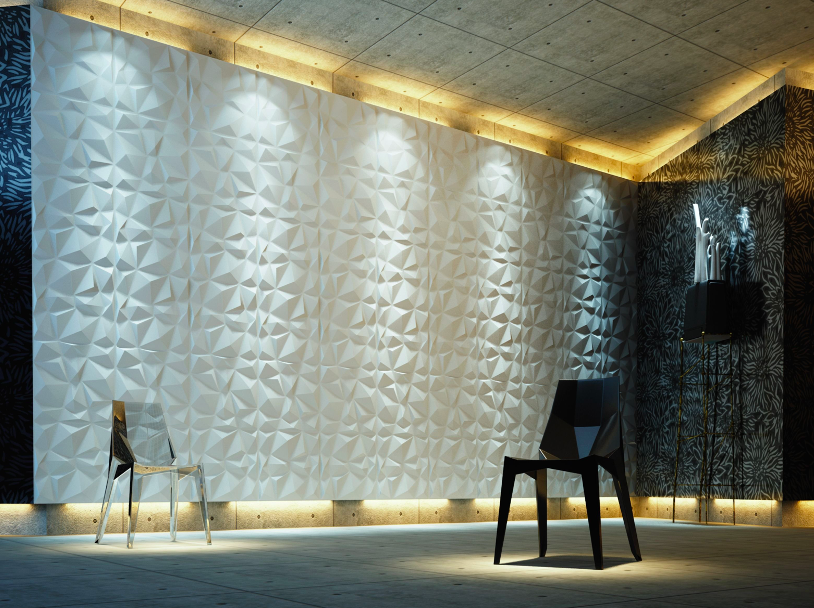
Installation of tiles on the walls
When gluing the plates, you first need to calculate the amount based on the area of \u200b\u200beach element and the total area of \u200b\u200bthe wall. It is better to take with a margin of 10-15% in case of a break. You need to act in several stages:
- Prepare the base - if it is too uneven, get a mixture of starting putty and do the processing. Next, they pass with a primer, the solution of which must be diluted with water 1: 1.
- Start marking up - first draw up a diagram on paper. The gluing technology is determined - from the edges or from the center. After drawing up the scheme, it is transferred to the wall.

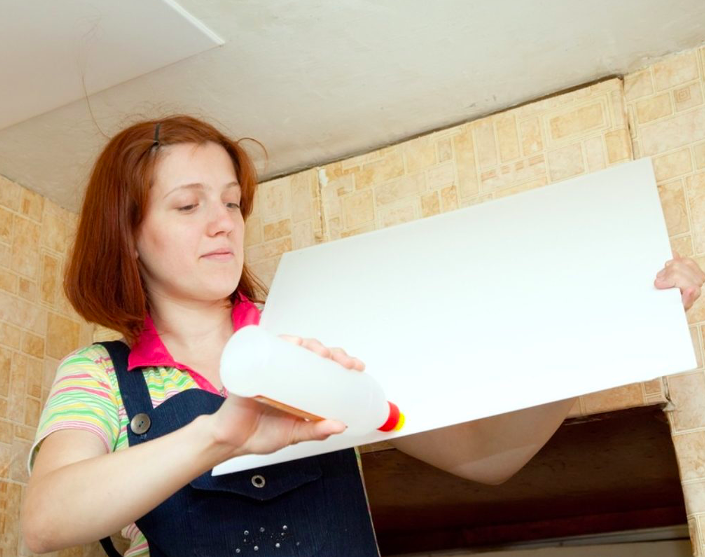
- Next, apply glue to the tile (it is better to purchase a special composition) and fix it to the wall exactly according to the markup. During operation, it is most convenient to use a narrow spatula. Remains of glue are removed with a damp sponge and repeated so many times.
Thus, the installation is quite simple. If the markup is done correctly, there will be no problems. It is important to carefully carry out the calculations and draw up the correct scheme. If necessary, the edges of individual elements are trimmed.

