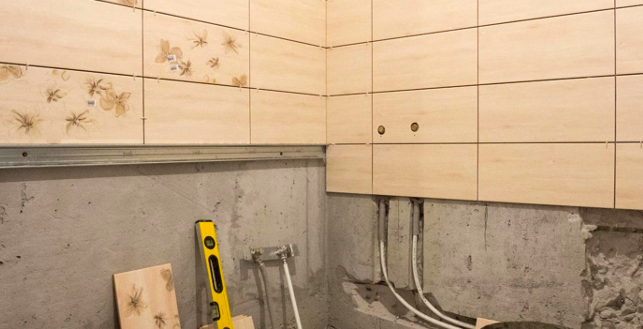
The installation of the washing machine is carried out in several stages. First choose a place and check how flat the floor is. Then the fixing bolts are removed from the unit, cut into the water supply and proceed directly to the installation. The article describes step by step how to install the washing machine correctly, what is needed for this, and also what are the methods of tapping into the water supply.
The content of the article
- Installation in place
- Water connection
- Fixing the machine
Installation in place
First you need to figure out how to install the machine in a new place. You need to act like this:
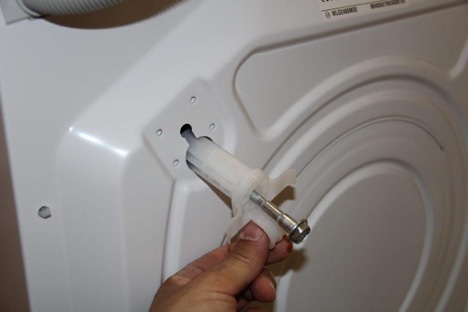
- Remove the bolts on the body (they are located at the back), which fixed the unit during transport. To do this, you can use both a wrench and pliers.
- It is advisable to save the bolts in case of a possible move.
- Put plastic plugs - they are usually sold with the machine.
- Choose a place for installation - it can be a bath, but if there is not enough space, you can put it in the kitchen, and sometimes in the corridor.
Water connection
Next, you need to connect the unit to the plumbing system. In most cases, it is mounted to a pipe with cold water. However, today there are also models that can be connected to hot water supply.
On the one hand, it is convenient and allows you to save electricity costs, because the heating element does not need to heat the liquid. On the other hand, hot water is dirtier and may have a bad effect on the same heating element. Therefore, many experienced specialists agree that it is better to connect the unit in the classical way, that is, to a pipe with cold water.
There are several ways to install an automatic machine and embed it to the pipe:
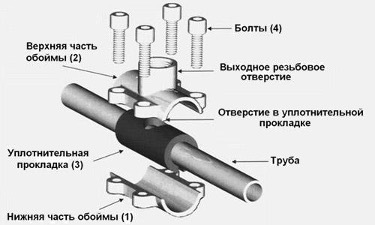
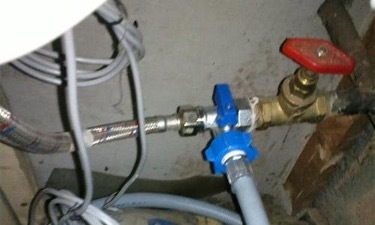
- Use a compression sleeve - suitable for cases where the pipe is metal. It consists of 2 identical halves, which are put on the pipe and fixed with bolts. A hole is drilled in the pipe directly through the put on coupling.
- With the help of a fitting - suitable for cases where the pipes are made of plastic. In this case, a pipe fragment is cut out at the incision site and a tee, that is, a fitting, is built into this opening. A ball valve is attached to it. The place where the connection is made should be sealed with a rubber cuff.
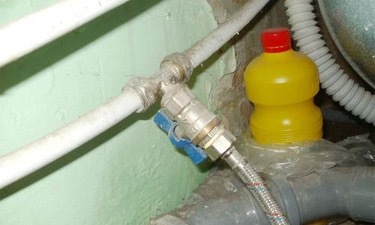
- Finally, you can install the washing machine correctly using a tee. To do this, take a flexible hose of sufficient length and connect it to the pipe using a tee. But there is a drawback - before each wash, the mixer hose will need to be removed.
Fixing the machine
If you install the washing machine correctly, it will not sway and vibrate too much, so it will work for a long time without wearing parts. At the stage of fixing the unit, they act as follows:
- Carefully inspect the floor - if it is perfectly flat, you can proceed to the next step.
- If there are defects, it is necessary to purchase a rubber mat that dampens vibration well. But you should not use wooden bars or fragments of linoleum. It is better to use them, for example, when installing a refrigerator.
- Install the machine so that it does not adjoin closely on either side to cabinets, walls or other surfaces, since the unit will vibrate and sway a little during operation.
- To understand how to properly install a washing machine, you need to "fine tune". For this, it is optimal to use the building level. It is placed on the surface in different directions (straight, then perpendicular) and, if there are deviations of the bubble, the legs are twisted. Then the car will be delivered really well.
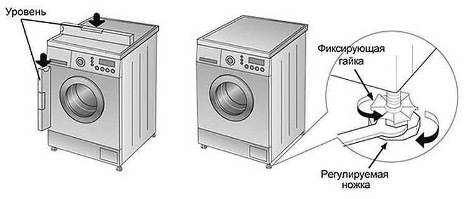
It is not difficult to figure out how to install an automatic machine. It is better to inspect the place in advance and, if necessary, purchase a rubber mat. During installation, the progress of work must be monitored using the building level. Moreover, periodically you need to do additional checks, since the unit can move due to the strong rotation of the drum.
