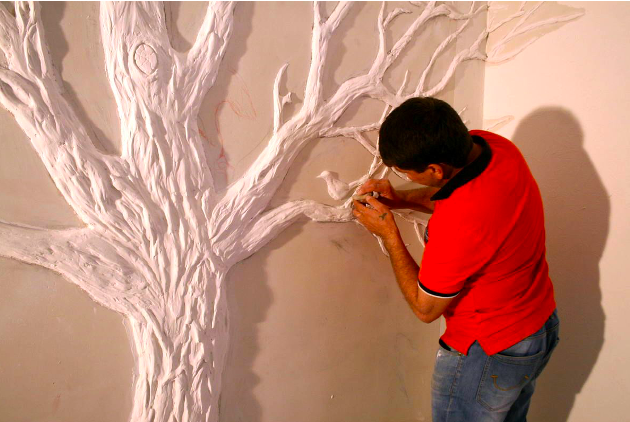
It is not difficult to make a bas-relief with your own hands. The main thing is to make the form correctly or buy the finished product. You can blind it yourself, using ordinary liquid silicone. A step-by-step description of the process, as well as a list of necessary materials and improvised means can be found in the presented article.
The content of the article
- How to choose a form
- Materials and tools
- Step-by-step instruction
How to choose a form
You need to start by creating a composition. You can draw a sketch yourself or use a ready-made picture. Do-it-yourself bas-relief for beginners is better to simplify. For the first work, it is desirable to first acquire a form, and only then “fit” a picture or composition to it.
Although it is quite possible to give free rein to your imagination and purchase several figures, according to which you can make casts for the future bas-relief. To do this, you need to prepare a mixture of 3 components:
- finishing putty 500 g;
- PVA glue 7-10 g (tablespoon);
- water at room temperature 100 ml.
First you need to combine the putty with glue, and then slowly add water until the consistency of thick sour cream is obtained. Usually half a glass of liquid is enough for this, i.e. 100 ml. Any shapes can be molded from this mass (for example, a grape, a ball, a line with a curl). Or purchase a ready-made figurine, for example, an owl (it is difficult to mold it yourself).
In both cases, the figurine is used to further mold the mold from liquid silicone (500 ml). You can buy it at a hardware store. The box is also bought or assembled independently from 5 sheets (4 sides and a bottom). You will also need the following tools:
- a set of screws;
- brush;
- a small box made of plywood, where a full-length figurine fits freely.
Materials and tools
To make a bas-relief on the wall with your own hands, as in the photo, you will need the following materials and improvised means:
- alabaster;
- PVA glue;
- water;
- finishing putty;
- forms;
- self-tapping screws;
- silicone;
- brush;
- plywood box.
Step-by-step instruction
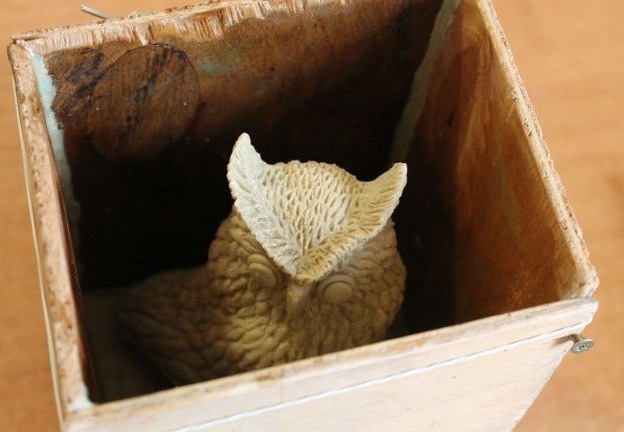
Consider the process of creating a bas-relief using the example of an owl figure that was purchased in advance. The procedure is as follows:
- Put the figurine in the box.
- Fill with silicone.
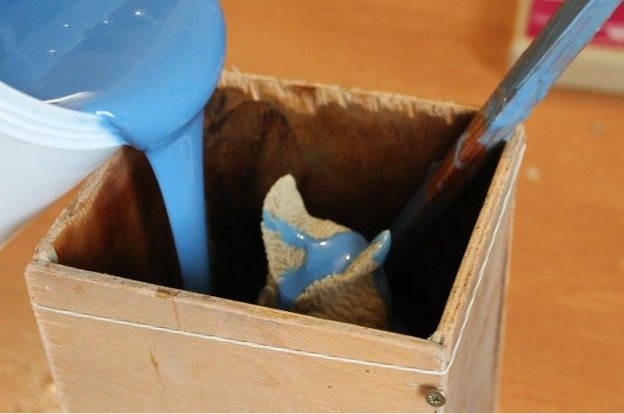
- Let stand for 1-2 days and disassemble the box.
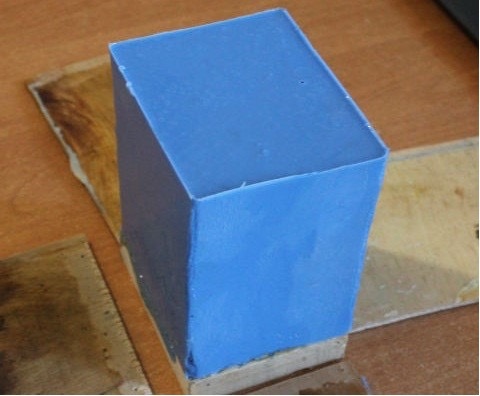
- Carefully remove the figurine - the result is a finished shape.
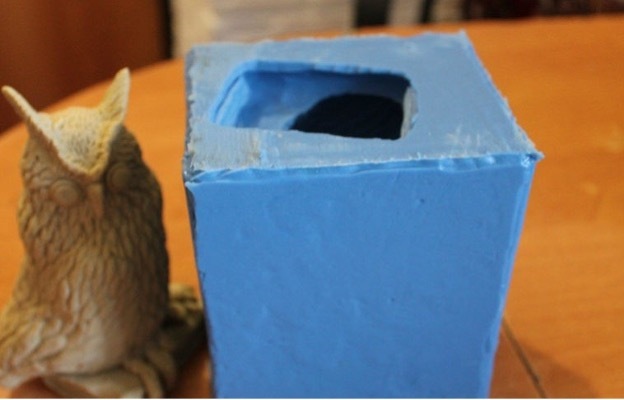
Next, you need to prepare the mixture for sculpting the bas-relief itself. One of the available compositions is a 2:1 mixture of gypsum and water. They operate like this:
- Knead the solution in the specified ratio.
- Pour it into a mold (if it is plastic, pre-lubricate it with vegetable oil, if it is silicone, it is not necessary to process it).
- Fill to the brim and let stand overnight.
- Carefully separate the image and attach it to the wall. Can be fixed directly on the surface or on a drywall sheet. In both cases, putty is used.
After completing the main work, you need to process the surface of the wall so that it is perfectly even, and the composition does not look like a separate element. Thus, making a simple and even complex figure is within the power of a beginner. If the picture is simple, you can make the forms yourself, and if it is complex, it is better to purchase several figures in advance.


