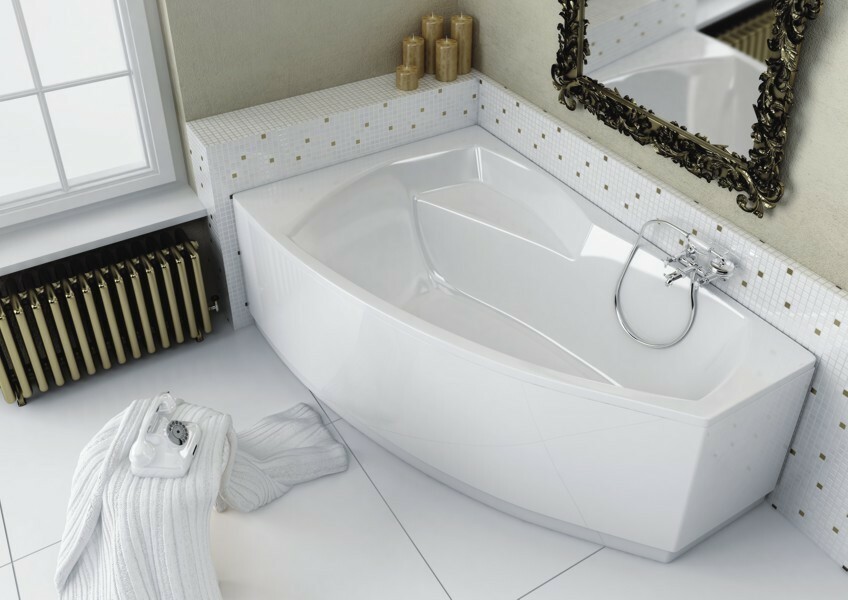
Modern technologies have not bypassed various sanitary products. For example, baths. So, the outdated baths made of cast iron were replaced by acrylic tanks.
Products are lighter, perfectly retain the temperature of the water, easy to install. Therefore, they are very popular among consumers.
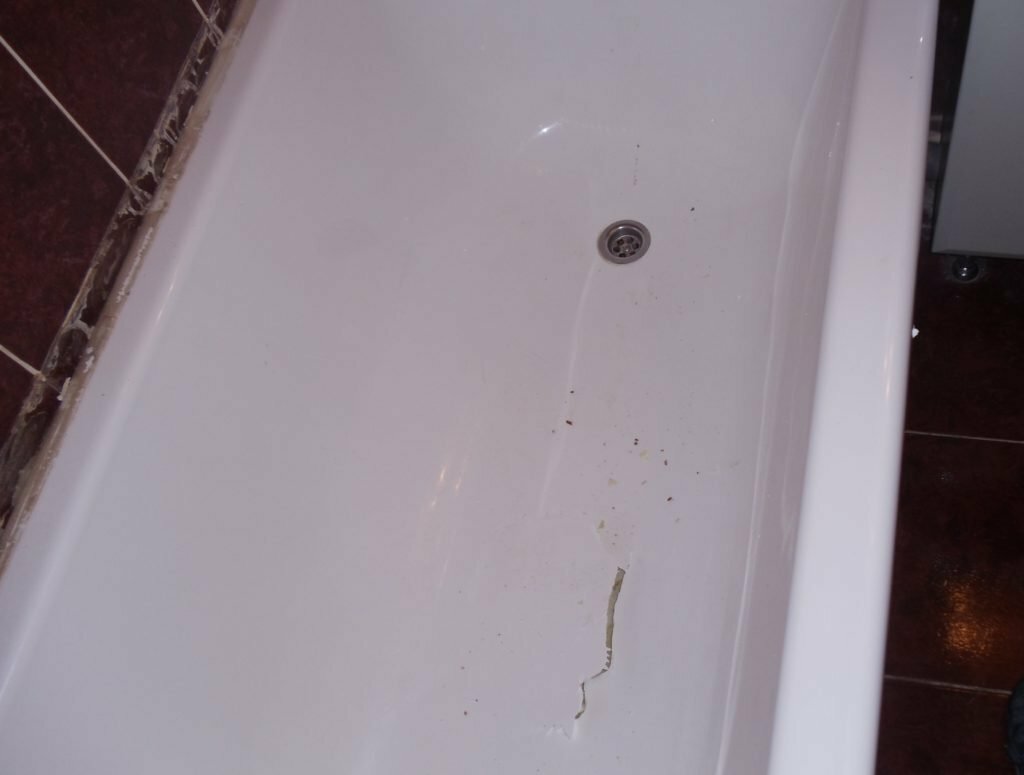
But, like any other plumbing, an acrylic bathtub is not immune from the appearance of various defects: scratches, chips, cracks. If you are faced with such a problem, you do not need to rush to the store for a new bath, because you can fix the problem yourself. Having knowledge of the technology for performing restoration work, you can cope with this on your own.

The content of the article
- Surface preparation for acrylic bath repair
- How and how to repair a crack in an acrylic bath with your own hands
- Features of the operation of acrylic bathtubs
Surface preparation for acrylic bath repair
In case of inaccurate use or heavy objects falling on the surface of the bath, chips, scratches and cracks are formed.
To prevent the defect from spreading, it should be eliminated immediately. But before proceeding with the restoration work, the surface of the plumbing must be carefully prepared.Stages of preparatory work:
- Drain the water if there is any.
- Thoroughly clean the surface with cleaning agents. To do this, you should take mild detergents: cream, gel, paste. So you save the surface from scratches that leave substances with abrasive particles. You can use regular soapy water.
- The damaged area needs to be cleaned especially carefully, so apply an additional layer of detergent on it and leave it for half an hour.
- After this period, rinse the surface with running water.
- The last step is degreasing the tank. Then wipe it dry with a soft cloth.
How and how to repair a crack in an acrylic bath with your own hands
The easiest way to eliminate defects in a cast-iron bath is to use a regular sealant. But keep in mind that this is a short-lived repair option. For a more thorough restoration, you will need:
- special tape;
- acrylic composition;
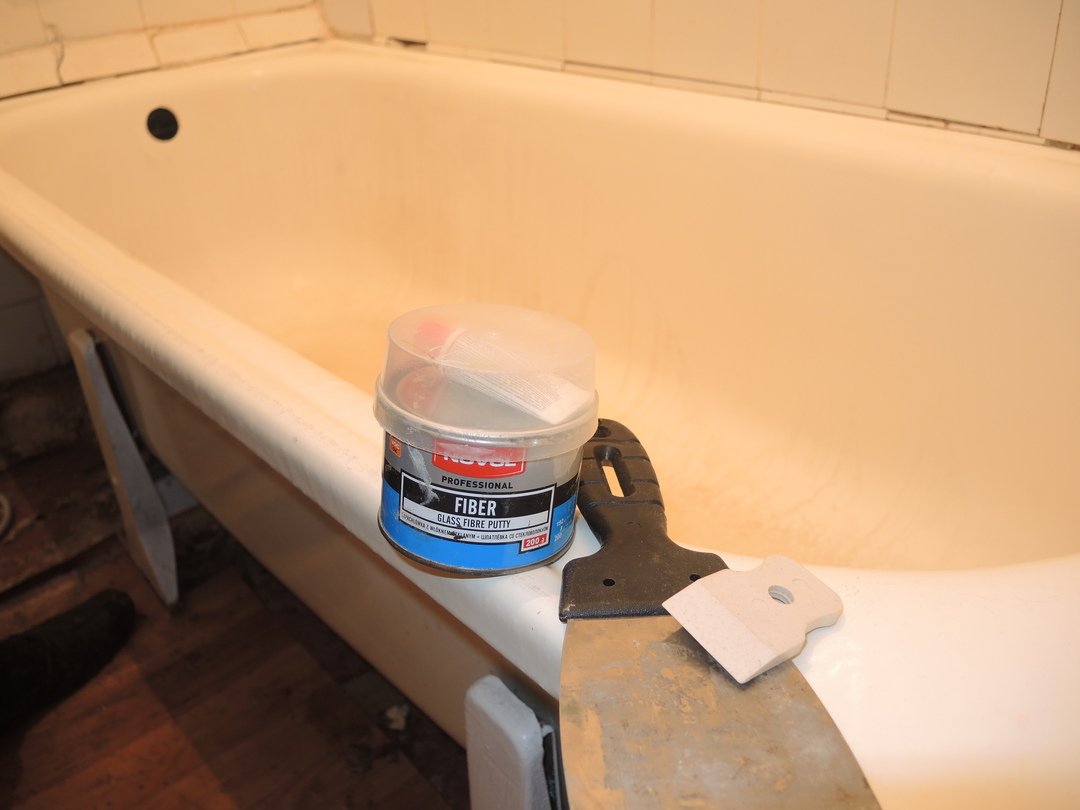
- epoxy putty;
- "skin".
Reference! The choice of suitable material depends on the extent of the damage. So, scratches with an area of \u200b\u200bno more than 3 cm can be eliminated with epoxy. Larger defects will require special tape.

Troubleshooting looks like this:
- If you decide to use an acrylic composition, then you must first mix it thoroughly.
- The previously prepared surface should be degreased, and the defect should be expanded with a knife - this way the composition will be better fixed on the surface of the tank.
- Using a spatula, apply a small amount to the damaged area.
- Seal the composition with masking tape and leave overnight.
- After this period, the adhesive tape must be removed and the surface wiped with alcohol. Then you can start sanding.
- To restore the surface shine, apply a polish.
If the scratch is more than 1 mm wide, then you should use a special repair tape.
How to restore:
- The first step is preparing the bath. After that, you can start repairing the damage.
- Small holes must be drilled along the edges of the scratch. After that, the crack must be cleaned of dust. To do this, just wipe it with a sponge with soapy water and dry it completely.
- Next, measure the required amount of tape. You need to do this with a small margin.
- It is necessary to remove the protective film from the tape and attach it to the crack with the sticky side.
- The tape must be smoothed so that there are no wrinkles or air bubbles.
- Wait for it to fully adhere to the surface of the bath.
To eliminate a small scratch, take epoxy putty. Repair takes place in several stages:
- The prepared surface must be further processed with sandpaper. You need to clean both the scratch itself and the surface around it. So the putty will penetrate the scratch better.
- Using a small drill, you need to make holes with a depth of no more than 1 mm along the entire length of the crack. Then remove the dust, wash the surface with soapy water, dry.
- Prepare putty according to the instructions on the label.
- Apply composition carefully. You need to do this in several layers. Moreover, each layer should be applied across the previous one.
- Leave the bowl until the epoxy is completely dry. Usually this time takes at least 12 hours.
- After that, you need to carefully sand the damaged area.
Reference! Restoration with epoxy putty should be carried out in a well-ventilated area. Also, do not allow the composition to come into contact with the skin.
Features of the operation of acrylic bathtubs
In order not to have to repair the acrylic coating of plumbing, you need to follow simple recommendations. So you not only avoid the appearance of scratches, chips and cracks, but also increase the life of plumbing.

@bulbul.ua
Here are some tips:
- If you have a pet, put a rubber mat on the bottom of the bowl when washing it.
- Avoid products containing abrasive particles. For care, use gels, creams, pastes.
- Avoid dropping heavy objects.
- Do not put basins and buckets in the bath. If you need to pour water, use a hose.
Restoring a bathtub is a troublesome business, but everyone can cope with it. You just need to choose the appropriate option and follow the instructions exactly. Careful attitude and proper care will save you from having to eliminate various defects.


