Installation of sockets in drywall is possible both at the stage of design and construction of the wall, and during finishing. The main tool is an electric drill with a special 68 mm bit. You will also need saws or a jigsaw for drywall. How to perform installation is described step by step in the presented article.
The content of the article
- Installation features and location selection
- Step-by-step instruction
Installation features and location selection
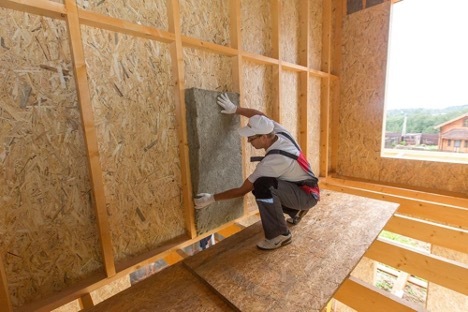
When learning how to install a socket in drywall, you should first take into account the features of the technology, which differs from installation in a concrete wall. It is easier to install sockets in drywall, because all you need to do is use a drill, as well as saws, a jigsaw, or special knives for this material.
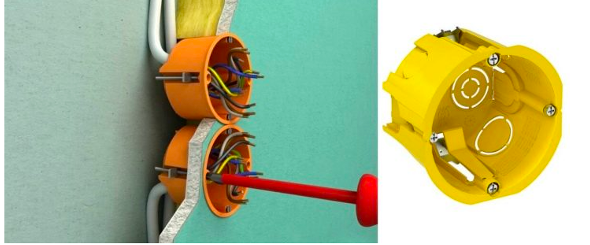
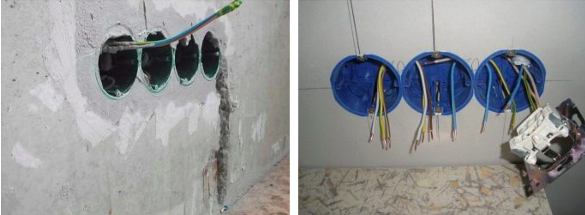
Moreover, a mandatory requirement is the use of socket boxes. This is the name for special devices that look like plastic glasses. They are equipped with special clamps that are securely pressed to the surface of the drywall. Essentially, these are 4 screws that secure the metal frame, taking into account the distance between the socket boxes in the drywall.
The installation itself can be carried out at any stage of construction work:
- during wall installation;
- after installation (at the finishing stage).
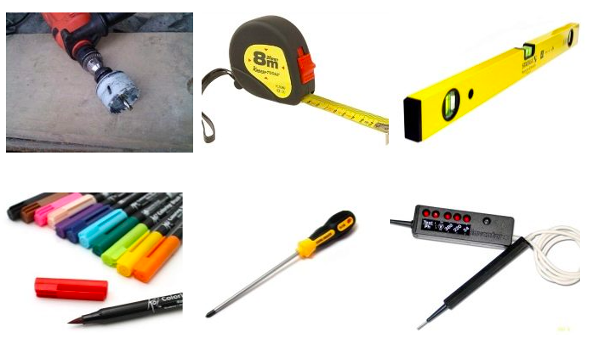
Moreover, in order to understand how to install a socket box in drywall, you should also prepare the necessary tools:
- electric drill;
- special bit for drill – diameter 68 mm;
- construction tape;
- pencil or marker;
- shaped screwdriver;
- level;
- tester for measuring voltage (check if there is contact between the socket elements and the wiring).
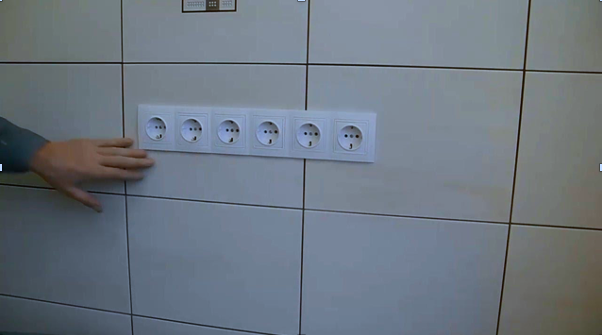
The choice of location, taking into account the distance from household appliances, as well as the height from the floor level, also plays an important role. There are no strict requirements for these parameters, but it is recommended to follow the following standards:
- height not less than 30 cm;
- when installed above a table top – 120 cm;
- for washing machine, dishwasher – from 100 cm;
- for a switch – 80 cm.
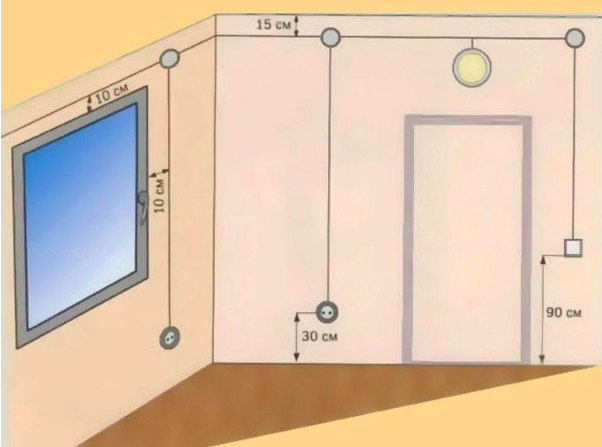
Also, the instructions on how to make a socket in drywall require maintaining a minimum distance from the window or door - 10 cm. Otherwise, you can be guided by considerations of convenience, taking into account whether children live in the house, whether there are pets, etc.
Step-by-step instruction
When the tools are ready and the installation location has been determined, you can begin to study the instructions on how to secure the socket box in drywall. The main stages are:
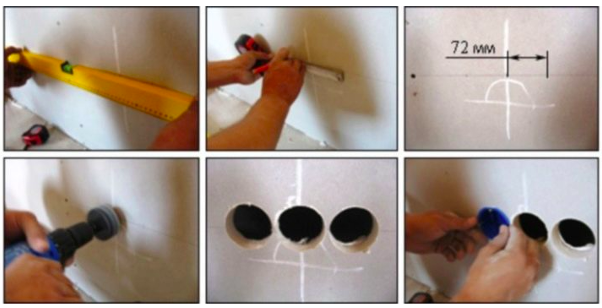
- Use a pencil or marker to mark the installation location.
- Place the bit on the drill and place the tip in the middle.
- Carefully make a hole. If you don’t have a drill, you can do it with a jigsaw or file.
- Each hole for the switch is cut out in the same way. The correctness of the work is checked at the building level.
- In the simplest case, the electrical cable runs through the thickness of the wall - then all that remains is to install the outlet itself.
- If the wires are planned to be installed on an external surface, the method of installing the socket in the wall will be different. A groove (scrab) is cut in a sheet of drywall, a wire is laid and it is fixed with alabaster or other quick-drying compound.
- The end of the wiring is brought to the desired level in the appropriate place.
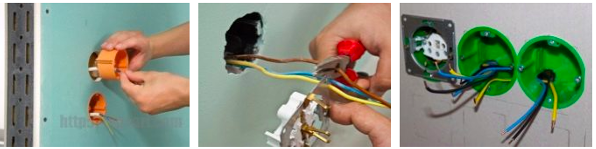
- Now you need to attach the socket to the drywall. To do this, install a socket box by cutting a hole for the wire. It is pulled directly through the glass, and the latter is placed in a plasterboard sheet, secured with bolts.
- Next, putty is applied in 2 stages - a starting and finishing layer (the second is applied only after the first has dried).
- Then connect the outlet to the power supply and check the absence of voltage using a tester.
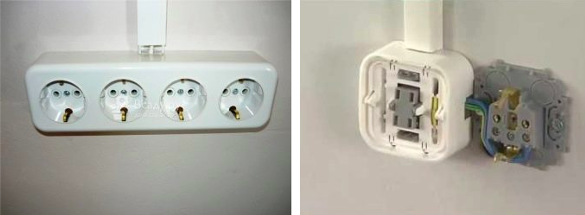
- Install the socket into the glass.
Thus, you can complete all the work yourself in a few hours, taking into account the finishing. In this case, it is important to act carefully, choose the right location and the required diameter of the hole for the socket in the drywall.