Washer - It is an indispensable assistant in many families. Thanks to her, the hard work associated with washing and rinsing things gradually disappears. The unit is a mechanical device with a drum for washing, which is cleaned from dirt deposits.

Content:
- DIY connection ↓
- Preparatory work ↓
- Connection to the sewerage ↓
- Water connection ↓
- Electrical system ↓
- Checking the connection ↓
- Possible mistakes ↓
One of the first questions related to the upcoming installation of the machine - This is the choice of her future location in housing. If with a country house this issue is solved easier - due to the larger area, then in typical in multi-apartment buildings, arrange the unit with a cross section of at least 600 × 600 mm embarrassing.
Difficulties are caused not only by the layout, but also by the attachment to water and electric systems. The problem with the power grid is quite simple to solve. It is necessary to take the cable of the desired cross-section and stretch it to the intended installation location of the washing machine.
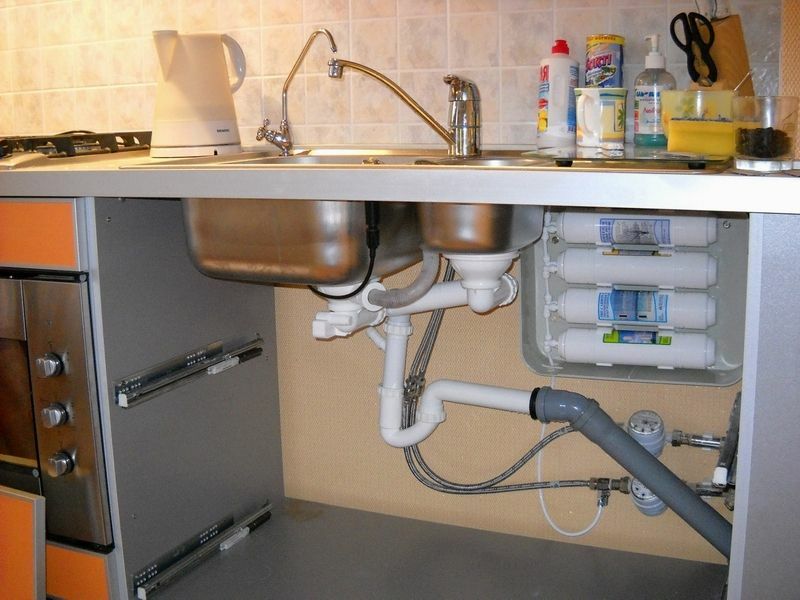
Water system - a complex of bulk, pressurized, and drain pipes tied to the sewer. Such a concentration of communications is observed in several places - the bathroom and toilet rooms, as well as the kitchen.
The conclusion follows from this - it is advisable to locate the machine in these or adjacent places:
- A bathroom - installation is possible if the area of the room is at least 2 m² and allows you to place a typical unit without restricting the movement of people in space.
-
Bathroom, separate or combined with a bathroom, has an area of more than 2m². Accordingly, the location of the location are:
- in one of the free corners of the room;
- under the washbasin sink - there is a sale of sanitary ware, which is structurally attached to a washing machine;
- Kitchen - the equipment is installed next to the kitchen set or is built into it.
- Adjacent rooms - this is usually a hall or a corridor. In order to harmoniously fit the technique into the surrounding interior, you can make a cabinet with doors or equip a niche that is blocked by a decorative curtain.
DIY connection
It will be required:
- gas or adjustable wrench;
- set of open-end wrenches or combination keys, for example, for a car;
- pliers, a set of screwdrivers;
- building level;
- sealing material, - FUM tape, sanitary flax, silicone sealant;
- rags;
Depending on the type of connection, additional details may be required, but they will be mentioned during the description of the installation work.
Installation work consists of several sub-steps:
- preparatory work;
- connection to the sewerage;
- water connection;
- electrical system;
Preparatory work

The washing machine is transported in packaging and the units are in a certain fixed position.
To bring them into working condition, it is necessary:
- Remove foam inserts, shipping brackets, and wooden blocks.
- Bolts that secure the washing drum are loosened and removed.
- In the holes remaining from the bolts, plugs are installed, which are included in the delivery.
Before starting work, it is necessary to familiarize yourself with the instructions included in the accompanying documentation.
Connection to the sewerage

There are several basic ways to discharge dirty water:
- The drain is carried out to the bathroom or toilet. To do this, the drain hose through a special arcuate bracket is sent to the internal volume of sanitary appliances.
- Drainage is made through a siphon from the washbasin or bathtub. For this, a branch is used located above the glass, which acts as a water seal. If this is not available in the existing device, then you can buy an adapter, in the design of which the desired branch for the drain hose will be built. The latter is fixed by means of a steel galvanized collar - it is necessary to choose the appropriate diameter of the fastener.
- Connection directly to the sewer pipe. It will be necessary to integrate a plastic elbow into it, to which, in turn, a drain hose is connected through a rubber cuff. To form a water seal, it is advisable to lay the flexible pipe so that the Latin letter S is formed in an upright position. This is to prevent unpleasant odors from entering the sewage system.
Note. During operation of the washing machine, the fact of fixing the drain hose must be periodically control, otherwise, there is a possibility of a breakdown on the floor with the subsequent filling of the entire room and lower floors.
Water connection

Before connecting to a pressure system, you must consider:
- The pressure in the main pipe should be about one atmosphere, at lower rates it will be necessary to install an additional pump.
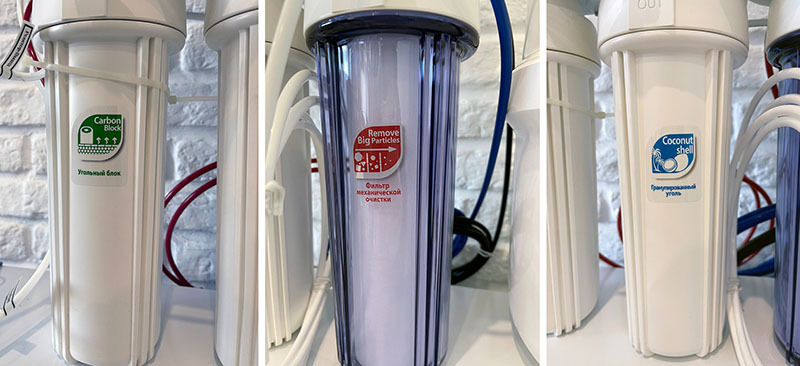
- To ensure clean water without impurities, you will need to install a mechanical cleaning filter.
Connection Options:
- Inlet to the pressure line. The sequence of operations:
- The access of cold water to the apartment is blocked.
- A hole of 5-6 mm is drilled in the selected place of the pipe.
- A sealing material is installed in the form of a tube in which, through the hole made, a through channel is also cut.
- A special coupling is mounted, which consists of two separate parts, in one of which there is a thread branch for the crane or pressure hose of the washing unit; it is advisable to process the flange with silicone sealant.
Note. In order to simplify the work, the hole in the main pipe can be drilled after installing the coupling.

To do this, you need to choose a drill of the required length:
- A faucet is installed that is used to connect household appliances.
- The pressure hose from the washing machine is connected.
This method is convenient to apply in the presence of a water supply made of steel pipes.
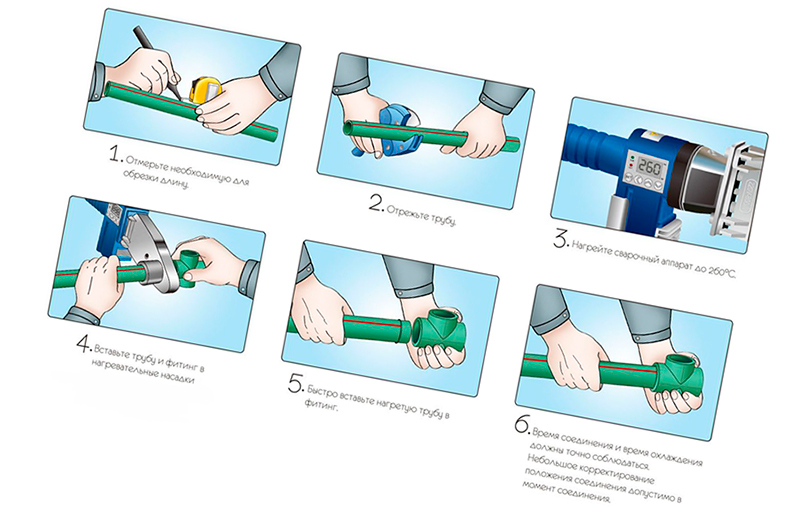
Stages of insertion into the metal-plastic line:
- A piece of a certain length is cut from a part of the pipe.
- A fitting tee is mounted in this place using sealing means.
- On the threaded side, a ball valve is installed to which the hose from the washing machine is connected.
Connection at the stage of laying the trunk - in this case, it is advisable to immediately provide for a special tap designed to connect the washing machine. To ensure tightness, it is better to plug the exposed part of the water pipe with an additional threaded plug.
Electrical system

The washing machine has a powerful engine; accordingly, it is necessary to check the cross section of the wire so that it withstands the arising currents and does not burn out. The minimum size must be at least 2.5 mm.
The socket for the plug from the machine must be made in a grounded version. When using the mechanism in a humid environment, for example, in a bathroom, it is advisable to use the wiring product in a waterproof version with a safety shutter.
Checking the connection
 Before testing, it is required to install the washing machine horizontally.
Work sequence:
- The building level is set on the unit cover.
- By means of adjustable legs, an exhibition is held in a horizontal position - control in two planes is carried out using a level.
Note. There should not be any linings under the legs, otherwise a shaky unstable structure is formed, prone to vibration.
Stages of verification work:
- The correctness of all connections is visually checked.
- The faucet opens providing water to the apartment. All joints are checked by touch and visually for possible leaks. If a leak occurs, the latter must be repaired.
- Unlocks the water supply to the machine. The unit is idling in accordance with the recommendations set out in the instructions for the machine. During all this time, the condition of the mains supplying and discharging water is checked, and also, by touch, the temperature of the electric wire is determined - it should not heat up.
In the process, the machine should not emit any metallic and sharp sounds - modern technology works almost silently.
Possible mistakes
- Error 1. The use of cold and hot water pipes as grounding is strictly prohibited, otherwise there is a high probability of electric shock.
- Error 2. An unsecured drain hose can jump out of its place due to a large initial pressure - flooding will occur.
- Error 3. Starting with transport bolts not removed causes strong vibration and breaks the drum.
- Error 4. Twisting or creasing the drain hose leads to leaks.
- Error 5. The use of a short discharge hose contributes to the risk of leaks at the junction with the sewer system.