In the process of operating electrical networks for industrial and domestic purposes, it becomes necessary to create a new connection point or move an existing one. Due to the fact that this procedure does not require any complicated procedures, it is quite possible to carry out it yourself. But, before you figure out how to transfer the outlet, you should study the basic rules for this procedure.
Content
- PUE requirements
- Reasons to transfer the outlet
- Security measures
- Basic Outlet Transfer Methods
- Wire shortening
- Wire extension
- Loopback connection
- Laying a new line
- Outdoor installation
- Video instructions
PUE requirements
The basic standards for wiring are set out in chapter 2.1. PUE. It should be noted separately that all elements of the electrical wiring should be located in a vertical or horizontal plane. It is forbidden to make a diagonal connection or bend it in an arc to reduce the distance. In relation to the ceiling, the cable laying should not be closer than 200 mm, but to the eaves of 100 mm. Regarding vertical conductors, they should be removed from corners, window and door openings at a distance of at least 100 mm.
A place installing a new outlet It is carried out at a distance of 800 to 1000 mm according to clause 6.6.30 of the PUE; in some cases, up to 1.5 m is allowed. sockets are closer than 500 mm to heating radiators, metal pipes, gas and electric stoves and other metal structures.
All connections of power cables must be made using special terminal clamps, it is forbidden to provide contact with simple twists. To install additional branches, the connection of wires must be carried out in junction boxes, it is forbidden to cover the place of their connection in the wall.
When changing the location of outlets and cables, you must make the appropriate changes to the wiring diagram.
Reasons to transfer the outlet
The most common reasons that make it necessary to transfer the outlet are:
- Relocation of furniture or installation of new equipment - in the first case, the movement of the connection node is determined the fact that the old ones are closed access, in the second, the lack of the ability to make electrical contact in this point.
- Excessive heating due to the large number of connected consumers in one electrical point. Since this can lead to overheating and further fire.
- Due to lack of voltage or malfunction of the old device, which does not allow replacing them with new ones.
Security measures
Before moving the outlet, it is necessary to perform a set of measures to ensure the safety of work. First you need to study the layout of the wires. If not, then use the proximity indicator to find the old wiring. This will allow you to dismantle unnecessary wires and not damage the rest while you transfer the connection point.
In connection with the danger posed by electric current, it is preferable to first turn off the circuit breaker at the entrance to the room. In this case, it is necessary to ensure the gap of two wires at once - both zero and phase. If the machine has taken out only one of the conductors from work, then before starting the transfer of the socket, use an indicator screwdriver or a multimeter to make sure there is no potential.
In the case when it is not possible to remove the voltage from the outlet, all work on electrical parts must be carried out with dielectric gloves with utmost care so as not to cause short short circuit.
Basic Outlet Transfer Methods
To transfer the outlet to a new point, it is necessary to ensure its supply of electrical energy. Depending on the method of feeding and the place where the outlet is transferred, several methods are distinguished.
Wire shortening
If such a situation arises when the portable outlet shifts from the old one closer to the junction box, then you can use old wires to install it. The connection diagram in this case will have the following principle:

Look at the figure, here is a schematic diagram of the shortening of the wire to transfer the connection point. In this situation, an additional hole must be drilled under the new connection point using a special drill bit for the punch.
In doing so, perform the following sequence of manipulations:
- Turn off the mains voltage;

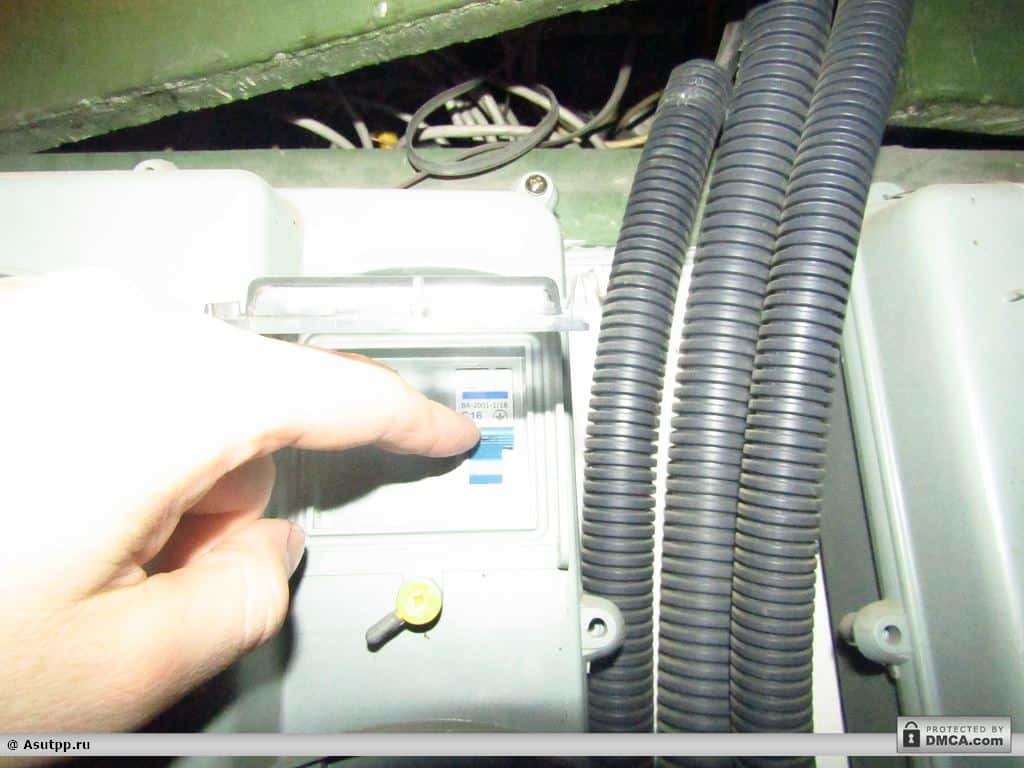
Figure 2: turn off the machine - Additionally, make sure that there is no voltage with the indicator screwdriver;
- Disassemble the old outlet, dismantle its contents together with the wire to the place where the new connection point will be installed;

Fig. 3: disassemble the old outlet - Then bend the wire to drill a hole for the mounting box;
- Insert the wire into the new box and insert it into the hole;
- The space around the box, the old gate and box close up putty;
- Connect the core of the new outlet to the wires;

Fig. 4: plug the socket into wires - close it with a decorative cover.

This method of transferring the outlet has several advantages: it retains the power and reliability of the previous node, does not require the development of the strobe, you can use old wires.
Wire extension
This situation is relevant in the case when a new outlet is transferred to a point located farther than the old node. The schematic diagram of such a procedure will look as follows:

Look at the picture, two options are shown here: the first - before dismantling the old outlet and the second after installing a new one. In this case, the box from the old outlet can be used to connect wires in it.
The sequence of manipulations is as follows:
- Perform a wall chipping from the location of the old unit to the intended installation point;
- Drill out a stalk of a podrozetnik;
- Disconnect the electrical line;
- Dismantle the old outlet, and in its box connect the old and new wires;

Fig. 7: wire connection in box
- Take the cable of the required length and extend it to the stub of the socket;
- Install a new box into which you put the wire;
- Connect the wires to the new outlet and install the decorative panel.
Thus, a hidden outlet becomes a box that can be closed with a flat lid so that it does not spoil the appearance of the wall. A new shtroba is filled with putty.
Loopback connection
There are situations when the connection does not involve the use of high-power electrical devices, and the owner wants to save money on this procedure. In this case, you can implement the option of transferring a single loop

Look at the diagram, here from the existing outlet, conclusions are taken to connect a new one. That is, the phase is fed from the phase, and zero from zero and the sockets are connected in series. A distinctive feature of such a connection is a protective conductor, which must have a separate output for each node, according to the requirements of clause 1.7.144 of the EMP. Unlike phase and neutral wires, it is forbidden to connect protected objects in series to ground.
The advantages of this method of forming an electric line include the lower cost of the wire. The disadvantages include its low reliability, since if an old outlet breaks, the subsequent ones will be without voltage, and the low power of electrical devices that can be connected to them.
A cable connection can also be made to a larger number of outlets, depending on local needs, but the total the power of the load connected to them should not exceed the normally permissible current for the current in the electric network wiring.
The procedure for transferring the outlet with a cable is no different from the previous version of the extension of the wire, with the exception that the old connection point is not dismantled, but continues to perform its functions.
Laying a new line
Laying a new line is carried out according to this scheme.

Look at the diagram, for the transfer, drill a hole for installing the socket and select the strob to lay the wire. To do this, the line can be drawn directly from the switchboard.

Then follow this sequence of actions:
- Remove voltage at the input;
- Remove the old outlet and the wires leading to it;
- In the finished holes for the new connection point, lay new copper wires and connect them;
- Install the socket in the hole:
- Connect the socket to the wires and fix it in the box;

Fig. 11: installing the outlet into the box - Perform finishing work to close the holes and secure the conductors of electric current.
The advantages of such a transfer include the ability to install a power outlet, since you yourself choose a section of the conductor, and you can subsequently include powerful devices in it. Also, such a node will have much greater reliability. The disadvantages include much greater installation costs.
Outdoor installation
It should be noted that to reduce costs and efforts for installation work can be installed overhead sockets and outer cable routing. Protection of the cable running over the surface of the walls is carried out by means of a cable channel.

The configuration and type of cable channel is selected depending on local conditions or according to your wishes.
If there is a risk of damage to the cable duct made of plastic, the cable must have an armored sheath to prevent electric shock. Which is grounded and, when a potential gets on it, it will disable the protection.
The outdoor installation method is suitable for all of the above connection schemes, but has a number of both technical and aesthetic disadvantages. Therefore, it is used for industrial premises or as a temporary solution.
Video instructions
- How to install the outlet with your own hands?
- Touch light switch: how to choose and make ...
- DIY power strip
- How to disassemble the light switch?


