When stretching the ceiling, problems often arise with the installation of lighting devices, especially if it is a bulky chandelier. The optimal solution is a chandelier embedded in a stretch ceiling, which allows you to create a rigid frame of the required shape and size.
You can install the embedded element yourself, having previously selected the required type of structure. Agree, there is no need to overpay for a five-minute master's work, which you can do for free and of no less quality.
Modern manufacturers offer several types of embedded structures, which are selected depending on the parameters of the lighting device. Further, detailed instructions for installing the platform under the chandelier will be presented, which will help you navigate the installation process and perform it correctly.
The content of the article:
- The purpose of the embedded platform
- Varieties of fixing for a chandelier
-
Preparing to install the mortgage
- Installation of a platform under a chandelier
- How to “sink” a chandelier into the ceiling?
- Conclusions and useful video on the topic
The purpose of the embedded platform
The design is a special element that allows you to securely fix the lighting device to the base ceiling, which will be hidden under the stretch cover.
Many craftsmen make embedded elements with their own hands, but such work requires additional time, skills and abilities.
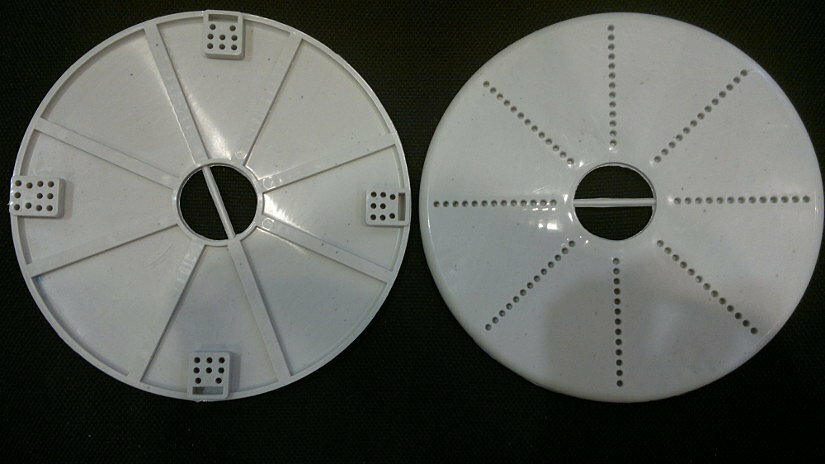
Ready-made platforms made of durable plastic, which are selected in accordance with the parameters of the lighting device, will help to simplify the installation of a chandelier in a stretch ceiling
The embedded element performs the function of a kind of frame that holds a certain structure. Robust platform avoids the impact of heavy chandeliers on a stretched canvas.
Since these inserts are often made of heat-resistant plastic, they also serve to protect the stretch ceiling from the heat emitted by the device.
Varieties of fixing for a chandelier
If at fixing spotlights universal embedded elements are used, then special platforms are made to install a bulky chandelier. The former outwardly resemble a monolithic pyramid made up of several rings, the inner opening of which can be adjusted depending on the parameters of the luminaire.
In the second case, monolithic structures made of durable plastic are used, which ensures reliable fastening even for an overall chandelier. Round, square and cruciform elements are available, when choosing which it is important to rely on the dimensions of the base of the chandelier.
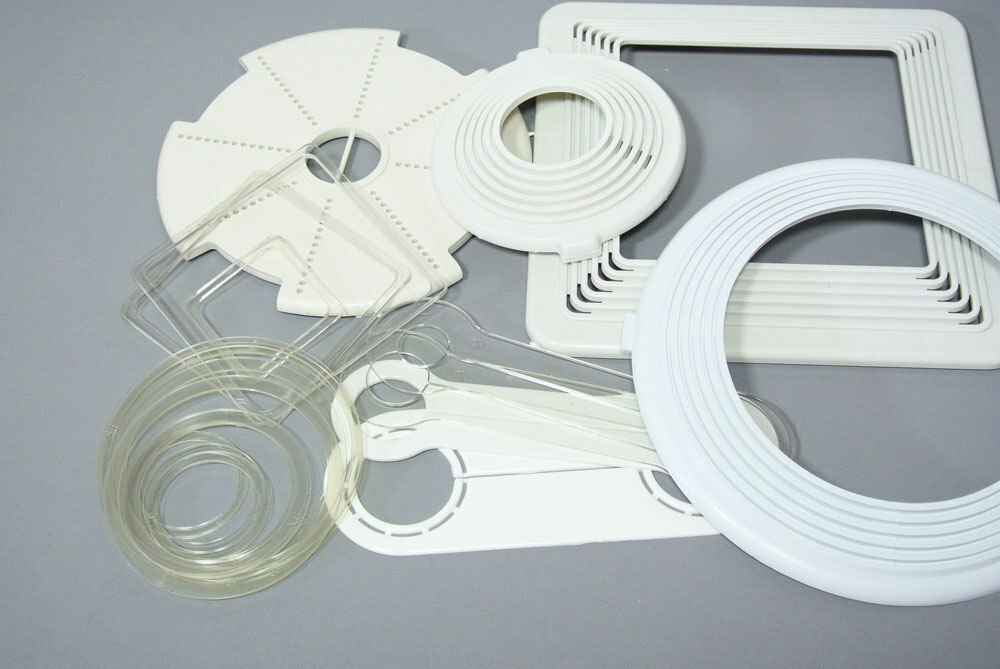
Do not choose too soft and fragile platforms, because otherwise they can bend under the weight of the chandelier, and subsequently deform when heated
For convenience, on the front side of the structure there is a perforation for self-tapping screws, which makes it easy to screw a bar or cross-piece of any size.
On the reverse side there is a marking of blind holes, which are intended for fastening metal hangers.
Preparing to install the mortgage
Before starting work, you should carefully inspect the ceiling for cracks, chips and other damage. The strength of the structure to be installed depends on this, especially if it is designed for heavy loads.
In order to mount the platform under the chandelier, you must prepare the following tools:
- hammer drill with a set of carbide drills;
- material for marking drilling points;
- hand saw or jigsaw.
In addition, you will need a set of plugs or dowels, tape hangers and metal scissors. When installing plastic embedded elements, you can limit yourself to a screwdriver, scissors or a sharp knife.
At the stage of installation of the platform, it is also laid and electrical wiring is connected, which must be done before stretching the canvas.
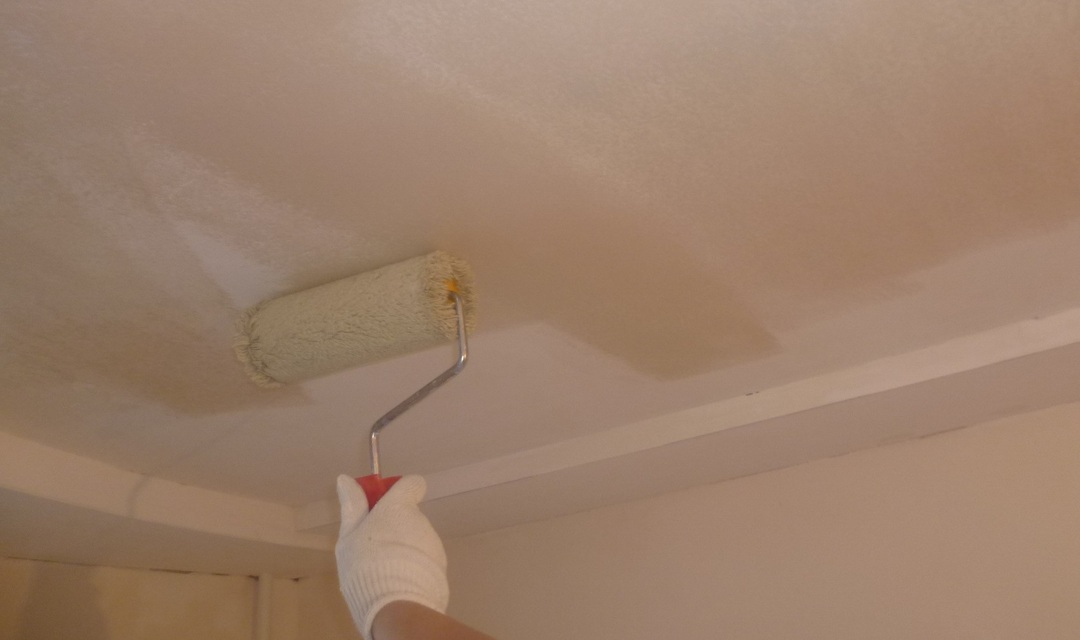
It is advisable to pre-clean the ceiling from cracked plaster and cover with a special primer, which will protect the surface from the formation of mold or mildew
For the correct installation of parts, it is necessary to determine the height of the stretch ceiling, since the bottom of the embedded structure must be at the level of the stretch fabric. First, the baguette is mounted, and only after that the mortgages are installed. The smallest distance from the ceiling to the stretch cover when installing the chandelier should be at least 5 cm.
If the canvas is located to the base ceiling closer to the established distances, then it will no longer be possible to correctly mount the chandelier. In order to hide communications and the stuffing of electrical appliances, 5-6 cm in height is enough.
Installation of a platform under a chandelier
Before starting the installation, it is necessary to determine the mounting location of the lighting device, and then apply the markings on the ceiling surface. Next, flexible steel suspensions are screwed to the platform, while small self-tapping screws are used as fasteners.
Now you need to drill holes in the ceiling, hammer in plastic dowels and attach the platform with long self-tapping screws. The site should be flush with the stretch ceiling frame - this can be checked using a regular thread connecting metal moldings on opposite walls.
It is recommended to immediately insert the ends of the conducted electrical cable into terminal block and fix in such a way that they do not interfere with further work. Immediately after stretching the canvas, it is necessary to find the location of the mortgage, glue the O-ring in the center and cut out the inner film.
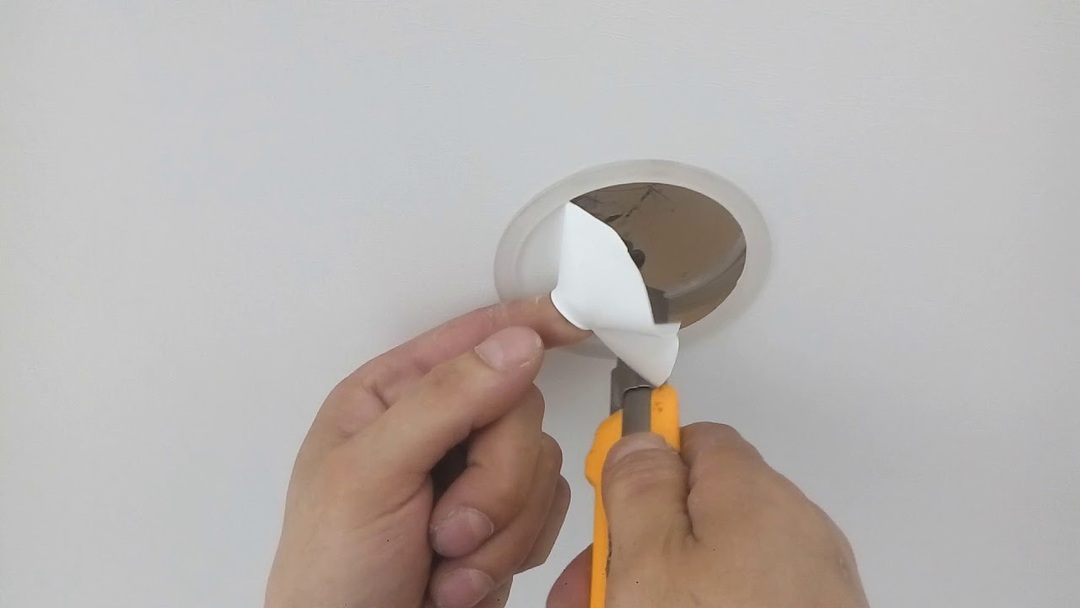
So that the film does not disperse, in the area of attaching the chandelier to the embedded material should be reinforced with reinforced tape or small protector rings
Next, a bar is screwed to the platform, after which the lighting device is connected to the wiring. In this case, it is important that a second person is holding the chandelier.
If there is no help, then it is better to hang the device on a rope. At the final stage, it is necessary to attach the chandelier to the metal bar and install all the shades.
How to “sink” a chandelier into the ceiling?
Luminaires with a base diameter of more than 40 cm have a high side that hides the transformer. Such a chandelier will look more aesthetically pleasing if you “drown” it a little into the ceiling.
To do this, you will need to prepare a large protector ring that matches the size of the base of the chandelier. Since thermal rings of such dimensions are simply not sold, you will have to build the part yourself.
It is necessary to purchase a regular PVC sheet, from which you will need to cut a ring with a diameter slightly larger than the base of the lamp. Next, the chandelier is applied to the ceiling and traced around with a special marker. It is to this contour that a self-made tread ring must be glued.
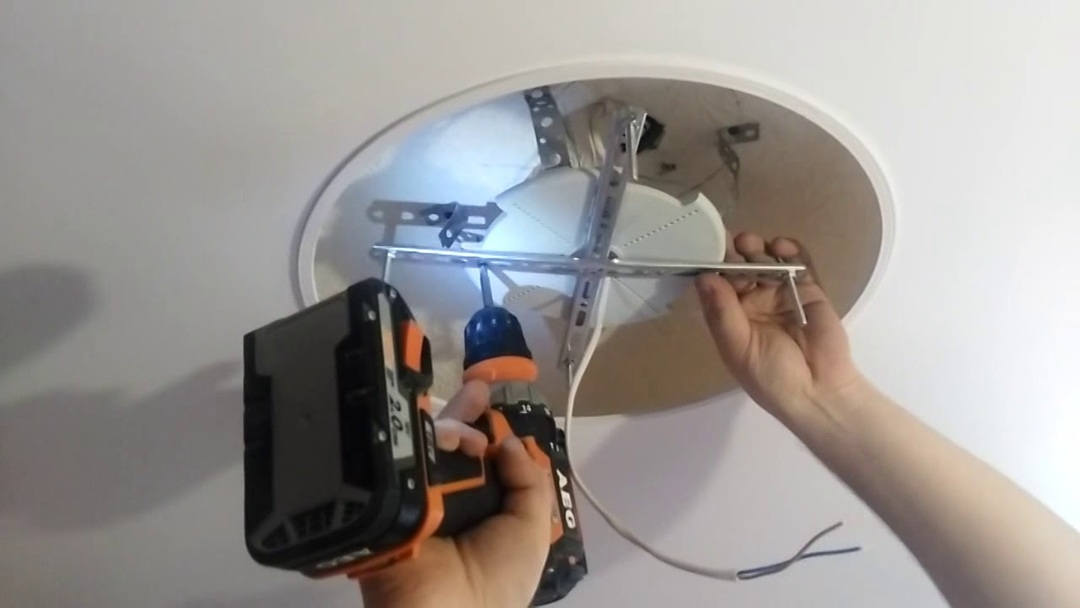
The embedded platform is installed directly after stretching the film, while the platform should be located above the ceiling level so that the luminaire rim is completely hidden behind the stretched canvas
After securely fixing the ring, it is necessary to cut the film inside it. However, this should not be done flush with the protector, but with an allowance of about 2 cm.
The inner edge of the film is cut, folded and glued to the ring. After that, you will need to screw the bar to the mortgage and attach a chandelier to it. So, the effect of immersing the chandelier into the ceiling space is created.
Conclusions and useful video on the topic
You can learn how to independently install mortgages for lamps, a chandelier and a ceiling cornice from the following video:
You can read the instructions for building a homemade mortgage under a stretch ceiling for a chandelier in this video:
The article disclosed the purpose of the embedded structure under the chandelier in the stretch ceiling, and also presented the types of platforms. Here, beginners will be able to study all aspects of the preparatory process and consider in detail the step-by-step instructions for installing a mortgage, both for small lamps and for overall chandeliers. So, you can independently install a chandelier in a stretch ceiling without resorting to the help of a master.
If earlier you already had to install a mortgage platform for lighting fixtures in a stretch ceiling, then you can always share your experience with our readers. Perhaps you know the secrets of an easier installation of a structure. You can leave a comment in a special field immediately after the article.


