Each of us has doors in the house. And you will probably agree that modern interior doors have ceased to carry only a functional load - delineation of the interior space of the apartment, they are a design element that emphasizes the taste or general concept living quarters. When repair work on finishing walls and ceilings, installation of flooring, skirting boards have already been completed, it's time to choose, buy, and also solve the problem of how to install an interior door and what is for this necessary.
Often this task becomes difficult to solve, since there are a lot of models and types of doors. You need to understand their quality, which option is more suitable in terms of design features, and even fits into the budget. You also need to be able to make the correct measurements of doorways in order to choose the right size for the door.
If you have not yet decided which door models you should choose for your apartment, then heed the advice of experts. We will tell you what door structures exist, what materials are used for their manufacture and how to properly install a double-leaf swing and sliding door.
The content of the article:
-
Main types of doors
- Option number 1 - paneled door structures
- Option number 2 - panel doors
- Option number 3 - side doors from MDF
- Option number 4 - molded models
- Selection by type of material
-
Installing interior doors yourself
- Stage number 1 - measurement of the opening
- Stage number 2 - preparation for installation
- Stage number 3 - box assembly
- Stage number 4 - installation of hinges
- Stage 5 - installation of the door structure in the opening
- Installation of sliding doors
- Conclusions and useful video on the topic
Main types of doors
In terms of their structure, door leaf manufacturing technologies differ in design. They look different externally, although they can be made from the same materials.
Option number 1 - paneled door structures
The most classic model is paneled. They are decorative and very diverse in appearance.
The main features are the presence of:
- wooden frame - strapping;
- jumpers located vertically;
- panels - figured planks from an array of boards.
Sometimes the panels can be partially replaced with glass or other decor.
This design is durable, good sound insulation. It is resistant to moisture changes, even if it is made of wood, as it consists of individual components. The fibers in them are multidirectional and compensate for temporary deformations arising from moisture or dryness.
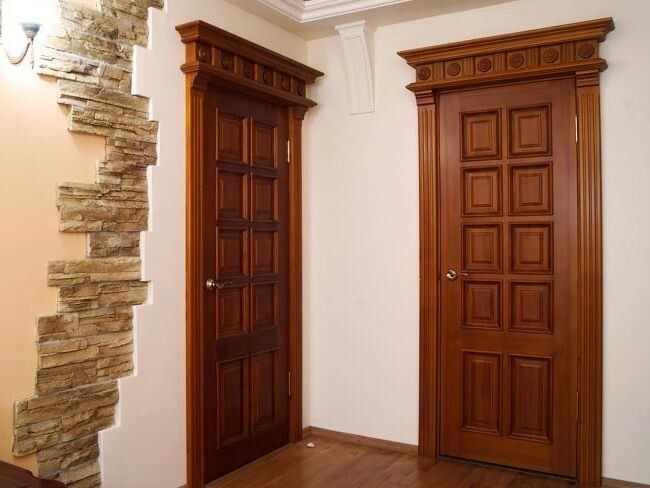
Paneled doors, due to the fact that they are made of natural wood, can have a high price, have a lot of weight, which requires reinforcing the fastening during installation
In this case, you can compromise and opt for a pine product. It is a light wood, and modern coatings allow the surface to be tinted as required by the interior design.
Paneled doors are also made of MDF or are combined, using different materials, which allows you to choose an option that is suitable for the price and appearance.
Option number 2 - panel doors
A fairly budgetary type of door structure - panel models. They consist of elements such as:
- frame frame made of solid wood;
- sheathing, for example, MDF sheets;
- surface decor: veneer, laminate, PVC;
- filler.
The frame is usually made from blocks of pine or spruce - this is an inexpensive, lightweight, but durable wood. MDF is an artificial material, but it is made from natural ingredients.
Veneer for decoration makes the door more beautiful, although it increases the cost. Lamination and PVC foil, as a decoration, are quite effective, although doors with such a coating are cheaper.
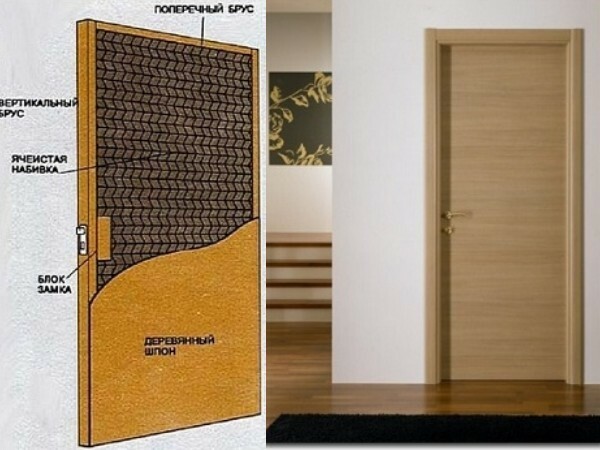
There is a filler inside the panel doors for sound and heat insulation. The most economical and lightweight is cellular, it is made of MDF
Option number 3 - side doors from MDF
Side-by-side models are very popular. They are a prefabricated structure.
Tzargovy doors consist of: tsargov - transverse strips and vertical posts. The horizontal elements are alternately inserted into the lateral ones by means of longitudinal grooves and grooves.
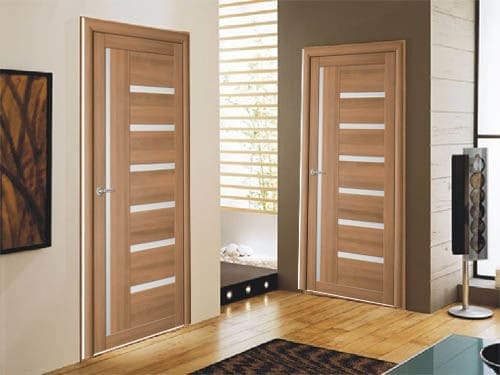
Rear doors, due to inserts of different widths of glass, metal, are diverse in design and look modern
Each piece of MDF is covered with a protective film or laminated before assembly, so they have no edges and moisture will not get inside.
Option number 4 - molded models
There is one more modification of prefabricated doors, which is conventionally called molded. To be precise, door moldings include platbands, extensions, flashing strips, thresholds, vertical box racks.
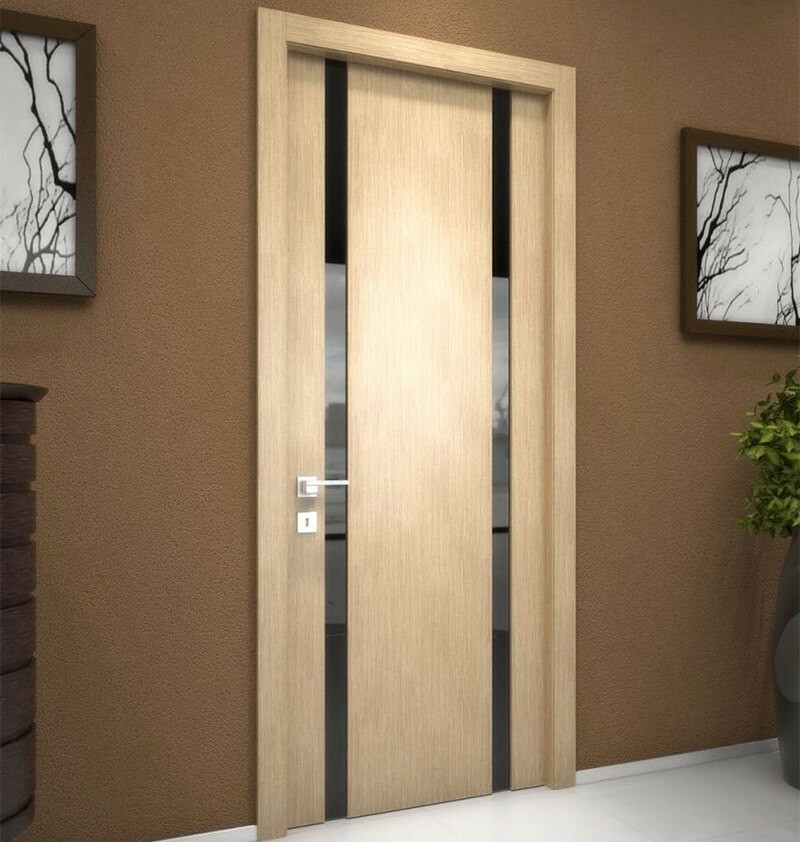
By design, the door models are made of molded elements, which is why they are called that. Most often, these are two or three vertical racks, between them elements of glass or MDF panels are inserted
Parts, as in side-by-side models, are covered with a protective layer before assembly and have no edges.
Selection by type of material
Doors made of solid wood have many advantages, especially those made of precious woods. This is, first of all, beauty. Aesthetically, they look very advantageous.
The advantages also include durability, good sound insulation. But a high price can become an obstacle, and you don't often find these models on sale. Such products may be subject to fluctuations in humidity.
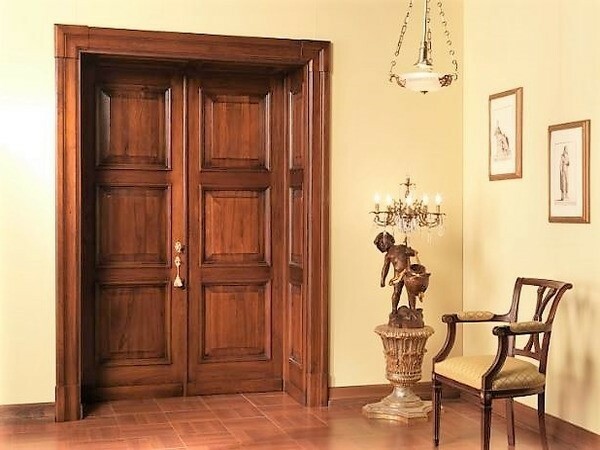
Doors made of precious wood with individual designs are made to order. They are quite heavy and require special care.
In addition to natural solid wood, glued beams can be used in the manufacture of doors, and veneer can be used as decoration. Natural veneer is made by cutting a thin layer of natural wood.
Eco-veneer is made from a mixture of wood fibers and a polymer base with the use of dyes. The modern Euro-veneer covering is an artificial material made of multilayer polymer that recreates the appearance of natural wood. It is resistant to sunburn, non-toxic and non-flammable.
MDF, from which doors of various types are made, is a fiberboard. Compression takes place under high pressure without the use of synthetic binders.
In panel doors, chipboard can serve as fillers or stiffeners. Such structures are much heavier than those where honeycomb or MDF is used, wood bars. Chipboard also emits harmful substances, and it is undesirable to use it indoors.
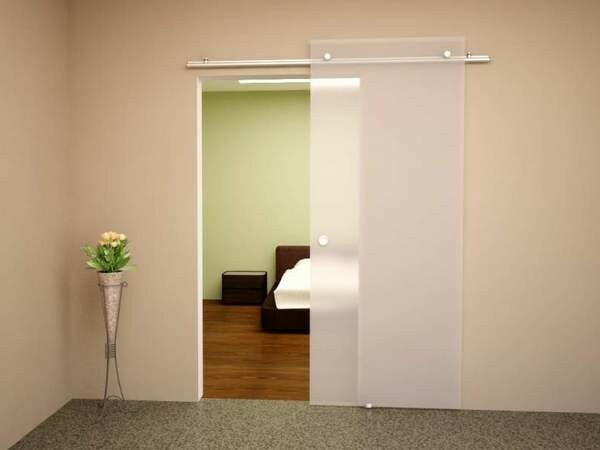
Triplex glass sliding doors fully meet all environmental requirements, despite the seeming fragility, they are durable, they transmit light well
It must be borne in mind that glass doors require careful maintenance, as they quickly become dirty and have poor sound insulation.
You can also consider an economical option - plastic doors. They can also be in the form of a shield or composed of elements. Such doors are usually used for a bathroom, in the presence of high humidity, with a limited budget, or as a temporary option.
The choice of this or that type of door depends on the size of the opening, the area of the room. The way in which they are opened is of great importance.
According to this principle, they are:
- swing doors with one or two leaves;
- sliding roller single and double-leaf;
- folding - accordions;
- folding - books.
The most reliable and popular are swing doors. They can be with one, one and a half, two doors.
In the absence of space, sliding doors are installed that roll away parallel to the wall or into a specially made niche - pencil case doors.
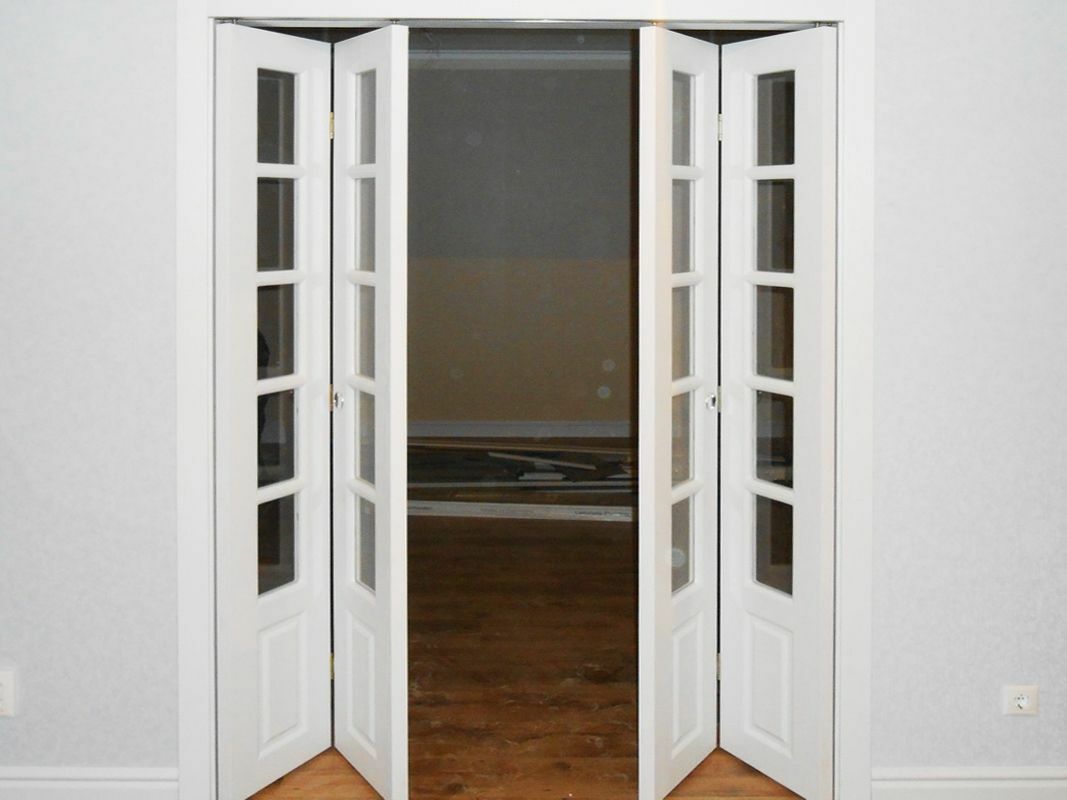
In case there is no room for rollback, you can choose a folding folding door. In a large opening, such structures can be placed on both sides.
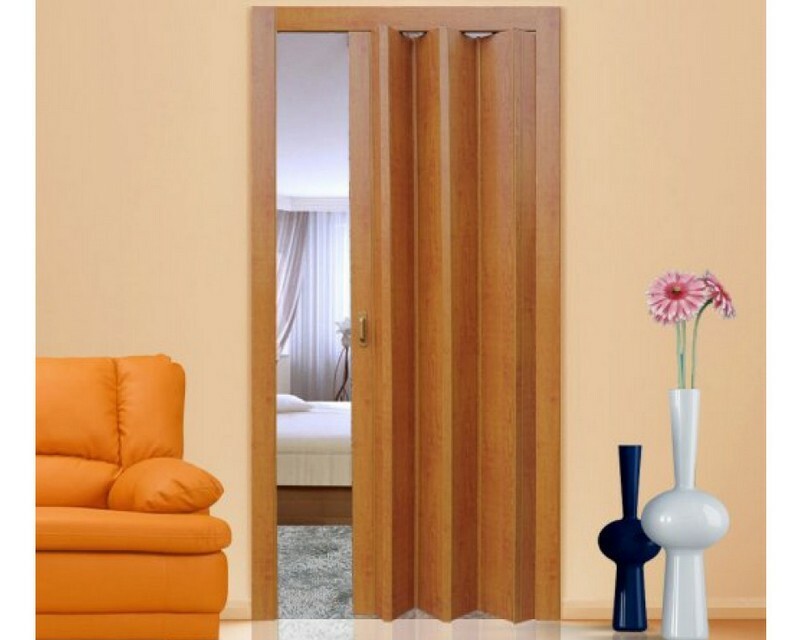
Folding doors differ from the previous version in that they consist of several narrow vertical panels interconnected
The design of the accordion folds when opened. They take up little space in width, but they reduce the opening.
Installing interior doors yourself
First you need to decide on the size of the door, for this you need to make perfectly accurate measurements of the opening. And then follow the instructions exactly.
Stage number 1 - measurement of the opening
If old doors are replaced with new ones, then first you need to dismantle the door frame in order to determine the thickness and quality of the wall. With a worn out opening, it needs to be strengthened, built up with a bar or expanded, and therefore its size will change. If there is an empty space above the door in the opening, then it is sewn up with drywall.
If the doors are installed in a new room, then it is enough to make the following measurements:
- the height of the opening (the flooring must already be laid), the measurement is taken at three points; the minimum value is taken;
- opening width - you need to measure it in three places, taking the minimum value;
- the wall thickness is replaced at six points and the maximum result is taken;
- difference in floor level at the junction, if any.
The dimensions of a standard door leaf are 200 cm high, in width: from 60 to 90 cm in 10 cm increments.
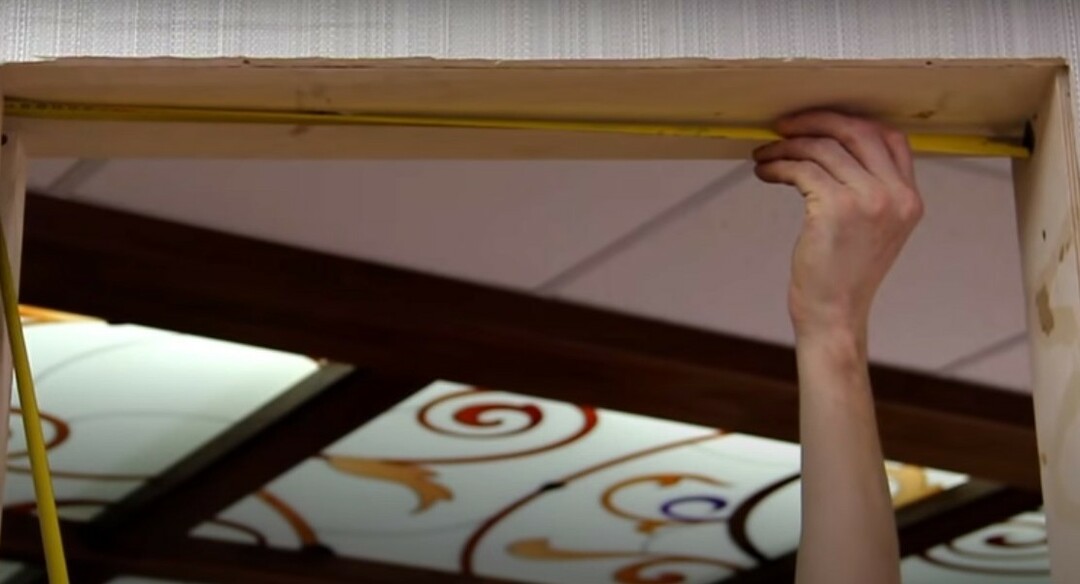
The width of the installation opening should be equal to the width of the door leaf plus 10 cm - two widths of the box from 1.5 cm to 4.5 cm. Add 0.3 cm to the gap on both sides, only 0.6 cm
To calculate the height, you need to add 200 cm to the standard door height, add the box width (1.5 - 4.5 cm), plus an upper gap of 0.3 cm and a lower gap, depending on the floor covering from 0.5 cm to 1.5 cm. That is, the opening height should be 200 cm plus 6-8 cm.
If the thickness of the wall in the opening is more than 7 cm, this is the width of the standard box, in which case you will need extras. When the thickness of the wall is not more than the width of the box, then only two sets of platbands need to be installed.
Stage number 2 - preparation for installation
After you have chosen the doors, you need to check their integrity, inspect for chips or scratches, cracks and other defects. As a rule, doors come to the retail network in packaging, if the packaging is not damaged, then the product should not be damaged.
After the purchase and delivery of the door to the house, there is no need to rush to install them. It needs to be kept upright for several days to acclimatize.
Stage number 3 - box assembly
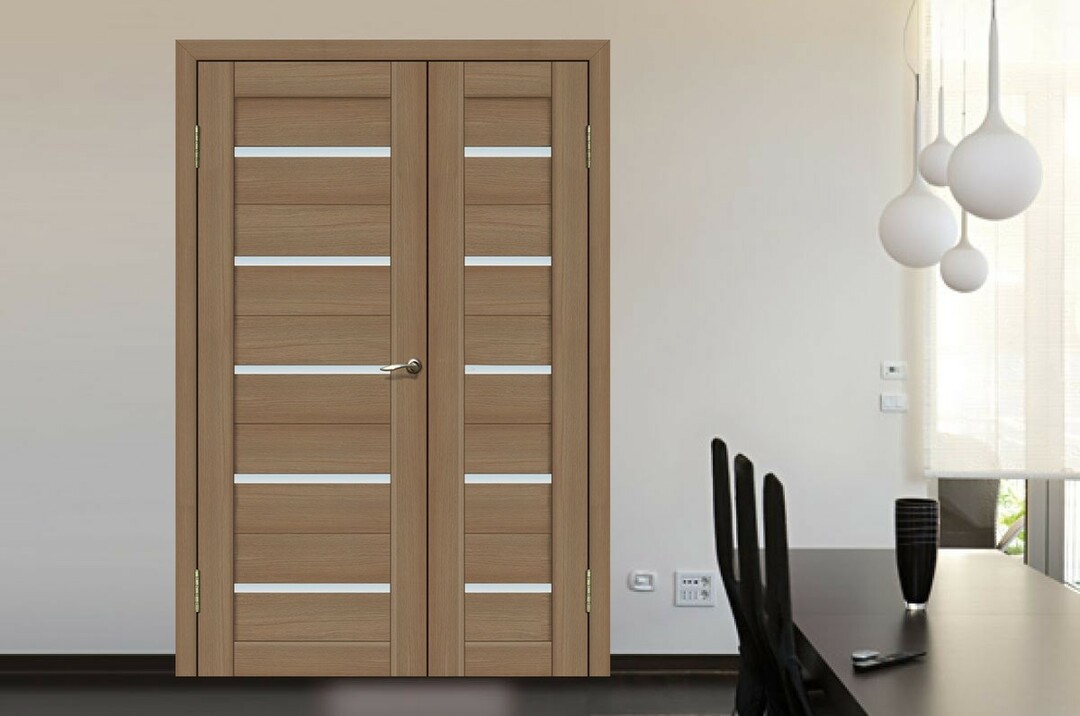
Swing double doors are usually installed at the entrance to a large room: living room, dining room. The installation technology and installation process is somewhat different from the work on single leaf design.
When sawing a box with a simple profile, you can fix it with a clamp and use a miter box. A hacksaw for work must be taken with fine teeth.
When installing the box, the horizontal top bar is made on top of the vertical ones. In some cases, the lintel placed between the vertical posts will look more harmonious.
When preparing vertical beams, you need to saw down across the thickened part, the so-called, a quarter flush with the rest of the plane, and remove it with a chisel. The distance from the end of the rack to the place where it was cut is equal to the thickness of the box. If, while making a wash, hold the hacksaw at an angle to the front part, then the work will be done better. The upper bar is sawn at an angle of 90 °.
Its size should be two widths of the door leaf, plus 0.6-0.8 cm for distance gaps. The size of the upper part of the door frame is calculated by summing the width of the sheets that will be installed and the technological gaps. For example, if the width of one door leaf is 70 cm, then in the upper part the length of the timber will be 140.8 cm.
Taking into account the design of the door and for the shaped frame, a cut at an angle of 45 ° is used. To obtain a quality edge and an accurate angle, it should be done with a miter saw. If one is not available, then you can work with a hacksaw, but having a good miter box at hand. If you are not confident in your abilities, it is worth practicing on a wooden block.
After the vertical elements have been cut, you need to make undercuts on the horizontal ones. The length of the horizontal element along the bottom edge should be equal to two widths of the canvas, plus 0.6 cm - the gap on the sides and 0.3 cm is the gap between the canvases, and along the upper edge, two more widths of the side part must be added to this value boxes. First, a cut is made from the side of the quarter, that is, the protruding part, and then from the side of the vestibule.
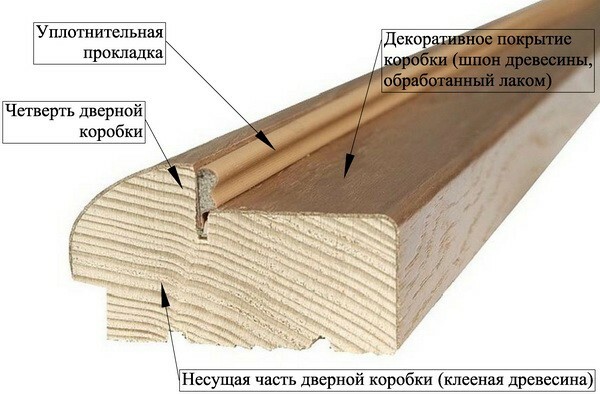
Sectional profile of the door frame beam: when fitting the risers and crossbars, it is cut off - a part called a quarter is cut out
After cutting the elements of the box, you need to make a sample for the crossbar. First, the markings are outlined with a pencil, and then indentations are made with a drill in the form of a feather. The size of the recesses cannot be larger than the thickness of the crossbar. The holes must be evenly distributed, make a general centering and do not reach the edges of the marking by 3 mm.
Final finishing is done with a chisel. This operation can be done with an electric cutter, and given a rectangular shape with a chisel. After the groove is selected, the deadbolt is inserted and secured with self-tapping screws into the pre-drilled holes.
Assembly should be done on a clean, horizontal surface. In the places of the proposed connections, holes with a diameter of 3-4 mm are drilled, and then the elements are fastened with self-tapping screws of a larger diameter.
Doors need to be placed in the box, maintaining gaps of 0.3 cm around the perimeter and between the canvases, placing spacer inserts, for example, from pieces of fiberboard. Next, mark the location of the loops. They are usually made at a distance of 20-25 cm from the top and bottom edges. To insert the hinges and install the lock, the structure must be disassembled.
Stage number 4 - installation of hinges
The contours of the loops are applied to the surface of the end, in accordance with the previously applied markings.
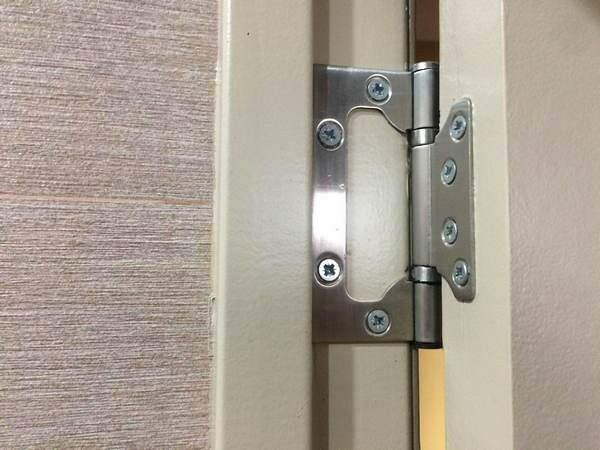
There are loops that do not require special sampling, their canvases are embedded in each other, and are 0.3 cm thick. This is the amount of clearance that is taken into account when measuring and during assembly of the box.
For other loops, an incision is made in the surface layer with a clerical knife. The decorative film is removed, and then sampling is made to the depth of the thickness of the loop plate. If the hinges are mounted on solid wood doors, then this must be done with great care, especially in knotty places. On the chisel, you need to inflict light blows and from different positions. You can cut in with a milling tool.
For fastening, the hinge is placed in the groove. When making holes, you should take a drill with a smaller diameter than the self-tapping screw, and shift the drill axis by a millimeter towards a quarter of the box bar. This will make the loop tighter to the surface along its entire length.
Stage 5 - installation of the door structure in the opening
Long self-tapping screws can be used to securely fix the door frame in the opening. They are placed under the hinges and lock bar on the vestibule. If this is not possible, then in any two or three places on the uprights. The recessed heads of the self-tapping screws are then decorated with special plugs that match the color. Lightweight doors, for example, made of MDF, can only be fastened to polyurethane foam.
First, one sash is fixed on the hinges, on which the handle is attached. The box must be set up using a level and a plumb line. If the width of the wall is thicker than the box and requires the installation of extensions, then it is aligned on the side where the door will open.
Wedges should be used to temporarily stiffen the entire structure. Then self-tapping screws and polyurethane foam will provide fixation.
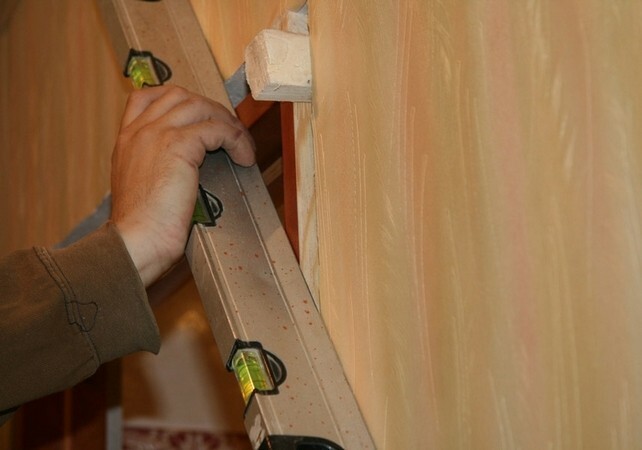
Once the hinge post is aligned and secured, the second post is positioned, leveled and secured with wedges. Further adjustments should be made on this side, checking with the level
The door leaves are hung for a more precise fixation. During the fitting process, you will need to open and close them several times. All work on adjusting the angle of inclination, the horizontal line requires patience and accuracy.
The locking plate under the deadbolt should be installed after the box is firmly secured. To do this, you first need to make point bartacks with polyurethane foam, and then foam the entire contour.
Installation of handles and locks is carried out in the same way as when installing single-leaf doors, with the difference that the lock striker is placed on the second leaf. Additional fasteners can also be installed under the deadbolt striker plate to prevent the door frame from sagging in the center.
If it was decided to install a door with a lock, we suggest that you familiarize yourself with the best ways open the door without a key.
Installation of sliding doors
When installing a sliding door structure, special attention should be paid to the ideal the coincidence of the floor surface with the lower edge of the door leaves and make sure that there are no distortions at wall openings.
The upper rail is attached to a flat surface using brackets, if necessary, a flat, well-dried bar is first mounted in the opening, and then a guide profile is mounted to it.
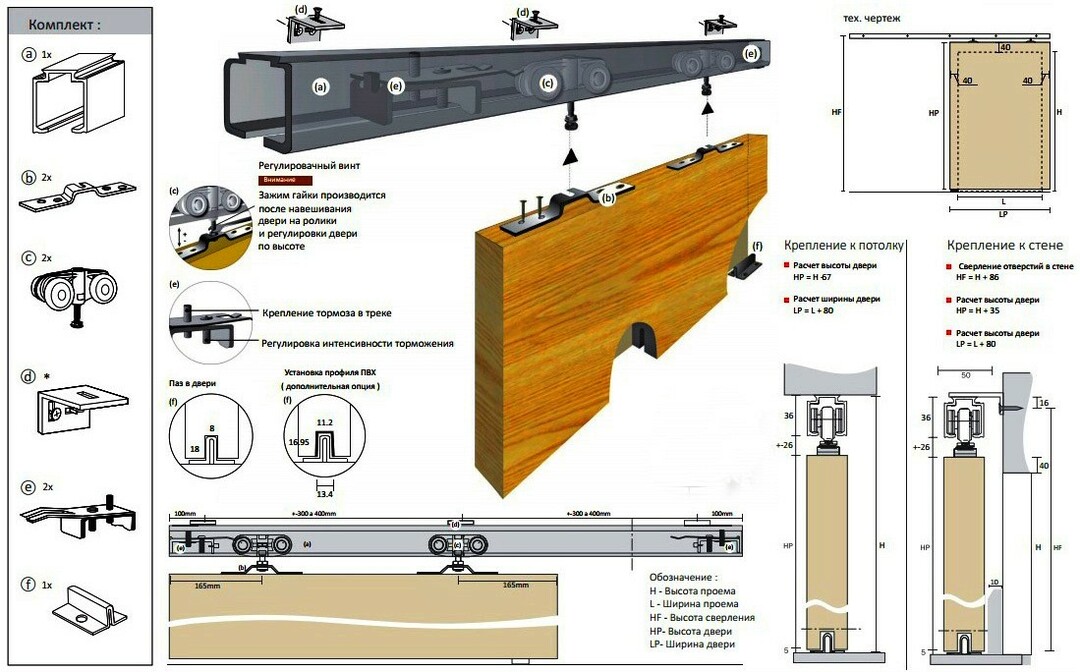
Sliding door fastening scheme: a - rail profile, b - door brackets, c - rollers with an adjusting screw, d - brackets for fixing the timber, e - brake, f - flag for fixing the door
The length of the guide is based on double the width of the web. You need to subtract 10 cm from this value. For marking, the door must be placed vertically against the wall so that it is tightly pressed against it. In the closed position, markings are made along the upper edge, then you need to move the canvas to the open position and re-mark. If the dimensions at the marked points do not match, then you should focus on the extreme ones farthest from the floor.
To determine where the upper surface of the guide will be located, you need to take the distance from the highest extreme points, add the profile width and add another 0.5 - 1 cm. It is necessary to measure the result obtained from the applied markings upwards, and put down new marks.
The beam on which the guide will be located should be 1-1.5 cm wider than the door leaf. This is necessary so that later it would be better to fix the decor. The lower plane of the bar must be aligned with the measured points. If the wall is not completely flat, then a solid substrate must be made to fill the voids for a snug fit of the timber. If the irregularities are insignificant, then it should be fixed more tightly on the wall.
Before the timber is placed on the wall, a guide must be attached to it. In this case, it is necessary to monitor the straightness of the profile location. The center point of the bar should be exactly above the end point of the opening.
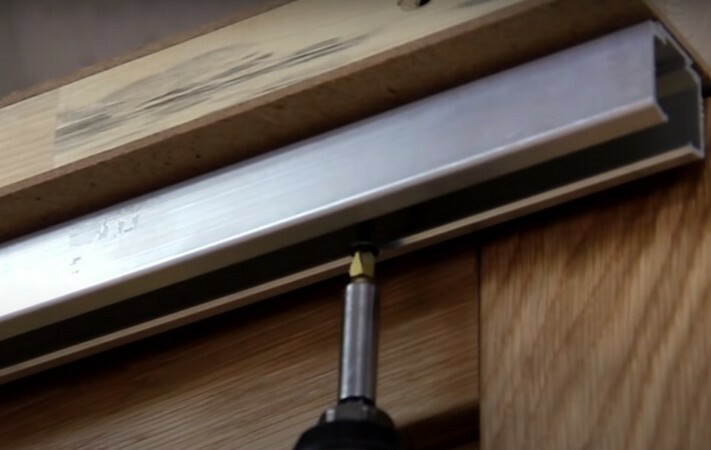
In the guide profile, the fastening holes with a chamfer are drilled exactly in the center, they are needed for a snug fit
The bar is fastened with screws to the bar in such a way that subsequently a gap of 0.4-1 cm remains between the door and the wall.
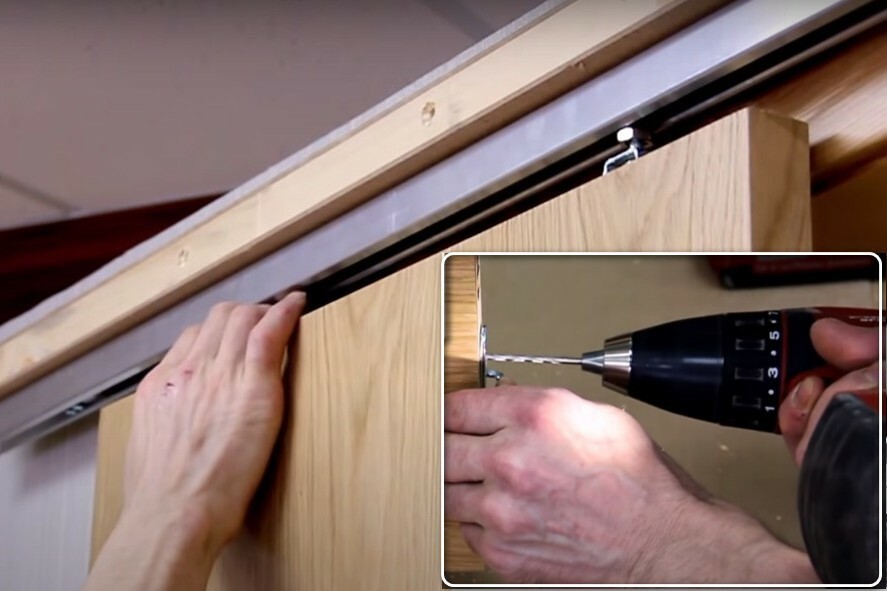
Brackets are mounted to the upper end of the door. The assembled blade movement mechanisms are inserted into the profile guide
The door leaf is hung on rollers and the fastener is screwed on. At this stage, the blade should be adjusted by tightening the screws.
It is necessary to maintain a distance of 0.5-1 cm from the bottom edge of the door panel to the floor and adjust the vertical line of the door edge. Next, a fixing flag is fixed on the floor.
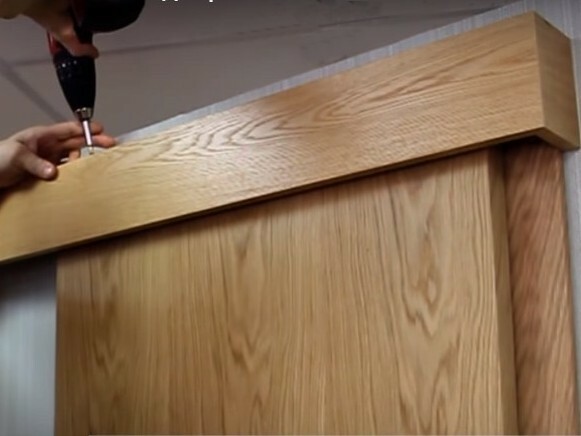
A bar with a profile should be closed with a casing or a board. A U-shaped structure is assembled at a right angle and attached to the bar with self-tapping screws
The doorway is finished with additional elements. The voids are filled with foam, which also fixes them to the opening. Further along the perimeter, the opening is finished with platbands.
Conclusions and useful video on the topic
Informative and useful video about choosing interior doors:
The first part of the video on installing a swing door, a very detailed and visual instruction - assembling the box, installing the hinges:
The second part of the video on installing a double swing door - installing locking fittings:
When choosing doors, attention should be paid to the design and appearance of products, to decide whether they will fit the interior of the house. Evaluate the options for different models, not only by color or material, but also by the type of construction, the availability of accessories, their performance, and cost. It is also worth thinking about how to install the door, do it yourself or trust the professionals.
Do you think you need to do it yourself? Will you cope with the task of installing the door frame and door leaf by reading the article and watching the videos? Which door to your own apartment would you buy? Leave your comments under the article.
