For owners of suburban real estate, and just for those who like to make things useful in the household, from time to time there is a need to solder something. For this purpose, a gas burner is well suited, with which you can heat parts for their subsequent processing, solder or repair the roof.
Agree, now it's not a problem to buy a high-temperature burner in a hardware store, but such a device will cost several times more than a home-made one. And the burner will work no worse than the factory counterpart.
From our material you will learn how to assemble a gas burner with your own hands on propane, what tools and materials will be required for this.
The content of the article:
- Propane burner device
-
DIY instructions
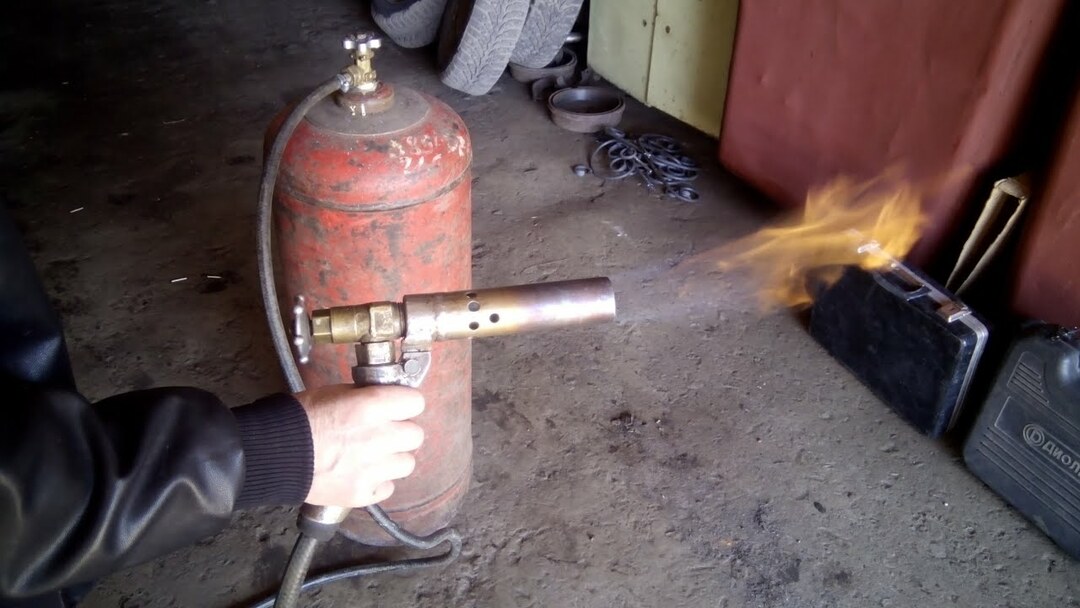
- Option 1 - the simplest burner made from a piece of pipe
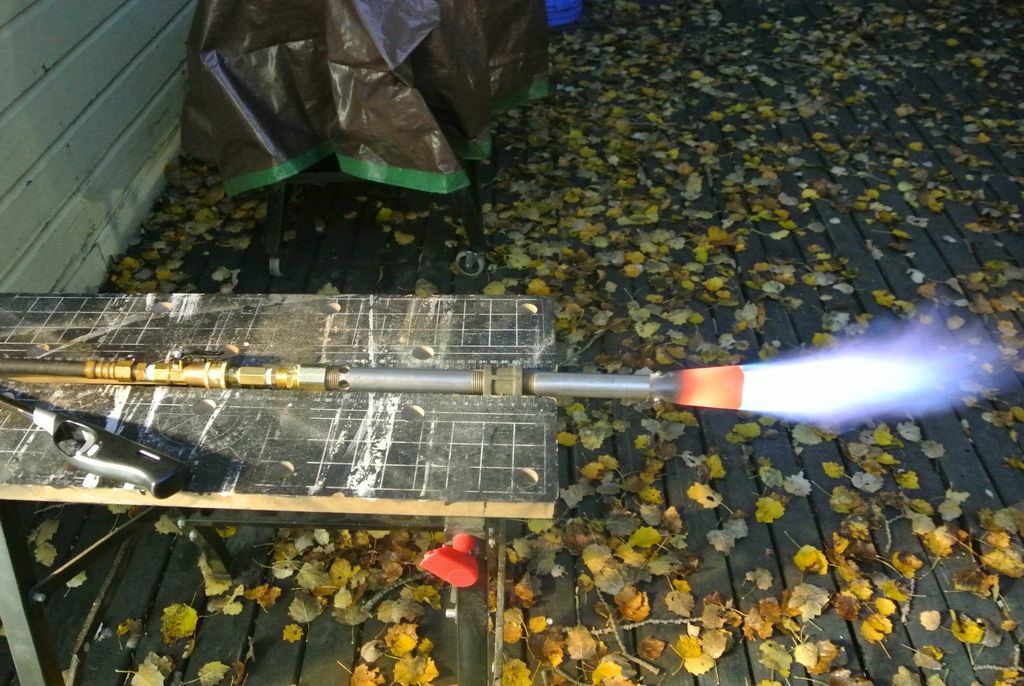
- Option 2 - powerful gas burner
- Option 3 - miniature burner model
- Rules for the safe operation of equipment
- Conclusions and useful video on the topic
Propane burner device
Before proceeding with the independent manufacture of a gas burner, it is worthwhile to understand its design features and the principle of operation.
Typically, a propane burner consists of the following elements:
- frame;
- lever;
- distribution nozzle;
- gas hose;
- gas tube;
- propane cylinder;
- reducer;
- clamps for fastening.
Propane is supplied through a hose from a cylinder under pressure. The volume of gas is regulated by a working valve on the cylinder, but for safety reasons it is worthwhile to additionally install a reduction reducer.

These are the main elements that will be present in a homemade device. But depending on the chosen modification, the design may vary slightly.
A shut-off valve is used to open / close the gas supply. It is located behind the main valve. The flame intensity is adjusted using the operating valve.
A special nozzle is attached to one end of the gas hose through which the gas is supplied, at the end of which there is a nipple. The nipple together with the gas tube are placed in a metal glass, where the actual creation of a combustible mixture takes place.
Further, the combustible mixture through a nozzle under pressure enters the combustion area. To maintain a uniform combustion process, holes are specially provided in the nozzle.
Having familiarized yourself with the design features of the device, you can start creating a gas burner with your own hands, especially since it is not as difficult as it might seem at first glance.
DIY instructions
Next, we will talk about several options for homemade propane burners that you can do yourself. In order to build a simple burner, it will not take much effort and skill, but you will have to work harder to create the other two options.
Option 1 - the simplest burner made from a piece of pipe
It will take very little time and effort to build such a burner. But the process of creating a homemade product must be approached with all responsibility, because you will have to work with explosive substance and any error in the design of the device can lead to sad consequences.
Using such a device, you can heat metal blanks for forging or warm them up before welding, and you can also repair a bituminous roof. For the owner of a private house, such a homemade product on the farm will definitely not be superfluous.

A properly made propane burner will last a long time. With its help, you can perform many everyday tasks without using a number of expensive tools.
To make a homemade gas burner, you will need the following tools and materials:
- two pieces of pipe of different diameters;
- Union;
- gas hose;
- reducer;
- propane cylinder;
- welding machine;
- Bulgarian.
Having prepared all the tools and materials, you can start assembling the propane burner. But before that, we recommend that you read the rules. safe work with a grinder.
Image gallery
Photo from
It is necessary to take a pipe with a diameter of 40 mm and use a grinder to cut a piece of the required length from it
Next, the rough edges of the cuts on the pipe need to be sanded. A file can be used to level the edges inside the workpiece, and a sander works well for sanding the outer edge.
We find a pipe of a slightly smaller diameter than our workpiece and, using gas welding, we weld a fitting to it
The next thing to do is weld the opposite hole of the pipe with the fitting, grind it and drill a hole with a diameter of 0.9 mm
In order to check the performance of a homemade product, you should not immediately weld it tightly. It is better to weld three metal rods, check the work, and only then weld completely
We connect the device assembled in the "draft version" to the gas cylinder and check its performance. If everything is in order, you can proceed to the final assembly
After making sure that the burner is working properly, you can remove the metal rods, weld its parts together and paint the fixture with heat-resistant paint
After the paint has dried, you can proceed to the final assembly of the device and connecting it to a propane tank. For your own safety, connect the burner only through a reducer
Step 1 - cut a piece of pipe for the burner
Step 2 - grind the resulting workpiece
Step 3 - connect the fitting to the pipe
Step 4 - weld the back of the tube
Step 5 - assembling the device
Step 6 - checking burner performance
Step 7 - assembling and painting the product
Step 8 - connecting the burner to the cylinder
As you can see, there is nothing complicated in self-assembly of a gas burner. Having studied the instructions and having the necessary set of tools and materials at hand, assembling the device will take no more than an hour.
Option 2 - powerful gas burner
We also suggest trying to assemble a more structurally complex, but also more powerful burner.
It will take a little more tools and materials to build this option, but the result will not disappoint you.

Such a propane burner can be used, for example, for smelting metal in a forge, for burning weeds on your own site, as well as for other purposes.
So, for the construction of a propane burner, you will need to prepare the following materials:
- couplings - 1/2 "and 1/4";
- threaded keg - 1/2 "and 1/8";
- plug with internal thread - 1/8 ”;
- foot - 1/4 "* 1/8";
- nipple - 1/2 ";
- quick disconnect connection for low pressure gas equipment;
- propane supply regulator - 0.068-0.34 atmospheres;
- thread sealant;
- a metal sheet;
- self-tapping screws;
- drills - 6.4 mm and 0.8 mm.
It is better to give preference to brass products. In addition, to design a homemade product, you will need the following set of tools: an adjustable wrench, a drill, a center punch, solder and flux, a blowtorch.
Having prepared everything you need, you can start assembling the device.
Image gallery
Photo from
First, we drill a hole with a diameter of 0.8 mm in the brass plug. And then, on the steel pipe near the end of the thread line, drill 4 more holes with a 3.2 mm drill
The brass barrel is soldered into the nipple, and the nipple, in turn, is screwed into the coupling. Next, attach the sleeve to the end of the metal tip. To enhance the reliability of the connections, you need to use a thread sealant.
We connect the brass plug with a drilled hole with a threaded barrel and tighten the connection until it stops. We screw the resulting part into the coupling
Cut off a piece of metal sheet of the required size, form a cone from it. Next, we fasten the cone with self-tapping screws to the end of the metal pipe.
We connect the steel pipe with a brass coupling. We tighten the brass sleeve on the other side of the jet assembly. And, then, we screw the shoe into the brass sleeve. At the end, a quick disconnect connection is installed for low pressure gas equipment
Having assembled the device, you can connect it to a propane gas cylinder. For this, the gas supply regulator is connected to the cylinder, and the quick-disconnect gas connection to the burner
After connecting all the parts, it is imperative to check all joints for gas leaks. The easiest way is to lubricate the joints with soap suds. If bubbles start to appear, the connections are not tight.
If no leaks are found, you can start testing and operating a propane gas burner
Step 1 - Drill gas holes
Step 2 - Assembling the nipple assembly
Step 3 - assembling the jet assembly
Step 4 - making the burner nozzle
Step 5 - Connect the resulting parts
Step 6 - Connect the burner to the cylinder
Step 7 - Checking for Gas Leaks
Step 8 - testing the assembled burner
During work, do not forget that propane is an explosive gas, and any non-observance of safety rules can lead to irreversible consequences.
Therefore, before testing the device, it is imperative to check all connections for leaks. And only after making sure that there is no leakage, you can start working with homemade products.
Option 3 - miniature burner model
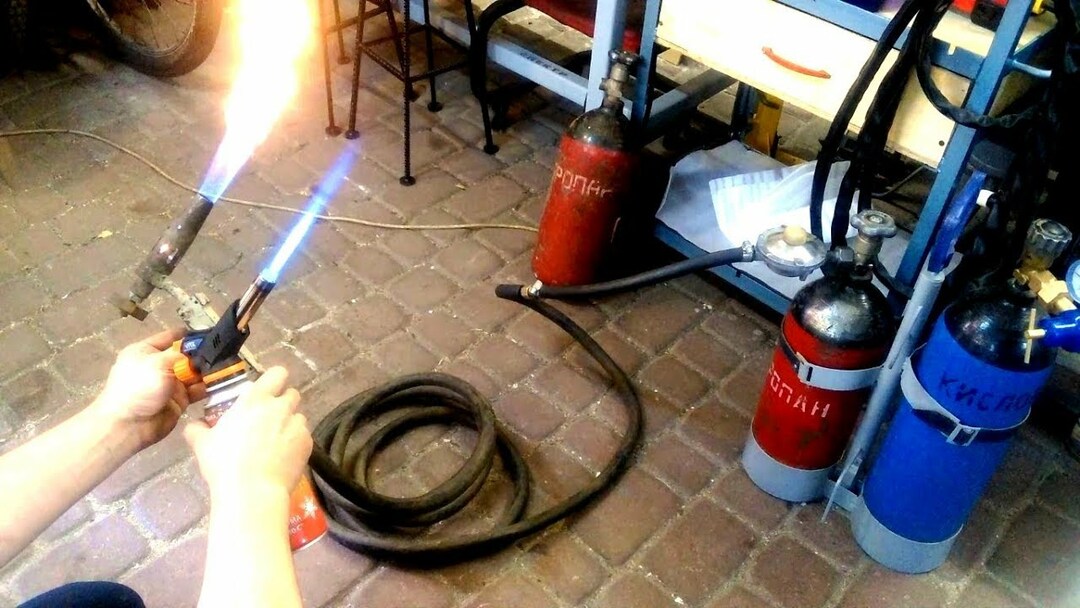
Let's consider another option for a propane gas burner. This miniature gas burner is often referred to as the Bunsen burner.
A feature of this device is that it can be freely held in your hands without fear of getting burned. Let's try to assemble it with our own hands.
For work you will need:
- Old gas burner.
- Thin copper tube 10 meters.
- Copper wire.
- Needle with a medical syringe.
- Bolt # 8.
Having prepared all the necessary materials, you can start creating our homemade products.
To do this, we will use the following instruction:
Image gallery
Photo from
To create a burner, you can take a copper tube, for example, from an air conditioner with a diameter of 8 mm, 10 cm long. Having cut off a piece of the required length, it must be cleaned of chipping from the inside and outside. We will also saw off a piece of a smaller diameter tube with a length of about 4 cm.
To create the burner nozzle, you need to cut a piece of the needle from the medical syringe. The edges of the needle can become flat when biting off, so we recommend that you clean them with a file, and then walk with a thin wire
The end of the copper tube must be squeezed with pliers so as to secure the needle. Next, you need to treat the end of the tube with phosphoric acid, solder a piece of thick copper wire and solder the gap in the tube
If you have treated copper tubing with phosphoric acid, you should rinse these areas with plain water to avoid oxidation. Next, we solder the end of the copper tube as shown in the photo
An M8 bolt can be used to simplify flame adjustment. To do this, drill a bolt hole at the beginning of the thick copper tube.
With the help of a bolt, you can adjust the intensity of the combustion of the flame. For reliability, you can strengthen the connection with a metal nut
In order not to hold the burner in your hands, you can make a stand for it. To do this, you need to make two wire loops on the torch and make a stand for the torch. To make a tripod, you need to take a small piece of thick plywood, drill a hole in the edge and insert a piece of thick copper wire into it. Burner stand ready
The assembled burner with the bolt fully tightened gives a minimum flame, and if the air supply is opened, the flame can burn more intensely. Without fear of getting burned, you can take the burner in your hands
Stage 1 - preparing the tube for the burner
Stage 2 - making a nozzle from a medical needle
Stage 3 - connect the tube to the wire
Stage 4 - connect two pieces of copper tube
Step 5 - insert the adjusting bolt
Step 6 - testing device adjustment
Step 7 - making a torch tripod
Stage 8 - check the device's performance
Now you know how to build a gas burner with your own hands and what is required for this. As you can see, there is nothing complicated in this, it is enough to follow the rules for the safe operation of equipment, which we will discuss a little below.
Rules for the safe operation of equipment
Gas cylinder equipment, if used improperly, can become a source of severe explosion or fire.
When performing welding work, you should definitely use personal protective equipment: glasses, gloves, special shoes.

Before starting work, you need to thoroughly inspect the equipment for damage. If the equipment gets dirty, be sure to remove the dirt
It is possible to work with propane cylinders only in well-ventilated rooms, while the air temperature should not be lower than 0 ° C.
Absolutely forbidden:
- Work near open flames.
- Hold the bottle tilted when working.
- Place vessels in the sun.
- Carry out work without a gearbox.
- Warm up the gearbox over an open flame.
In addition, having felt the smell of gas, you must immediately stop working and close the valve on the cylinder. We also recommend that you familiarize yourself with the main the reasons for the explosion of cylinders with gas.
Working without personal protective equipment, you can get burned, not only from an open fire, but also from accidentally touching hot parts.
If the considered homemade burners are not suitable for you, we recommend that you familiarize yourself with other options for making useful homemade products discussed in our articles - blowtorch torch and sauna stove burner.
Conclusions and useful video on the topic
The video will talk about how to make a propane gas burner yourself:
Having at hand a small supply of tools, a gas burner diagram and the necessary materials, every home craftsman can assemble a propane burner. It is important to observe fire safety rules and use only high-quality materials approved for use in the domestic gas supply system. But if you are not confident in your own abilities, it is better to buy such a device in a store.
If you had to assemble a propane burner yourself, please share your knowledge with our readers, tell us which option you chose. Why was he chosen and whether there were any difficulties in the process of work. Perhaps you have a diagram of the device and a photo of a finished homemade product - attach visual information in the discussion of the material.