Russia, Moscow region, Moscow+79041000555

 It takes ~ 3 minutes to read
Hello, today I propose to make a simple, and most importantly useful craft, in which we will use an old phone case. Nowadays, we change phone models quite often and everyone in the house has old silicone cases that can be used as a necessary kitchen device.
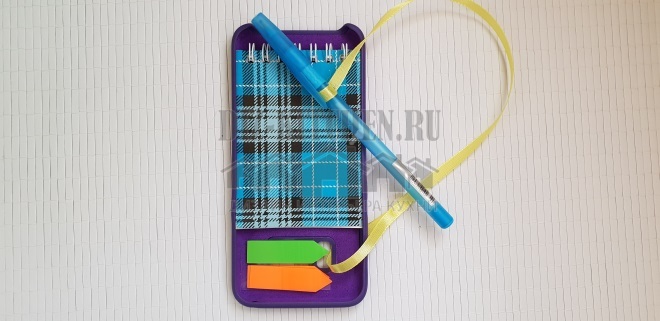
You will need:
Attention! Earned on our website kitchen designer. You can familiarize yourself with it and design your dream kitchen for free! May also come in handy wardrobes designer.
- Phone case;
- Scissors;
- Glue gun;
- Magnet;
- Notebook;
- Separator indexes;
- Pen;
- Thin tape.
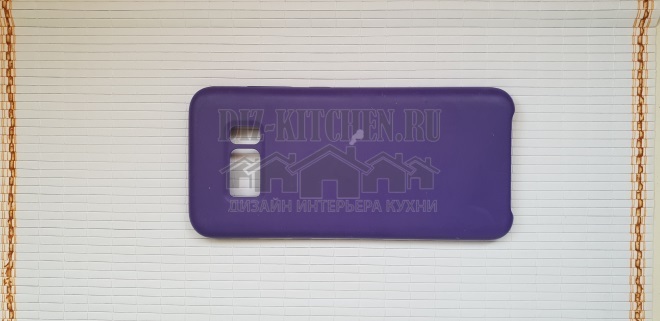
- In fact, you can make a lot of useful things out of an old phone case. But today it will serve as the basis for the organizer. I have long wanted to hang such a personal assistant on my refrigerator, because very often you need something write down quickly: some kind of recipe, a reminder, just leave a note, or maybe plan a menu for tomorrow. And, as a rule, there is no pen or paper at hand. This organizer will be a wonderful helper in your kitchen. So, let's begin. Take the silicone case.
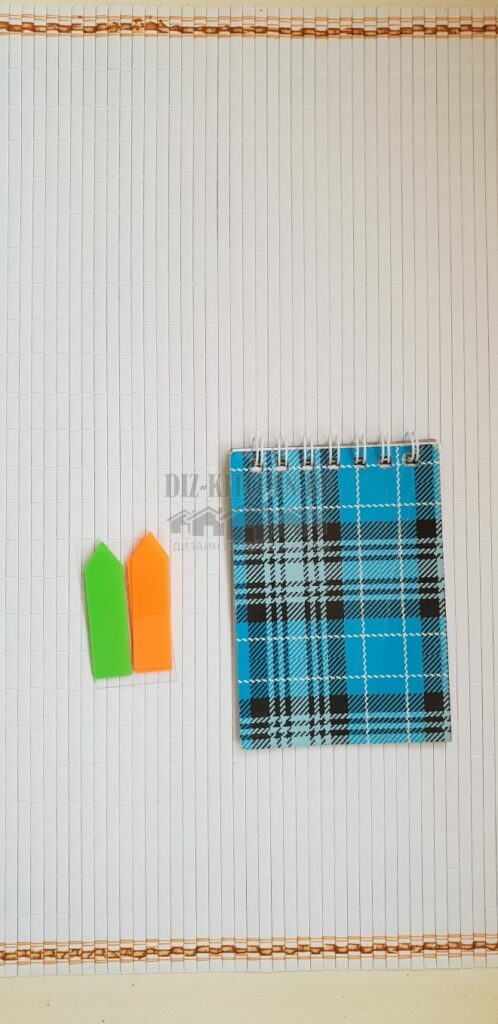
- We will need a small notepad and colored indexes-separators, in case we need to leave a mark on the bag (for example with meat) before placing it in the freezer.
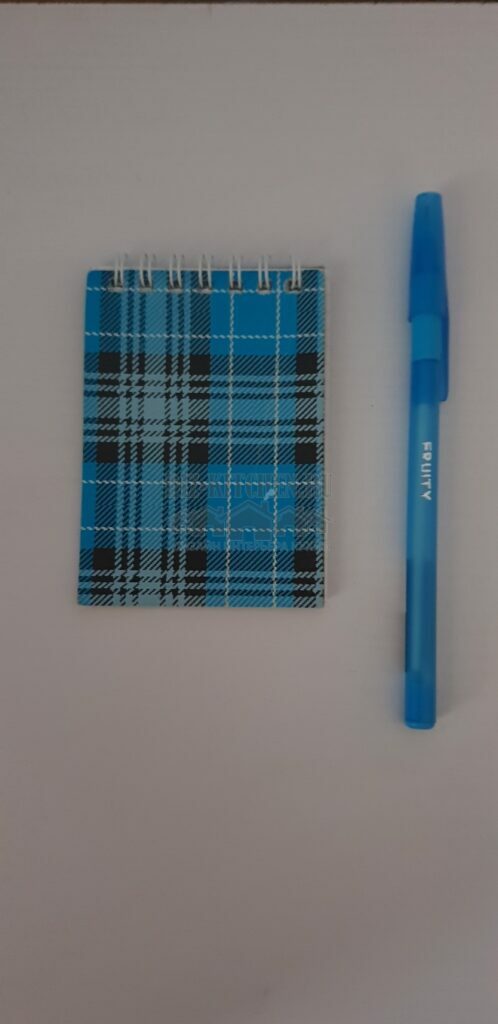
- Let's prepare a pen. You can choose it to match the color of your notebook.
- In order for our organizer to fit comfortably on the refrigerator, I need a magnet. And with the help of a thin tape, we will attach the handle.
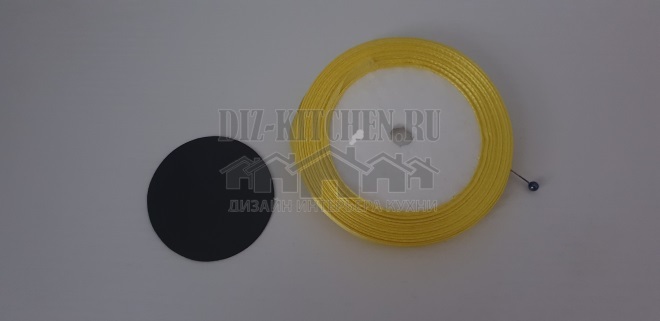
- Be sure to have a lighter or matches ready to burn the edge of the ribbon and keep it from blooming.
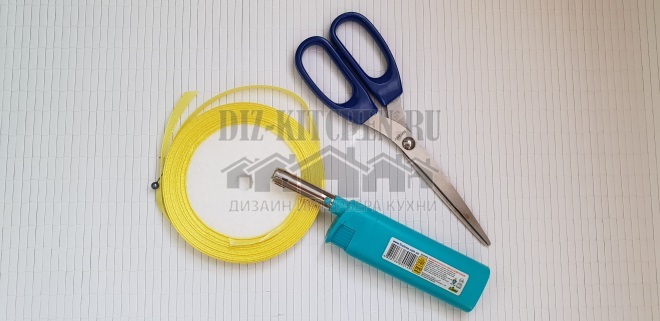
- We start by making a small loop, grasping the handle and fixing it with hot glue.
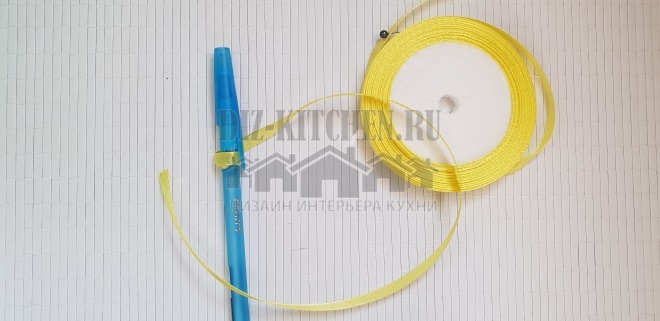
- We unwind the required amount of tape to the length that is convenient for you and cut it off.
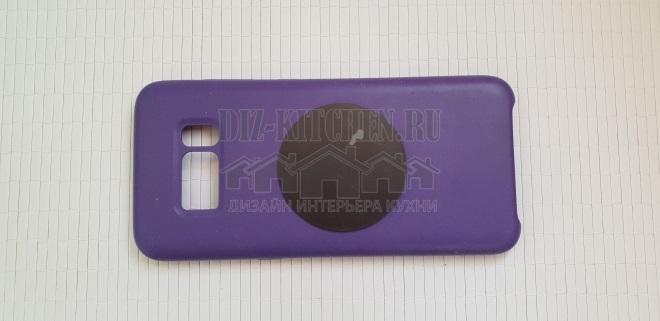
- Turn the cover upside down and attach our magnet using hot glue.
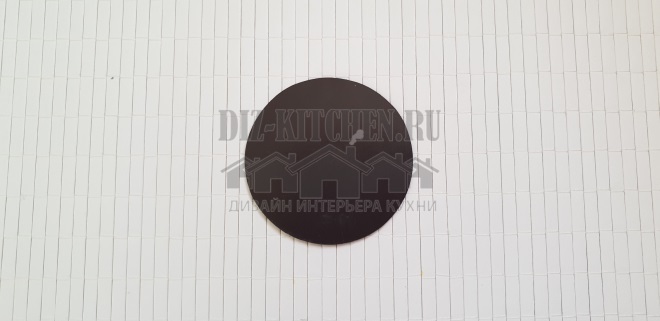
- We place the magnet in the middle so that it holds the case well.
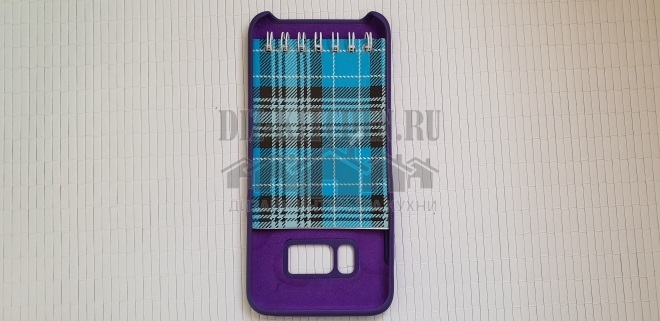
- Turn the cover over and place the notebook inside. The width of my notebook made it possible not to glue it, but simply to paste it. This is very convenient: when the pages run out, I can easily replace it. If the case is wider than a pad, you can use hot glue or double-sided tape.
- If your notebook is wider, you can trim it with scissors. Below I am posting the indices.
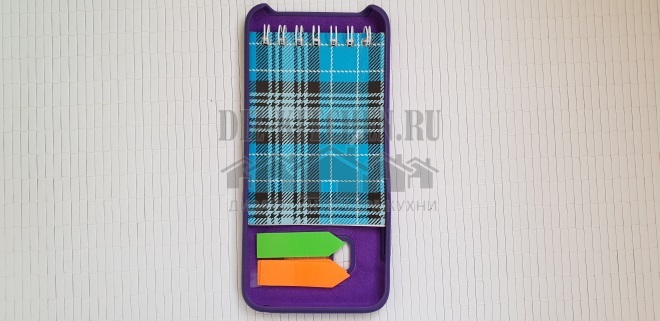
- Please note that the window on the cover should be at the bottom so that a loop can be made through the hole and thus fasten the tape on which our handle is held.
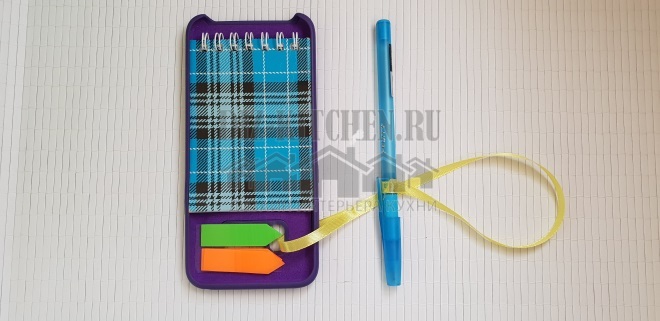
- Our organizer is ready, we attach it to the refrigerator.
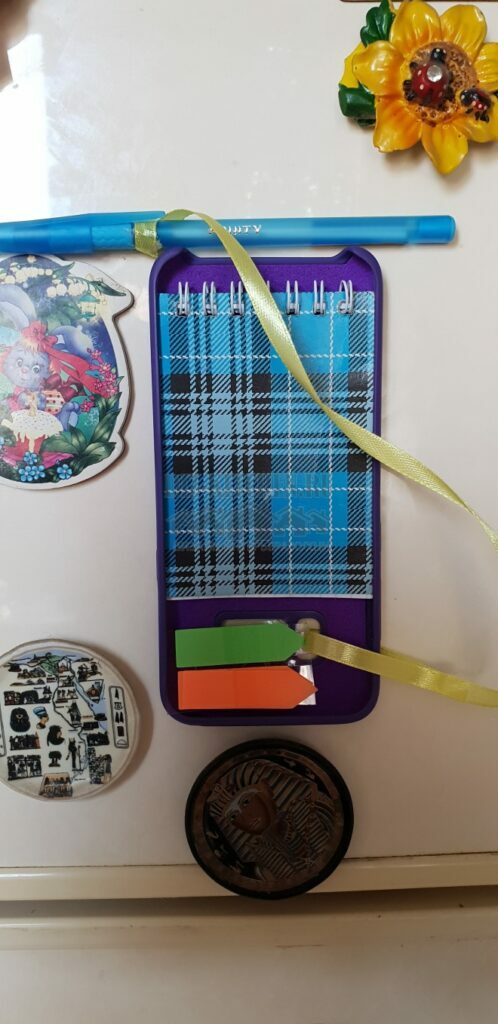
- If you see that the magnet is not strong enough to hold your organizer, you can attach some magnets or simply take a larger magnet.
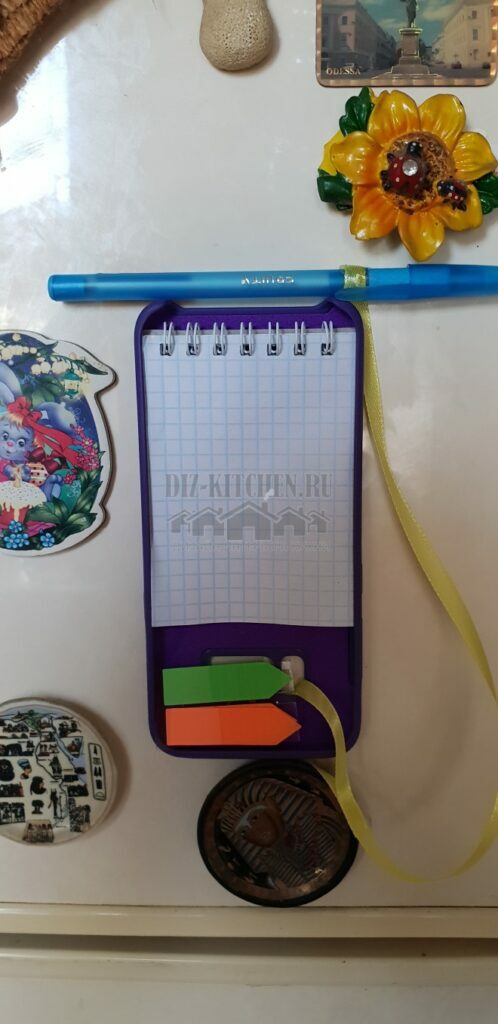 The organizer can be used. I wish you more new interesting recipes and creative ideas!
The ideal format for gatherings in my kitchen is ...
Dumplings party
34.33%
Sitting over a cup of tea
41.79%
Youtube party
11.94%
Cocktail buffet
11.94%
Voted: 67
In order not to lose, tell your friends
Follow us on social networks


Dear visitor!
With great interest I always read your comments to my articles. If you have any questions, do not hesitate to ask them, leave, please, Your feedback in the form below. Your opinion is very important to me. Thanks to your criticism and thanks, I can make this blog more useful and interesting.
I would be very grateful if you rate this post and share it with your friends. It's easy to do by clicking on the social media buttons above. Do not forget the article you like Add to bookmarks and subscribe to new blog posts on social networks. 
Anna, editor of diz-kitchen.ru
© 2015 - 2022 | All rights reserved. At a reprint of materials the active link to the source is required. | User agreement and privacy policy
All characters and stories are fictional, and any coincidence with real or living people is accidental.
