Non-woven wallpaper at one time turned the idea of repair. They have a lot of advantages and are easier to stick. With some knowledge, the whole process can be done with your own hands, having achieved a good result, you just need to understand the technology. In this article, we will consider how to properly glue wallpaper and prepare walls for a quality repair.
Preparatory work
The technology of gluing non-woven wallpapers is not much different from paper and vinyl types of wallpaper. The basis of their gluing is similar, it requires preparation, accuracy and patience. At the same time, you need to know the nuances of working with them.
Attention! Earned on our website kitchen designer. You can familiarize yourself with it and design your dream kitchen for free! May also come in handy wardrobes designer.
Required tools
For high-quality gluing, a large number of auxiliary tools will be required. You can do without them, but using them will make the gluing process easier and faster.
Mandatory tools:
- Roulette.
- Pencil.
- Roller or brush.
- Knife or scissors.
- Container for glue.
 When buying tools, you should know that a roller is more convenient than a brush, and a stationery knife is preferable to scissors. In the first case, the speed of application of the glue will be higher, it will lay down in a more even layer. The knife will allow you to cut canvases with an even cut without chipping.
Additional tools:
- Ladder.
- Long ruler.
- A container with water.
- Building level.
- Small width metal spatula.
- Soft bristle brush for smoothing wallpaper.
- Tray and mesh for removing excess glue from the roller.
- Foam sponge and / or cotton towel.
- Soft tipped rubber or plastic spatula.
You can do without these items, but they will speed up the gluing process and allow you to achieve a higher quality of work. At the same time, it is difficult to get a good result on unprepared walls.
Layout and preparation of walls
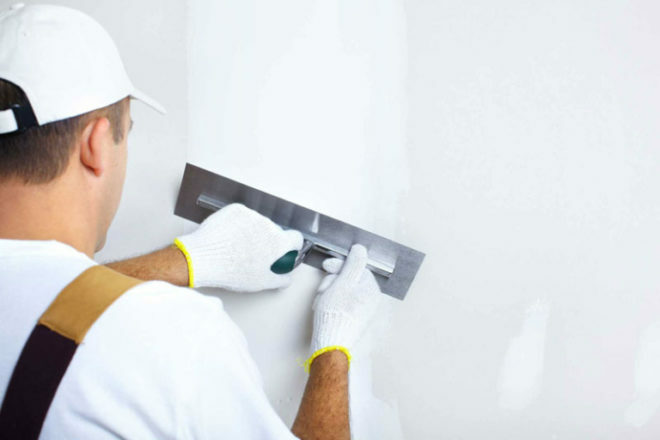
 The structure of such wallpapers allows them to be used on walls that do not differ in perfect evenness. At the same time, there should be no frank bulges, pits or cracks on the surface. Their elimination is included in the first stage of preparation.
It is important not to forget that they cannot be glued on surfaces coated with oil paint. It is necessary to first sand the walls a little with medium-sized sandpaper.
Acrylic paints do not interfere with gluing non-woven wallpaper. This type of staining does not need to be skinned, if the walls were covered with other wallpaper, then they just need to be removed. It is also necessary to clean the surface from dirt, cobwebs or dust accumulations.
It is worth remembering that gluing non-woven fabrics requires a relatively uniform surface color. They shine through a little, so if there was a colored contrasting pattern on the walls, then it will be noticeable. The final stage in preparation is the application of a primer, although many do without this procedure. After that, it is recommended to switch to wall marking using a level.
It is necessary to draw a vertical at a distance of a meter from the corner. You can use a simple plumb line or a building level, and then draw a line. A distance of 1 meter is needed for a wide format of canvases, the use of narrower ones requires a different distance. You also need to consider the future gluing process: the width includes a few cm for fit. If the wallpaper is end-to-end, then it is necessary to draw a vertical line, taking into account these extra centimeters.
Wallpaper cutting
 After preparing the walls, it is recommended to cut strips for the entire room. This rule is relevant only for experienced people, but even they try not to cut all the rolls when gluing canvases with a large pattern that requires adjustment in height.
When gluing non-woven fabrics with your own hands, it is important to remember that the height of the room can be unstable throughout the room. Even if you choose a format that does not require adjustment, then you should not cut everything to the same length. You must first measure the height of the walls in different parts of the room in increments of no more than 50 cm.
Canvases with a large pattern deserve special attention when cutting. The larger the step, the higher the chance of error. For those who are gluing for the first time, it is recommended, if there is a large pattern, to cut off each strip after placing the previous canvas on the wall. This will allow you to adjust the pattern without risking damage to the wallpaper.
The least problematic in terms of cutting are canvases with a lack of a clear pattern. After checking the height of the room, you can immediately cut them, marking their order with a pencil. If the height error is 1-2 cm and you plan to use a wide ceiling plinth, then length measurements are not required, this difference will subsequently close.
Dilution of glue
 Non-woven roll materials are a heavy type of adhesive wall coverings. Many who make repairs with their own hands for the first time make a mistake when choosing an adhesive. For such types of roll coverings, a special glue is required, it is written on it that it is intended for non-woven types of wallpaper. It can be of different manufacturers, but the purpose should be the above.
It will not work to glue such canvases onto paste - they will begin to "slide" off the walls. The only exception is fiberboard: if you glue on this material, then a mixture of PVA with paste is quite suitable.
You can properly dilute the purchased glue according to the instructions. Granular glue from any manufacturer has dilution guidelines. It is usually required to pour the powder into a container with water in a thin stream, stirring the mixture vigorously. It is not necessary to dilute a large portion in advance - with prolonged standing, the glue loses its adhesion characteristics, which can lead to the separation of the canvases from the walls. Even the best glue should be diluted over again if the work is not completed in one day. As a last resort, the rest of the mixture should be stored in the refrigerator and used as soon as possible.
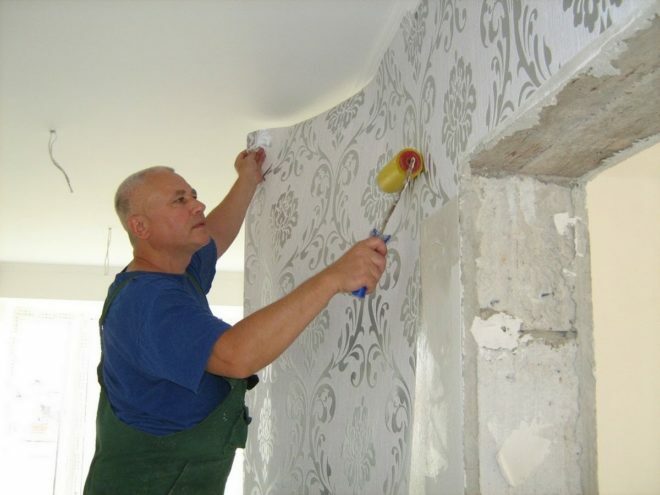
How to stick it yourself? Wall pasting procedure
 Often a person wants to glue the wallpaper himself, after catching a glimpse of the video of this process. Even with high-quality preparation, you can illiterately stick them. This is possible in the case of ignorance or ignorance of the basics of the location of the canvases.
It is also always worth studying the information on the rolls themselves - sometimes they contain additional individual data on working with them. For example, it is possible to indicate a duplicate application of glue on both the wallpaper and the wall. In most cases, it is required to apply it only on the surface to be pasted, leaving the canvases dry.
How to glue: technology
The whole process is divided into 3 stages:
- Glue application.
- Sticking.
- Removal of folds and bubbles.
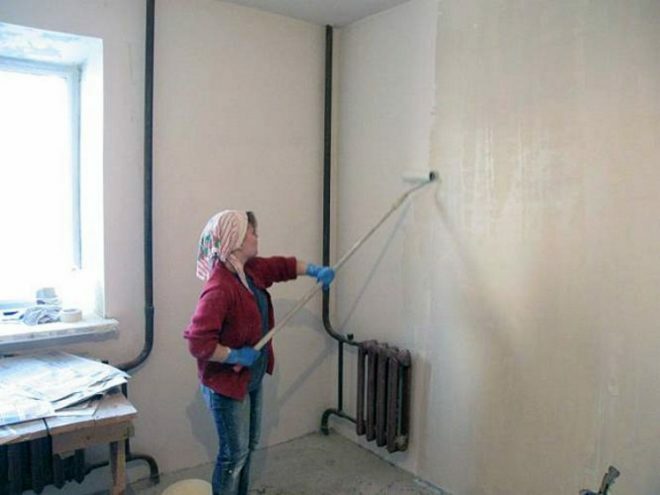
 Before gluing, you need to study the label on the package. Unless otherwise indicated on it, the adhesive is applied only to the wall. This should be done with a small margin of bandwidth. The glue is applied separately for each piece of canvas.
After that, the wallpaper begins to be glued from above, trying not to touch the wall with the lower part of the canvas. If do-it-yourself repairs are carried out for the first time, then it is better to call an assistant. It will hold the bottom of the strip, preventing it from sticking to the wall ahead of time.
For a good result, you need to smooth the wallpaper when gluing from top to bottom, trying to avoid wrinkles and air bubbles. If bubbles remain, then you need to take a rubber spatula or dry towel and direct them without strong pressure to the nearest edge of the canvas. You can also remove minor wrinkles by gently smoothing them out. Large creases require careful detachment of the strip from the wall and re-adhesion. This should be done immediately.
A narrow metal spatula may be required to detach the canvas from the wall to remove wrinkles or to smear the edge of the wallpaper with glue if there is insufficient or uneven amount of it. If glue gets on the front side, it is recommended to immediately remove it with a damp sponge. Only then can the air bubbles be smoothed out. Then you can proceed to applying glue for the next piece of canvas and subsequent work.
Knowledge of the general technology for gluing this type of wallpaper does not always save you from mistakes. Often the work turns out to be of poor quality due to an unsuccessfully pasted first strip. Also, errors are likely when pasting the ceiling.
Front page sticker
The further result depends on the correct location of the first panel. Do not neglect the level or plumb line at least before glueing the first piece. It is recommended to start from the window or from the corner closest to it. Many people use the window as a vertical line, but this does not guarantee that deviations will not be visible in the future.
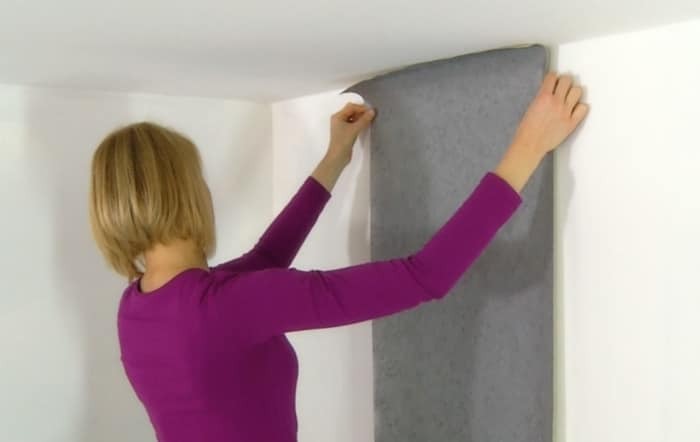
The presence of a verified vertical line of the first strip does not guarantee that evenness will be maintained when gluing with an overlap. In such cases, it is required to regularly unscrew the new vertical and mark it on the wall. Experts recommend doing this for each new strip, but with a good eye, you can skip the canvas through one.
The basics of back-to-back wallpaper do not imply such nuances for each piece. You need to open the vertical of the first page and then just continue to place the next ones evenly. But neither this option, nor the subsequent one will avoid the fitting of the pattern in case of its pronounced presence.
Fitting canvases and photowall-paper on this basis
 Ideally, any pattern is required to adjust, since this type of wallpaper has a relief, it also needs to be combined to achieve the maximum effect of uniformity of the wall covering. This type does not require a strong increase in material consumption, while a large pattern can force you to buy an extra roll.
On modern wallpaper, manufacturers indicate the size of the adjustment step for aligning the pattern. The label indicates the number of centimeters inserted between the repeating elements of the pattern. To align the pattern, slide the fabric up or down to cut the next strip.
Wall murals are considered a more complex type of pasting. It doesn't matter what kind of base they have - paper or non-woven, the gluing process itself requires at least minimal experience. They require an accuracy of alignment of the pattern literally up to 1 mm, which is difficult to do when working with roll wall coverings for the first time. It is more correct and logical to first paste over the room with simple wallpaper, arranging a workout for yourself. It is better to go to gluing photowall-paper, already having a small amount of skills.
Pasting the ceiling
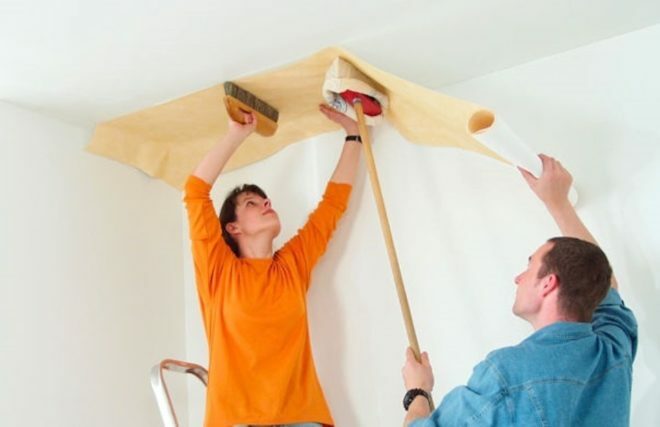
If you decide to glue the wallpaper on the ceiling with your own hands using rolled non-woven materials, then you need to remember about the correct joining and location of the canvases. There are only two rules:
- Joints parallel to sunlight.
- The canvases are arranged without overlap.
Such requirements have a logical justification - it is difficult to cut the overlap from the ceiling with high quality, and if it is not removed, it will be very noticeable. The same applies to the location of the canvases - the wallpaper should not be glued perpendicular to the window. For the rest, gluing the ceiling differs little from the walls.
Final work
After finishing work, it is important to observe the correct drying - the wallpaper must dry for 24 hours with the windows and doors closed. Ignoring this requirement can lead to the appearance of bubbles, folds and other deformation of the fabrics.
If you set yourself a goal, then it's not difficult to find out how to glue such wallpapers with your own hands. Each person can do it himself. You need to follow the recommendations and be careful in your work. Then the result will come out worthy and without the involvement of highly paid specialists.
Video: proper gluing of non-woven wallpaper with your own hands
average rating 0 / 5. Number of ratings: 0
No ratings yet. Be the first to rate.