The process of filling the walls is quite simple, but before performing the main work, you need to familiarize yourself with the nuances of the choice of solution, as well as know how to handle the instrument and how to properly align base. From our article we will learn how to putty walls, the video will help to consolidate the skills and successfully use them in practice.
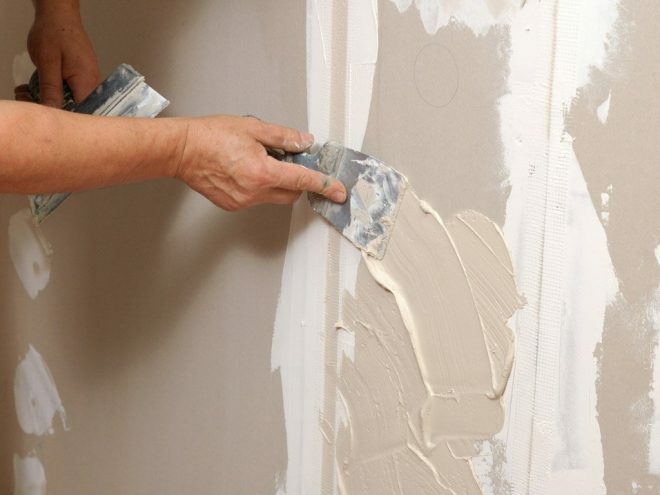
Which putty is better to putty the walls and how to choose it
This term comes from the spatula tool. It is a plastic mortar that is used in construction to level substrates and eliminate defects on them. The preparation of the surface of the walls consists of several processes, for each of which a different type of mixture is used.
Attention! Earned on our website kitchen designer. You can familiarize yourself with it and design your dream kitchen for free! May also come in handy wardrobes designer.
According to the method of application, the putty can be:
- starting line-up;
- universal solution;
- finishing mixture.
The main ingredients of all these solutions are gypsum or chalk, as well as other additives (hardeners or thickeners). The starting mixture is used for the initial leveling of the walls, with its help you can level out small differences in the heights of the plaster, as well as fill in chips and cracks. The finishing solution allows for decorative surface finishing. Such material consists of the smallest particles, which allows you to make a perfectly flat wall or ceiling. The universal filler can be used for initial or final leveling.
In addition to the classification by the method of application, the material in question can be:
- Acrylic mixtures are used in construction for interior decoration. This material has good moisture resistance, it protects the enclosing structures from moisture, prevents the appearance of mold and mildew. Acrylic solutions are suitable for use on wood surfaces.
- The water-dispersed composition differs from analogs in elasticity, resistance to cracking, good durability and excellent adhesion.
- Oil-adhesive solution is made on the basis of drying oil, it is used for finishing the base before applying paint.
The most common is considered to be a putty based on a cement binder. It is ideal for working with stone, concrete or brick surfaces. The composition can be used in rooms with high humidity.
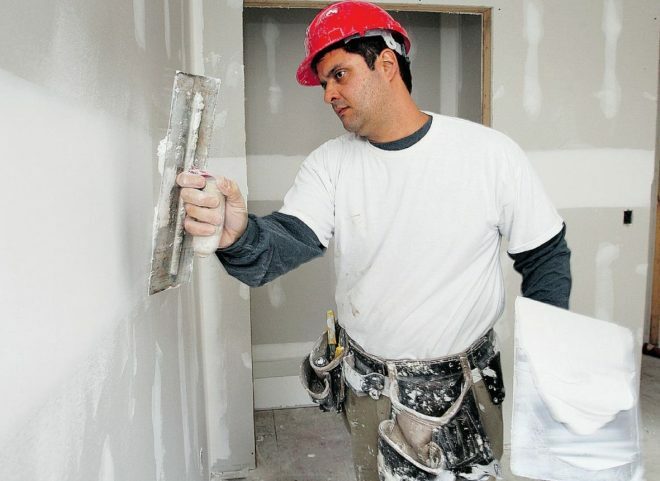
Calculation of the required material
material consumption is usually indicated by the manufacturer on the packaging:
- for the starting lineup 1.8 kg / m2;
- for finishing solution - 0.44 kg / m2;
- for a mixture of vetonite - 1.18 kg / m2;
- for oil-adhesive mortar - 3 kg / m2.
When calculating the amount of material, it is necessary to measure the length and height of each plane, then calculate the area and add up all the values. Completes the calculation by subtracting the areas of door and window openings.
Let's get acquainted with the nuances of the calculation using a specific example. We need to putty two walls 3 and 4 meters long with a room height of 2.8 meters. The enclosing structures have two windows with a total area of 3 m2 and doors with an area of 1.7 m2.
First, we calculate the total surface area - (3 + 4) * 2.8 = 19.6 m2;
Subtract the area of the holes from the total value - 19.6-3-1.7 = 14.9 m2.
Now we calculate the required amount of putty for these walls:
- for the starting lineup 14.9 * 1.8 = 26.82 kg;
- for finishing solution 14.9 * 0.44 = 6.55 kg.
Putty is sold in bags of 20 kilograms, but the mixture is taken with some margin. The rest of the material is stored in a dry ventilated area.
What tool is needed for puttying
The application of the finishing putty on the walls can be seen in the video. It is carried out using the following tool:
- The rule is a long wooden strip measuring 1.5-2 meters. This tool allows you to smooth out minor irregularities in the substrate, it is used when applying a starter mortar.
- An electric drill with a whisk is used to prepare the working mixture.
- A spatula with a straight metal blade and the same tool for working in corners.
- Foam or plastic trowel with mesh for grouting the surface after the mortar has dried.
- The building level allows you to check the verticality of the base and the quality of the work carried out.
- Roller or paint brush for applying the primer to the substrate.
- Buckets or basins are used to prepare the solution.
Of the materials, a dry mixture (putty), a ready-made primer solution and serpyanka are used to seal the joints between drywall sheets.
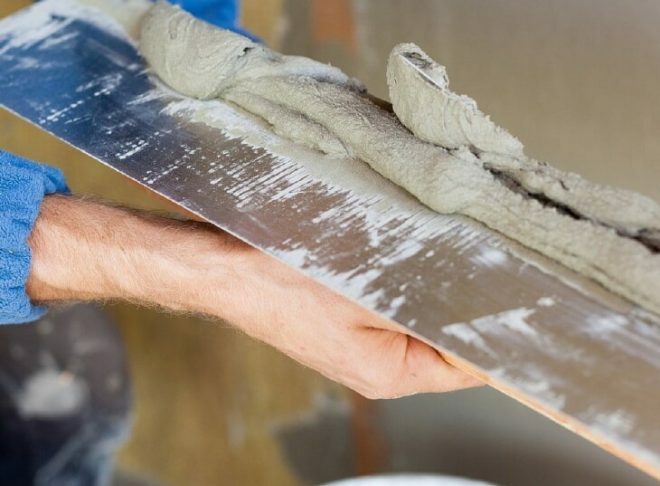
Preparation of the wall surface for putty
Some users ask about the need to apply a primer to the substrate before laying the putty. Yes, such a solution, when cured, improves the adhesion of the leveling mixture to the base surface, but before applying it is necessary to remove old wallpaper or paint, pieces of peeling plaster.
In practice, several options for preparing the base are used:
- moisten old wallpaper with water and remove remnants with a spatula.
- warm up the paint with a building hair dryer;
- detachment of the plaster is knocked down with a perforator or spatula.
If, after removing the old coating, cracks remain on the base, then they must be repaired with plaster. If you do not fill the voids, then the putty, after drying, will again break in the same place.
The crack filling process consists of a few simple steps:
- We take a hammer and chisel in our hands and begin to expand the crack.
- Use a brush or sponge to sweep the dust out of the recess.
- Apply a primer and wait for it to dry.
- We process the area with coarse sandpaper, which will improve the adhesion of the surface with the solution.
- At the joints of drywall sheets, we lay a serpyanka and apply the first layer of putty, masking the screws.
After filling all cracks in the base, apply a primer using a paint brush or roller. When the wall dries out, the impregnation is repeated again.
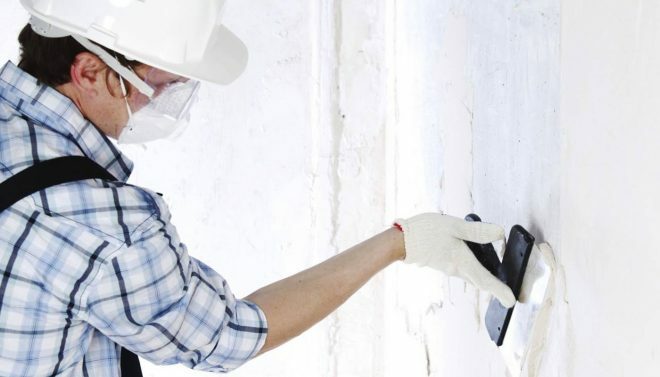
The technology of applying putty on the walls
After the surface has been properly prepared, you can begin to throw in and level the putty.
Starting surface putty
The compositions in question are diluted with water according to the manufacturer's instructions. This applies only to dry mixes, polymer solutions are already ready for use, you just need to open the bucket and mix the material thoroughly. Each user should remember that the putty hardens quickly (about 20-25 minutes), so prepare the amount of paste required for work.
The finished putty should be applied to a previously primed dry substrate. Let's get acquainted with the technology of applying putty on the walls:
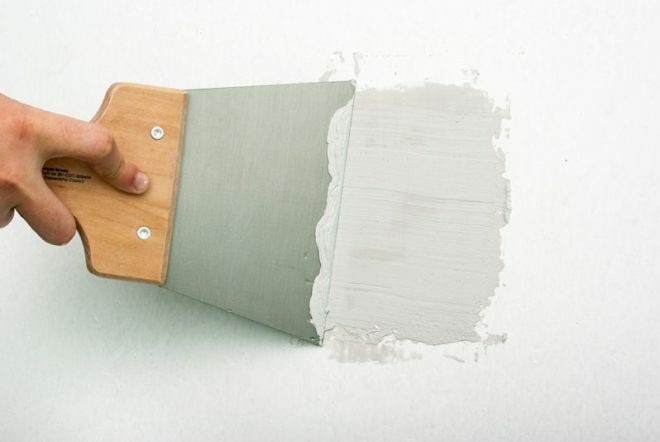
- we collect the mixture from a bucket with a spatula and throw it on the wall with wide sweeping strokes;
- the movements of the master must be clear and confident;
- during application, the spatula is firmly pressed against the plane. While smearing, observe one corner of the tool.
- we smear or remove the formed influxes of the solution.
If there are significant differences in height on the wall, pour the solution into the pits, when it hardens, we go over the putty with coarse-grained sandpaper until a smooth surface is formed. After that, we proceed to leveling the rest of the wall.
Lighthouse plaster of walls
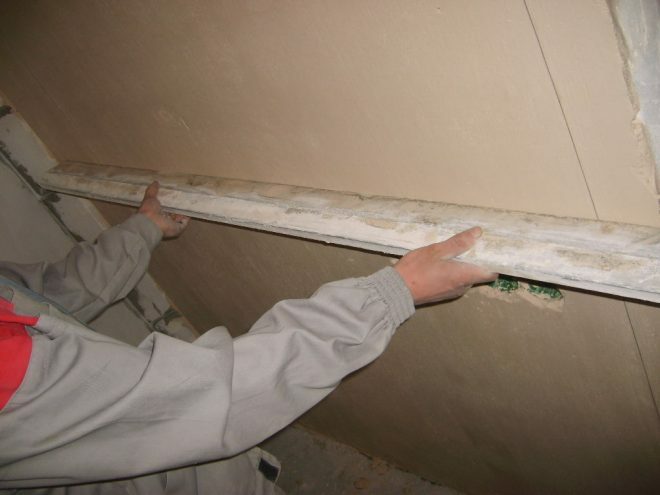
When using beacons, the master can perfectly level the walls before applying the finishing solution. Lighthouses are flat metal or wooden products that are installed in an upright position in such a way that they form a single plane.
Consider the sequence of wall putty work on lighthouses:
- We fix the guides with plaster. Such a mixture quickly solidifies, which will help to start the main work in a short time. Putty is applied in the voids between the beacons, after which the solution is carefully leveled with a rule. The master must move the tool along the guides.
- The quality of the dried surface is checked using a building level, if necessary, add a solution or remove an excess layer.
This method of wall decoration has not yet found widespread use. The main reason for this is the increased consumption of the mixture and the additional costs of purchasing beacons.
Finishing wall filler
After the wall is dry, you can start laying the finishing layer. Such plaster will make the surface perfectly smooth, hide all irregularities and cracks.
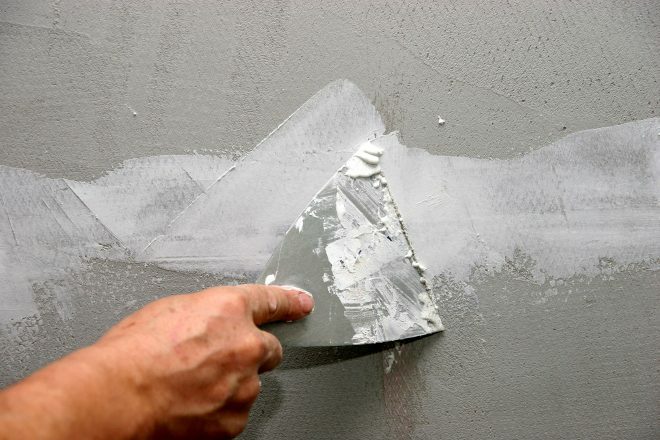
Do-it-yourself finishing putty on the walls is laid with a thin layer of 1-2 millimeters using a wide spatula. In hard-to-reach places, a standard width tool is used. Strokes should be done in such a way that no streaks remain on the surface of the walls. If grooves appear on the base, they are repeated along the plane. The ideal result is given by strokes in a perpendicular position to each other.
Filling cracks in the walls
A plaster mortar is used to mask cracks on the base surface. After expansion, the crack is scratched with a knife along its entire length in order to increase adhesion. After that, the defective place is impregnated with a primer. When the solution is dry, plaster mortar is pushed into the recess, then the surface is leveled.
Surface preparation for painting and wallpaper
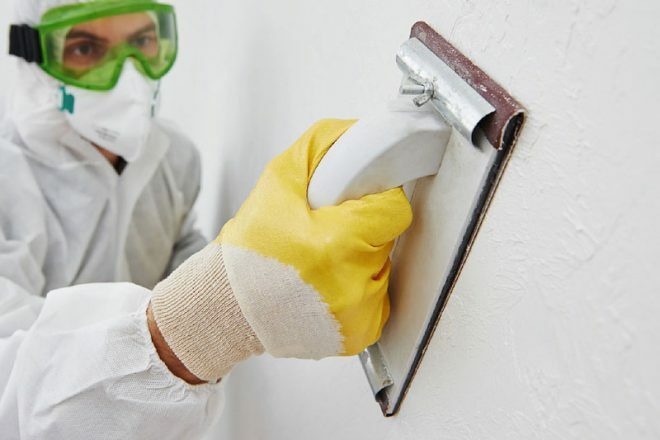
If, after the finishing putty, the wall remains perfectly flat, it is necessary to clean the surface from protruding traces of the solution, after which you can wallpaper the walls. Before painting, it is necessary to additionally check the plane; in places with grooves, additionally add and smooth the putty. When it is dry, the wall is rubbed. The surface for applying paint must be perfectly flat.
Tips & Tricks
Take into account a few guidelines for working with putty:
- Always buy more mix than the calculated value;
- While preparing the solution, mix the ingredients thoroughly, let it brew for about 5 minutes and mix again;
- The putty is made of gypsum, it hardens quickly, so prepare the mortar at the rate of 15-20 minutes.
When applying putty on the beacons, follow the position of the rule, it should evenly remove the layer of solution and press firmly against the guides. Smears are made with a wide spatula in a perpendicular direction, which allows for a better smoothing of the mixture. Follow all these rules and you can get a perfectly smooth wall surface.
average rating 0 / 5. Number of ratings: 0
No ratings yet. Be the first to rate.


