Russia, Moscow region, Moscow+79041000555

 It takes ~ 3 minutes to read
Today I want to share how you can make a very useful thing from an old unnecessary box - a craft that will not only decorate your interior, but will also be a good helper in the kitchen. It happens that there is little or no space on the table, and napkins or other little things are needed at hand. In this case, a similar organizer on the wall will come in handy.
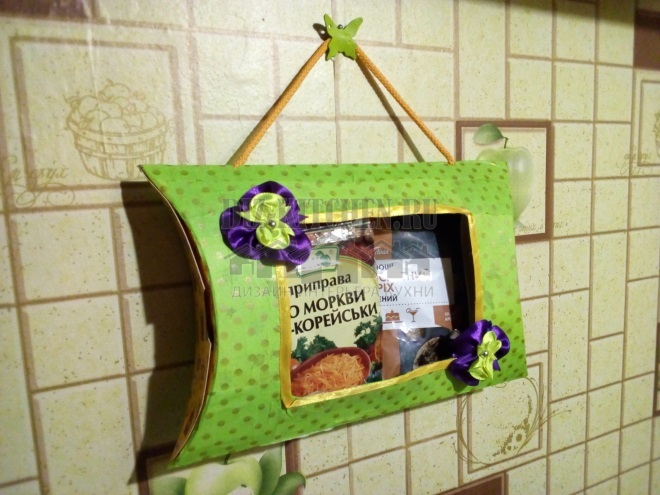
To make a napkin organizer you will need:
Attention! Earned on our website kitchen designer. You can familiarize yourself with it and design your dream kitchen for free! May also come in handy wardrobes designer.
- Cardboard box;
- Wrapping;
- Scissors;
- Glue gun;
- Decor elements.
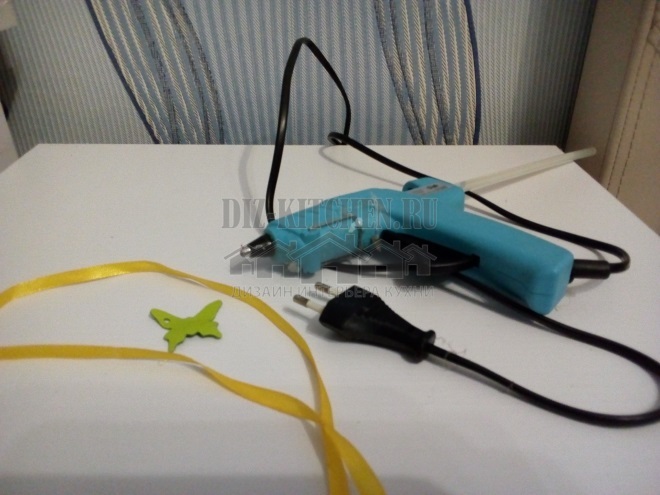
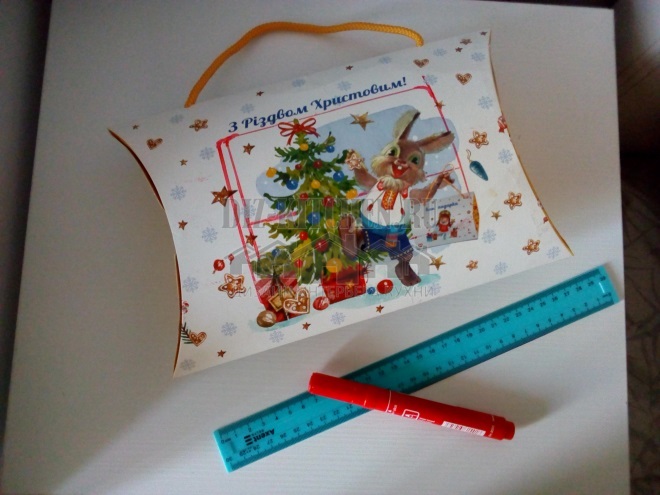
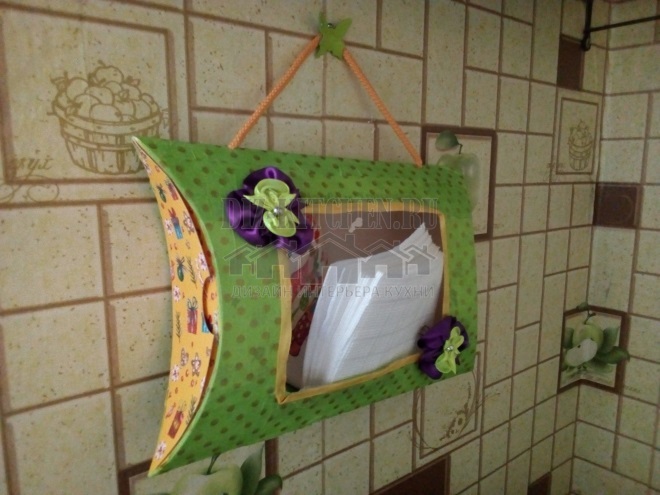
- Any cardboard box is suitable for our craft. After the New Year holidays, I still have such a box with a ready-made lace. It is also convenient because bulky items can not only be put through the window, but also through the side.
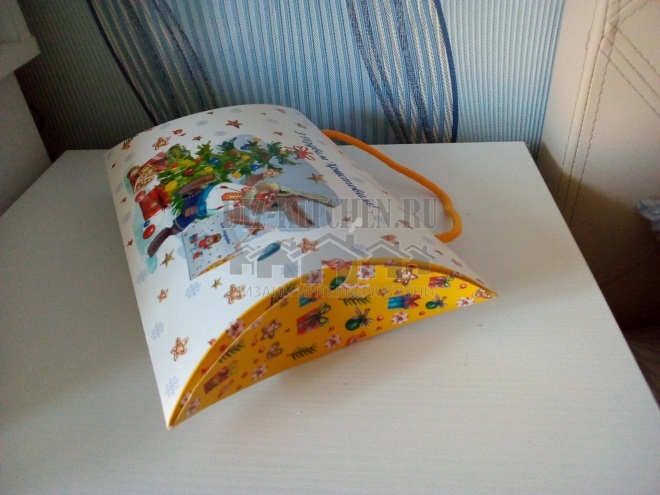
- I am planning to hang this craft on the wall. My box is shaped like a cylinder, but any medium sized rectangular or round box will do.
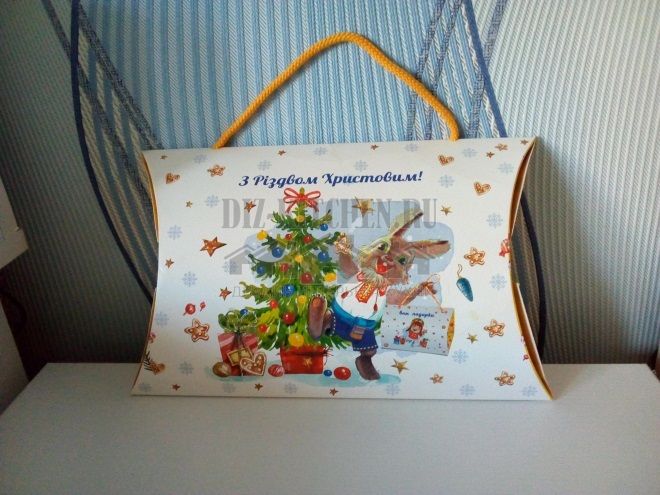
- First, decide what you will store in this box. It depends on what size you will make a pocket or hole in your organizer. I am planning to use my organizer for storing paper napkins or spices. Therefore, the incision is slightly larger than the napkin.
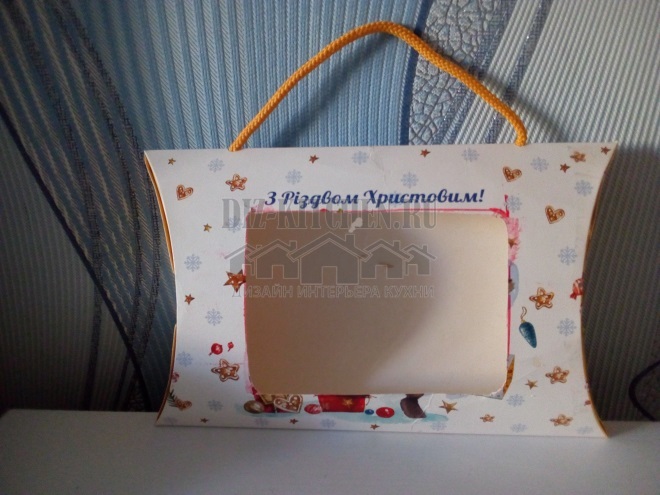
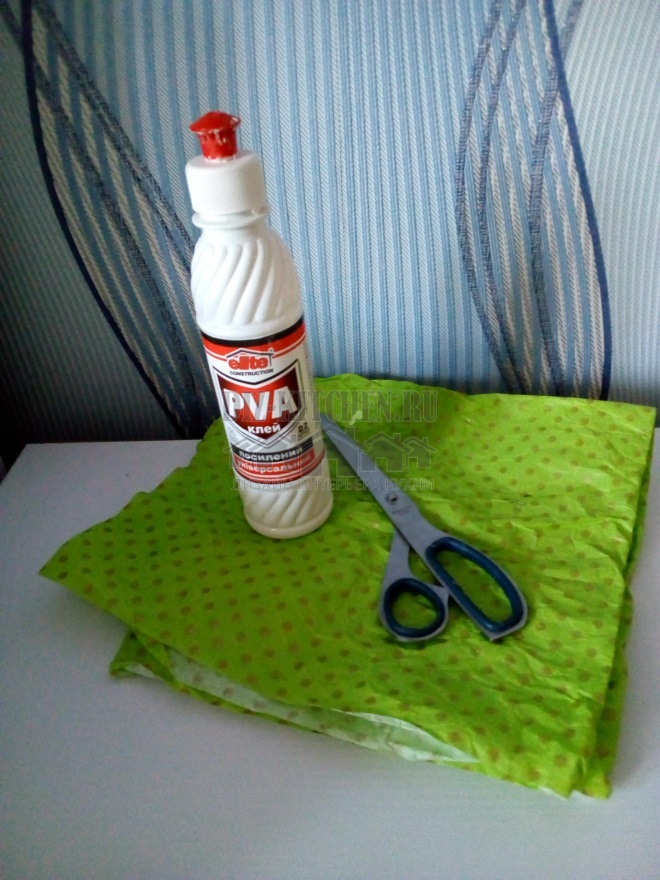
- To decorate the box, I will need any wrapping paper, scissors and PVA glue. First, let's outline the size of our hole using a ruler and a colored marker or felt-tip pen. As you can see, my pocket is shallow. If you plan to store cutlery or something similar, make the pocket deeper so that the items do not fall out of our organizer.
- I also need hot glue and tape to decorate the box. We glue the box with paper and let it dry thoroughly. After that, all we need to do is decorate our craft. We glue the edges of our pocket with tape and decorate our organizer. For this I use satin ribbon bows.
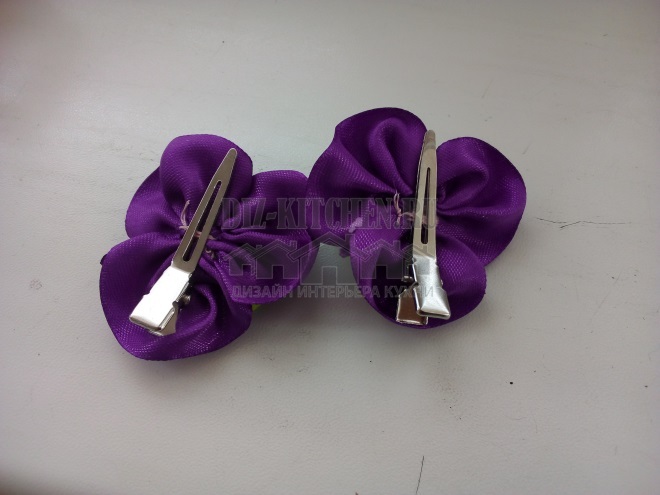
- In order to make such a bow, you just need to assemble it on a needle and thread to your liking. For convenience, I attach clips to the back, but you can simply glue or sew on the bows. You can decorate the organizer with beads, rhinestones - whatever you have at your fingertips. Jewelry can be purchased at any craft store.
- Now we determine a place in our favorite kitchen for our organizer. As you can see, the wallpaper in my kitchen is in green and brown shades, so I chose the paper, respectively, for the organizer in green, so that it would look harmonious on the wall.
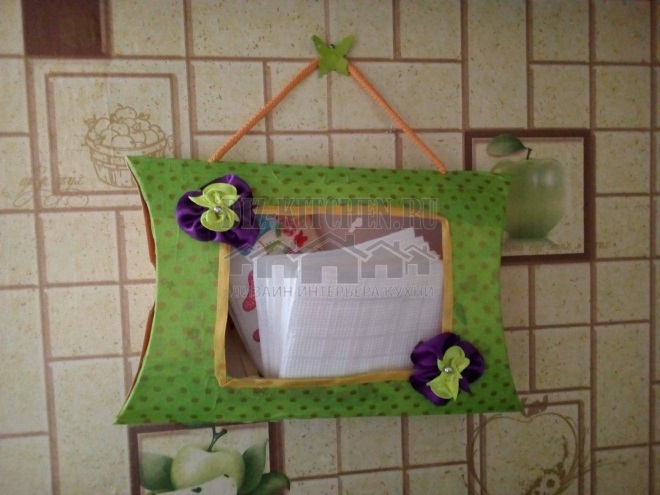
- I hung my organizer on the kitchen wall and can use it both for storing spices and for paper napkins. Now they are always at my fingertips. Good luck to everyone! Let your kitchen be beautiful and comfortable!
What do you do with old furniture?
I sell
22.34%
I take it to the dacha
26.6%
I give to the poor
25.53%
I disassemble and store on the balcony in the hope that someday it will be useful
25.53%
Voted: 94
In order not to lose, tell your friends
Follow us on social networks


Dear visitor!
With great interest I always read your comments to my articles. If you have any questions, do not hesitate to ask them, leave, please, Your feedback in the form below. Your opinion is very important to me. Thanks to your criticism and thanks, I can make this blog more useful and interesting.
I would be very grateful if you rate this post and share it with your friends. It's easy to do by clicking on the social media buttons above. Do not forget the article you like Add to bookmarks and subscribe to new blog posts on social networks. 
Anna, editor of diz-kitchen.ru
© 2015 - 2022 | All rights reserved. At a reprint of materials the active link to the source is required. | User agreement and privacy policy
All characters and stories are fictional, and any coincidence with real or living people is accidental.


