It is necessary to lay the tiles on the kitchen backsplash - we begin to be wise. This is always the case with beginners. You need to organize your first experience as a tiler as simply as possible, abandoning intricate mosaics, diagonal "harlequin" and other delights. It will turn out to lay out two rows of 40 x 20 cm without flaws - and the beginner is almost a pro! In this article, we'll talk about the rules for laying a tile apron in the kitchen with your own hands.
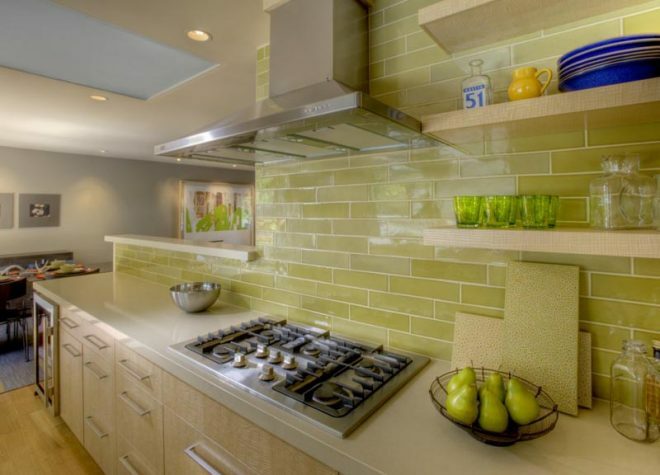
Features of a tile kitchen apron
The adhesive under the ceramics should lay evenly, without air pockets. A beautiful, but very fragile material has to be washed repeatedly, sometimes with effort. It is unlikely to fall out, but it will crack - for sure.
Attention! Earned on our website kitchen designer. You can familiarize yourself with it and design your dream kitchen for free! May also come in handy wardrobes designer.
And also the strip above the work surface should decorate, please. The cooking process is laborious, something should be invigorating. Choosing beautiful tiles is half the battle. They harmonize the top and bottom of the headset and are an important part of the interior. Wouldn't be wrong with the design!
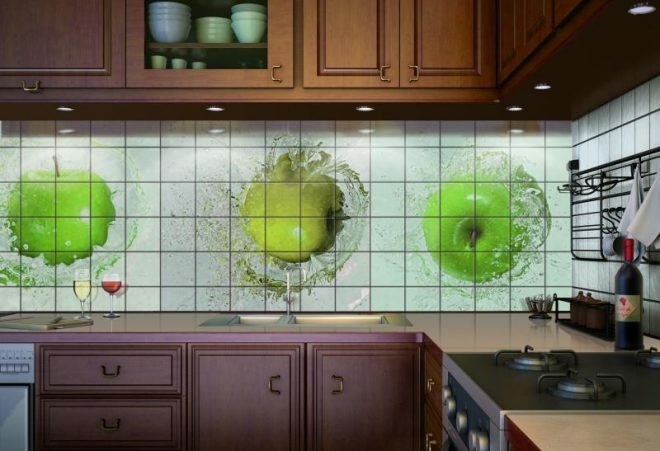
Pottery is three thousand years old or more. Designers insist on paying attention to the following points:
- It is impossible to lay without seams, 2 mm, 1 mm, but it should be;
- It is necessary to bring some of the tiles down, under the table level;
- We put the edge of the upper row under the upper cabinets;
- We put it above the hob higher; if the exhaust arm is without front linings, we put it under the very exhaust hatch;
- Do not lay small cuts in the corners of bends, at the bends of the apron;
- From the corner to the left / right - there should be identical pieces of tiles;
- 2/3 of the length of the tile is a good cut, half of the tile is tolerable, it is better to exclude smaller sizes;
- The main thing, the most difficult thing, is to combine the pattern of the apron with the structure of the kitchen furniture.
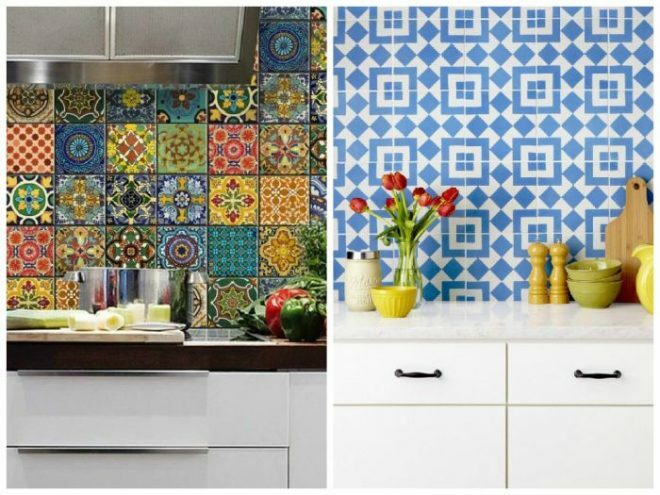
Determine the size of the apron, material calculation
Let's say a furniture system is adjacent to two walls - a long one and a short one. One of the ends of the headset has a turn near the front door. That is, the layout is "G".
Difficulties:
- start with solid tiles on the left and right;
- do not grind with small cuts inside the corner;
- determine exactly the bottom edge of the layout.
Selected seam 2 mm. This means that the calculations should operate with a 202 mm module, and not at all tiled 200 mm. From the corner edge, the adjacent layer will “take” 18 mm (where 1 cm is the thickness of the adhesive layer, and 0.8 cm is the thickness of the tile itself). But from the total length of the masonry, it pretends to its own molding-limit switch. Him - 15 mm.
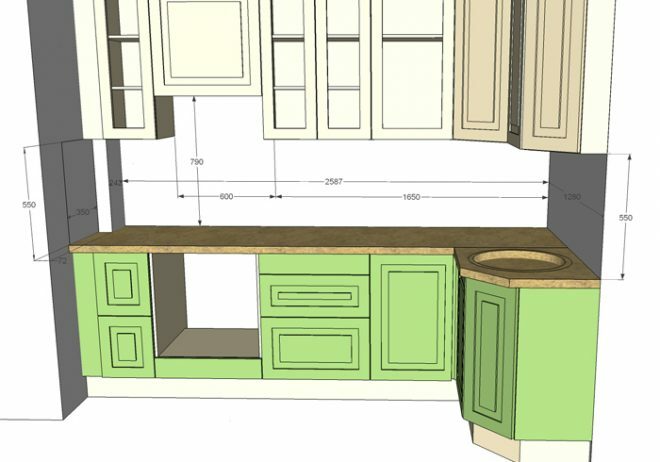
We draw a strip for tiled masonry on the plastered wall, taking into account:
Distance from the finished floor to the edge of the lower row of tiles |
Distance from the surface of the countertop to the center seam |
Distance from the bottom edge of the cabinets to the middle seam |
850 – 60 = 800 |
850 + 20 + 330 = 1200 |
70 + 330 = 400 |
where 850 is the height of the lower part of the headset |
330 - visible part of the tile height, without leaving under the cabinet 50 (mm) |
|
20 - the width of the molding covering the interface of the table and apron |
70 - going behind lockers |
|
330 - half h tile |
From here it can be seen that the curbstone along with the table top and corner molding will cover not 5 cm of the bottom row of tiles, but all 7. Move (increment) the 2 cm offset to mark the horizontal axis. The upper row of the tile with its lower edge will lie at the level (850 + 20) + 1.5 + 330 = 1201.5 (mm). Stripe 661.5 is the visible part of the apron, neatly separated by one horizontal seam.
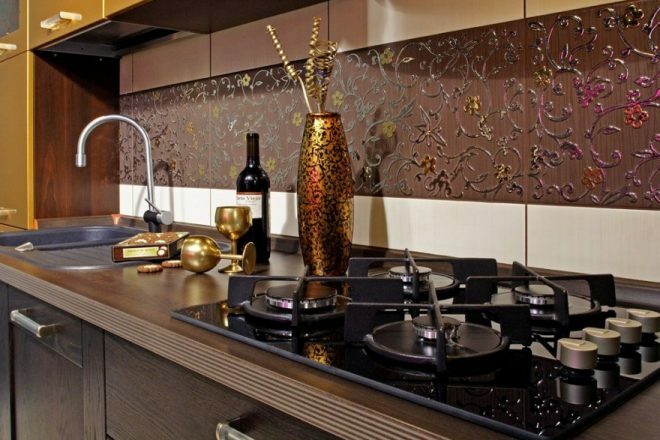
It is not difficult to calculate the number of tiles purchased - you need to add as many tiles to the total area S2 as required for cutting. The cut tiles are used only once, so there is no need to be overly sophisticated. About the economical use of the pieces: darkening the gloss, mismatching the corners, the secondary use of the mean will give out.
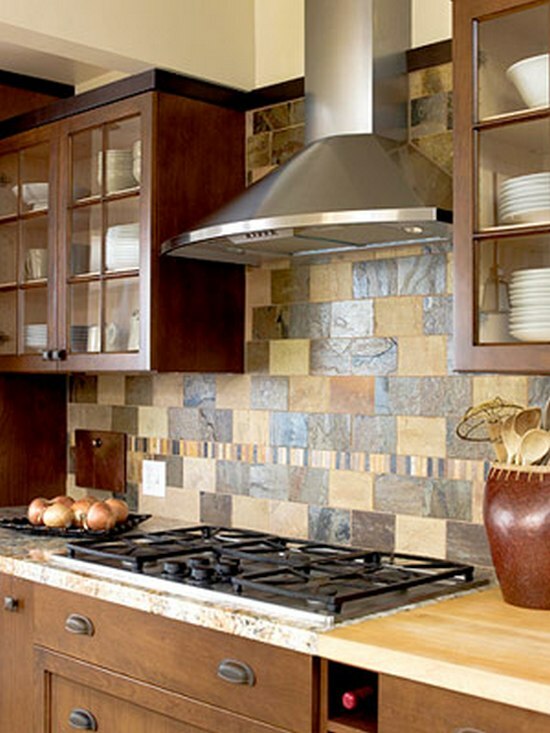
It should be noted: the simplest example is given, but for the most optimal apron height - about 660 mm, as well as for the standard height of kitchen tables - 850 mm.
For beginners, we do not offer patterned, striped, panels, embossed decors. But if you load this on yourself the first time, you should draw all your ideas with coal, adjusting the verticals behind the horizontal seams.
Preparation for work and the necessary tools to lay out the apron in the kitchen
Tiles have been purchased, the required amount of dry tile glue has been purchased. What other tool do you need?
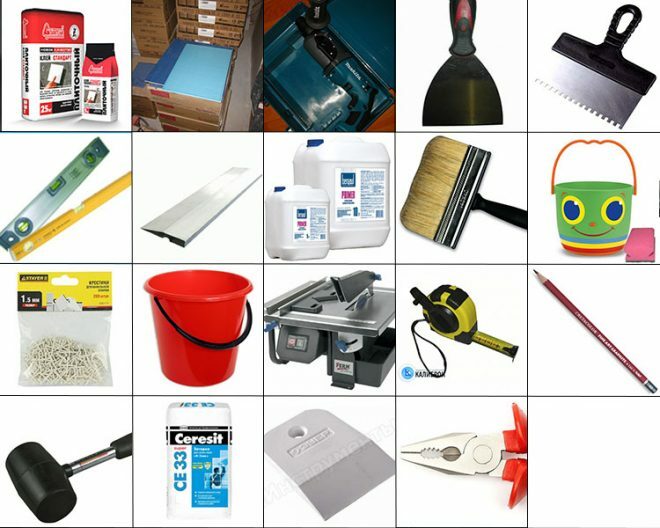
Here's a list:
- spatula 15 cm - for kneading and cleaning around,
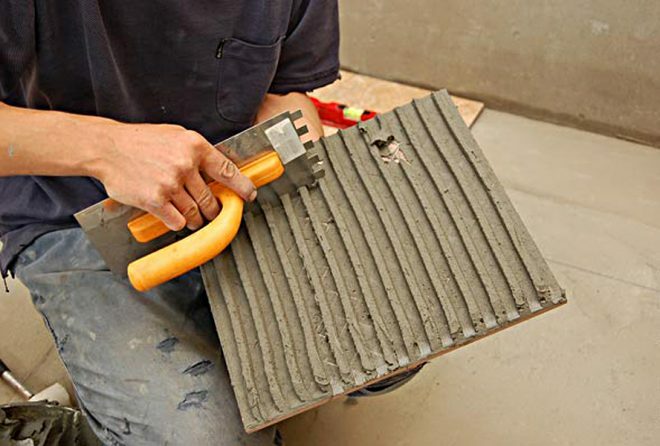
- notched trowel - remove the ridges,
- metal grater,
- sponge grater,
- paint roller,
- drip level,
- drill + mixer nozzle,
- hacksaw for metal + diamond string,
- drill "ballerina", diamond drill,
- two buckets,
- pieces of polystyrene (drywall),
- laser level,
- crosses 1.5,
- joiner's pencil, felt-tip pen.
At point twelve of household chores, the master will exclaim: "To buy such an expensive thing?" We parry the exclamation: the instruction is not intended for a master who knows how to support the bottom row from a rule, a profile, attaching it with dowels, or even propping it up with a stick. The pros are resourceful. A novice master will use a laser to deduce the corners in the entire apartment with a laser, fix the wallpaper, fix the baseboards. It turns out that the most necessary thing for the household.
Installation instructions
Once again we check whether the corner is straight, the adjacent slopes of doorways, windows. The vertical alignment must be perfect. Refrigerator, buffet - right behind the tiled apron? Then you cannot lay tiles there: there will be an ugly gap without a snug fit to the wall. We find the exact boundaries.
Wall surface preparation
- The old wallpaper was riddled with knife cuts, abundantly moistened, scraped off with a spatula.
- The oil paint was cut and primed. The dried surface was plastered again. They sanded it.
- The concrete of the new buildings was checked with a yardstick for blockages from a strict vertical. We eliminate the identified errors with duralumin beacons, placing each one on plaster “blots”, pushing against the wall with a vertically verified measure. We clean off the excess plaster on the sides. We will plaster again. Pay attention to possible swelling of the surface. We go around the “tummy” with beacons, as it is already pushed forward. It will have the least amount of plaster.
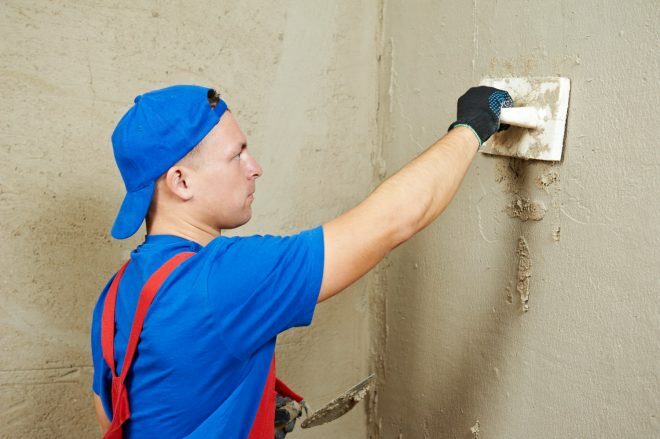
An even dry surface is primed at least twice.
Markup
The bottom row is the defining one. For the initially selected type of tile 400 x 200 mm, only one line is needed: level 820 from the floor. This is if the floor is installed. And if not? The situation when the apron is laid before working with the floor covering is largely true. Why dirty the finished floor? In this case, the level 830 must be raised from the concrete screed. The tiled floor has h = 20 mm (the laminate floor is less than 15 mm). If 20 is added - all 850 will work out.
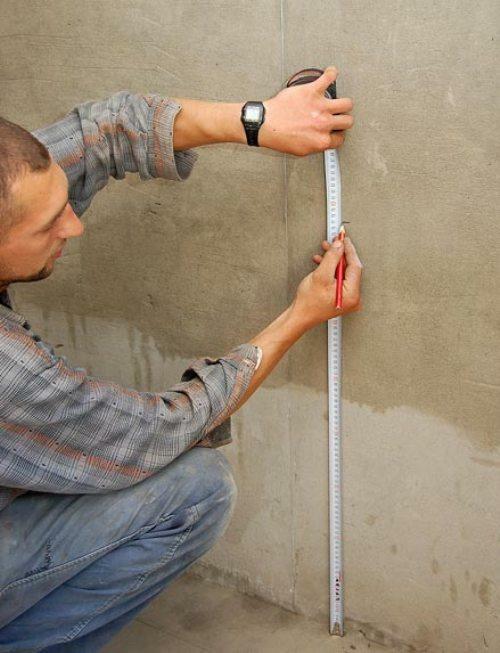
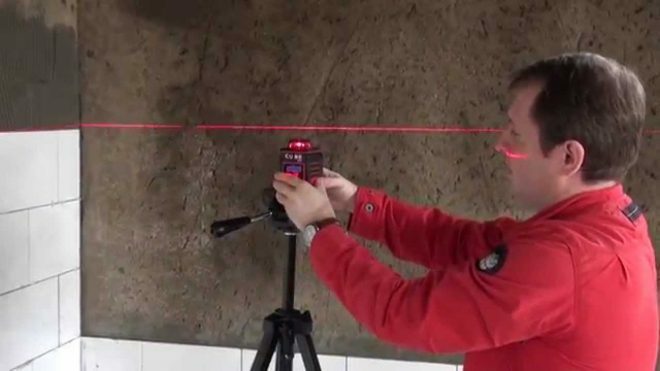
We put the laser level on a tripod, highlight one single line - the edge of the bottom row.
Preparation of adhesive solution
Pour some water into the bucket (so that dry powder does not become a precipitate). We put on a respirator, rip up the bag, and fall asleep. For a length L of 3 m, h 0.8 m, 5 kg of glue will be needed, that is, 1/5 of a 25 kg bag.
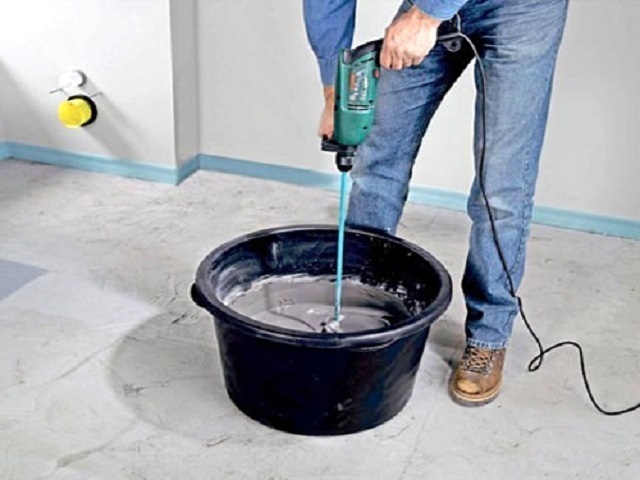
Gradually add water from a plastic bottle until a thick slurry forms. We scrape off the powder spraying along the sides of the bucket with a spatula, return to the total mass. We keep the resulting gruel for 5 minutes, mix with a mixer again. The glue is ready.
Tiling technology
Now we detect 10 minutes. Exactly how much is needed for laying a small two-row apron. If you hesitate a little - the glue will begin to lose its plasticity, so it will be difficult to tighten it, it will be difficult to squeeze it. Protect your hands! Textile gloves for this.
We throw all the glue on the section of the wall under the apron, you can grab it 2-3 cm wider. The left hand holds a metal grater, the right hand holds a notched trowel. They formed 80 cm of ridges from top to bottom, picked up the excess, so on throughout the site.
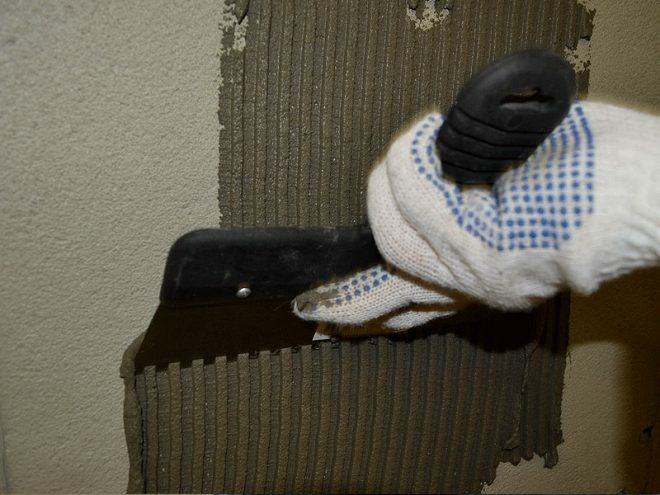
Guided by the laser outlined level, we put only whole tiles, the places of the rosettes, corner and extreme cuts, skipping. There are remote crosses in the pocket, we put them in without leaving.
We go around the laid, cleaning the contours from excess glue. Use a wooden stick or just a spatula to check if the seams are not clogged. We clean off the excess with a dry (!) Cloth. We finish off the corners based on the laid. We bring a tile to the site, apply it, mark the inserts exactly from the real one, without inventing anything.
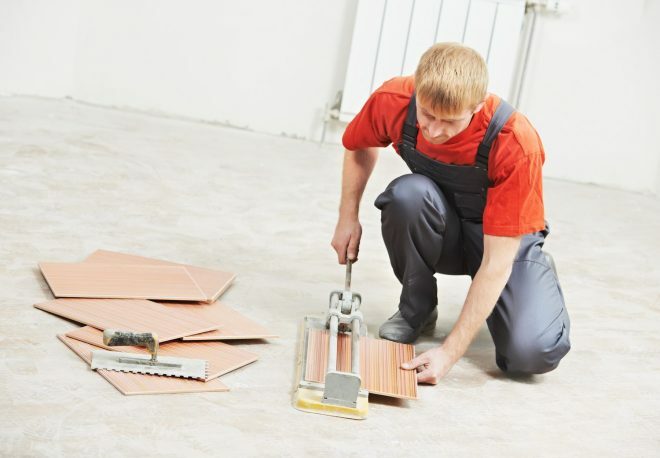
Then work a tile cutter (hacksaw + diamond thread - as an option), a drill with a ballerina. We work on pieces of drywall (not on crooked concrete - otherwise it will crack).
Advice: it is better to mark out on the glued pieces of paint brushes - both under the circles and under the hacksaw. It is much more difficult with a felt-tip pen.
Grout
Having checked the level of the tiles, tapping questionable places for balance, you can start grouting with a rhinestone. The fugu is also poured onto water, mixed with a clean mixer. Taking out of the bucket, close the seams with a spatula, smooth them out.
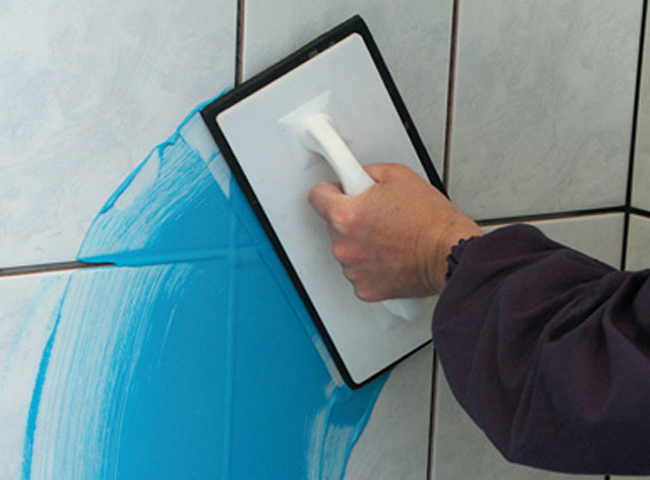
We remove the excess: a roller is applied to the bucket of water in such a way that it rotates with its supra-bucket part, getting wet (the bucket is full to the top). With a spongy grater dipped on a rotating roller, take away the excess fugue, wash, moisten, wash until the excess fugue is completely removed. Each time the grater is moistened, but wrung out.
Output of wires and sockets
We drill holes. The sockets of the socket boxes are free to maneuver the opportunity. Socket cups are placed after the apron is laid (not before!). Attach the tile with paintbrush, mark the top / bottom of the circle vertically, also horizontally. We put it on drywall (thick foam will do), drill with a ballerina (you can use a “crown” - diamond dusting). It is good when someone adds water from a bottle for drilling. Then the air is clean. Otherwise, you need to wear a respirator. Trying on, gluing, leveling. Only after that we fix the cup of the socket with the remnants of glue, bringing the edges of the cup flush (flush).
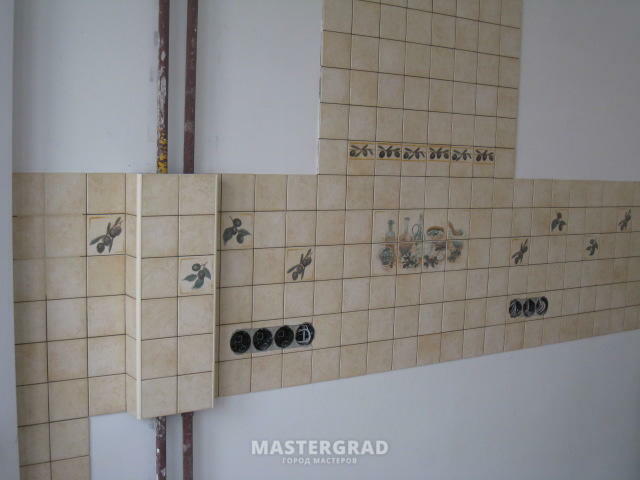
Holes for hooks, roof rails, freely extending wires are drilled in the same way. The diamond drill is the best helper. The need for strict horizontality of each of the pairs is taken into account.
Video
Preparation can take a week. But it will be easy to lay the ceramics. The main thing is not to get lost, to go exactly according to the plan, from the main to the little things. Spreading every tile like a sandwich, adjusting the trim without laying the main front means getting stuck, and for a long time. You need to learn to do it right!
average rating 0 / 5. Number of ratings: 0
No ratings yet. Be the first to rate.
