The old set is adjusted to the size of the kitchen, everyone is already used to it. But here's the trouble: the facades are dilapidated, the hinges are loose. It is safe to say that such furniture will last a very long time, if the plywood has not exfoliated or the chipboard has not swelled from getting wet. In this article, we will tell you how to update an old kitchen set with your own hands.
Current repairs are carried out according to the plan:
Attention! Earned on our website kitchen designer. You can familiarize yourself with it and design your dream kitchen for free! May also come in handy wardrobes designer.
- strengthening or replacing the hinges (sometimes the hinge has to be rearranged to the newly drilled nests),
- sealing cracks with subsequent painting, pasting with self-adhesive film,
- decoration of facades in connection with the new kitchen concept,
- complete replacement of the countertop or thickening it over the old one.
The set requires maintenance, repair. The main destroyer of kitchen sets is not time, but incorrect installation. A crooked floor leads to skewing of the doors, loosening of the fastening screws. Even before decorating the facades, all cabinets and cabinets must be checked against a horizontal plane.
How to glue a kitchen set with self-adhesive foil
The upgrade method is suitable for a laminate headset. Careful preparation of the surfaces will ensure a snug fit of the film.
It is not necessary to start gluing right away, it is necessary to perform the following preparatory work in the exact sequence:
- We remove the doors, inspect against the light. Scrape off the bumps of dried fat, wipe it with acetone or white spirit;
- We put the exfoliated edges in place by gluing;
- We rub the places of potholes with a fine sandpaper, remove the dust with a vacuum cleaner, apply an acrylic putty with a thin layer. After drying, we sand it, prime it with construction soil.
- Deeply damaged areas should be cut out, outlining the place according to the pattern of the patch to be inserted. The insert can be a bottle cap, wood veneer, thin plywood. Then do the work from the above three points.
- The best fit will give varnishing. An important process for light film - every flaw is visible on it;
- Bonding starts at the edge of the door (or along the edge of the drawer). Therefore, it must be clean and absolutely straight.
Calculating the area of the purchased film according to the area of the glued surfaces is not suitable. It is necessary to decide on a sample, based on its width, draw on paper every detail to be restored on a scale of 1: 10. The cuts, overlays will be immediately visible and will not last long. We proceed from full cuts, we put up with the inevitable remainder.
Subtleties of the case
- The "wood texture" pattern horizontally and vertically on adjacent surfaces looks unnatural. It is better to choose a single direction for all facades.
- Granite chips require less preparation, but mother of pearl will give away any roughness.
- The film must be started from the wrong side, grabbing the top and bottom edges, leaving the side edges to finish.
- It is impossible to pierce the self-adhesive on the bumps with a needle: dirt and moisture will accumulate in the punctures, then the bumps will increase.
- Very jagged edges can be leveled by gluing a PVC construction corner onto them. The film will lie smoother from the corner. Placing even chips under the corner, you can adjust the distortion of the gaps.
Replacement of old furniture facades
We unscrew the old facades, remove them, measure the cabinet or hanging cabinet. We check the corners with a square. We eliminate the existing distortions by laying corner clamps. It is only from the newly restored corners that the exact size of the new facades can be determined. For two door pedestals and cabinets, we subtract 3 mm from the width - for the convergence point in the middle.
Sawing a new laminate with a hacksaw is a bad practice. Only with a fine-toothed circular saw at high speed can chipping be avoided. If the home craftsman undertakes to do everything himself, the recommendation is this: you need to remove the plastic with an awl under the metal ruler, go deep to the chipboard itself. The plastic is cut in two lines with an indent for the width of the cutting tool (usually 2 mm).
When it is not possible to cut the chipboard without chipping, the edge is not tape-cut, but 3D. It needs to be filed on a chair, giving a length allowance of 3 mm (the corners of the shield are hidden by an edge of this type). The same allowance - 3 mm - must be taken into account during cutting.
How to update old kitchen furniture with your own hands: painting, moldings
Those who decide to change the facades should pay attention to the excellent material - moisture resistant plywood. It is lightweight, strong even with through cuts, which is important for frame and openwork facades. In addition, in two layers of 8 mm, you can fold the thickness of 16 mm and not change the laid down dimensions of the old chipboard headset.
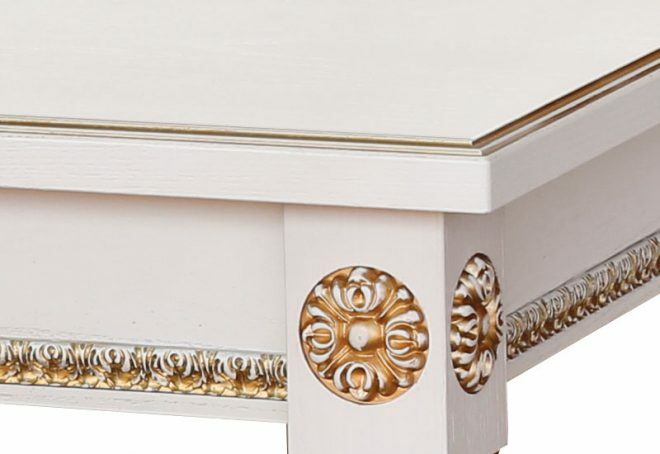
The required thickness can also be typed with moldings. Semi-cylindrical, stucco, flat, classic ancient Greek mutulas - all these configurations, superimposed on a spectacular background, will bring clear lines, expressive style. The moldings create the effect of milled Victorian furniture. The weakest point of plywood - the edge - is protected with wood, for example, birch stationery rulers.
Plywood sheets need only a primer before painting. Previously painted chipboard facades do not need to be primed without damage. It is impossible to repaint the stained worn wood. But it can be painted with high-quality acrylic or pentaphthalic paint, tinted independently or in a centrifuge of a tinting center.
Painting Tips
- Between the wide moldings there is an expressive pearlescent acrylic lacquer applied with a rubber spatula.
- A wood-like pattern with the same shade as the molding works well for a wooden floor. The texture is painted with two colors - lighter and darker - with a flute brush with thick bristles using the “wet” method.
- Solid surfaces will not show streaks when airbrushed. Can be painted with a roller without stripes. The roller should be velor, and the painting is finished in one direction - rolling only up or only down on the facades of the entire headset.
- A beautiful marbling pattern made from glittering pentaphthalic paint. The background is rolled out like a roller. On a wet layer of several jars, paint spots with a brush - light, bright, with blackness. All - sharply different from the general background. The drops are reduced with a nylon plate cut from the container. You can mix for 15 minutes. Then the surfaces are not used for 48 hours.
Decorative inserts
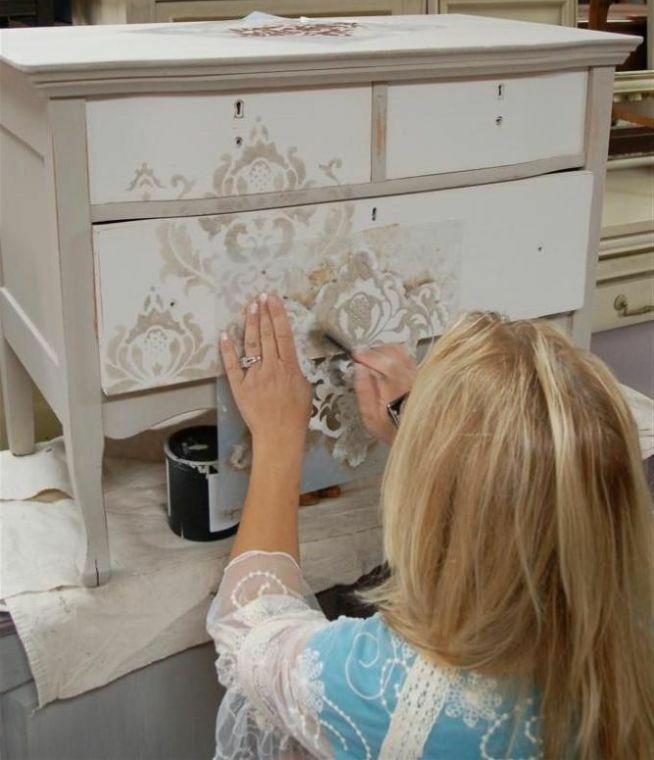
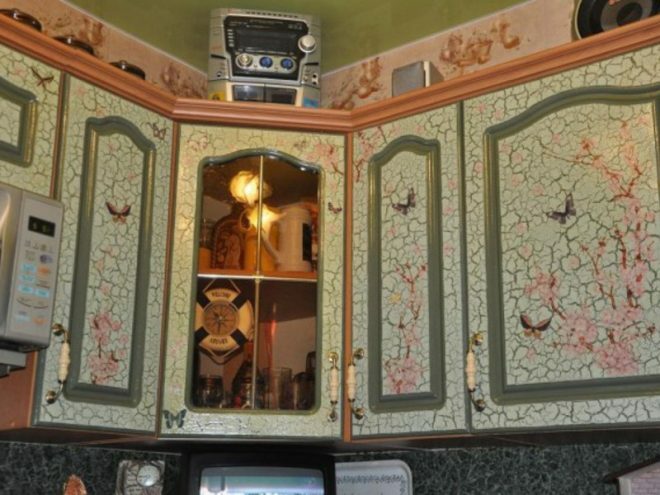
Flat plastic inserts, composite marquetry, carved volumetric ones, embossed from metal are a welcome decor, while observing a certain style. But you can define a unique new style. Decoupage found distribution, which became a total female hobby. It is famous for its environmentally friendly technologies. Overhead rondos, ovals, boutonnieres, corners and appliques are created, and sometimes the entire set is modified beyond recognition. The stylistic possibilities of decoupage technique are wide: from archaic to ultramodern techno.
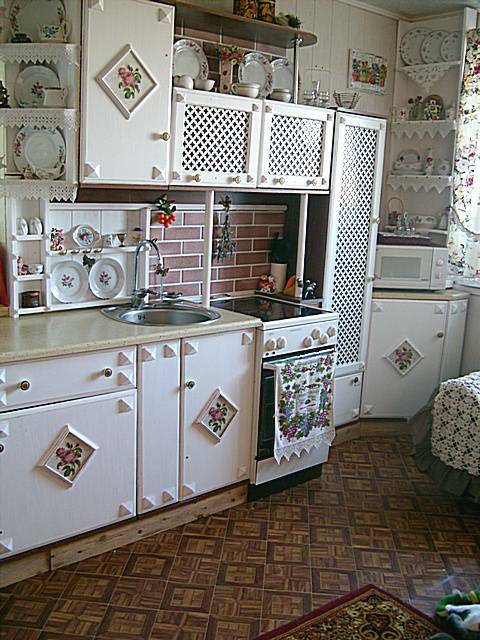
Decorating with ceramic tiles
Which modern master was the first to glue the remaining wall tiles on the facade - history is silent. But the traditions of using ceramics for decorating tables, artistic enamels on samples from the past are indicative. Of course, there can be no question of a layer of tile adhesive under such applications. Thin stripes, rhombuses can transform the headset, reliably protect the tree from external influences. The range is so high that it can complement any style.
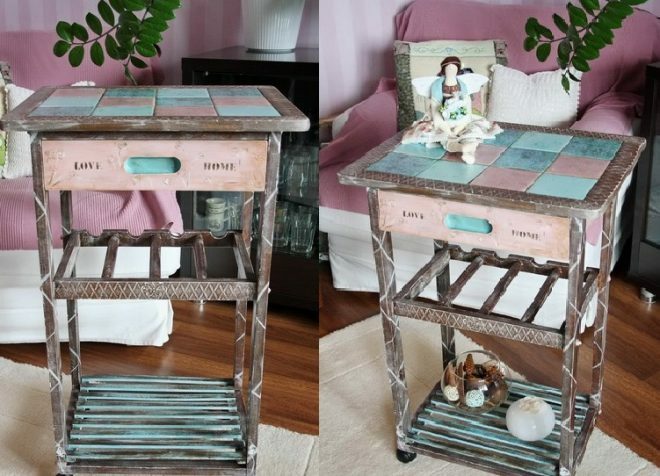
A few examples:
Style |
Tile view |
Tile options |
Location |
Mounting method |
Classical |
Geometric constructions in the form of flowers, stripes |
6 x 6 cm, 10 x 10 cm, 12 x 12 |
frieze (tape) under the worktop, on overhead fixed flanges like pilasters, single inserts on the doors |
Decal, under the wood slats with the selected quarter, behind the brass profile |
Gothic |
Painted majolica |
4 x 4, 6 x 6 cm |
Rhombic diagonal order |
Glued |
Provence |
Ceramic with a thin layer of glaze, composite plaques |
6 x 6 cm, 1.5 cm - on the lines |
On the doors in the center |
Glued |
Techno |
Glass, ceramics with a thick layer of glaze, not ornamental |
Elongated shapes from 2 cm in width, mosaic |
Horizontal and vertical chains, pronged as unfinished construction |
On smooth surfaces |
Japanese minimalism |
Glazed ceramics smooth and embossed |
5 x 5, 6 x 6, 10 x 10 cm |
Vertical inserts between the strips of compound frame facades |
On the glue in the groove |
Modern |
Non-plot tiles with a thick layer of glaze, embossed |
No more than 15 cm on the side |
Single on smooth surfaces |
On glue |
To decorate the facades, single flowers “in full growth”, rivets, nail heads and whole still lifes are produced. Before gluing, any of the tiles is primed on the reverse side, dried, and only then glued to the laminate or wood using assembly compounds. Glass mosaics on grids do not even need that - they fit right away.
Decoration with rattan inserts
Colonial, Oriental, Safari - styles that imply structural facades. Rattan weaving replaces glass, reliably protects facades from impacts. Moisture is absorbed by the palm grids without warping the surfaces. These qualities are extremely important for the kitchen. The assortment is also extremely wide: hexagonal weaving, cross-longitudinal, combined. Plus - all kinds of colors.
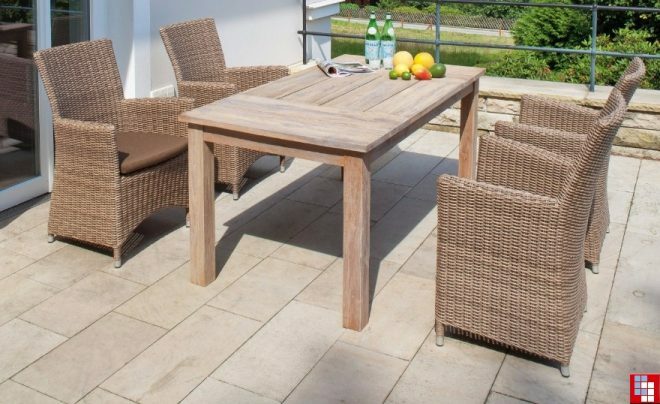
Elementary fastening of rattan weaves:
- the desired rectangle is cut out with a boot knife under a ruler or with metal scissors (a pruner is also suitable);
- with a stapler attached to the facade with an indent for the shaped strip,
- parts of the wooden frame are screwed (glued).
The cuts remain under the rails with the selected quarter.
But there is an even easier way of attaching the rattan: by wrapping the oversize edges to the inside of the door. To do this, you just need to soak the cut. When dry, the rattan stretches itself. This material should be approached creatively. The rich structure, pasted over all the time, can become intrusive. The rattan is beautiful between wide slats of split doors as an insert. In this case, the door slats can be straight, but it is even better when they have round, oval, hexagonal "windows". Curved shapes come in soft contrast to the crisp rhythm of the weave.
Renovation by varnishing
The sharper the smell of varnish, the more resistant it is to mechanical stress. Alas, a durable varnish without a pungent odor has not yet been created.
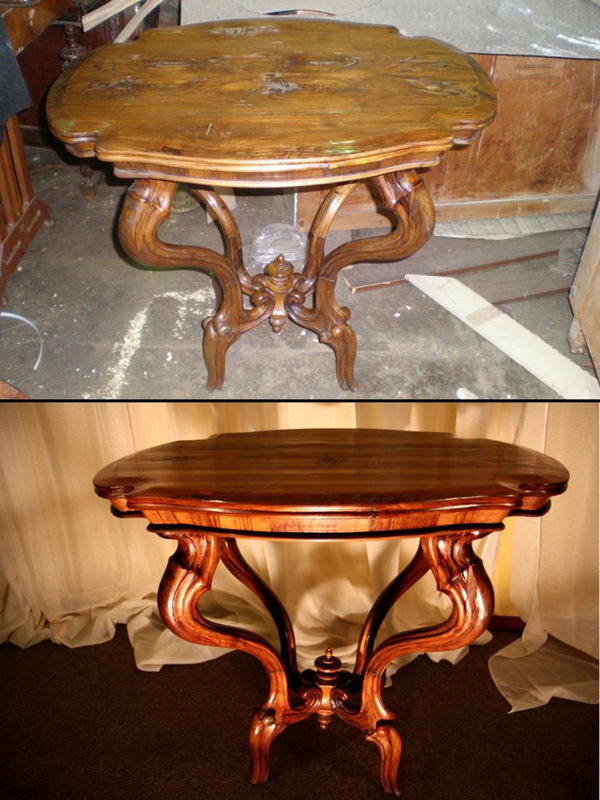
The best varnishes are at the top of the list:
- nitrocellulose,
- alkyd,
- polyurethane,
- epoxy,
- acrylic.
There are a lot of “combi” varnishes with a partial addition of certain substances: shellac, resin, drying oil, acrylic suspension. A wide variety is associated both with the goal of improving the compositions, and with various purposes. It is often necessary to re-varnish surfaces containing lecithin (converted fats). Nitrolacquer will not stick to this. In any case, varnishing is the most reliable way to protect solid wood and paint on furniture. If you don't like a glossy shine, choose a matte composition. You can add particles for a spark, tint to taste (the transparency decreases from tint). By selecting the composition and mode of the nozzle of the spraying device, the varnish creates the effect of rain drops, bubble skin, silk, mica plates.
Some tips for varnishing:
- the first layer must be extremely thin, dry, it must be carefully sanded - a high degree of gloss depends primarily on this process;
- the varnishing roller should be made of fur resistant to caustic thinners, even before use, the roller is washed even with a new one, the strength of the bristles is checked;
- the same requirement for brushes;
- accidentally caught pile or bristles of the brush are quickly picked out with an awl;
- varnishing is carried out only in a clean room;
- in order to avoid splashes, the spray nozzle is tested first on the cardboard and only then the torch is transferred to the surface to be painted;
- with polyurethane tinted varnish transform ordinary glass into tinted glass;
- varnish with a small additive like "chameleon" becomes pearlescent.
Very important! Spraying any paints and varnishes, even acrylic, is extremely harmful to the respiratory system. You need to work with a respirator.
Photo: ideas on how to transform old kitchen furniture

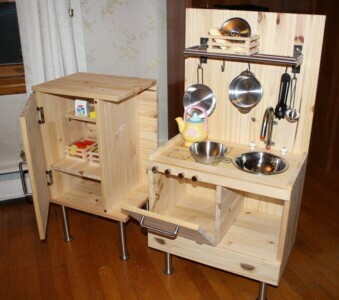
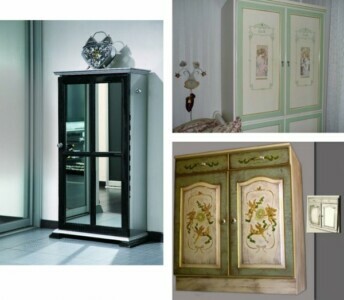
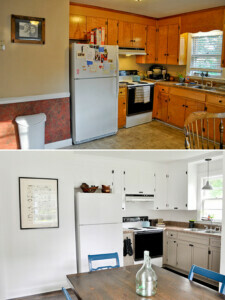
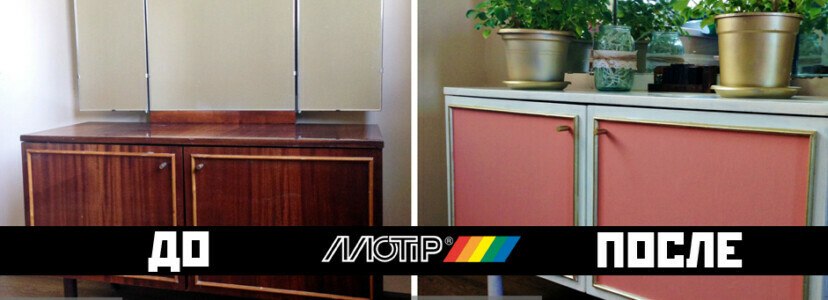
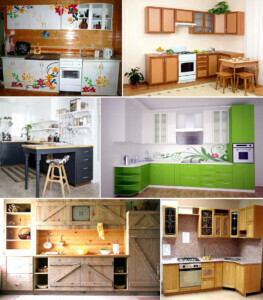
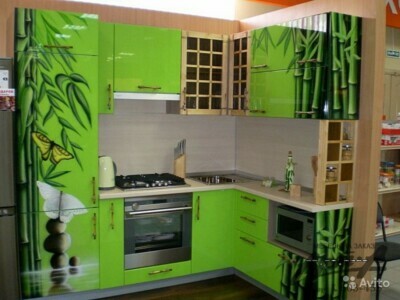
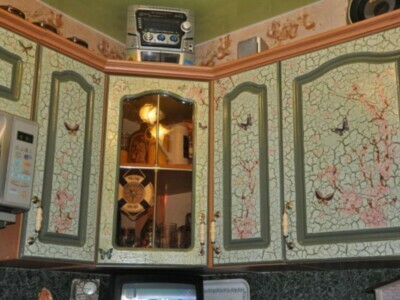

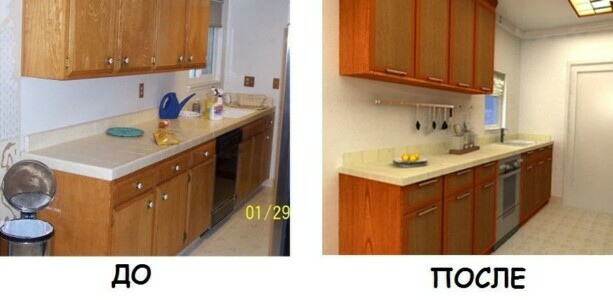
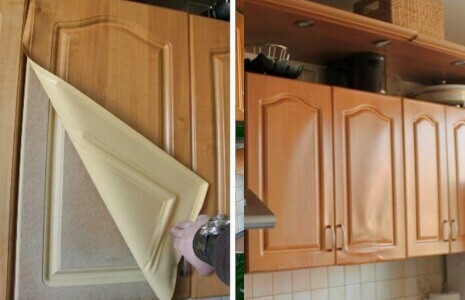
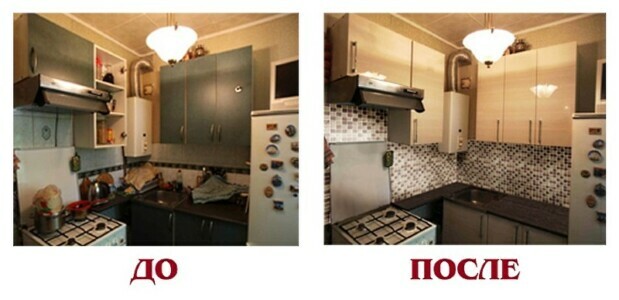
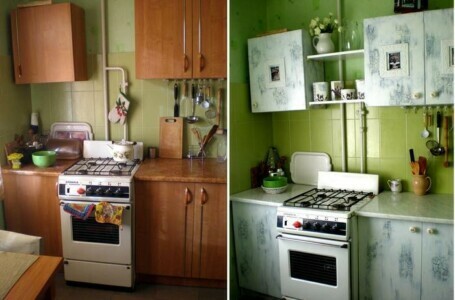
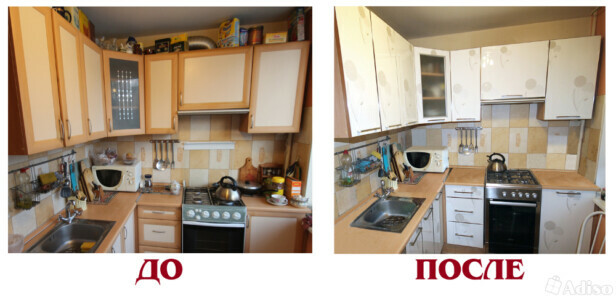
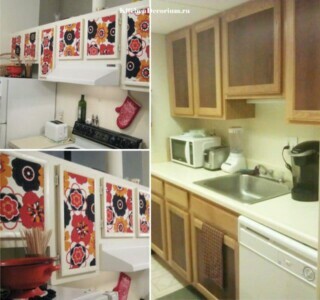
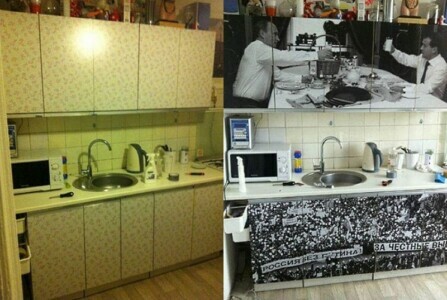
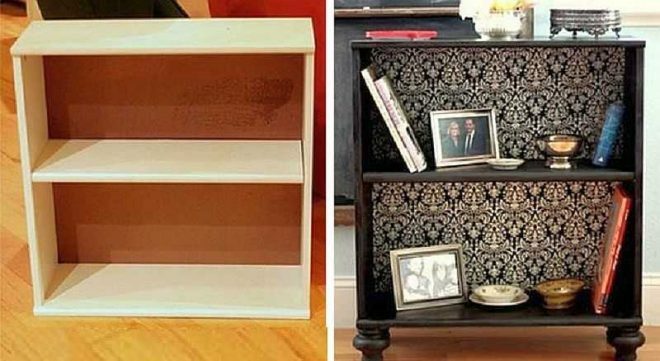
The arsenal of ways to upgrade your kitchen is enormous. To grab onto everything at once - the result will be small. It is better to tackle elementary repairs first, then evaluate in a designer way the possibility of a new stylistic "move".
average rating 0 / 5. Number of ratings: 0
No ratings yet. Be the first to rate.
