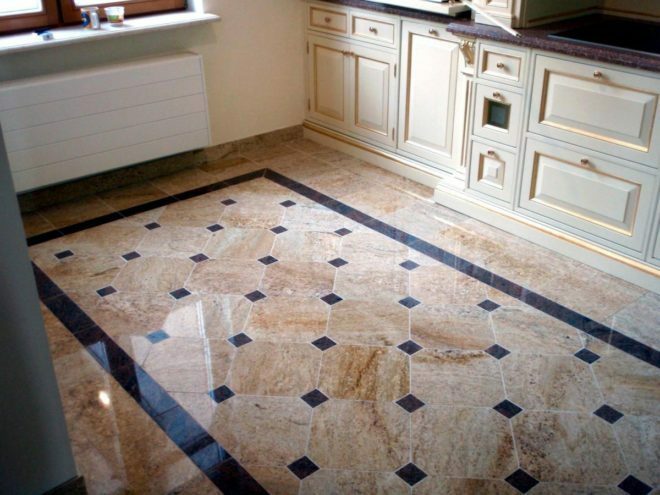
A new trend in the design of living quarters is the self-leveling floor in the kitchen. It complements well many modern styles: Scandinavian, loft, minimalism, hi-tech, as well as classics. The idea spread to residential buildings and apartments from industrial buildings, having undergone some changes.

Image taken from https://www.youtube.com/watch? v = npVA5XGcChM
Pros and cons of self-leveling floors for the kitchen
Self-leveling floors in the kitchen have a number of advantages:
- They are absolutely flat, without joints.
- Practical, withstands the test of water well.
- Easily cleaned of any dirt, not suitable for the growth of fungi.
- Resistant to mechanical damage, almost no scratches remain on them.
- Such a floor is easy and quick to make, even without the involvement of specialists.
- A wide range of designs.
- They are not hazardous to health, do not emit harmful substances into the air.
- The colors do not fade from exposure to sunlight.
- Resistant to fire.
- Antistatic effect.
Like any material, there are also disadvantages:
Attention! Earned on our website kitchen designer. You can familiarize yourself with it and design your dream kitchen for free! May also come in handy wardrobes designer.
- Dismantling requires a lot of effort and time. It is easier to lay the floor on top of the existing flooring.
- Are expensive. If you buy cheap non-certified floor materials, scratches will form on the surface, they may contain harmful impurities.
- Cannot always be combined with a water-heated floor.
- Sufficiently slippery surface for glossy floors.
After weighing the pros and cons, looking at the ready-made options in the catalogs, everyone decides for himself whether such a coating is suitable for him in the kitchen.
How to choose a material for a self-leveling floor?
Self-leveling floor for the kitchen is prepared from powder according to the instructions on the package. Apply:
- Polymers (may become covered with small scratches over time).
- Polyurethanes are elastic and durable at the same time, resistant to chemicals and mechanical shock. Combined with floor heating.
- Methyl methacrylate - more often used in factories, warehouses and other non-residential premises. They cure quickly and are resistant to low and high temperatures, suitable for underfloor heating. In a liquid state, harmful substances are released, after solidification they become harmless. Use respirators when pouring the floor.
- Epoxy floors are highly resistant to moisture. They are used not only in the kitchen, but also in swimming pools and bathrooms. They also do not deteriorate from exposure to aggressive chemical solutions containing alkalis and acids. With a small thickness (up to 3 mm), it is suitable for combining with a warm infrared floor. Thicker thicknesses impair heat conduction and the floor may crack from excessive expansion when heated.
- Cement-acrylic compounds are used on loggias, since they are not afraid of temperature changes.
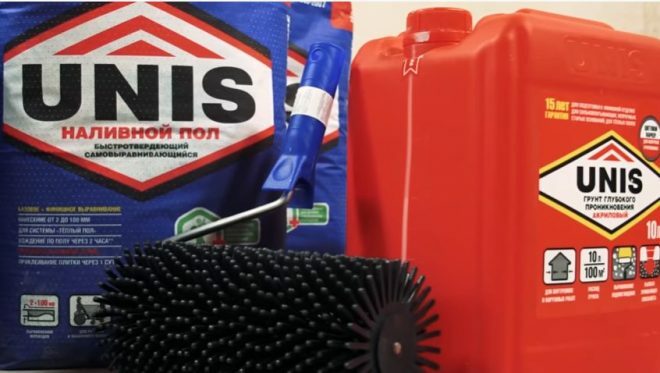
Image taken from https://www.youtube.com/watch? v = 2_4BRyLbGFU
Some properties of self-leveling floors
A liquid self-leveling floor in the kitchen can imitate marble and other types of natural stone, but at the same time it is warmer. An important condition for a good result is the application of the mass in an even layer over the entire surface. It is required to level the floor if the level difference is from 1 to 5 cm. Otherwise, the thickness will differ significantly at different points in the room (the solution will drain to one side). From this, the shade can change, the service life of the floor decreases. If the work is done correctly, self-leveling floors serve for more than 10 - 15 years, without requiring special care or restoration. There are special mixtures "thick floor" for a height difference of more than 5 cm. They are lighter, do not create much pressure on the screed.
How to make your own self-leveling floor in the kitchen
It is necessary to prepare materials and tools before pouring the floor in the kitchen:
- powder "self-leveling floor";
- solvent;
- varnish;
- primer;
- a drill for mixing a mixture or a construction mixer;
- needle rollers to help release air bubbles trapped with the solution;
- brushes, spatula, buckets.
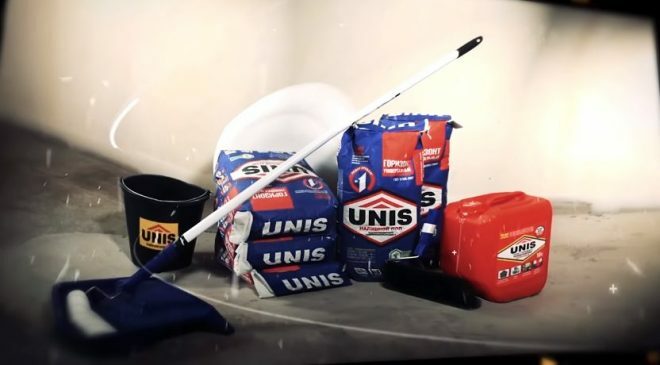
Image taken from https://www.youtube.com/watch? v = 2_4BRyLbGFU
Stages of work:
- Assess the strength of the floor. To do this, tap the surface. Where the sound is different, the base needs to be updated.
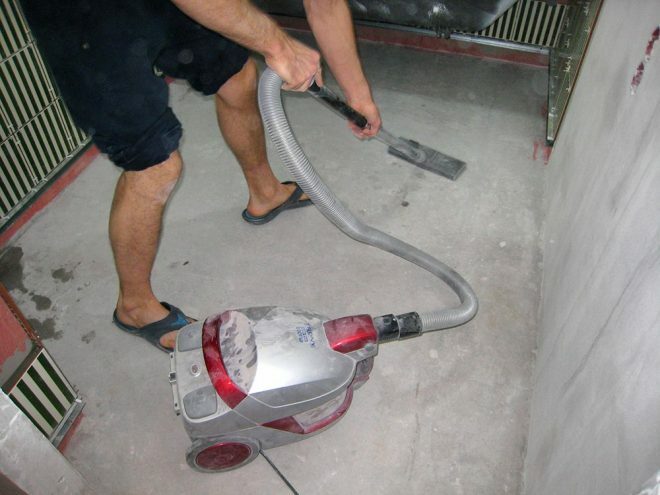
- Remove debris from the surface. If you don't have an industrial vacuum cleaner, just a broom and a damp cloth will do.
- Cover with deep penetration primer. It improves the adhesion of the future floor to the base, eliminates minor irregularities.
- Lay damping tape around the perimeter. It compensates for the expansion and contraction of the material during temperature changes.
- To check the quality of the priming, pour a little water on the floor surface after drying (about 2 hours).
Assess the result in 5 minutes. If water is absorbed, it is necessary to re-prime.
- Prepare the solution: mix dry powder with water in the ratio indicated on the package. Wait 1 - 3 minutes and pour out so that the mixture does not freeze in the container itself.
- Application of the solution with a small stream of a snake. Spread the mixture with a comb or squeegee. The height of the protrusions on the spatula is determined by the thickness of the filling layer. Roll with a roller with needles. The height of the needles should be 2 times the thickness of the poured layer. You can move on the floor and not leave marks in the spiked shoes.
- Drying takes about 2 hours. At this time, there should be no drafts, heating, blowing. It is better to cover windows facing the sunny side with a thick cloth.
- With a thickness of 1 cm, complete drying takes 1 week, 2 cm - 2 weeks, etc.
- To decorate the surface, an image is applied on a film and leveled. Or directly onto the liquid floor, while it is not frozen, they pour slices, multi-colored flock, sparkles. After the surface has dried, the non-adherent particles are swept away.
- The final stage is varnish application. To obtain a matte effect, use special mixtures.
Preliminary preparation
The surface to be poured must be freed from the previous coating - tiles, linoleum, logs and boards. The concrete base must be leveled: remove the bumps and protrusions with a grinder. Cover cracks with cement or alabaster. Prime the floor surface, collect all dust residues.
Determine and mark the level of the future floor on the walls. The solution is prepared just before preparation. It is imperative to adhere to the proportions indicated by the manufacturer.

Image taken from https://www.youtube.com/watch? v = 2_4BRyLbGFU
Pour the mixture in portions. You should get at least 3 layers. After each, you should wait a while until the mixture hardens. This usually takes 2 to 3 hours. The bottom layer should be thicker than the rest. Layer thickness 1 - 7 mm. For the top layer, use a mixture of "finishing self-leveling floor" (up to 2 mm thick), which acquires a perfectly flat surface.
The better the lower flooring is leveled, the less self-leveling floor layer will be needed, which means that the repair will be cheaper. In addition to concrete, ceramic coating, wood flooring, plywood are suitable for pouring. The ceramics are coated with a concrete contact primer. The tree is covered with a moisture-proof coating.
Features of pouring on the heating system underfloor heating
The self-leveling floor in the kitchen does not fit well with the water-heated floor, since a thick layer must be made to cover the pipes with water. Electric floors are more suitable - film, cable, infrared models. Cable heating is suitable for methyl acrylate and polyurethane floors.
After priming, a propylene-based heat reflection layer is placed on the concrete. The strips of reflective material are glued with tape, the edges should overlap the adjacent strip by about 5 cm and onto the wall. Next, the reinforcing mesh is mounted. Heating elements are placed only where people will walk, leaving space for furniture free. The surface is poured with cement mortar. The screed should dry well within a few days. To improve adhesion, the surface is primed, the floor solution is poured.
Level with a large-width, long-handled spatula, then release the air with a needle roller. This procedure is carried out quickly, until the first signs of thickening. The mixture hardens for about 6 - 7 hours, then you can walk on the surface.
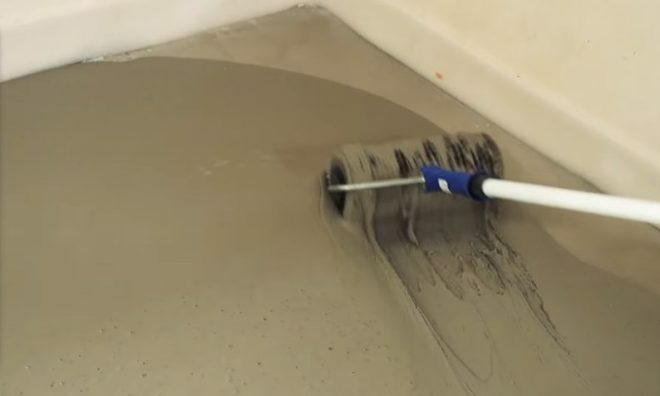
Image taken from https://www.youtube.com/watch? v = 2_4BRyLbGFU
It is recommended to turn on the heating after 2 - 3 weeks, not earlier, otherwise the fresh coating can be damaged.
If water floor heating is used, the system must be filled with water. Wait until it reaches room temperature. The floor is poured with gypsum or cement to hide the pipes with a solution, at least 2 cm. The mixture is poured in portions and immediately leveled, freed from air. After hardening, a self-leveling finishing coating is used.
Types of registration
The self-leveling floor in the kitchen looks modern. You can choose bright floors with any pattern, monochrome or depending on the rest of the room. Self-leveling floors can be used to level the surface for further laying of linoleum, tiles, laminate or parquet boards. In this case, budgetary cement or gypsum materials are purchased. Decorative self-leveling floors are made from epoxy, polymer, cement-acrylic materials.
Monochromatic
Such floors are the most versatile. Since they are made for a long period of time, you do not have to worry that new furniture or walls will not fit the existing floor. Light colors are often chosen: beige, gray, white. They make the kitchen more spacious and lighter, and have a good effect on the mood. To achieve originality, small glitters, flock, all kinds of decorative elements are often added to the flooring solution.
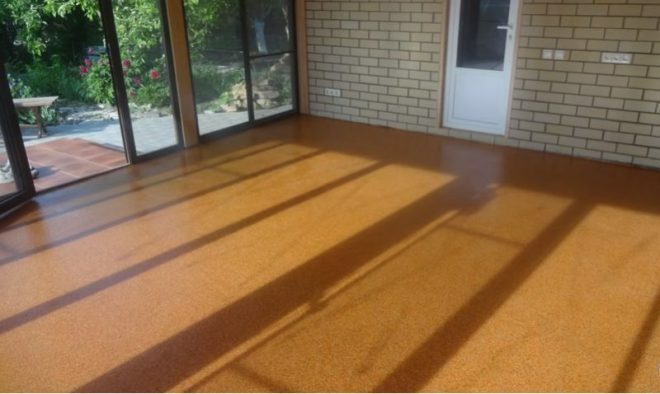
Image taken from https://www.youtube.com/watch? v = npVA5XGcChM
3D effect
The 3D floor is a mesmerizing look. The choice is very large: from the depths of the sea, a summer lawn with grass to complex abstract patterns, geometric ornaments. Provides a 3D effect of the film, which is applied to the base layer of the floor before the varnish is applied. A very realistic image is printed on it.
The only thing to remember is that a floor with a certain pattern may not be suitable for a new renovation if, over time, you want to update. The price of 3D floors is rather big, but they will definitely surprise and delight the inhabitants of the apartment and their guests. The 3D image is visible in a certain direction of incidence of light, while the rays are refracted and create a three-dimensional effect.

Image taken from https://www.youtube.com/watch? v = npVA5XGcChM
With a simple pattern
A drawing is placed on top of the frozen self-leveling floor. It is made on vinyl film, special fabric and applied by hand. Then the surface is varnished. You can achieve a glossy and matte effect.
Self-leveling floor care
The kitchen floor is not difficult to keep in perfect condition. Even white floors are easy to clean. Water does not penetrate joints and cracks - they simply do not exist. Most of the chemicals available will work for cleaning. Do not use only abrasive powders. It should also be borne in mind that the self-leveling floor does not allow air to pass through well, that is, it practically does not breathe. To maintain a normal microclimate, it is useful to frequently ventilate the room.
How much does a self-leveling floor cost
The price depends on the area of the kitchen, the manufacturer of the specific material. It is not worth saving, since a beautiful and durable coating can only be guaranteed if the pouring technology is followed and high-quality raw materials are used. Choose floors from well-known companies, follow the instructions.
Also, the amount of preliminary work on dismantling the coating and surface preparation will affect the cost of repairs. A canvas with a 3D drawing is expensive.
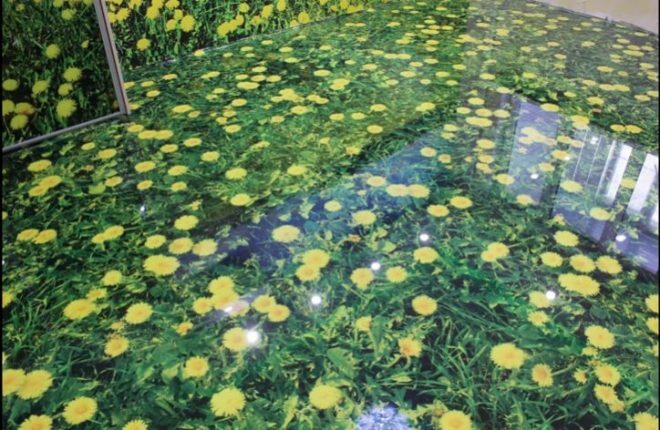
Image taken from https://www.youtube.com/watch? v = npVA5XGcChM
Self-leveling floors are a good choice for a kitchen. Purchase high-quality materials, do not deviate from the instructions, and the self-leveling floor will last a long time, becoming a real decoration of the kitchen.