The wall near the stove, sink and work surface of the table is most susceptible to aggressive factors: water gets here, splashes of fat, it often heats up. To protect this part, install a kitchen apron. It should be made of materials that are as resistant as possible. The way in which you will attach the apron in the kitchen depends primarily on the chosen material, its thickness and weight.
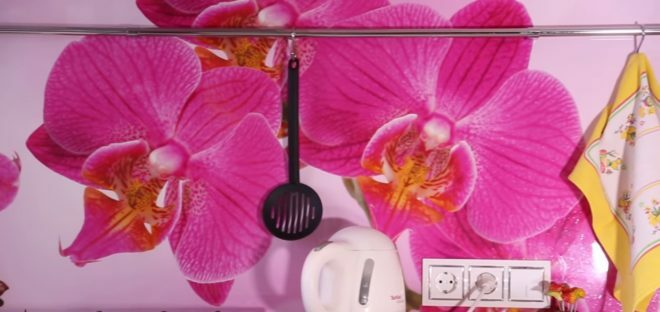
Image taken from https://www.youtube.com/watch? v = aZwMGyjPsGs
Types of kitchen aprons
Most often, a kitchen apron is made from:
- MDF;
- plastic;
- ceramics;
- artificial stone;
- glass.
The most hygienic option is tempered glass. It is easy to clean and does not absorb odors. Water and oil droplets are not a problem for him. For cleaning, you can use any household chemicals, it will not spoil the surface. Glass can be frosted, transparent, tinted, one color or with a 3D image. Under it you can place wallpaper or photo printing. The main difficulty during installation is drilling holes for fastening.
Attention! Earned on our website
kitchen designer. You can familiarize yourself with it and design your dream kitchen for free! May also come in handy wardrobes designer.
Ceramic tiles can also withstand high temperatures and humidity. Now it is in less demand due to a wide variety of other materials, which are cheaper and easier to install. Non-standard products are of interest: small (in the form of a mosaic) or large-format tiles (boar), in the form of a mosaic. They are quite expensive: both the fasteners and the material itself. Difficulties also arise when installing sockets, roof rails.
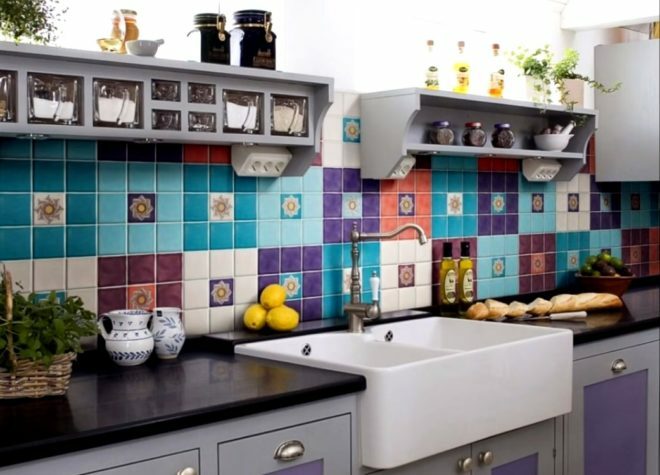
Image taken from https://www.youtube.com/watch? v = sIm1KOrPGcU
Plastic is the most affordable material. The main thing is to opt for high-quality plastics from European manufacturers, which are more heat-resistant. Cheap materials are hazardous to health, as they can release harmful substances. Also, plastic deforms rather quickly under the influence of high temperature. ABS and polycarbonate resist heat better than PVC.
MDF will make a reliable and durable apron if you additionally cover it with a protective varnish on top. Laminated MDF already has a thermoplastic top layer. There are restrictions on the installation of MDF near gas stoves: from an open fire, the material can ignite, and harmful substances will be released. This does not apply to kitchens with induction and electric hobs. MDF imitates different types of wood, mosaics, masonry, ceramic tiles, parquet boards, cork. It comes in all kinds of colors, with a matte or glossy surface, often MDF is covered with photo printing on top. Of the disadvantages - over time, overheating can bend and move away from the wall.
Preparatory stage of fastening
Before installing the kitchen apron, the wall is freed from the old coating: the wallpaper is cleaned with a spatula so that they do not cause the development of fungus. Careful leveling of the surface is required before mounting on glue, since all defects, bumps will deform the apron. The wall for glass panels, ceramic tiles should be even. For this, the recesses are closed with putty, the protruding parts are knocked down. Often, antimicrobial substances are added to the putty to prevent the development of mold. When installing the panels on the crate, the unevenness of the wall will not affect the result in any way.
It is almost mandatory to unscrew the sockets (except for installing ceramic tiles). The apron can be installed before and after furniture assembly. When measuring the material, take into account that it must go beyond the upper and lower modules.
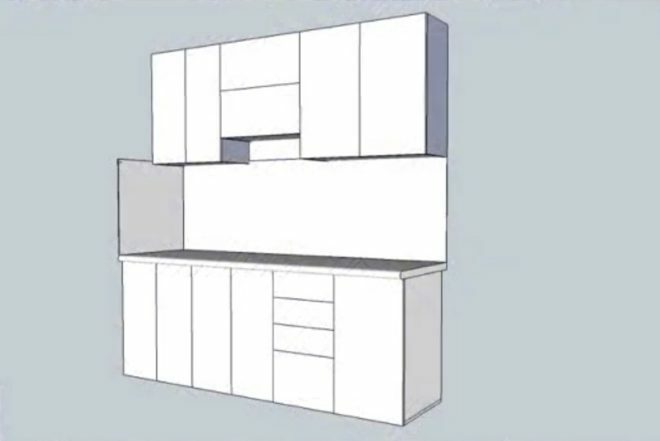
Image taken from https://www.youtube.com/watch? v = deymIv97DQI
To evenly install the apron, a horizontal bar is attached. You can use a wooden lath, drywall profile. The plank is fixed in level, using dowels, and after installing the apron, dismantle.
Installation of glass panels
This type of work requires accuracy due to the fragility of the material. Skills are required if the glass panel is large or it is a corner model. Therefore, for the installation of a glass kitchen apron, specialists are often involved.
The panels are produced at the factory with holes for fastening. Attaching them to the wall, mark the places for drilling holes and installing dowels. After installation, the attachment areas are closed with decorative overlays to match the apron.
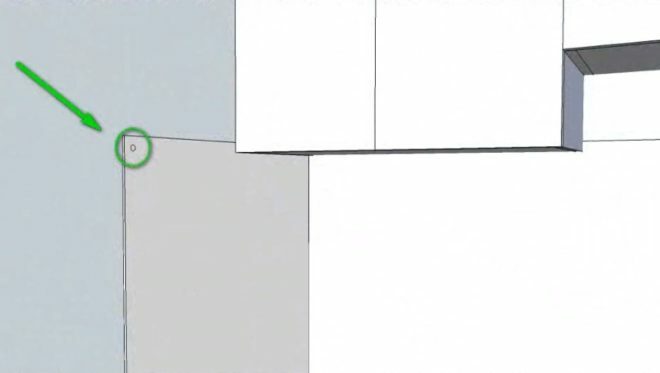
Image taken from https://www.youtube.com/watch? v = deymIv97DQI
The screen is placed on the tabletop, the plinth is screwed on from below. From above, it should go at least 1 cm behind the furniture, then the surface will be well fixed by the cabinets themselves. You can fix the LED panel under the glass apron. It is controlled from the remote control, you can select one color or set the mode of smooth flickering of several.
Caring for the finished MDF kitchen apron
In addition to correctly installing the apron in the kitchen, caring for it plays a special role for its durability. So, it is not recommended to use aggressive and abrasive products for cleaning. Fat and moisture will get into small scratches and cracks, MDF will collapse and may bend. Acids, alkalis, acetone, solvents will also quickly spoil the decorative surface.
It is enough to wipe the product with a damp cloth with added detergent foam. You can use glass and dishwashing detergents, wax-free polish, shampoos, shower gels, liquid soap. To prevent the material from deforming, do not flood the joints with water, wipe with a dry cloth after cleaning, dry the joints especially well. For care, microfiber napkins, natural fabrics are suitable.
Advantages and disadvantages of MDF apron
The apron made of MDF is easy to install by yourself; it is easy to attach sockets, roof rails to this material. MDF is simply cut. The panels are installed from the floor to the upper row of cabinets if there are through holes in the lower row of sections. Most often, panels cover the distance from the table top to the upper cabinets.
When marking the apron, add 20-25 cm in height so that the panel goes behind the furniture and is tightly fixed. Do not forget that the distance between the stove and the hood is usually greater than in other places, from 75 cm. In order to outline the location of sockets and switches, it is recommended to make a template. After that, mark with 5 mm allowances, cut through the MDF board in the appropriate places.
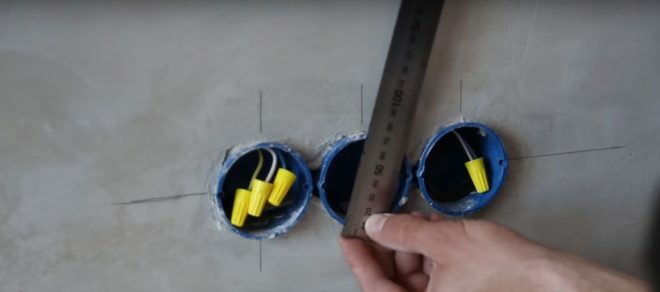
Image taken from https://www.youtube.com/watch? v = aZwMGyjPsGs
The answer to the question: "How to glue a plastic apron in the kitchen?" Is largely determined by the flat surface of the wall. The more bumps and flaws, the greater the deformation of the panel and the amount of glare on it. If the surface is flat and dry, the panel can be glued with PVC adhesive. It is applied with a notched trowel, spread evenly with a sponge roller (this reduces the consumption of glue). The adhesive is applied to the wall, not to the panel. After installation, it is recommended to roll it with a sponge roller over the surface. The advantage of this method is the lack of free space between the wall and the plastic. Fungus won't grow here. Minus - difficult dismantling.
How to fix the apron on the wall?
There are several options for attaching the apron to the wall. The fastest is to glue the plastic apron in the kitchen. MDF also does not require significant effort. If you want to install the backlight, then you need to mount the panels on guides or crate. The same methods are suitable for significant wall irregularities.
On guides
Mounting on aluminum profiles is possible if the apron thickness is within 4 - 10 mm. No need to drill holes, wall surface defects do not interfere, you can lay LED strips. A lower profile is attached to the tabletop, a sealant is inserted into it. A panel is inserted into the profile. The upper profile is put on the panel and fixed to the wall, then a plug is put on. You can glue the LED strip into the cable channels and lead the wires. For the corners, you need a square profile.
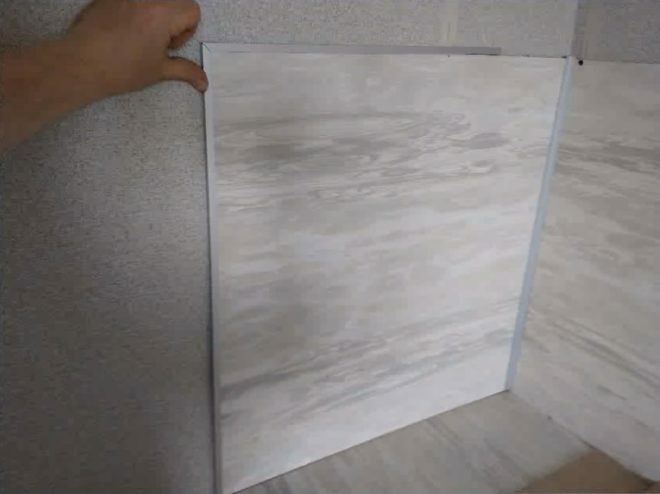
Image taken from https://www.youtube.com/watch? v = deymIv97DQI
Self-tapping screws
Self-tapping screws are often used to attach a kitchen apron. If they are screwed into the crate, wood screws are used. Also, using self-tapping screws, an aluminum profile is attached to the wall or wooden blocks. The heavier the apron, the longer the screws should be chosen.
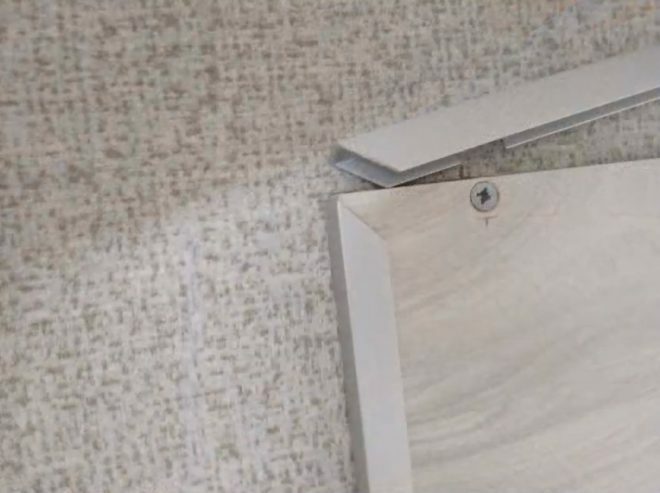
Image taken from https://www.youtube.com/watch? v = deymIv97DQI
If they are screwed into the dowel, then a hole should be drilled under it in the wall, then the dowel must be hammered in to its full length. It will firmly hold the self-tapping screw in concrete or brick, preventing it from rolling in the wall. When attaching glass panels, a silicone damper is added between the self-tapping screw and the glass. For the installation of plastic panels, self-tapping screws with a press washer are taken.
On the crate
This method involves installing the frame on the wall, to which the apron is subsequently attached. The frame can be made of an aluminum profile or from wooden bars with a width of 20 to 30 mm. Aluminum is a more reliable material for the kitchen, as it is not susceptible to the development of mold. For a long service life, wooden parts should be treated with a special antimicrobial agent.
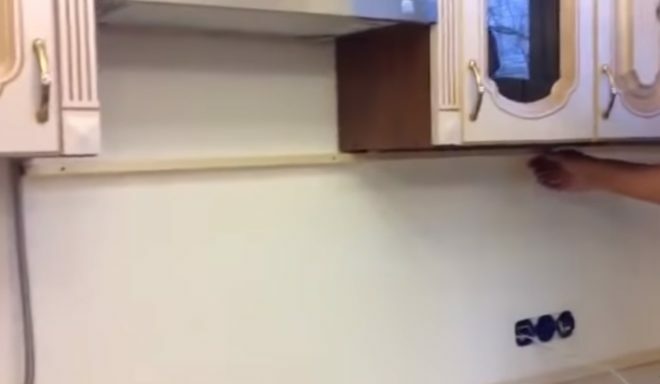
Image taken from https://www.youtube.com/watch? v = PriooPaTp6Y & t = 72s
The frame is installed along the perimeter of the apron and in the middle of the product, at intervals of 30 - 40 cm. Also, the elements of the crate should fall into the places of future outlets. Sometimes small transverse pieces of wood are attached directly to the apron from the back.
On glue
For laying the apron in the kitchen, you will need "liquid nails". It is necessary to evenly apply the glue around the perimeter of the MDF board and in strips along the entire inner surface, maintaining gaps of about 20 cm. To facilitate the installation process, a rail is installed along the entire length of the MDF. It fixes the panel tightly to the wall until the glue is completely dry. Otherwise, just hold it with your hands or use spacers. The junction of the countertop and the apron is covered with a decorative plinth.
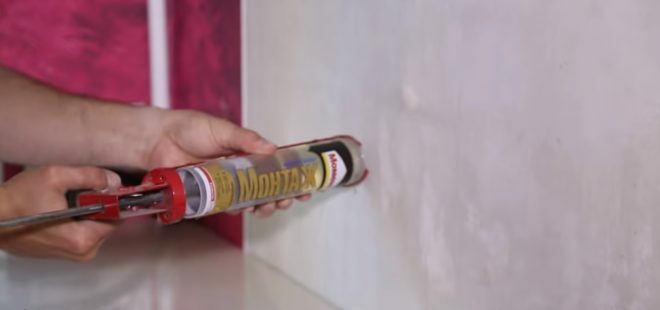
Image taken from https://www.youtube.com/watch? v = aZwMGyjPsGs
In conclusion, we can say that now there are many materials for a kitchen apron on the market. Each has its own advantages and disadvantages. MDF and plastic panels are easy to install without the need for specialists. Outwardly, they can imitate any materials that are more expensive and difficult to install: stone, tiles, wood. Such an apron can become the main element of decor in the kitchen, thanks to the color or the applied image.
average rating 0 / 5. Number of ratings: 0
No ratings yet. Be the first to rate.


