Do you like repairing home appliances and making useful home appliances with your own hands? For such work, you definitely need an equipped place - a workbench. Buying it is not cheap, and choosing the right size is very difficult, isn't it?
But you can solve this issue in another way - to assemble a workbench with your own hands in the garage, using improvised materials. In this case, the first two problems will disappear by themselves, because the financial costs for it it will take a little, and making the workbench exactly the way you see it will not be great labor. Moreover, the choice of materials is also yours.
And we will consider in detail the procedure for manufacturing a workbench and recommendations for choosing materials for it in this publication. We will supplement the presented material with visual photos and videos.
The content of the article:
- Types and device of the workbench
-
Step by step assembly instructions
- Step 1 - drawing up a drawing
- Step 2 - Selecting Materials
- Step 3 - frame assembly
- Step 4 - attaching the tabletop
- Step 5 - Add Shelves and Drawers
- Step 6 - Making the Shield
- Step 7 - arranging lighting
- Conclusions and useful video on the topic
Types and device of the workbench
Before you get to work, you need to figure out what exactly you want and for what purposes. Workbenches are a familiar and irreplaceable thing. However, if you want to make a high-quality and durable design, you should think through all the details.
Workbench happens:
- carpentry;
- locksmith;
- universal.
It is important to understand that a workbench is not just a table, but a whole work area where all the tools are at hand. And the main place is usually occupied by a vise.
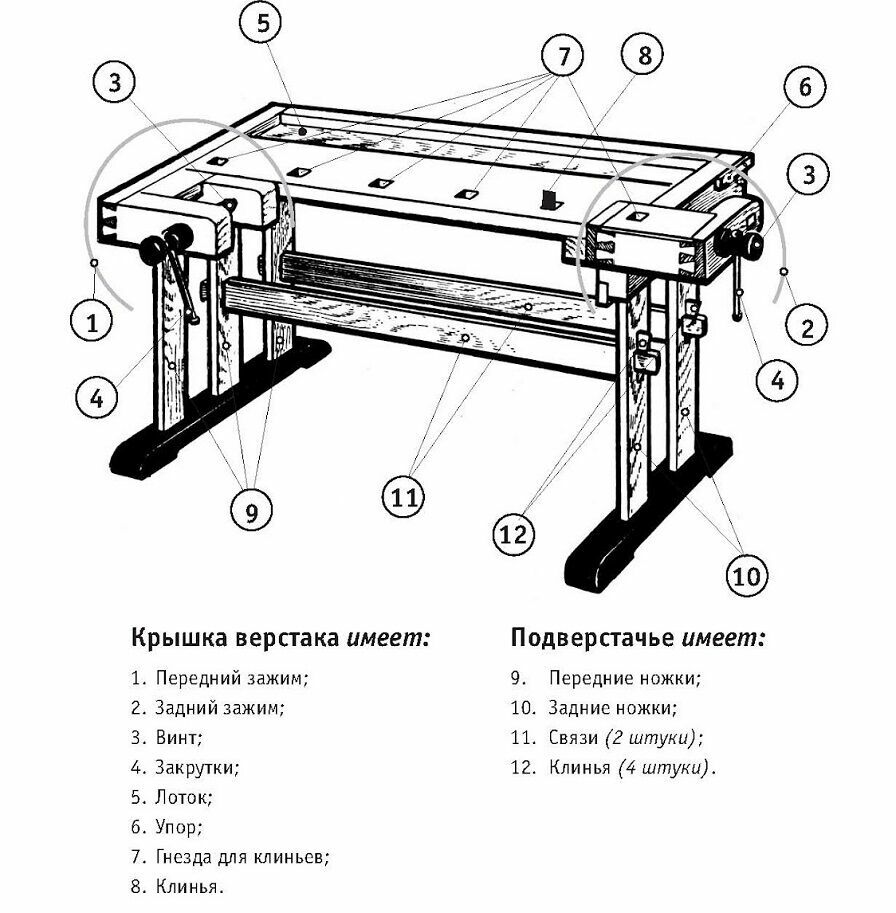
Depending on the design features, the workbench can be folding, mobile (on wheels), stationary. He must stand firmly on his feet. If space permits, it should ideally be anchored to the floor.
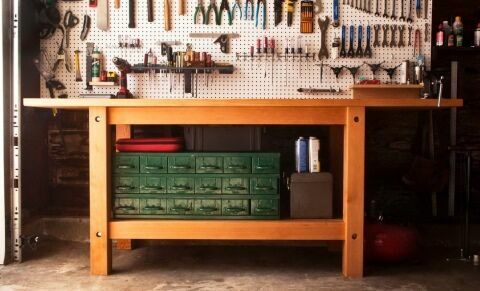
The design of the workbench and the entire work area can be planned in different ways: add shelves and drawers, equip hanging tool storage areas
Have you set out to assemble a workbench yourself? This is quite real, although not so simple. Moreover, there are much more pluses in this than minuses. First of all, these are the minimum financial costs. It is unlikely that it will be possible to make a workbench from improvised materials for free, but all the same, at a price it will cost less than a factory one.
And the second point - you can make it exactly to the size of the room where you plan to put it, equipping it, if desired, with additional drawers and shelves.
Step by step assembly instructions
For self-assembly of the workbench, you will need step-by-step instructions, accuracy and the following tools:
- Bulgarian;
- welding machine;
- screwdriver and screwdrivers;
- roulette;
- drill;
- jigsaw;
To make the entire structure with your own hands, you need, at a minimum, to be able to work with metal and have the skills of a welder.
Step 1 - drawing up a drawing
So, the first thing to start with is to determine the size of the workbench, for which you have to find a place to install it. Most often, such a table is placed in a garage or other rooms that are convenient for work.
Not every garage has a large area, so before starting work, you will have to work hard with a tape measure. It is necessary to calculate the place for the equipment so that it is convenient to work behind it.
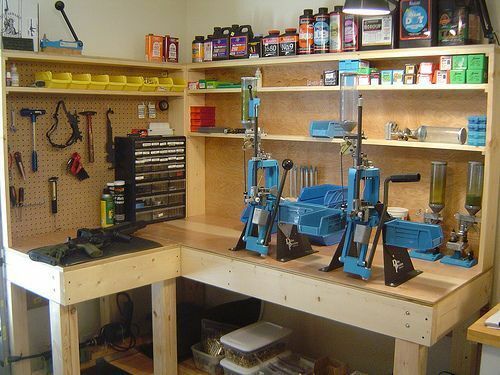
A very convenient place to place a workbench is the corner area. It can be used to create additional tool storage fixtures.
So, we found a place, wrote down the dimensions of the future workbench, taking into account the width, height and length, as well as the working area nearby.
Next comes the complex process of creating a drawing. You can take the finished one and make your own edits. So, for example, corners (or one corner) can be beveled if the dimensions of the garage do not allow such a structure to be placed or if nearby objects interfere.
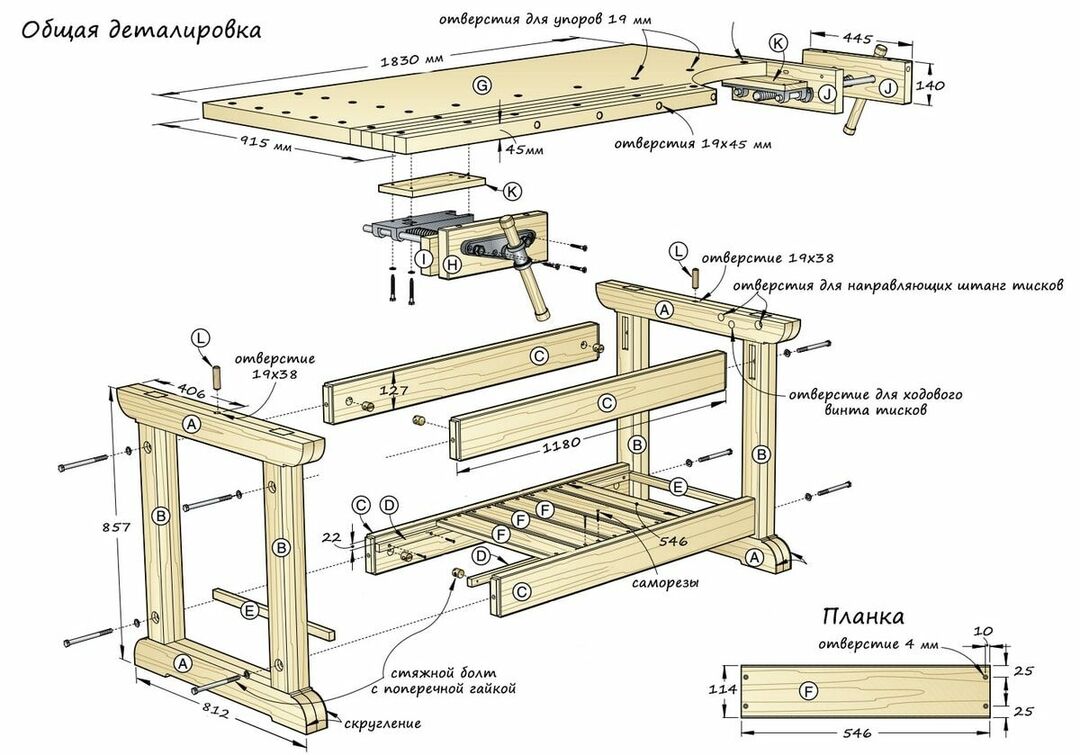
Ready-made projects can be found on the Internet, or you can create it yourself, showing creativity and ingenuity
Whether there will be shelves, hooks or cabinets above the workbench is also up to you. But all wishes must be taken into account before you begin to assemble the entire structure.
To do this, you can make an approximate list of tools that will be stored on your workbench and determine places for them - lockers, shelves, hooks, drawers.
Step 2 - Selecting Materials
After sketching the project, you need to decide what to make the structure from. The supporting element (frame) is made of durable material (metal plates and pipes), since everything will be held on it. The thicker and heavier the metal, the more stable the whole structure will be.
frame can cook yourself or take from an old workbench. Cooking a frame is not as difficult as it seems: you need to make high-quality detailing by numbering all the details and correctly calculating their dimensions in mm. According to these parameters, prepare all parts of the iron frame.
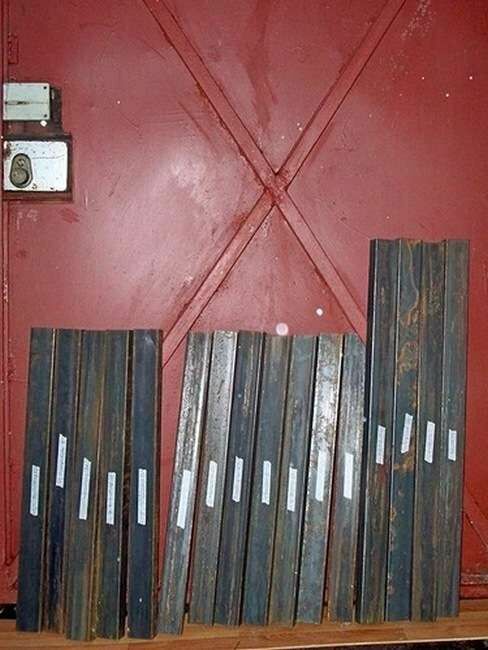
After preparing the parts for assembling the frame, it is better to number each of them, as in your assembly diagram. This will make it easier to work
The type of material depends on your preference. For example, take a workbench with a metal frame, wood top, extra drawers, shelves, and a metal shield for tools. To assemble it, you will need: steel strips, pipes, corners, plywood sheets, boards, screws, bolts, hooks, nails, rails, refractory coating, paint for metal and wood, metal plate for the shield.
Step 3 - frame assembly
Now we have to assemble all the details into a single structure - the frame of the workbench. If you do not plan to move it, fasten the legs to the floor with anchor bolts or screws so that it does not sway or move when working.
In the case of welding parts of the frame not in the room itself, consider the dimensions of the doorway. Since the design does not imply that it can be folded, it will be quite difficult to drag the overall table.
We firmly weld all parts and grind off all sharp protruding parts. Be sure to cover the structure itself with paint for metal.
Step 4 - attaching the tabletop
The tabletop must be strong enough to withstand hammer blows and the weight of all tools (average about 200 kg). It can be made of metal or wood, without sharp cutting edges that can cut or tear clothing.
All wooden surfaces used in the creation of the workbench must be treated with a refractory compound!
The tabletop must be firmly screwed or welded (if it is metal) to the frame. The best option is to use wood and iron. For example, choose a wooden tabletop, but cover it with a metal plate on top. This design will be impact resistant and durable. And when working with liquids, such as engine oil and others, it can be easily put in order.
Special attention should be paid to the place on the countertop under the vise. When choosing them, you always need to consider weight.
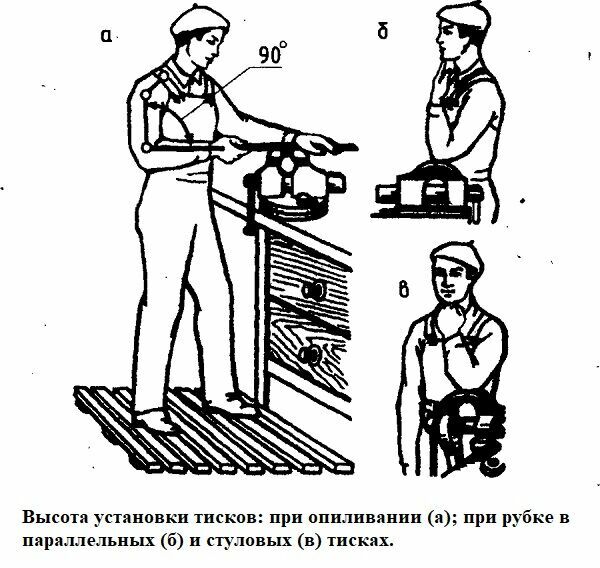
The vise is also screwed in a certain place, and the height of the workbench must comply with the rules for operating the vise
Step 5 - Add Shelves and Drawers
The more space allotted for the workbench, the more shelves and drawers you can make. Lighter material can be used to make drawers if you are going to store small tools in them. For example, sheets of plywood.
It is better to calculate and prepare all materials in advance, the number of sheets of plywood, handles, the size and number of furniture rails, screws, nails and other things.
When calculating the parameters of the box, you should definitely take into account the place for attaching the guides. A cheaper option is to nail small bars instead of guides. But there is a big minus here: when pulling out the box, difficulties may arise, since there will be no convenient and movable wheels.
It is better to choose handles for drawers without sharp corners and not very protruding, otherwise they will cling to clothes.
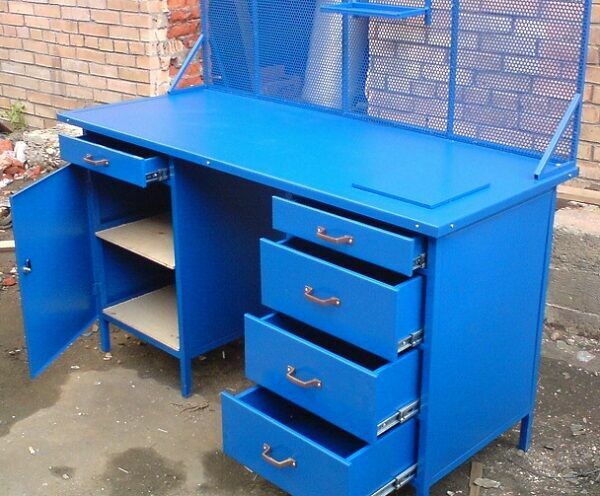
For convenience, boxes can be attached to one side of the workbench, and on the other, open shelves can be made to accommodate the necessary tools.
Instead of drawers and shelves, you can attach one large shelf under the tabletop, on which tools can easily fit. It will not look beautiful, but the functionality and the minimum waste of time for the manufacture of such a design will fully justify themselves.
Step 6 - Making the Shield
An important attribute when arranging a working area in a garage is a tool shield. It can hang separately on the wall or be attached to the workbench structure itself.
The choice of material for the shield is individual: it can be made both wooden and metal. You can combine two materials, which will be even more interesting. You can hang hooks on it or place pockets where you can also hang various tools.
If you have chosen a shield made of wood, then it is best to attach it to a metal frame, and only then cling to a wall or workbench.
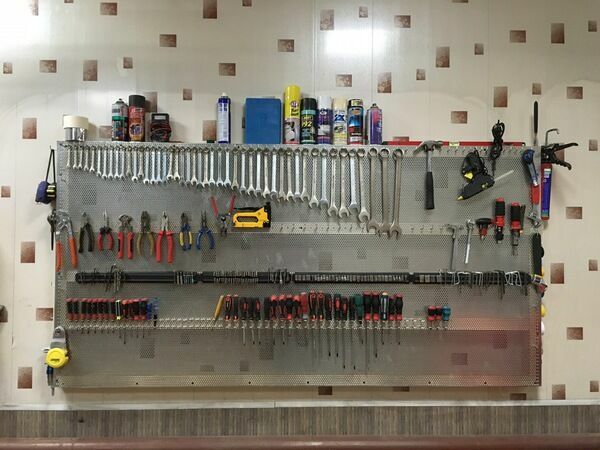
A metal shield with a mesh on a wooden frame is perhaps the most convenient and budget option for a tool shield.
Since a workbench is a workplace, it is worth wisely spending the space around it, especially if the area of \u200b\u200bthe room (in this case, the garage) does not allow you to turn around to the fullest. Next to the desktop, you can also organize storage areas: various shelves, drawers, cabinets, which can also be made by yourself.
Step 7 - arranging lighting
Special attention should be paid to lighting the entire working area. There are many options for lighting fixtures for the garage, but it is better to choose a lamp that will illuminate a specific area, and not the entire room. Spot light distribution provides the desired level of illumination without wasting energy.
By the way, you can also make a lamp for lighting a workbench with your own hands, showing imagination and ingenuity.
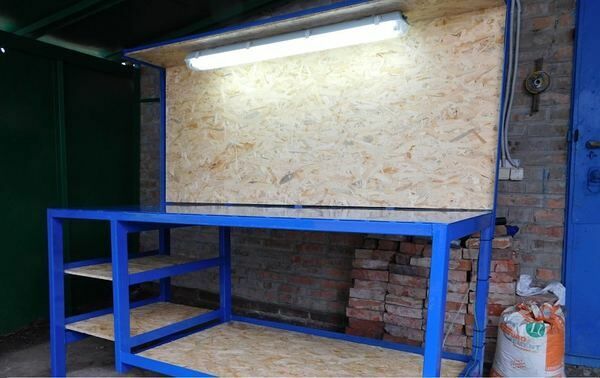
When working, good lighting of the work area is extremely important. The lamp can be placed directly above the workbench by attaching it to a special panel
It's good for you! Rating of the best locksmith and machine vices: characteristics, pluses, minuses, price.
Conclusions and useful video on the topic
A video on how to make a frame, tabletop and workbench shield yourself:
How to weld a metal workbench in the following video:
With the correct calculation of parameters, the creation of a solid structure, compliance with all safety rules, made by you the workbench will last a long time, and it will be convenient and pleasant to use it, because it is created taking into account your needs and wishes.
For assembly, you can use improvised materials, equip the table with shelves and drawers for storing small items, and equip the space around it so that everything you need is “at hand”.
What workbench do you use? Tell us about the manufacturing process, share original photos of the finished desktop for processing metal and / or wooden products - the feedback form is located below. Here you can also express your opinion on the advisability of making a homemade workbench and give assembly recommendations to beginners, guided by knowledge and personal experience.


