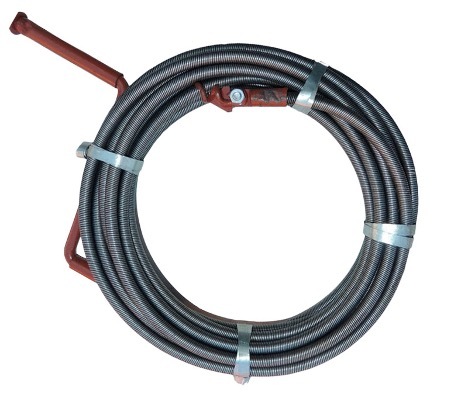
A do-it-yourself cable for cleaning pipes is made of steel wire 3-4 mm thick. Its end is bent in the form of a hook, on the other hand a ring is made and the blockage is removed. Step-by-step instructions for the manufacture and use of this device are described below.
The content of the article
- How to make a rope
- How to clean a pipe with a cable
- Rope care
How to make a rope
There are several options for how to make a plumbing cable with your own hands. In the case when the blockage is small, you can use a bicycle cable or a tape that is cut from an ordinary plastic bottle. But if the cork is serious, it is better to take a thick wire as a basis:
- Find the end and measure 30-40 cm.
- Make the hook so wide that it is smaller than the diameter of the pipe.
- Check how freely the plumbing cable walks with your own hands.
- If necessary, adjust the size of the hook and proceed with cleaning.

Such a device is suitable for cast iron pipes. But if the system is complicated and makes a lot of bends, it is better to make a pipe cleaning spring from a twisted steel cable. The instruction is this:
- Take a metal cable and cut a cord 1-3 m long. The more complex the blockage, the greater the length should be, but in any case, the limit is 3 m.
- Fluff the work surface.
- At the second end, twist the ring with which you can control the movement.
- Lubricate all surfaces of the fixture with an anti-corrosion agent or machine oil.
It should be understood that a cable for cleaning the sewer with your own hands is only suitable for eliminating blockages within the apartment. If a plug has formed in the riser, for example, between risers, away from the apartment, professional equipment must be used.
How to clean a pipe with a cable
Using the device is quite simple. The most important requirement is that a do-it-yourself nozzle on a plumbing cable should not contain sharp corners so as not to damage the inner surface of the pipes.
Step-by-step instructions for using this tool are as follows:
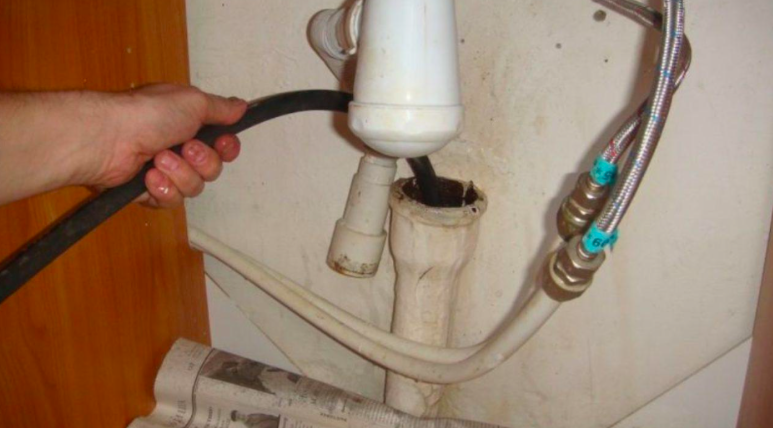
- Insert the free end into the pipe.
- Start twisting the channel clockwise, at the same time moving it deeper and deeper.
- Feel for the cork, understand where the cable rests.
- Eliminate it by pushing as far as possible.
- Pull out the cable to clean the sewer with your own hands.
- Pour a bucket of boiling water into the pipe.

Rope care
It is likely that the cable will be needed more than once. Therefore, it is important to learn not only to make it, but also to properly care for it. The basic rules are:
- After each cleaning, thoroughly rinse the device along the entire length with hot water, wipe with a rag.
- Dry thoroughly - preferably on the balcony.
- Apply a layer of oil and wrap in foil.
- Store in a place with low humidity.
Thus, you can make a cable yourself. To do this, you only need wire cutters and pliers. But in some cases, the device will not help. If the clogging is serious and is located far from the riser of the apartment, you will need to purchase a professional tool.


