It’s easy to figure out how to fix a vacuum cleaner brush. To do this, it is dismantled and inspected to see how well the details are preserved. Almost always, simultaneously with the repair, the brush is cleaned of wool and hair. How to do this is described step by step in the article.
The content of the article
- In what cases do you need to repair the brush
- Step-by-step instruction
- How to clean a hair brush
In what cases do you need to repair the brush
Over time, the brush may fail due to wear or careless handling, for example, when hitting furniture, the floor surface. In this case, there is an option to buy another brush, but it is not always found on sale and may be too expensive.
In addition, it makes sense to periodically disassemble the brush for cleaning. Dirt, hair residues, animal hair, pile inevitably get stuck in it. This is especially true for private houses, large rooms where cleaning is carried out regularly.
To work, you need a minimum of tools:
- screwdriver;
- awl;
- cog;
- screw;
- glue or tape;
- hacksaw or file.
Step-by-step instruction
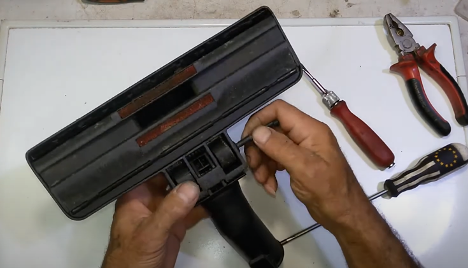
If the brush is broken, you can fix it yourself in a matter of minutes. To do this, turn the brush over and act like this:
- Remove the pin that holds the wheels.
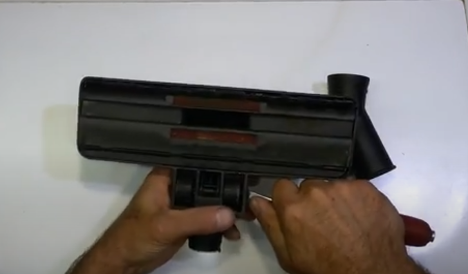
- It is made with cuts, so with a screwdriver you need to pry the wheels and push the pin to the edge.
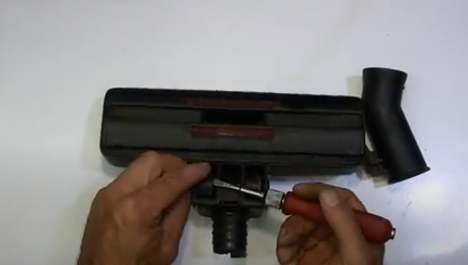
- The detail looks like this.
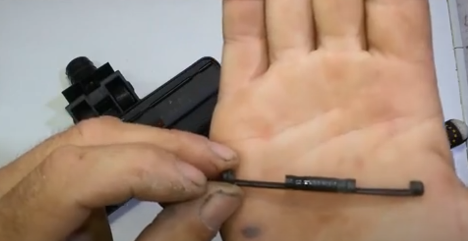
- Disconnect the part - if it is broken, replace it and insert it in the same way.
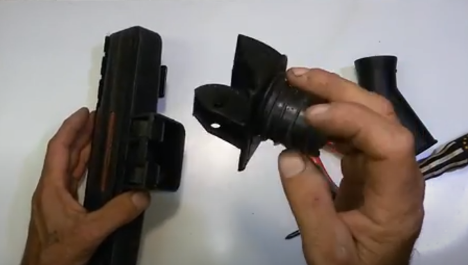
- To strengthen the reinforcement, make a small hole on either side.
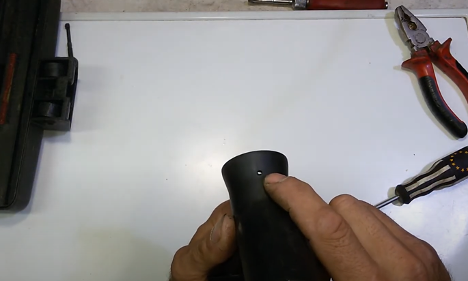
- Connect the parts, insert an awl into the hole and start scrolling so that a thread mark remains on the plastic.
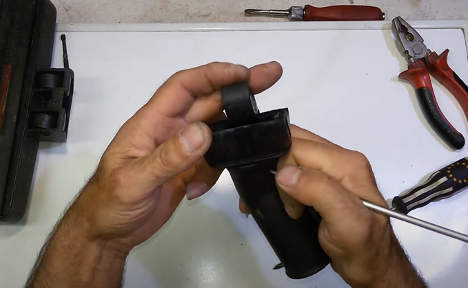
- Saw off along the cut with a grinder, hacksaw or file.
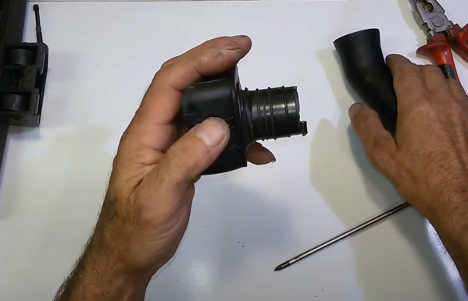
- Insert a small screw into the same hole. If the hole is too big, you can fill it with glue or fix it with tape.
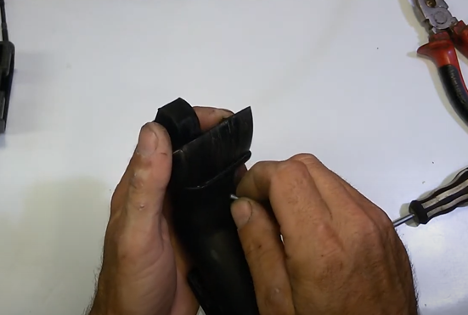
- Tighten the inserted screw.
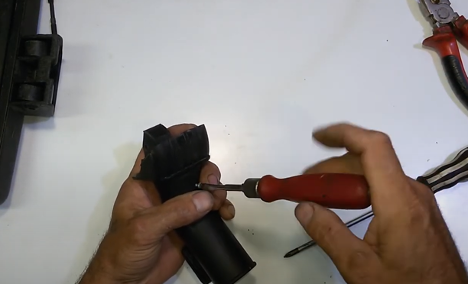
- Connect all parts in reverse order, insert the pin.
How to clean a hair brush
As already mentioned, hairs and wool periodically get stuck in the brush, so over time it will have to be cleaned. To do this, they act like this:
- Remove the protective cover.
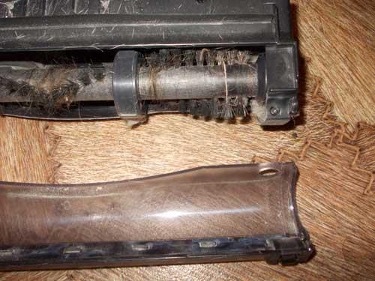
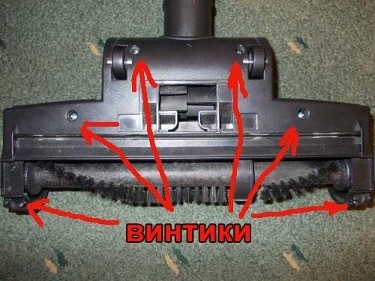
- Unscrew with a screwdriver each of the 6 screws that secure the two halves.
- Disassemble the halves of the brush - it should turn out something like this.
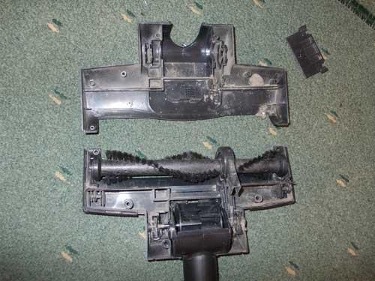
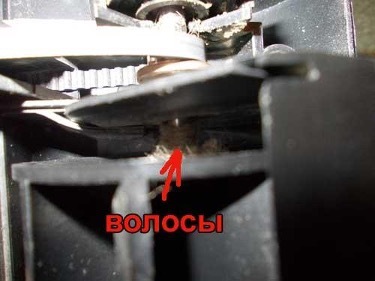
- One of the rollers is covered with a protective plastic casing - it protects a small wheel. To him, in turn, is a belt. On all these details, hair and wool accumulate, which must be removed.
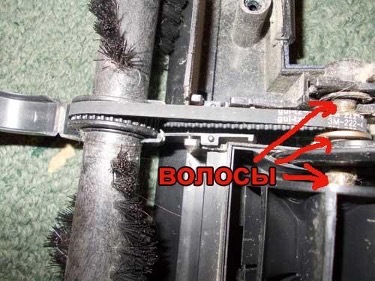
- Pollution will also need to be removed from hard-to-reach places. For this, it is convenient to use thin tweezers. If there is a second vacuum cleaner, it can be used to clean other areas - this method is the most effective.
After repair and cleaning, all parts are assembled, moving in reverse order. If there is no skill, during the first repair, you can initially photograph the brush from the back and examine its attachments.
