Understanding how to disassemble an Electrolux dishwasher is easy. First, the unit is prepared for operation, then the panels are gradually dismantled and proceed to the internal parts. A detailed step-by-step instruction with a photo and a description of the actions can be found in this article.
The content of the article
- Preparing the machine and tools
- Step-by-step instruction
Preparing the machine and tools
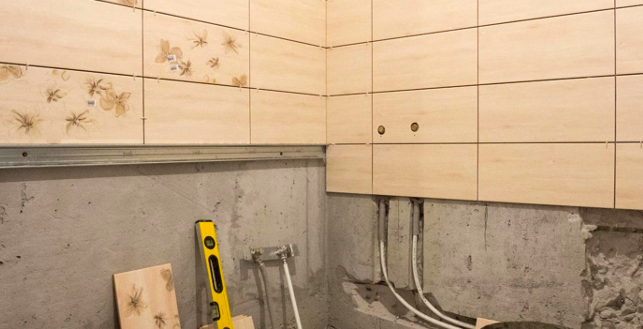
It is quite possible to repair the Electrolux dishwasher with your own hands. But first you need to prepare the unit itself, as well as organize the space in the kitchen so that it is convenient to work. The main actions are:
- Remove all baskets, compartments and other items in the chamber that are not secured by anything.
- Close the valve, turn off the power to the unit.
- Prepare a basin, unscrew the hose through which water is supplied, direct it into a container to collect the remaining liquid.
- If the dishwasher is built-in, you must unscrew all fasteners.
- Spread a sheet of thick cellophane or polyethylene in case of possible leakage.
- Pull the unit out to a free space so that there is free access to each side.
Dismantling the Electrolux dishwasher begins with the preparation of such tools:
- Screwdriver Set;
- adjustable wrench;
- if repair is necessary, you will need a soldering iron;
- multimeter;
- tweezers are needed to perform fine work;
- side cutter;
- pliers.
You may also need a flashlight and a phone with a reasonably clear camera. The junctions of the wiring and the main elements must be photographed so that they can then be assembled in the correct sequence.
Step-by-step instruction
Dismantling begins with the dismantling of the panels, after which you can proceed to the inspection and phased removal of parts. The step by step guide looks like this:
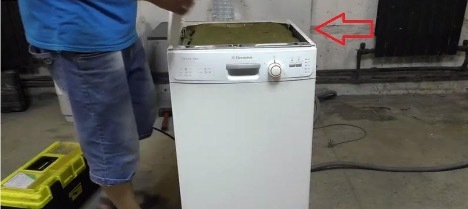
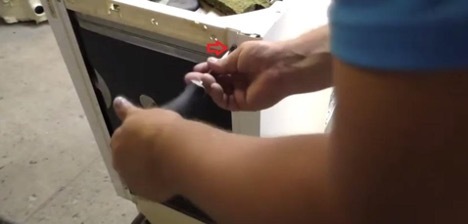
- Remove the cover from above, after unscrewing each bolt.
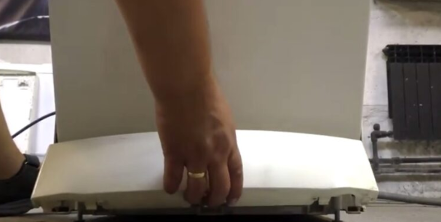
- The panel is removed from below - it is fixed with latches, which are easy to open by prying with a screwdriver. At the same time, you need to slightly open the door of the chamber into which the dishes are loaded, because it will interfere with the dismantling of the bottom panel.
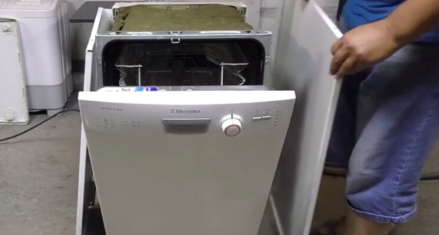
- The next step in the instructions on how to disassemble the Electrolux dishwasher is to unscrew the fasteners from the back panel. Also remove the fasteners on each side of the decorative panel.
- Then the walls are removed from the side and the sound insulation is removed.
- The next step is to turn the car over so that the bottom is on top. At the same stage, filters are dismantled that purify water from contaminants.
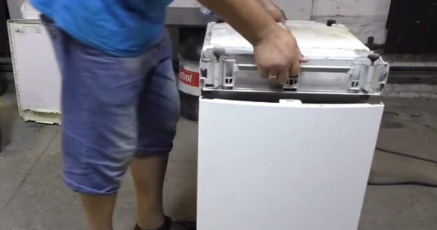
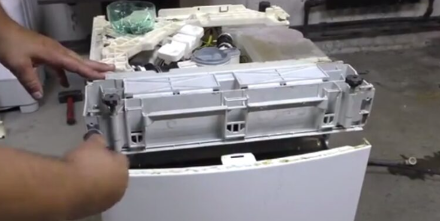
- Dismantled and placed in the bottom panel - it is she who hides all the internal details of the device.
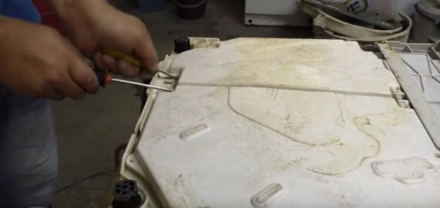
- The bottom tray has a plastic element that needs to be removed. To do this, unfasten the clamps on which the engine is held, then the clamps of the water supply valve.
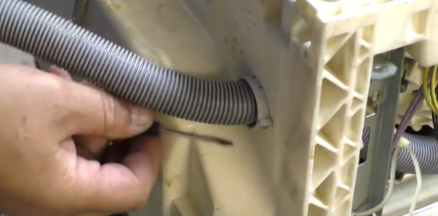
- Now you need to lift the latch and remove the drain hose.
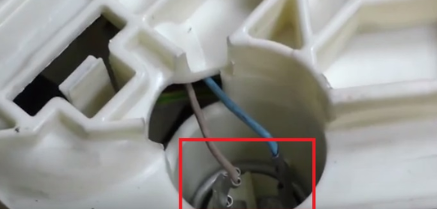
- Disconnect terminals.
- And move the tray.
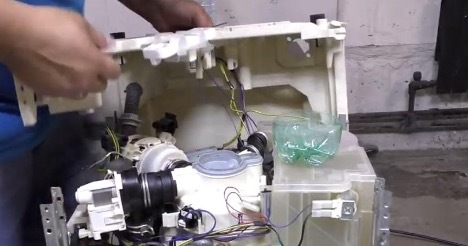
- Now you can start dismantling the internal parts. They are inspected and “ringed” with a multimeter to make sure they are working. Then they put a new spare part and collect all the elements in reverse order.
It is quite possible to repair the Electrolux dishwasher with your own hands. In most cases, inspection and replacement of parts involve complete or partial disassembly of the unit. This is easy to do even if you don't have the skills. However, it is important to photograph each stage so that you can easily assemble the parts later. If you are not sure, it is better to contact the master.