Frazier - a useful tool for curly woodworking. It is not always cheap, so it becomes necessary to make the device yourself on the basis of improvised materials and tools. One of the options is to make a milling cutter from a grinder. This is quite a convenient and reliable installation that can be used for various tasks. How to design it correctly is described step by step in this article.
The content of the article
- Tools and materials
- Types of milling cutters
- Step-by-step instruction
- Basic rules of work
Tools and materials
To make a home-made device, you will need a fairly powerful grinder or angle grinder. It is clear that it must be completely serviceable, without defects. It is also necessary to prepare other tools and improvised materials:
- a welding machine (it will only come in handy if a milling cutter from a grinder will be made from metal elements with your own hands);
- electric drill;
- set of drills;
- a set of screwdrivers or a screwdriver;
- fasteners;
- construction level;
- roulette construction;
- sheets of plywood or chipboard (thickness must be 10 mm or more);
- alternative option - metal sheets with a thickness of 3 mm;
- set of wrenches;
- square;
- saw for wood or metal work;
- metal corners (instead of them, you can use a wooden beam with a section of 50 * 50 mm);
- punch;
- hex keys;
- file, sandpaper.
Types of milling cutters
Before you start designing a milling cutter from a grinder with your own hands on wood, you need to decide which type of tool is best suited. There are 2 design options:
- Stationary milling machine from grinder.
- Mobile device.
Stationary is a full-fledged wooden table with an installation, that is, a workbench. It can work with both wooden and metal blanks. But in the latter case, the power of the device must reach at least 1100 watts.
Such a device consists of 3 elements:
- Base.
- Tabletop with rail.
- Drive unit.

This is quite a convenient design, but it is not mobile. Therefore, in practice, a manual milling cutter from a grinder is most often used. This is a homemade installation, which is made in just a few hours.
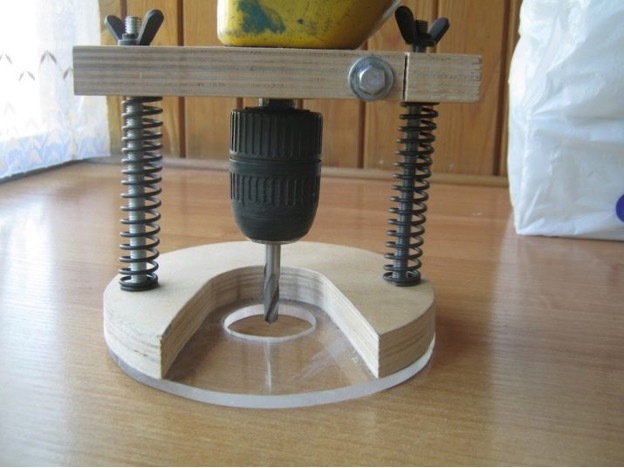
To understand how to make a milling cutter from a grinder for different tasks, you need to take into account a few points even before assembly:
- The guiding rails must be removable, because the workpieces are different.
- It is better to fix them with self-tapping screws. Moreover, the caps of the fasteners must completely go into the thickness so as not to interfere on the surface.
- In order for a homemade milling cutter from a grinder to perform as many tasks as possible, you need to purchase additional key attachments and cutting discs. They are conveniently fixed on the shaft with a clamping nut, as well as an adapter.
Step-by-step instruction
Do-it-yourself milling machine from a grinder can be made according to the following instructions:
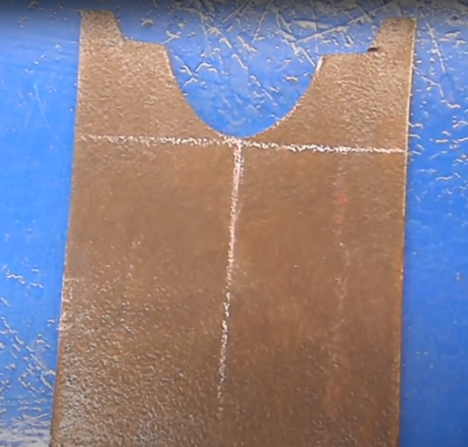
- Mark a pattern on a metal or wooden sheet, as shown in the photo.
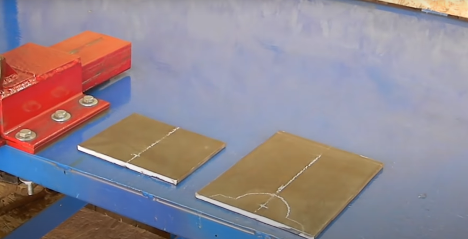
- Fix the workpiece in the frame and cut off the excess parts along the contour.
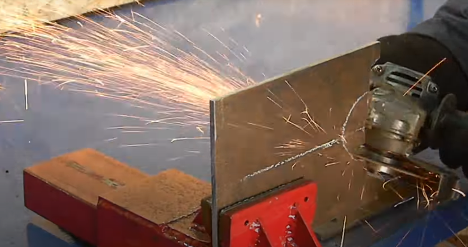
- It turned out such a detail - the sole of the future device. This is the first step in the instructions on how to make a wood router out of a grinder.
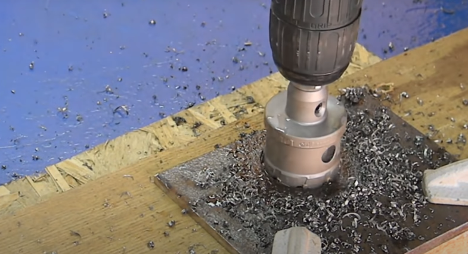
- Using a metal crown and a perforator, make a round hole in another metal sheet.
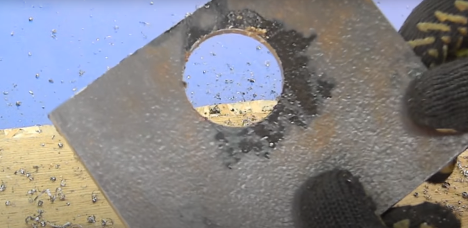
- It turns out such a blank for a milling cutter from an angle grinder.
- Make another detail according to this scheme.
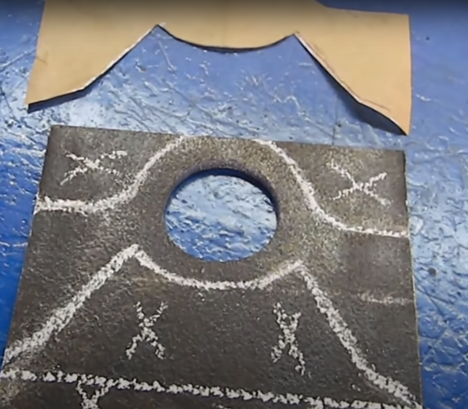
- It turns out a new workpiece. Thanks to these elements, the milling cutter attachment for the grinder will allow you to get parts of the correct shape.
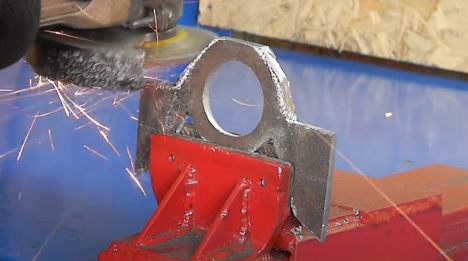
- Try it on a grinder to understand where you need to grind the future clip.
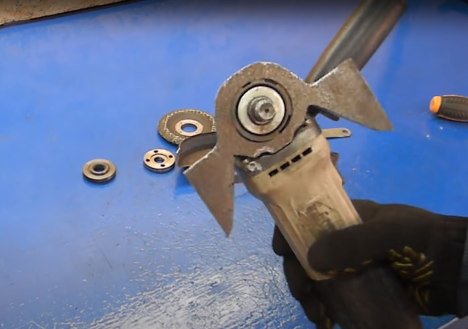
- Make 2 pieces of a metal profile 20 * 20 mm and 25 * 25 mm.
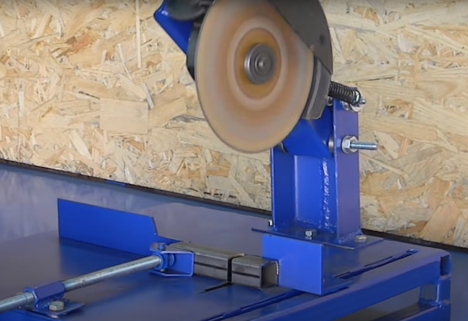
- Assemble the structure, as shown in the photo, and weld the nodes.
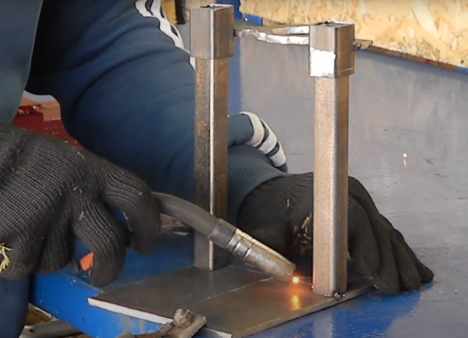
- Make a cut on the ring.
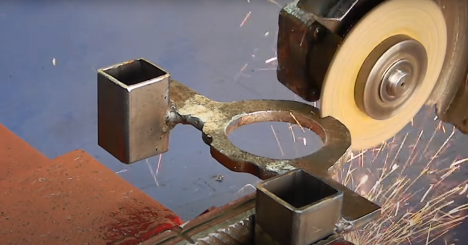
- Ream the thread for the free play of the bolt. Thanks to this, the milling cutter from the grinder on wood will work correctly.
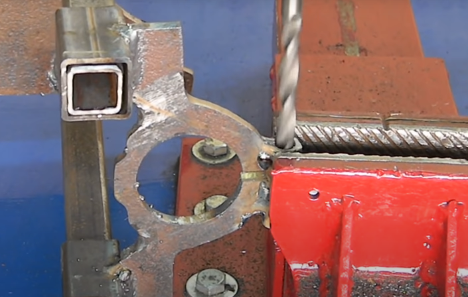
- Screw it up.
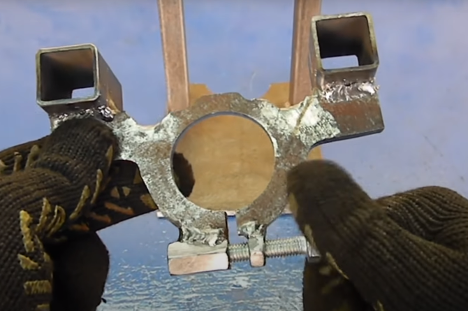
- Knock out a metal loop at a right angle.
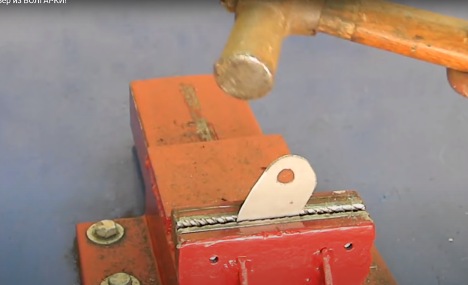
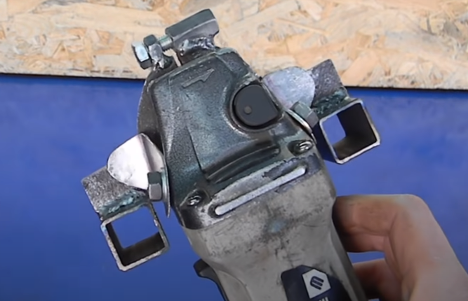
- Put on the grinder on both sides and fix with bolts.
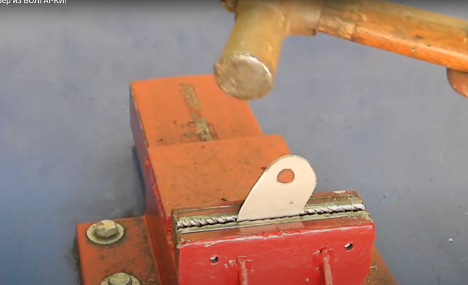
- You will get such a preparation. It will ensure the reliability of the design, regardless of which nozzle on the grinder the wood router will be used.
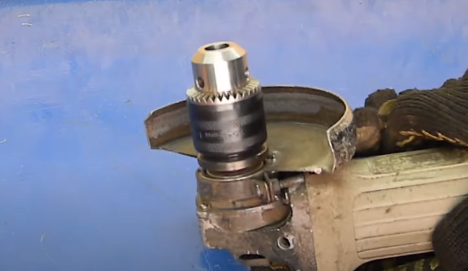
- Screw the spindle chuck onto the tool.

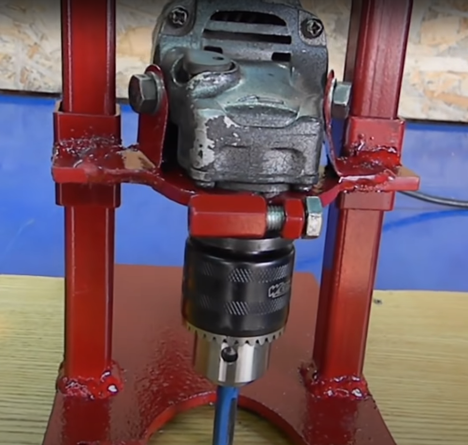
- Assemble the structure and tighten the bolts.
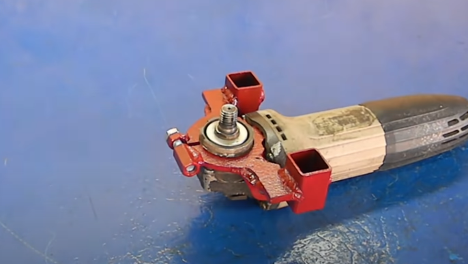
- Install a lamellar milling cutter from a grinder on a support with your own hands.
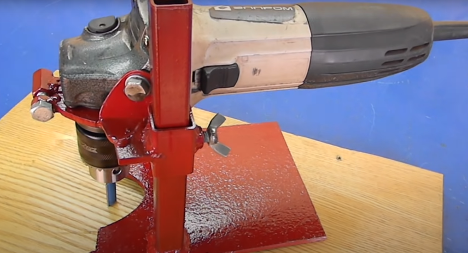
- It turns out such an installation - now you can start testing it.
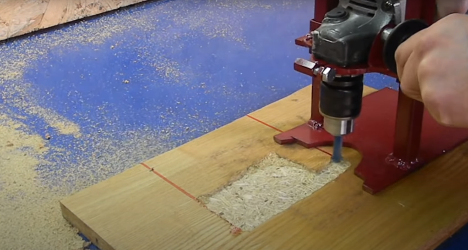
- Turn on the engine and carefully walk along the wooden blank.
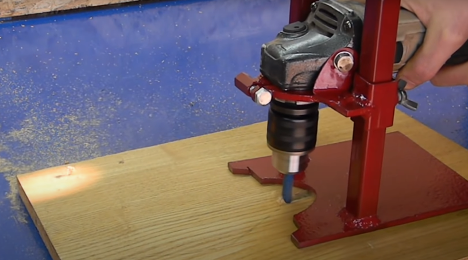
- A do-it-yourself cutter from a grinder works quite normally. But in practice, sometimes you have to make an adapter from a stud and an elongated nut. This device provides excellent contact with the working surface of the tree.
Basic rules of work
All the basic rules that apply to professional devices apply to a lamellar milling cutter from a grinder:
- Before processing, you need to understand the characteristics of the material and select the appropriate nozzle.
- The protective cover must not be removed.
- Always start at the lowest speed.
- It is better not to use a large grinder - you have to make a lot of effort for it, besides, such a tool can simply escape from your hands.
- Even with "harmless" details, it is worth working with gloves.
- You can only work in one plane.
- Do-it-yourself manual milling cutter from a grinder is a safe tool if you follow the described rules. Another requirement is to turn off the electricity before changing the disc or tip.
- Before you start using a grinder fraser, you first check the uniformity of the wooden surface and thickness so that there are no metal parts in it
Thus, a homemade wood router from a grinder can be made by one person during the day. To do this, pre-prepare the necessary tools and materials. The work is carried out clearly according to the drawing, so that all the details exactly match each other. It is advisable to test the assembled installation on different materials, after which you can proceed to the main work.


