Soundproofing a toilet in an apartment is achieved in 2 main ways - using materials that dampen sounds well, as well as by installing a box. The second method may seem simpler, besides, a well-made fence allows you to hide pipes and other communications that spoil the appearance. A detailed description of both noise protection technologies is presented in this article.
The content of the article
-
Use of sound-absorbing materials
- foamed rubber
- Rigid polyurethane foam
- Foamed polyethylene
- Box installation
Use of sound-absorbing materials
High-quality insulation of the toilet in the apartment is planned already at the installation stage, when the pipe material is selected, as well as fasteners. An overview of the main materials, their pros and cons is presented in the following sections.
foamed rubber
One of the modern types of materials, thanks to which the sound insulation of the bathroom is provided, is foamed rubber. It has a high density (65 kg/m3) and at the same time elasticity, which ensures strength and durability. Rubber is produced in sheets and rolls.
The thickness starts from 8 mm, and even this is enough for the sound insulation in the toilet to be quantitatively 26 dB (absorption of sounds comparable in strength to a person's whisper at a distance of a meter). However, there is a disadvantage associated with high cost.
Rigid polyurethane foam
This is a continuous shell around the sewer pipe, which consists of 2 "shells" that are joined together end-to-end. They are quite strong and reliable, resistant to decay. The density is 60 kg/m3. Polyurethane foam is quite affordable, although the sound insulation of the toilet is lower than in the case of rubber and corresponds to about 20 dB.
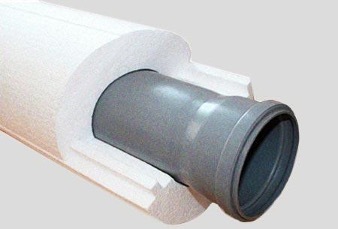
It should also be borne in mind that the wall thickness is 40-50 mm, which is not always convenient in narrow spaces. Another disadvantage is that the joints and ties with clamps must be additionally glued. But there are also advantages - the material is more affordable.
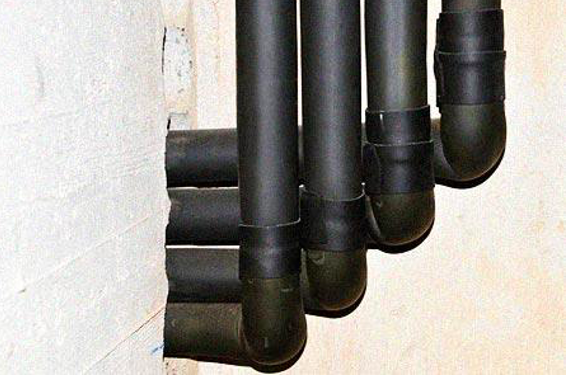
Foamed polyethylene
Another way to make soundproofing in the toilet is to use polyethylene foam. This is an elastic, rather light material with a density of only 35 kg/m3. It has good sound absorbing properties. Even with a small wall thickness of 2 mm, it dampens sounds with an intensity of 32 dB, which corresponds to a quiet conversation or the ticking of a wall clock.

Another important plus is the low price and ease of installation. The material is produced in the form of hollow tubes, which are mounted directly on top of the riser. It is also produced in the form of rolls, which are convenient to transport in any quantities. Some types of rolls already have an adhesive layer, thanks to which the instructions on how to make soundproofing in the toilet are noticeably simplified.
Regardless of the choice of a particular material, it is important to purchase a special fastener. It is best to use shock-absorbing thick rubber pads that are installed in the space between the clamp and the pipe. Places where pipes pass through a wall or ceiling should be insulated with roll material or intumescent sealant. This ensures high sound insulation of water pipes.
Box installation
The soundproofing of the bathroom is also achieved by installing a box, which not only suppresses noise, but also provides an aesthetic appearance. The box can be purchased ready-made and assembled according to the instructions. Mostly plastic models with medium sound insulation are presented on the market. They are affordable, but will most likely require additional sound protection, such as sealant or stone wool.
On the other hand, the soundproofing of the toilet bowl can be done by hand - the box is independently assembled from drywall sheets. This is a more reliable design that dampens sounds better. For work you will need:
- actually drywall sheets with moisture resistant properties;
- metal profiles with a section size of 40 * 40 mm;
- self-tapping screws of 2 types - for working with metal and drywall;
- construction level;
- roulette;
- perforator for drilling concrete;
- screwdriver;
- mounting knife;
- Bulgarian.
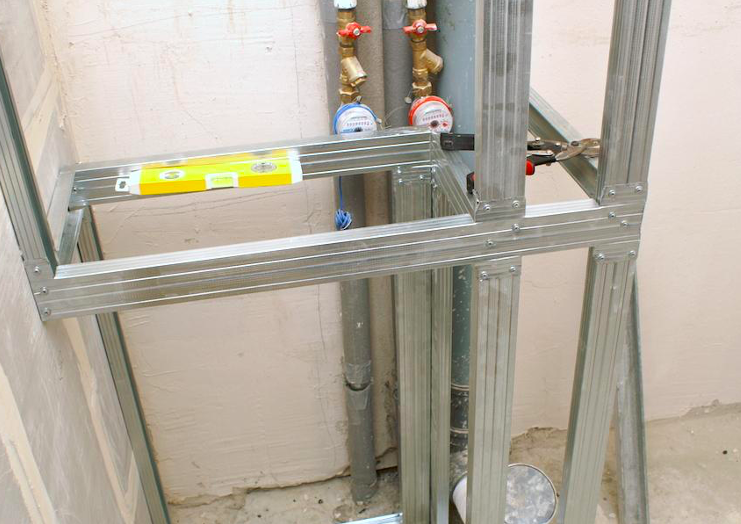
Noise insulation of water pipes in the apartment is done by hand, the main stages are as follows:
- Taking measurements and creating a drawing. It is necessary to outline the places for fastening guides with U-shaped profiles, stiffeners, the location of partitions and a frame with an access door.
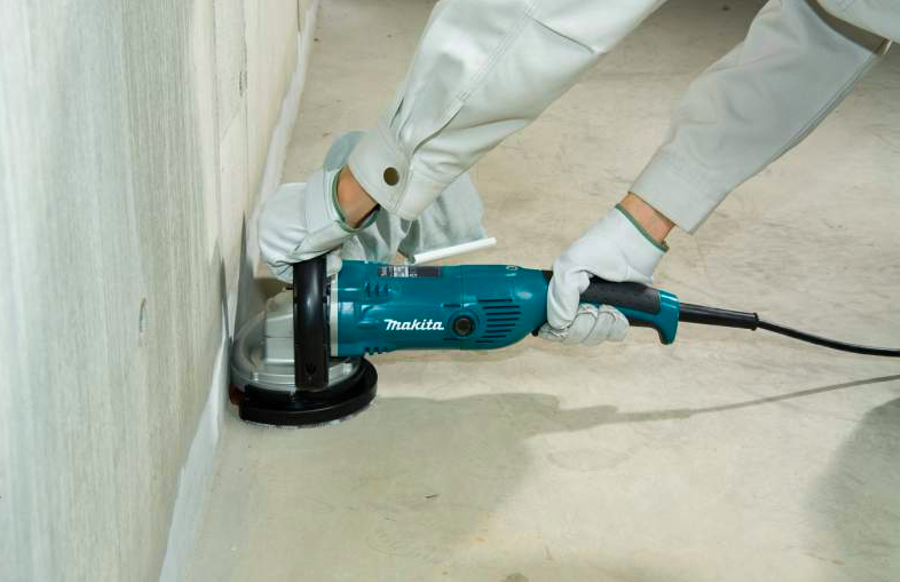
- Clean the old surface from dirt.
- They measure the profile, make markings and saw it with a grinder into fragments.
- Assemble the frame, fastening the profile with self-tapping screws, work with a screwdriver.

- Do-it-yourself soundproofing in the toilet is done with plasterboard sheets, on which they also put markings and cut them. At the same time, you need to ensure that there are as few sliced fragments as possible, and whole ones - as much as possible. The edges are sanded.
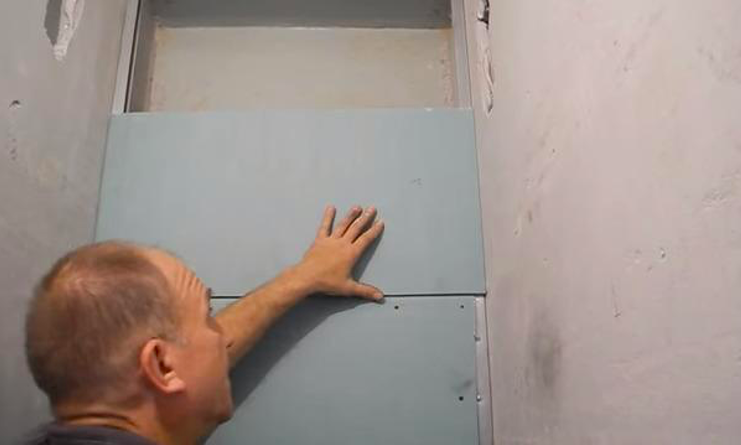
- Sheets are fixed with special self-tapping screws for drywall. This is how the soundproofing of the bathroom in the apartment is ensured.
- Next, make an access door, ventilation holes.
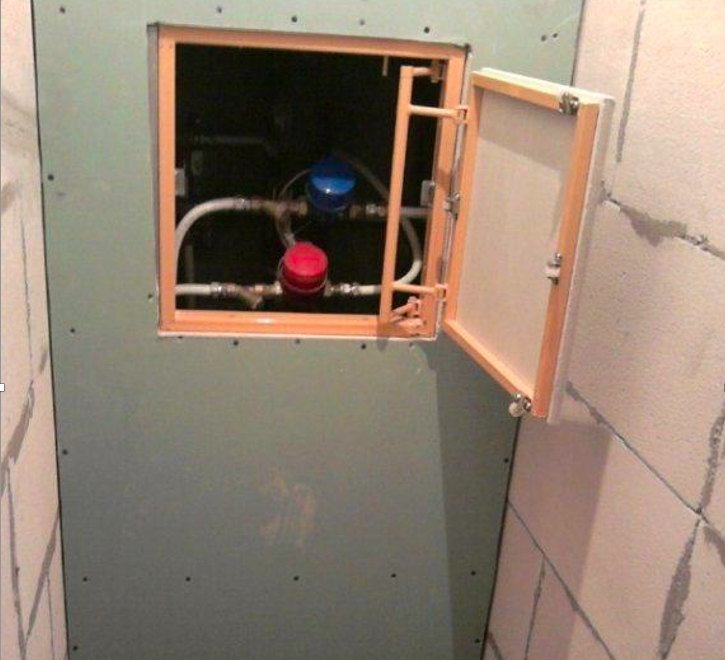
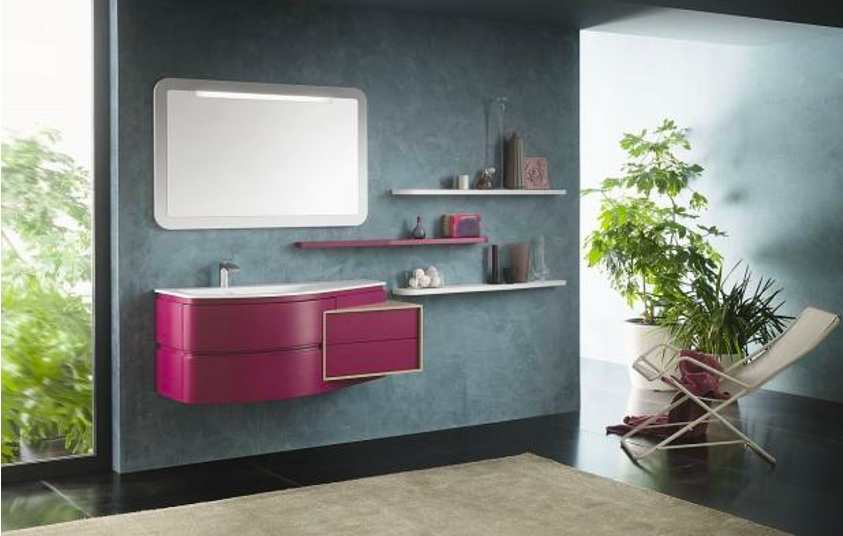
- The last stage is decorative finishing. You can cover the sheets with tiles or just paint. Surfaces are pre-treated with a primer.
Thus, sound insulation in the bathroom and toilet is achieved even at the stage of installation or replacement of the pipeline. It is important to use high-quality materials and connecting elements that protect against noise well. You can also put a box, and for maximum insulation - use both options. If the noise is noticeable, the walls in the toilet are additionally soundproofed. For this, modern materials are used, for example, stone wool, gypsum, cork or foam.