Often, users are wondering if a mesh is needed on the grille. It is believed that this is just a decorative element that does not have much practical use. In fact, it performs not only an aesthetic function, but also serves as a cabinet, table, dryer, and even increases the heating efficiency. The main advantages of this design, as well as methods of manufacturing and fastening, are described in detail below.
The content of the article
- Why do you need a radiator grill
- Types of lattices
-
Step by step instructions for making
- Taking measurements
- Cutting details
- Assembly and installation
Why do you need a radiator grill
First of all, it is worth figuring out whether it is necessary to put a grid on the radiator grille. At first glance, it may seem that it plays a purely decorative role, although in fact such an element also solves practical problems. Installing a radiator grill performs several functions at once:
- effective disguise of batteries - they look much more attractive and fit better into the interior;
- children and other family members are reliably protected from possible burns in contact with a hot surface;
- batteries are better preserved from dust, their care is simplified;
- if you not only put a grate, but also make a box, an additional useful surface appears that can be used as a shelf, dryer or even a small table.
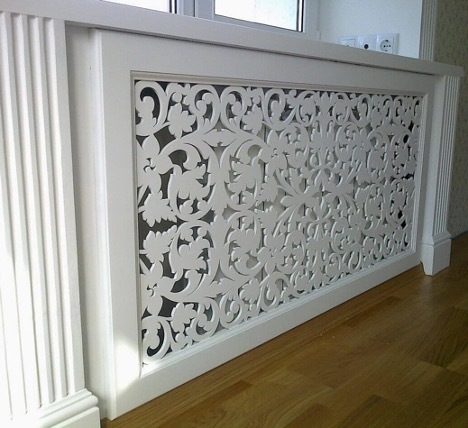
Installing a grid on the radiator grill is also recommended to increase the efficiency of heat transfer. The fact is that usually the flow of hot air rises, then cools and falls, after which the cycle repeats. But curtains, a large slope of the window sill and other obstacles can interfere with it.
If you figure out how to install the mesh on the grille, the result will be to create an additional air gap. Then the hot air will first heat this gap, after which the grate, and from it infrared (thermal) radiation will penetrate into the room. Since this reduces energy losses, heating is faster and more efficient.
Types of lattices
When learning how to fix the mesh on the radiator grill, you also need to familiarize yourself with what types they are. Classification depending on the type of structure is as follows:
- Box (pedestal) with a lid. It consists of three sides - two on the side and one main panel. Mounting such a radiator grille mount is a little more difficult, but it turns out a full-fledged table that can also be used as a dryer.
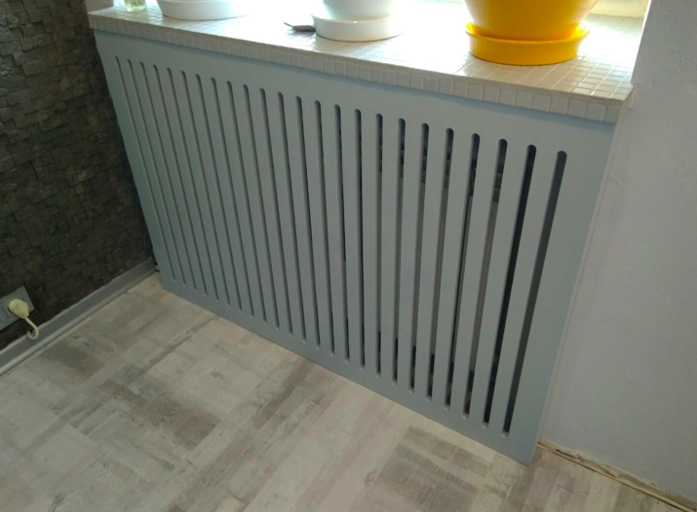
- A flat panel is used for those batteries that are located in a niche (as is provided in most designs). In this case, there are no protruding parts, so the grate serves to solve aesthetic and practical problems (improved heat transfer).
- If you have any doubts whether it is worth putting the grid on the radiator grill, you can simply use the hinged screen. In fact, this is also a flat panel, but it is mounted on a protruding battery - as a rule, in office, administrative premises.
There are several ways to install a protective mesh on a radiator. But before proceeding with the installation work, it is also recommended to pay attention to the material from which the grille is made:
- tree;
- metal;
- strained glass;
- plastic;
- board (for example, MDF, chipboard).
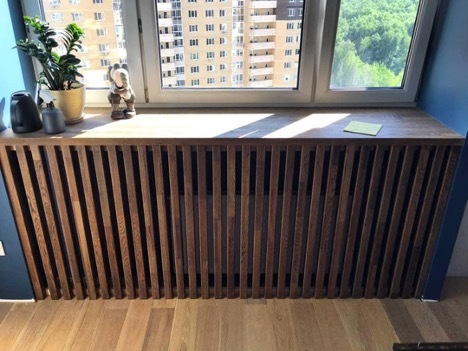
Wood products look the most beautiful, besides, they are environmentally friendly, they allow you to make almost any pattern, cover it with different paints, varnishes. But under prolonged exposure to dry hot air, they begin to deform and collapse. To prevent this from happening, it is necessary to choose high-quality wood, which is initially well dried.
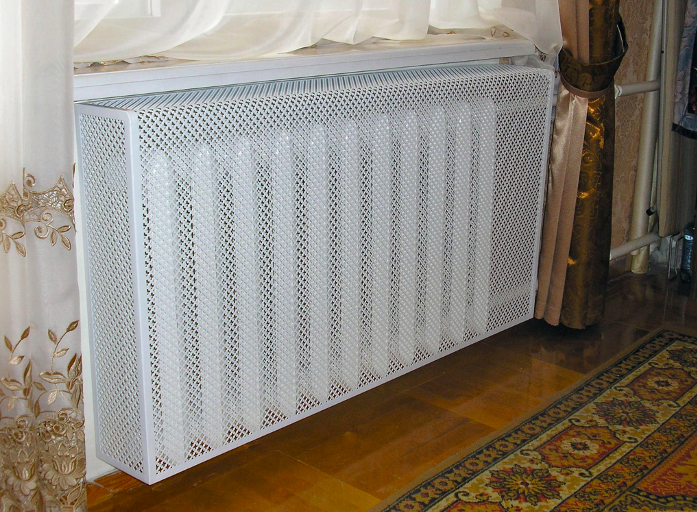
Metal screens are more durable and transmit heat even better, but they get very hot. Plus, they don't look as pretty. Although they are very easy to install, it is very simple to figure out how to attach the grate to the radiator.
Quite popular screens are made of tempered glass, which heats up much worse than metal. They can be decorated with LEDs or all sorts of patterns, drawings. But for the price, such products are significantly more expensive than many other models. Plastic in this regard is the most budget option, but it is short-lived. And MDF panels look beautiful, but they can retain heat.
Step by step instructions for making
Installation of the heating radiator grille is carried out in two ways - you can purchase a ready-made screen, having previously made measurements, or build a structure with your own hands. It is not difficult to do this, you just need to stock up on materials, tools and improvised means:
- panels for the box, for example, MDF or chipboard;
- metal mesh;
- metal sheets or foil (they are installed at the back to maximize the reflection of the heat flux);
- fasteners - screws, bolts, dowels, small nails, corners, anchors, brackets;
- hammer;
- installation of a radiator grille also implies the presence of a drill with a set of drills;
- hacksaw for working with wood, metal;
- sandpaper;
- glue;
- construction stapler;
- construction roulette.
If you have already figured out whether a grid is needed for the radiator, and what design it should be, you can proceed with the assembly. The instruction can be considered on the example of the most complex and at the same time the most attractive design - the box.
Taking measurements
At the preparatory stage, instructions on how to install the grate on a heating radiator take measurements and prepare a sketch, according to which they will work in the future:
- Measure the width and height of the battery surface. Moreover, 5 cm is added to the height, and 10 cm to the width.
- Measure the depth and add 2.5 cm. Mark on the sketch the places where the pipes go.
- The dimensions of the top cover are outlined, taking into account the fact that its width should be 1 cm larger than the width of the sidewalls (ends).
Cutting details
In order to properly install the protective mesh of the radiator, then you need to transfer the measurements to the material and make blanks:
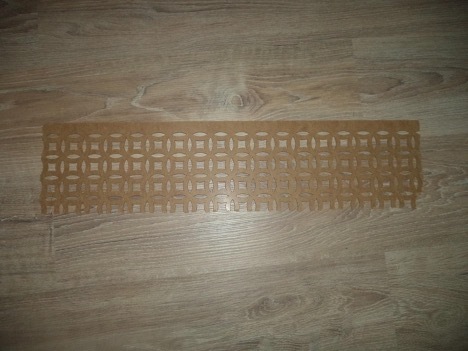
- Redraw the measurements on the grid and cut out the desired fragment.

- Cut slats for the facade (4), sidewalls (4 for each) and cover (also 4). A one-piece cover can also be provided in the design - then the pattern is transferred to the corresponding fragment of the MDF or chipboard panel.
- The limbs of each rail are cut off, maintaining an angle of 45 degrees. The edges are treated with sandpaper.
Assembly and installation
During installation, the front rails are glued and reinforced with small nails. In the same way, mount the rails and sidewalls and covers. The cut out fragment of the mesh is fixed with a stapler. The panels are joined together with self-tapping screws, then the surface is decorated.
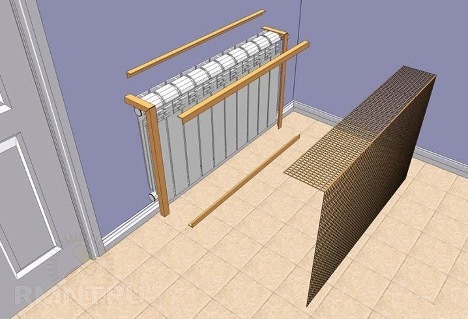
There are several ways to put a protective mesh in front of the radiator:
- On the legs - metal corners are fixed on the lower part, and legs for a sofa or other furniture are fixed to them.
- Hang on hooks with dowels.
- Fix on anchors and bolts.
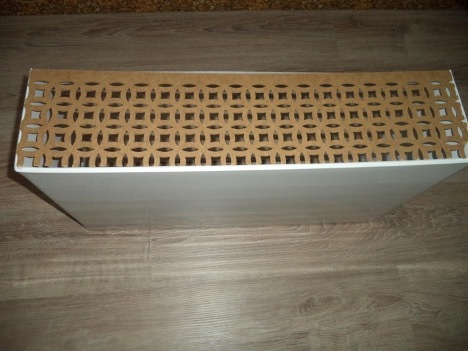
Now it’s clear how to install the grid on the batteries. It is not necessary to build the structure yourself - if the task seems laborious, you can purchase ready-made screens, taking into account the size of the radiators. But if you plan to put a box, this is done on an individual order, since it is necessary to take into account not only the dimensions, but also the design of the room.

