Ceiling waterproofing is carried out using different materials, the choice of which depends on the characteristics of the surface. For example, you can use bitumen, powder or special paint. How to choose the right product and apply it correctly is described below.
The content of the article
- Waterproofing products
- Waterproofing the ceiling in the bathroom
- Waterproofing the ceiling in an apartment
Waterproofing products
Often, to protect the surface from water, a waterproof sheet is installed, i.e. make a suspended ceiling. This is a practical option that at the same time allows you to get a perfectly smooth surface. That is, in this case, aesthetics go well with practical expediency.
On the other hand, waterproofing the ceiling against leaks is also done in other ways:
- The coating composition is a product based on bitumen in its pure form or (more often) with the addition of organic polymers and rubber.
- Painting material is one of the most inexpensive and simplest methods. Essentially, this is a special paint that is applied with a brush to a previously prepared surface. The disadvantage is associated with the fragility of the composition - for example, such waterproofing is not suitable for the ceiling in the bathroom.
- Penetrating composition is a high-quality method of durable finishing. Coating waterproofing completely blocks contact with moisture and strengthens the structure of the material. But there is a limitation on use - only on concrete ceilings.
- A powder product is another option for covering a concrete ceiling in an apartment. This is a cement composition with the addition of resin and plasticizer. It is applied as a screed in several stages, provides good protection from moisture, but is not resistant to impacts, which in the case of a ceiling does not play a special role.
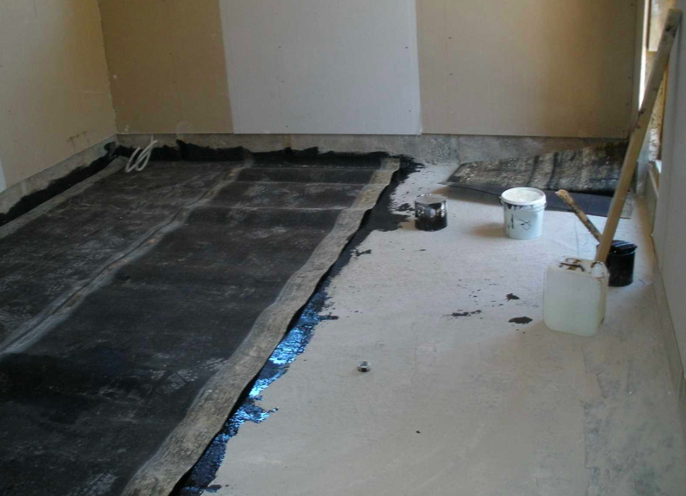
- Waterproofing in rolls is used much less frequently, because such materials are short-lived. In addition, it is difficult to attach it to the ceiling surface.
Waterproofing the ceiling in the bathroom
If it is clear how to treat the concrete ceiling, you can begin finishing. Particular attention is paid to the bathroom, since this is where maximum humidity is observed. Therefore, it is recommended to use mastic with polyurethane or a mixture of organic polymers with the addition of cement. Recently, polyurea has been frequently used, which is environmentally safe and easy to apply.
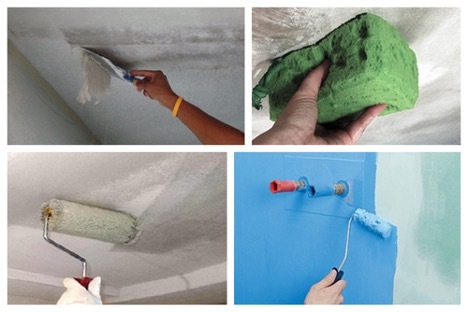
Regardless of the chosen method of how to waterproof the ceiling in the bathroom, the sequence of actions is the same:
- First, the surface is cleaned of dirt. If there are traces of mold, be sure to treat it with a fungicide (for example, Bordeaux mixture) or a folk remedy (acetic essence, strong solution of citric acid).
- Take a large sponge, moisten it with water and rub the ceiling. It is necessary to ensure that the entire surface becomes wet.
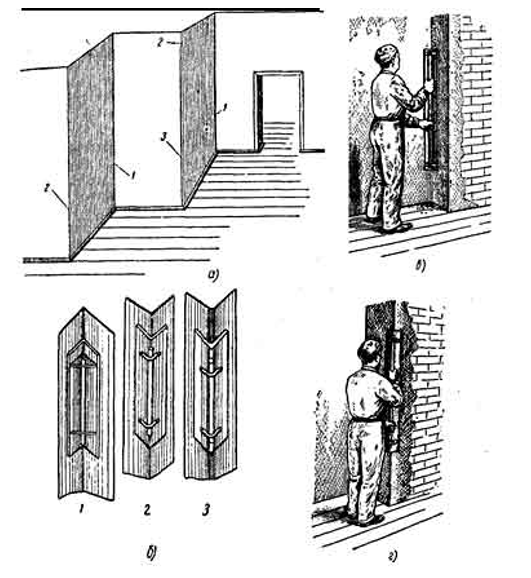
- Prime the ceiling in one layer to increase adhesion to the composition.
- Next, waterproofing is applied in two layers, with the second being formed only after the first has completely dried.
Waterproofing the ceiling in an apartment
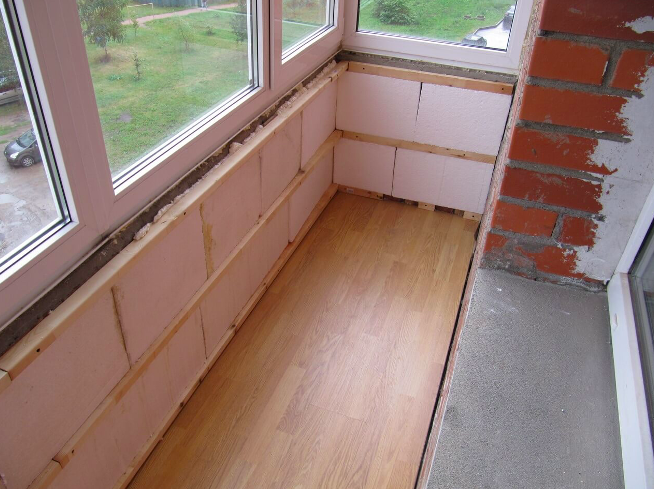
In other rooms, finishing is carried out in approximately the same way as in the bathroom. Moreover, you can choose any material. For example, waterproofing a technical floor or room is carried out with bitumen, powder mixture or polyurea.
The procedure is as follows:
- Clean the surface from dust and mold.
- If there are cracks and other defects, they are widened and finished with plaster or filled with sealant.
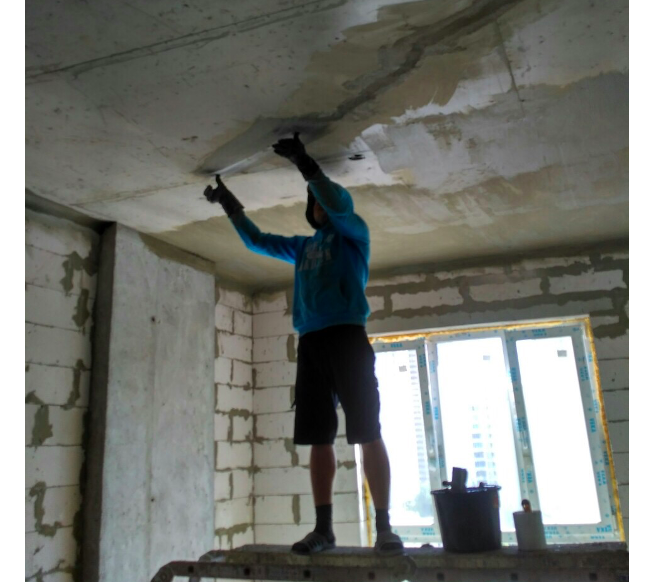
- Then prime in one layer and wait until the composition dries.
- Next, the walls and ceiling in the apartment are waterproofed. The material is applied with a brush or roller.
In most cases, it is quite possible to work alone. But if, for example, polyurea is used, the efforts of two people are required. One does the finishing, and the other monitors the normal pressure in the cylinder.